I won't discuss specifics but I thought the price was very reasonable. Mike (kokkari) on the www.therpf.com is doing it for me. His email is kokkari37 at gmail.com
This is probably a stupid question but curious on expert views on it - it seems most work I’ve seen has the maker adding all the surface piping and greebles before applying the base coat. Imagine this is to ensure the friction fit holes don’t become clogged or alter their size with base coat paint and distort fit. But doesn’t having all that piping on surface before base coat make it that much more difficult to get a sufficient coat at the contact points? Appreciate any opinions or guidance shared.
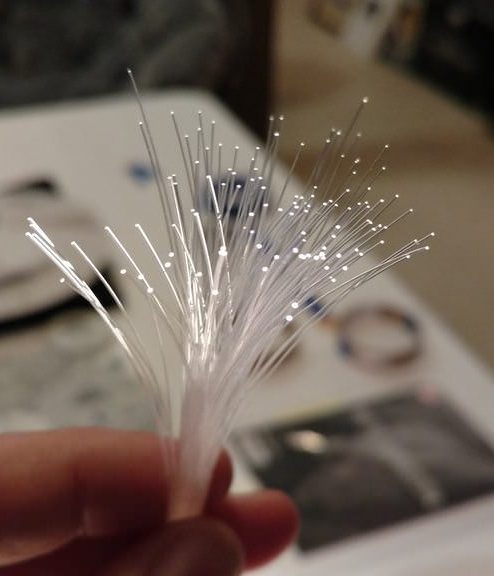
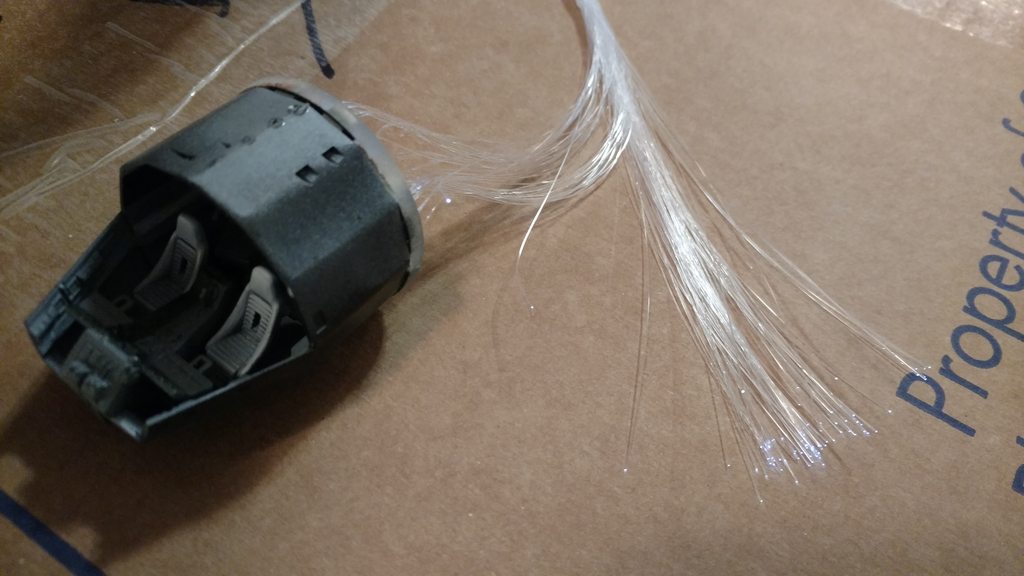
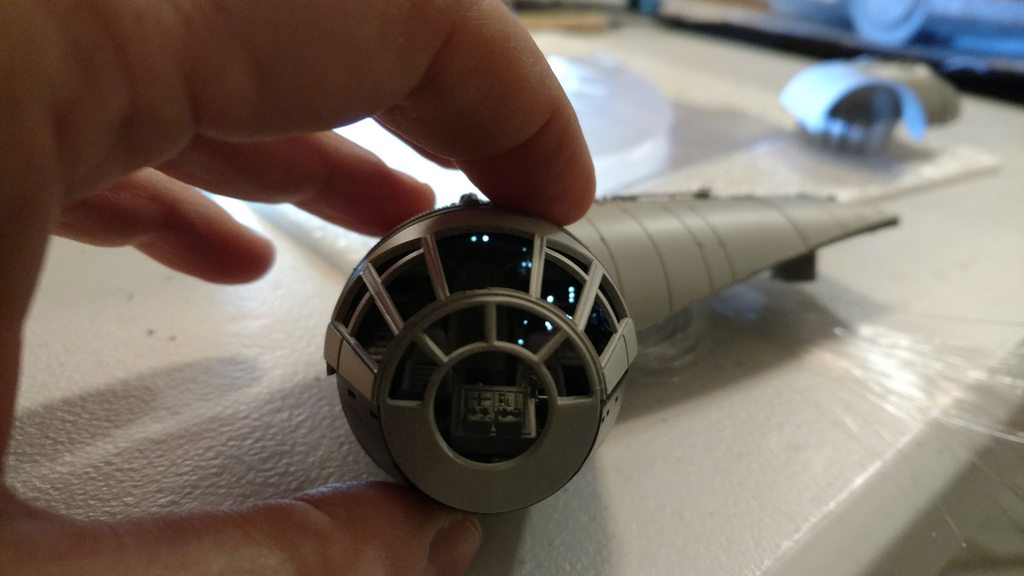
The past few days I've been playing with fiber optics and lights. These will be fed into the back cabin wall. This is R&D, I may end up just waiting for a photoetch part and worry about this later.
In the meantime the engine grid is out...
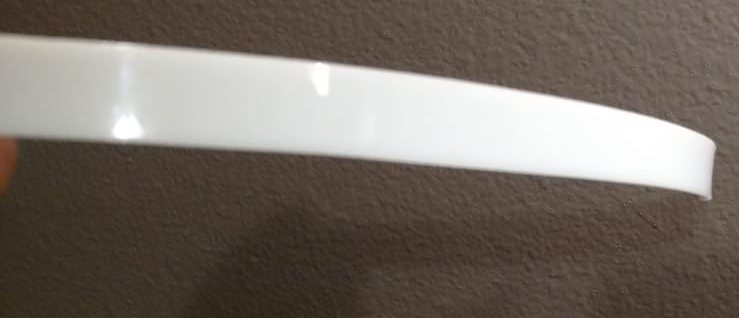
...white glossy acrylic is in. Thank you Hunk A Junk from the RPF.
Fiber optics sound like a great idea but I held back on the paint so not to clog the ports in the back wall.
I'm just not feeling it. I have one side done but you wouldn't know because so much is hidden by chairs. Also this limits my ability to pass light through the light bar features of the cockpit.
I'm nearly resigned to skimming over the cockpit and coming back to that area when the Paragraphix photoetch comes out.
I think it looks amazing. Even though some of your hard work is hidden by the chairs there's more then enough visible to really catch your eye and make you want to peer inside to see the details.
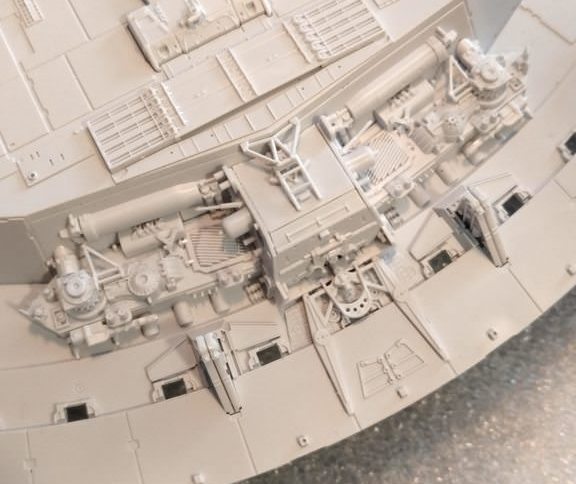
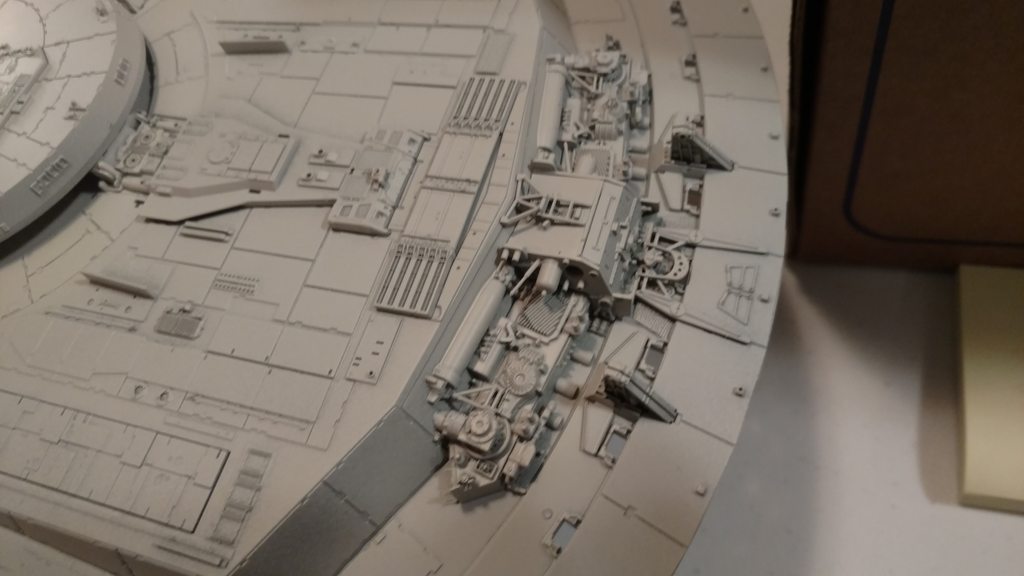
With the weekend here I sidestepped the whole issue by returning to basic assembly and painting. This evening I'm finished with all pre-paint assembly.
There are a few parts that will be attached after some of the panels receive their initial markings, but I consider it built and base coat will now cure a few days before I start masking and coloring panels.
This section has a surprising number of parts. I love the way is looks after paint.
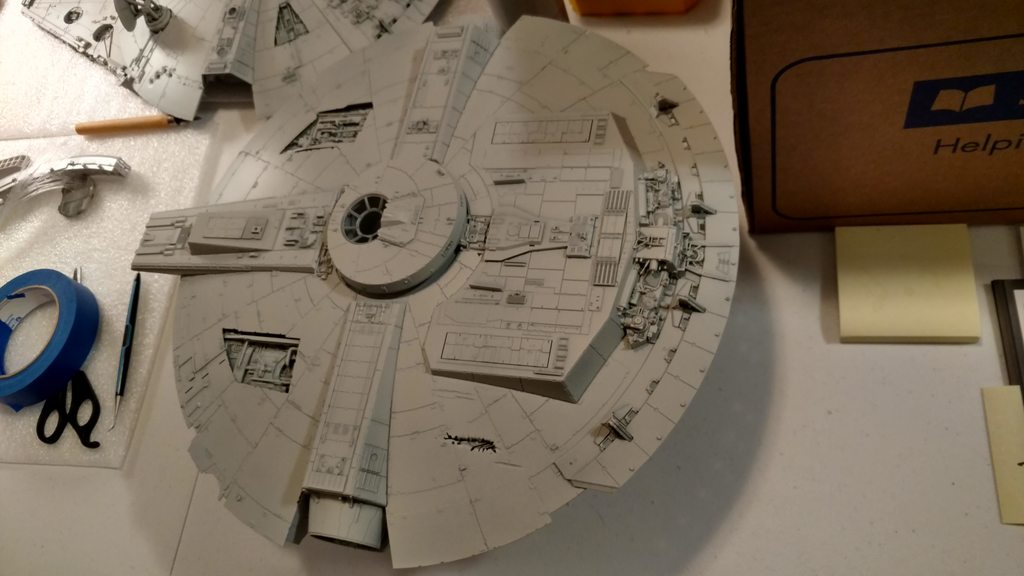
Before:
After:
No, wait.... After:
It's a bit dim is this room so it's actually whiter than it looks. But you can see the contrast and how the detail pops now.
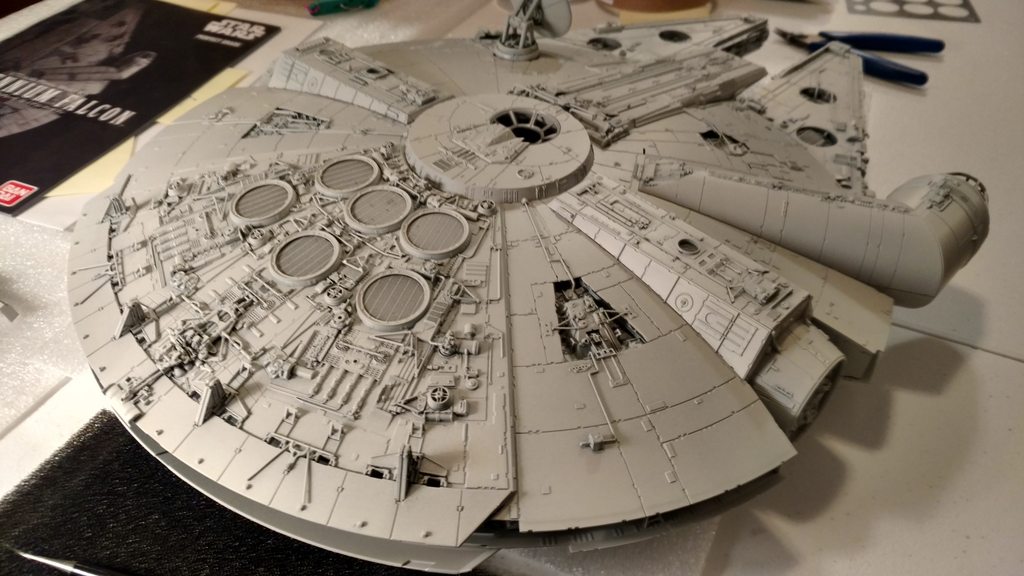
Tonight at last she sits in one piece. Special thanks to Hunk A Junk at the RPF for the sweet plexiglass engine. It's a thousand times better than a grid.
Kamandi - cockpit looks awsome! I saw on youtube that one modeler sands away the raised pieces in the back before putting in the decals. Apparently, this is much easier to put the decals. How did you do it on yours?
I think the fiber optics in the cockpit looks amazing. But I understand you not wanting all the hard work to be hidden by chairs. It looks great though.
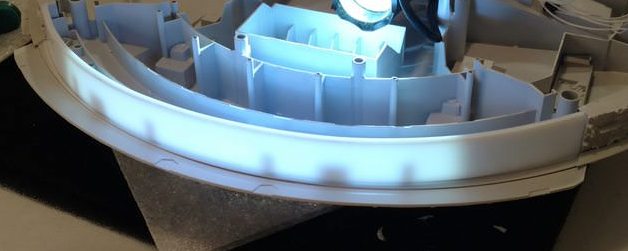
We tried lots of different options for the rear wall in the cockpit. In the end, we felt that the most pleasing to the eye was to apply a custom ANH accurate decal to the smoothed out rear wall piece (because it's incredibly tough to get the decal to lay flat and look correct if you try and apply it over all the sculpted details on the rear wall kit part. We then used a micro drill to drill out some of the tiny holes so that they appear to be brighter than the rest of the backlit rear wall and also cut out the light strips too.
This version creates some nice ambient lighting in the rest of the cockpit which you don't get if the back wall is solid with just tiny holes and strip lights being illuminated. The full size set was obviously also lit from the front so the actors weren't in silhouette so the backlit wall is a nice compromise in trying to create some ambient light effect.
Here's a test we did with the solid back wall and just tiny holes and strip lights illuminated. It looks cool but doesn't give off any light to the rest of the cockpit.
Kamandi - cockpit looks awsome! I saw on youtube that one modeler sands away the raised pieces in the back before putting in the decals. Apparently, this is much easier to put the decals. How did you do it on yours?
Since I have a spare backwall I'm going to give this a go. I have access to a decent color laser printer at work. We'll see.
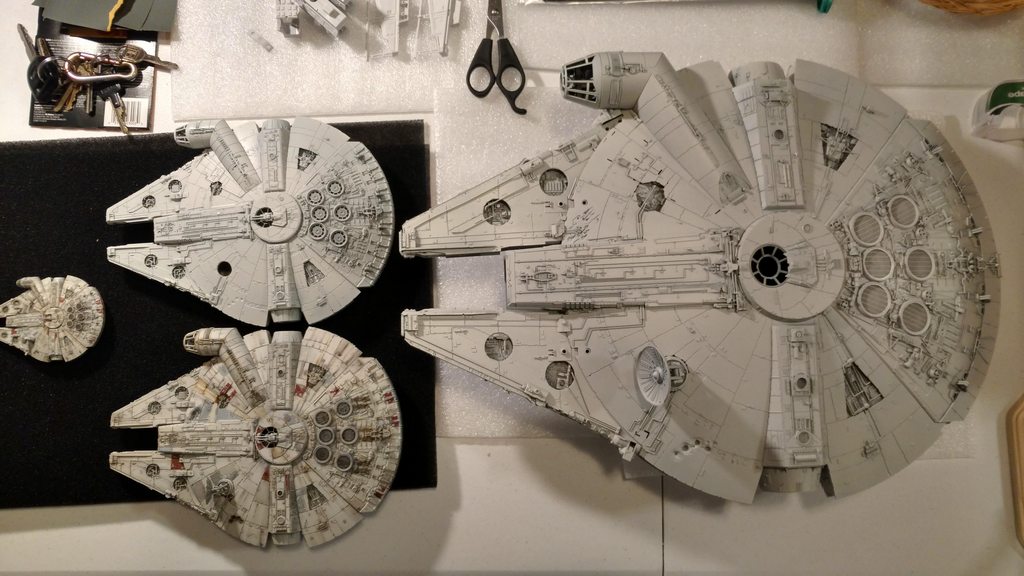
For those who are curious about the size difference between the 1:144 and 1:72 kits (edit: ...and mini kit)
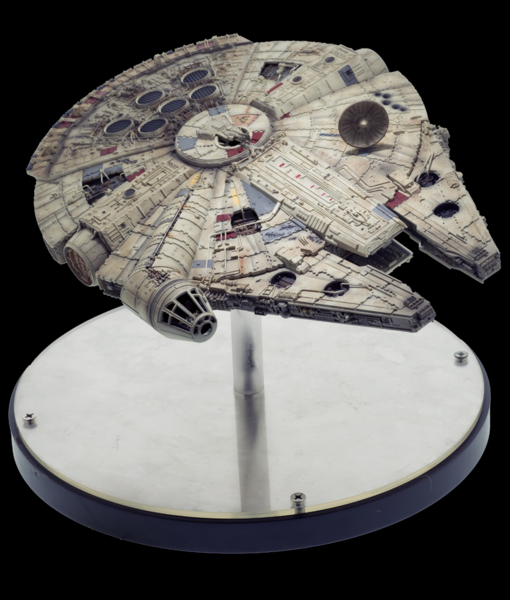
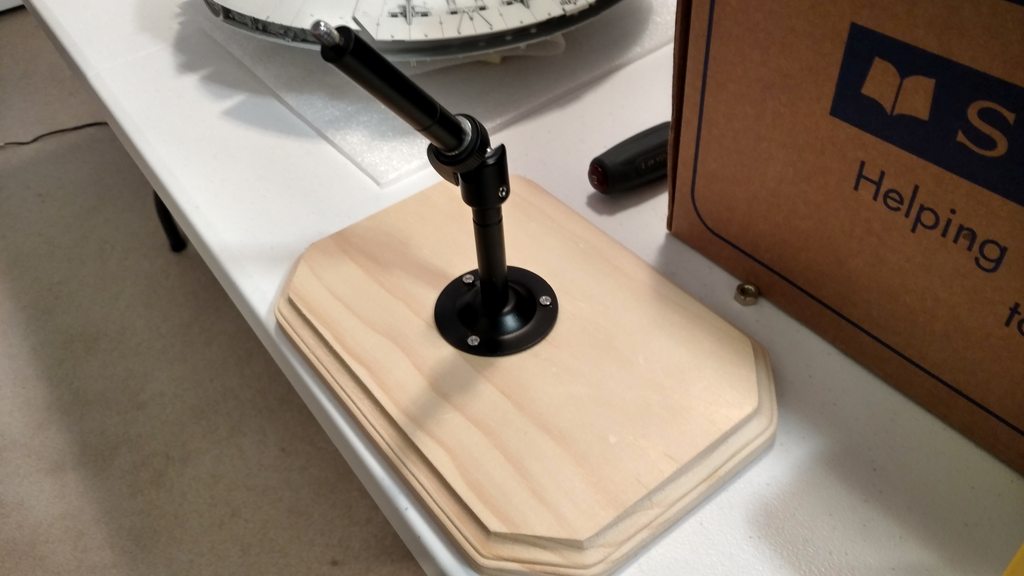
I'm in a bit of a stall for a few days while I wait for access to a 3d printer. There's a panavise mount I plan to glue to the inner gun port and that will attach to this mount. The wood base is a temp for painting, I'll probably put Death Star tiles under it when I'm done.
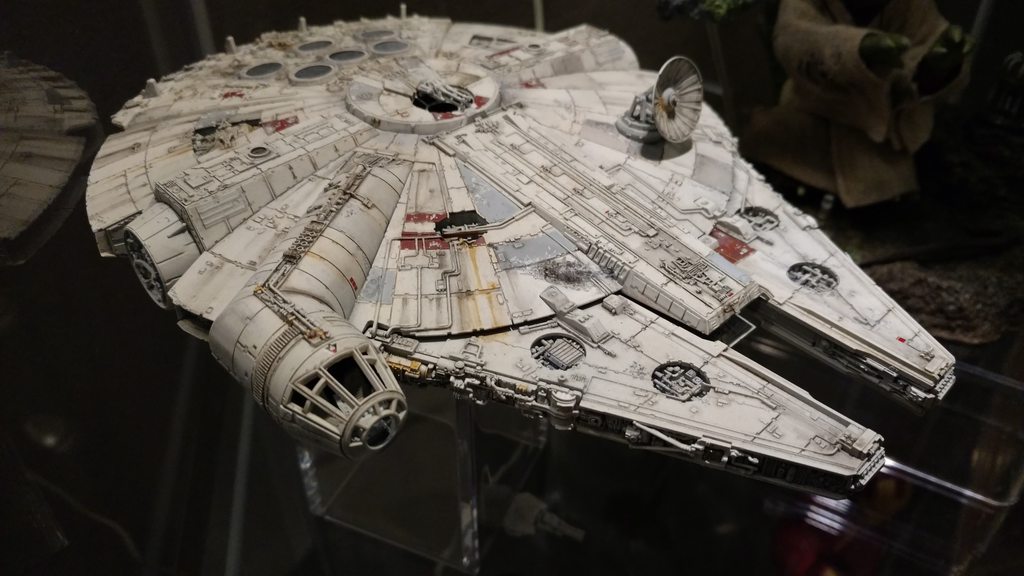
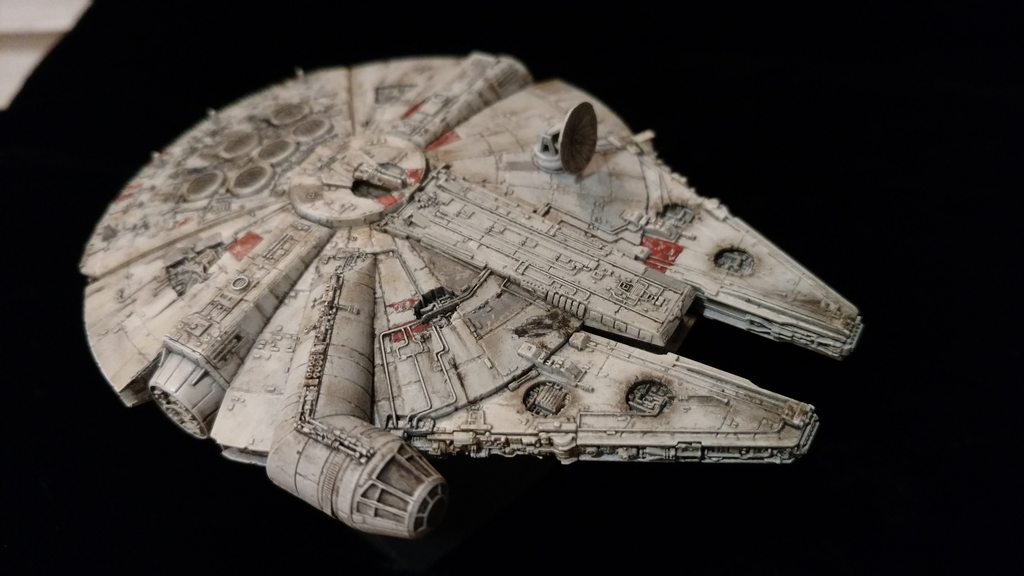
I got a PM asking if I had painted over my finished 1:144. No, that's a spare I'll be using as a color pallet. This is my finished 1:144. It was my trial run