Building/3D printing a figure, and finding out how as i go along :)

Collector Freaks Forum

Help Support Collector Freaks Forum:

This site may earn a commission from merchant affiliate links, including eBay, Amazon, and others.
oh man...that is GREAT!!...sorry to hear about the person not returning your printed figure...that always sucks...but this is looking like it will be a success!!!>...kudos on getting your very own printer....may I ask how much it ran you because the quality already looks 10 times better then what shapeways prints out with their "high" quality crap....anyways....let me know if you still need my assistance...:)
 
Thanks! Getting to the decision to buy the printer was a big step. Some extra bits like more resin and taxes included i think it was just under 4K Euro. May be little less in the US? They (recently?) opened a store in Europe aswell tho, that really helps. The resin itself isnt cheap either although a third party is offering that.
Seems there are also some on the second hand market, i would be carefull with that tho and ask for a print sample you know is made on that printer and lots of photos (from the inside, mirrors etc). Its all pretty delicate.

Print quality is good, certainly better then the standard Shapeways material i used for the body. Shapeways high detail frosted material also gave me less crisp details. Stuff like the teeth or lines under the eyes were not as sharp as they are now. And i'm printing with 0.5 layers and it can go up to 0.025 mm so there's even room for a little more. From what i've read printing at 0.025 mm is more tricky tho and takes even longer to complete. Good for small bits?
Also had my first print failure (although it seems fixable if needed). Perhaps due to not enough internal supports or some bad material or cured resin in the resin tray.

print.jpg


After making adjustments and cleaning up the resin tray it came out good tho :)
 
Time for another update!

Well printing the parts started off great but after a few prints it went wrong. I got failed prints no matter what i tried.
Together with the Tech support from Formlabs it was eventually solved, it was probably a bit of dust or something on one of the small mirrors deep inside close to the laser. Took some time and material unfortunatly but learned alot and the printer is back at creating parts again. These things sure are sensitive, everything has to be right for them to work.
Below a few pictures, in two more prints or so i should have all the parts for the figure again.
Then i can make some adjustments where needed and start on a second (if everything works out ok ofc) :)

igqsy9mh.bmp


Wanted to try and create a version of the head with hair, didnt really realise how tiny it is until it got out.

WP_20141205_006.jpg
 
Hello,

Time to revive this thread. Been idle for way too long already!
Well sofar i havent been very lucky getting this figure painted. First a local printer didnt do a real good job on it and now the painter i found here unfortunatly didnt get around to it either in the last half year. Hope to atleast get my figure back soon tho.
Anyway i kept quiet while waiting for my prototype to get painted and got a bit disapointed by it all but in the end i like it too much to quit and decided to focus more on the stuff i can do myself and try and improve on that.
So after some research i went back to a 3D home printer i had read about before some time ago.
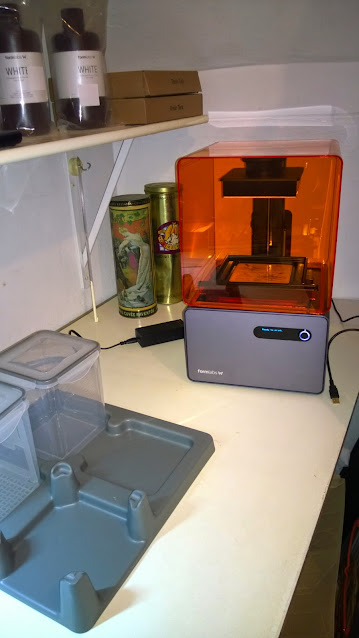
Ordered a printed sample and after some questions and testing their software i decided to buy and try their printer, the form1+ from formlabs.
I picked this printer because its an SL type printer that should be able to deliver the detail i think is required.
It arrived today and i'll start playing with it printing this figure. See how it goes and good or bad ill post the results here :)

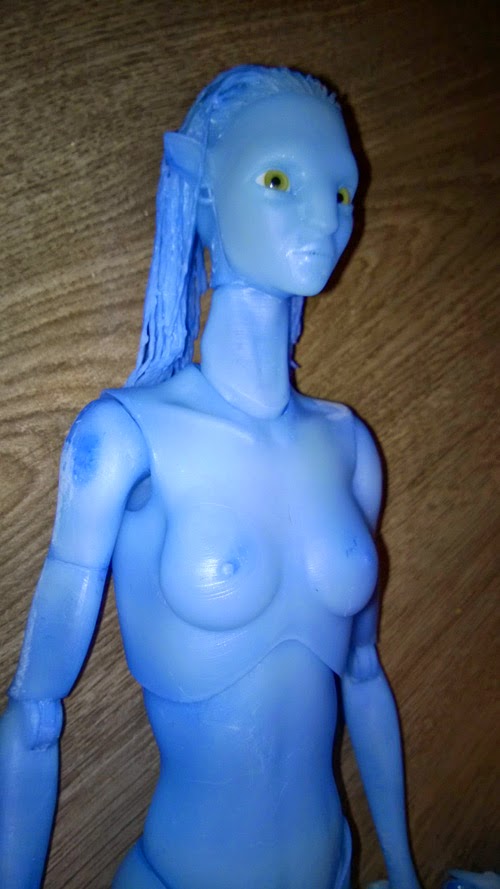
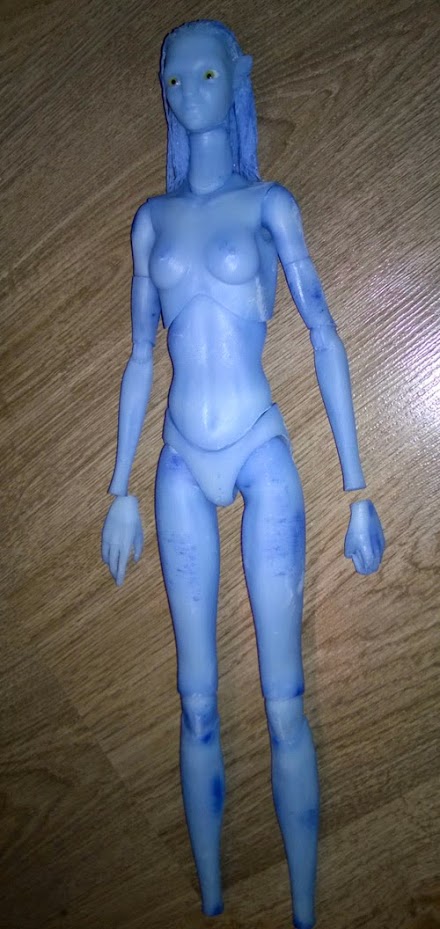
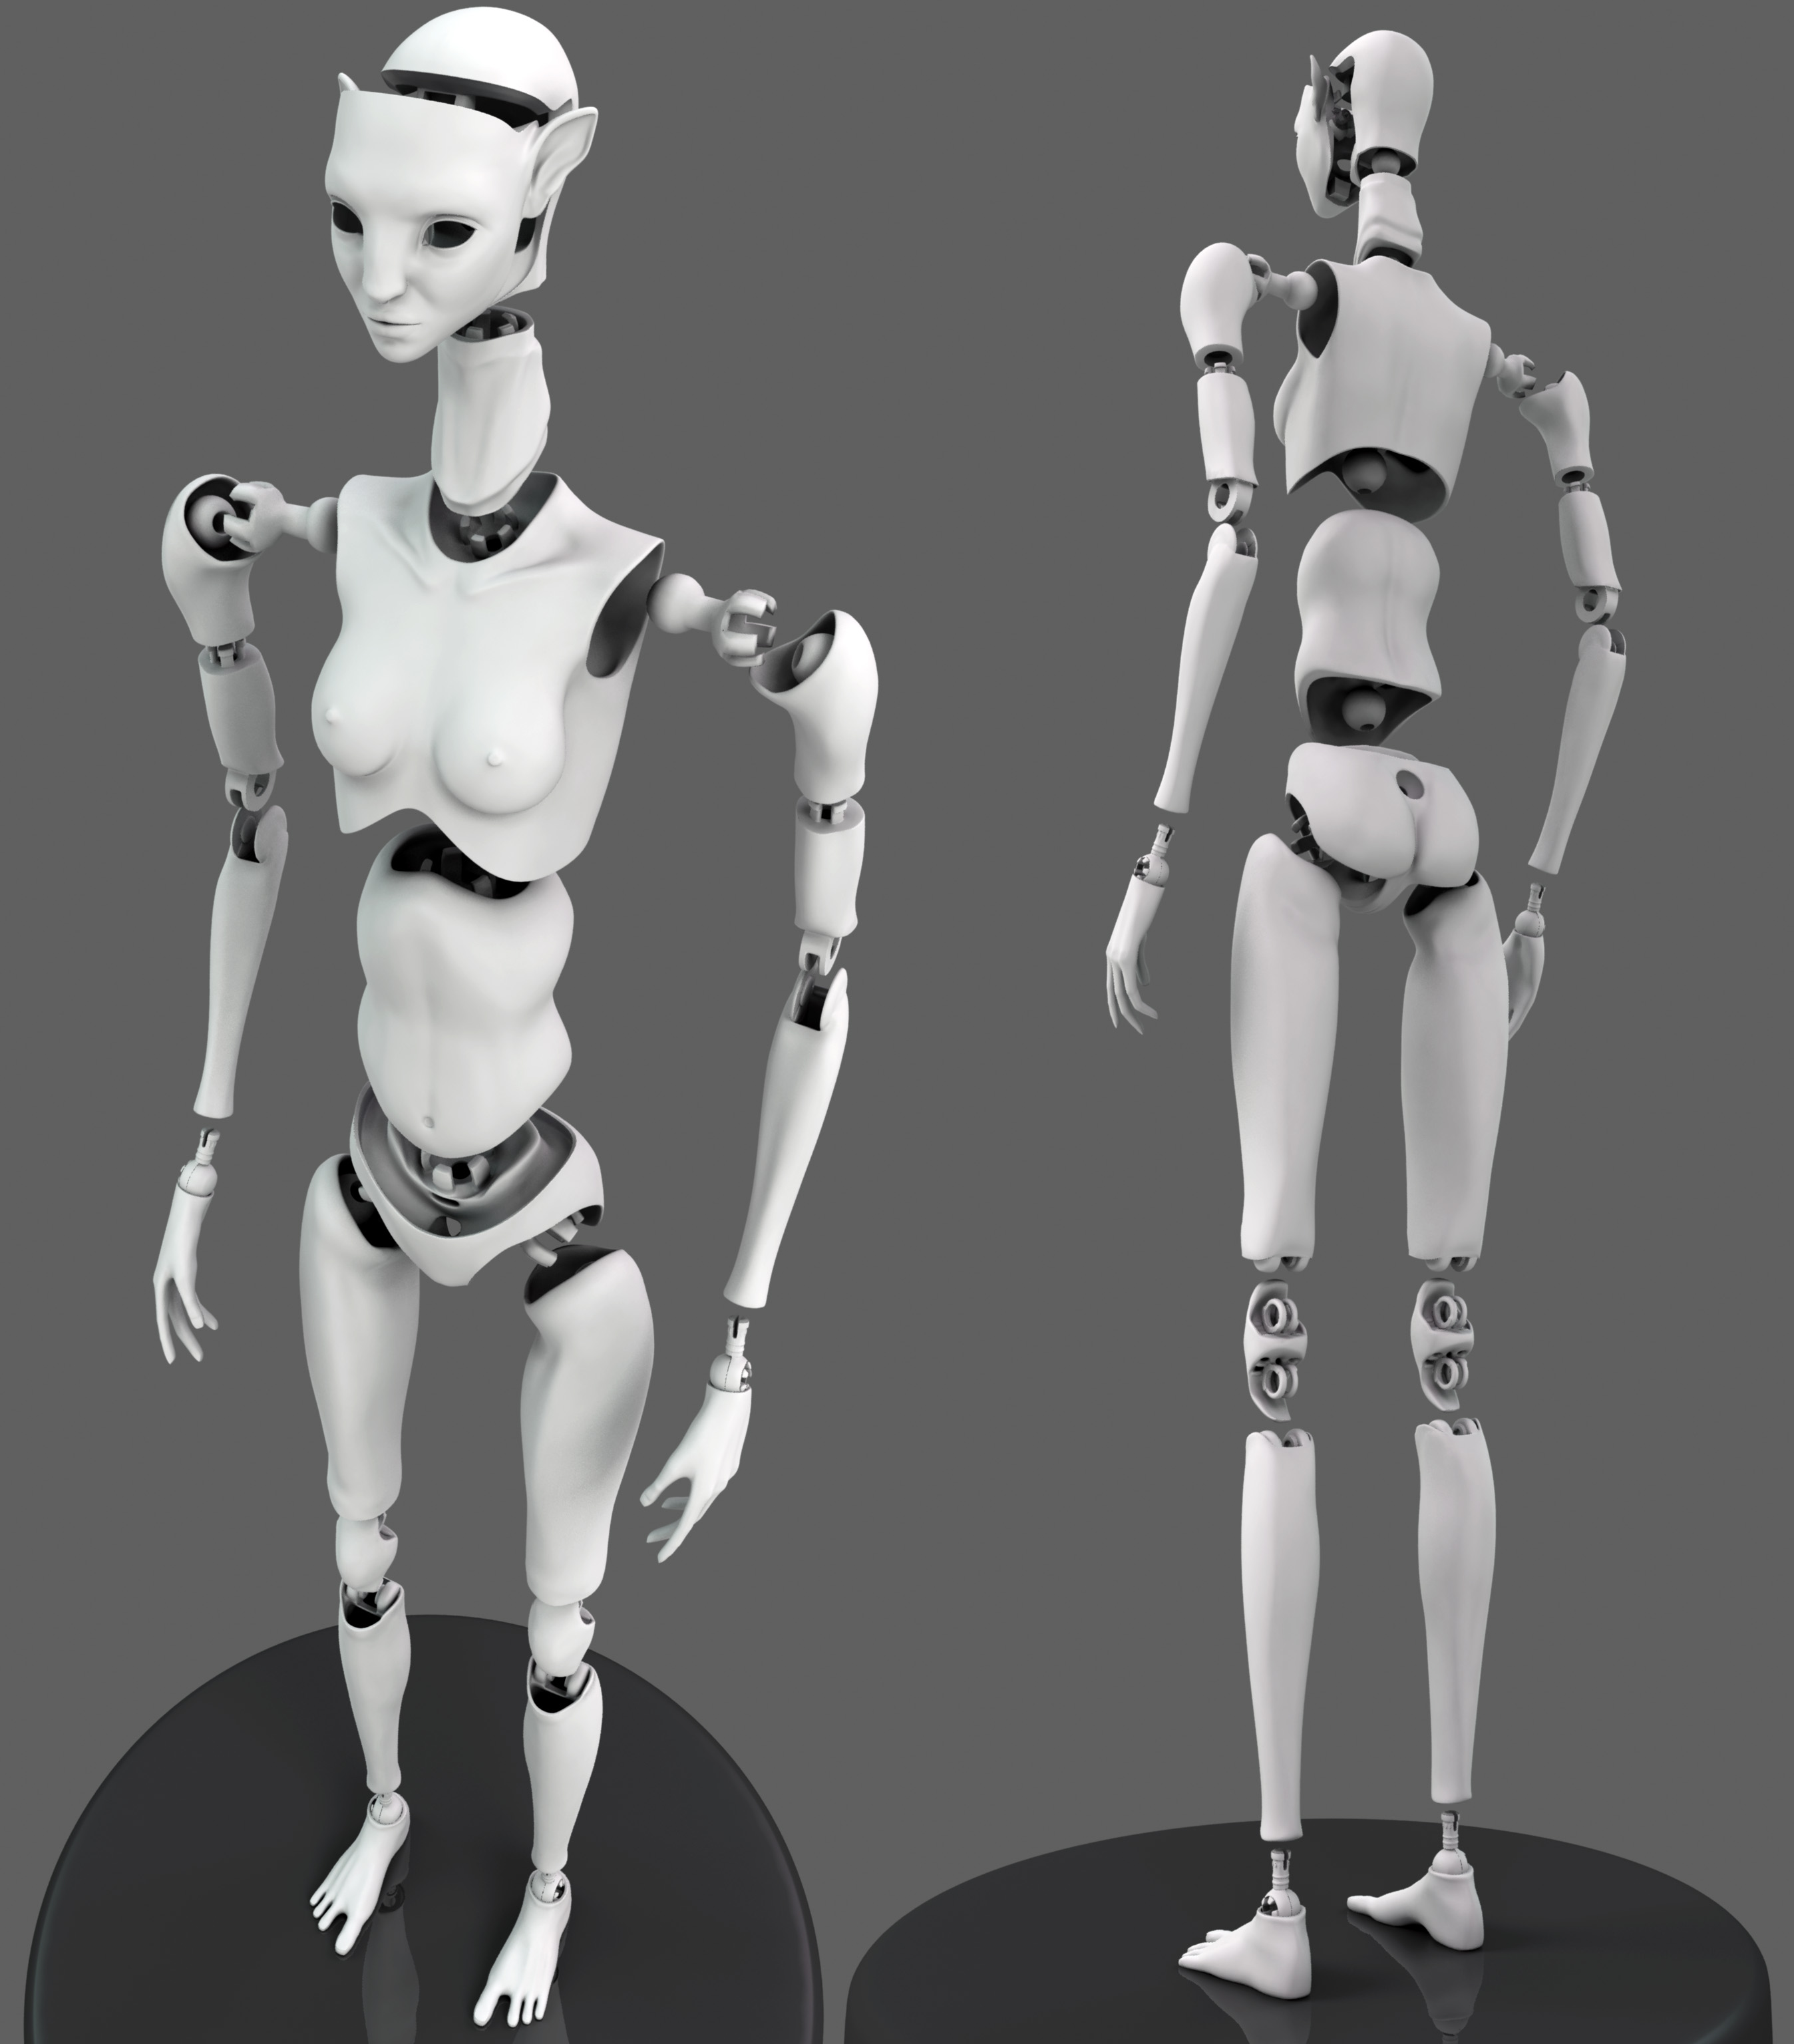
The figure already has several changes and i plan to add some more (should be able to add more detail).
Will try a head with hair (still not sure about using real or sculpted hair) and looking into more accesoires.

Setting up the printer:
WP_20141120_010.jpg


Latest version of the figure:


Edwin

Oh man, you did it!!! congratulation!! form1+ is definitely a good choice!~
 
Just curious, how much resin does it take to print the entire figure? More than a liter?

I'm not sure but i guess it will be little over a liter. Guessing half of that gets into the base and supports of all the parts so optimising that will really help. Been too generous with adding supports just to get good prints. Starting to cut back on those, if done right it saves alot of resin and gives a better looking print.
 
This is the first figure out of the Formlabs printer assembled. It was originally in white, the blue color is because i tried dying the parts in a mix of Isopropanol and Rit dye (since hot water isnt an option). Reason for this is to have a light blue color where the joints are because that might be too hard to paint/will wear off. The lighter spots are from sanding, the darker from the rit dye particles that didnt dissolve in the Isopropanol. The layers are visible aswell but so fine you cant feel them.
The elbow and ankle joints are missing, they were so tight to fit i rather print them again but a little smaller to be safe. All joints work but not all are as good as i would like. The different faces also didnt fit as good. After some sanding its not perfect but ok. So the tolerances seem different from the Shapeways prints. Cant say its because of this printer, my post printing work on the parts or that Shapeways was just off to begin with (dont think that).
Will fix this figure up a little and make some adjustments for a second figure. The material is different from Shapeways aswell, at the moment it actually seems more flexible and i think its a bit less strong.

Pretty happy the printer was able to print everything and assembly went fine :D

WP_20141213_015.jpg


WP_20141213_006.jpg
 
Haha thanks Levit!

Well another update, after showing the figure around and moving and posing it the joints got pretty loose. They all sit fine in the sockets but getting the figure to stand is really hard, posing it even harder. So thats no good! Maybe its because this material needs to cure a bit in UV light or its just different then the Shapeways material (less strong/more flexible). I'm not sure yet. Instead of tweaking the joints again, trying the socket to grip the balljoint differently i now have more room in material thickness and detail level to try things another way. Denny Kim had pointed out ball jointed dolls some time ago so now that i had the extra room (going smaller) i decided to hollow everything out and add strings.
Body just finished printing now i just have to wait till the strings arrive before i can start assembly :(
Might check on my parents to see if my mom has any :p

Below an open view of the figure. Strings can go from the neck to the hip, lower leg to the hips and lower arm to torso. I can use a long single string or one per arm/leg/etc. See what works best (made little beams to hook the strings on). The wrist and ankle joints are the usual joints, those work fine and this way switching hands is still easy. Hopefully this will improve the joints and the posing of the figure, cant wait to try!

joints_figure_updated_by_fierox-d8aooam.jpg
 
Thx!
Got some accessoires printed and cleaned up today. Her knife, sheath and the ceremonial bow.
The bow is huge, i added a pen to get an idea of the size. Its almost as tall as the Jake figure from Hot Toys.
Not sure how big the bow is supposed to be exactly but i think i'm pretty close. Really happy how the bow turned out. Its made out of 4 parts (it wouldnt fit the printer in one go). Each part has a small point that slides into the next part and a bit of glue should do the rest. Made a picture of the testfit, its not glued yet.

bow%2Bn%2Bknife.jpg
 
Back
Top