Pro Design
Super Freak
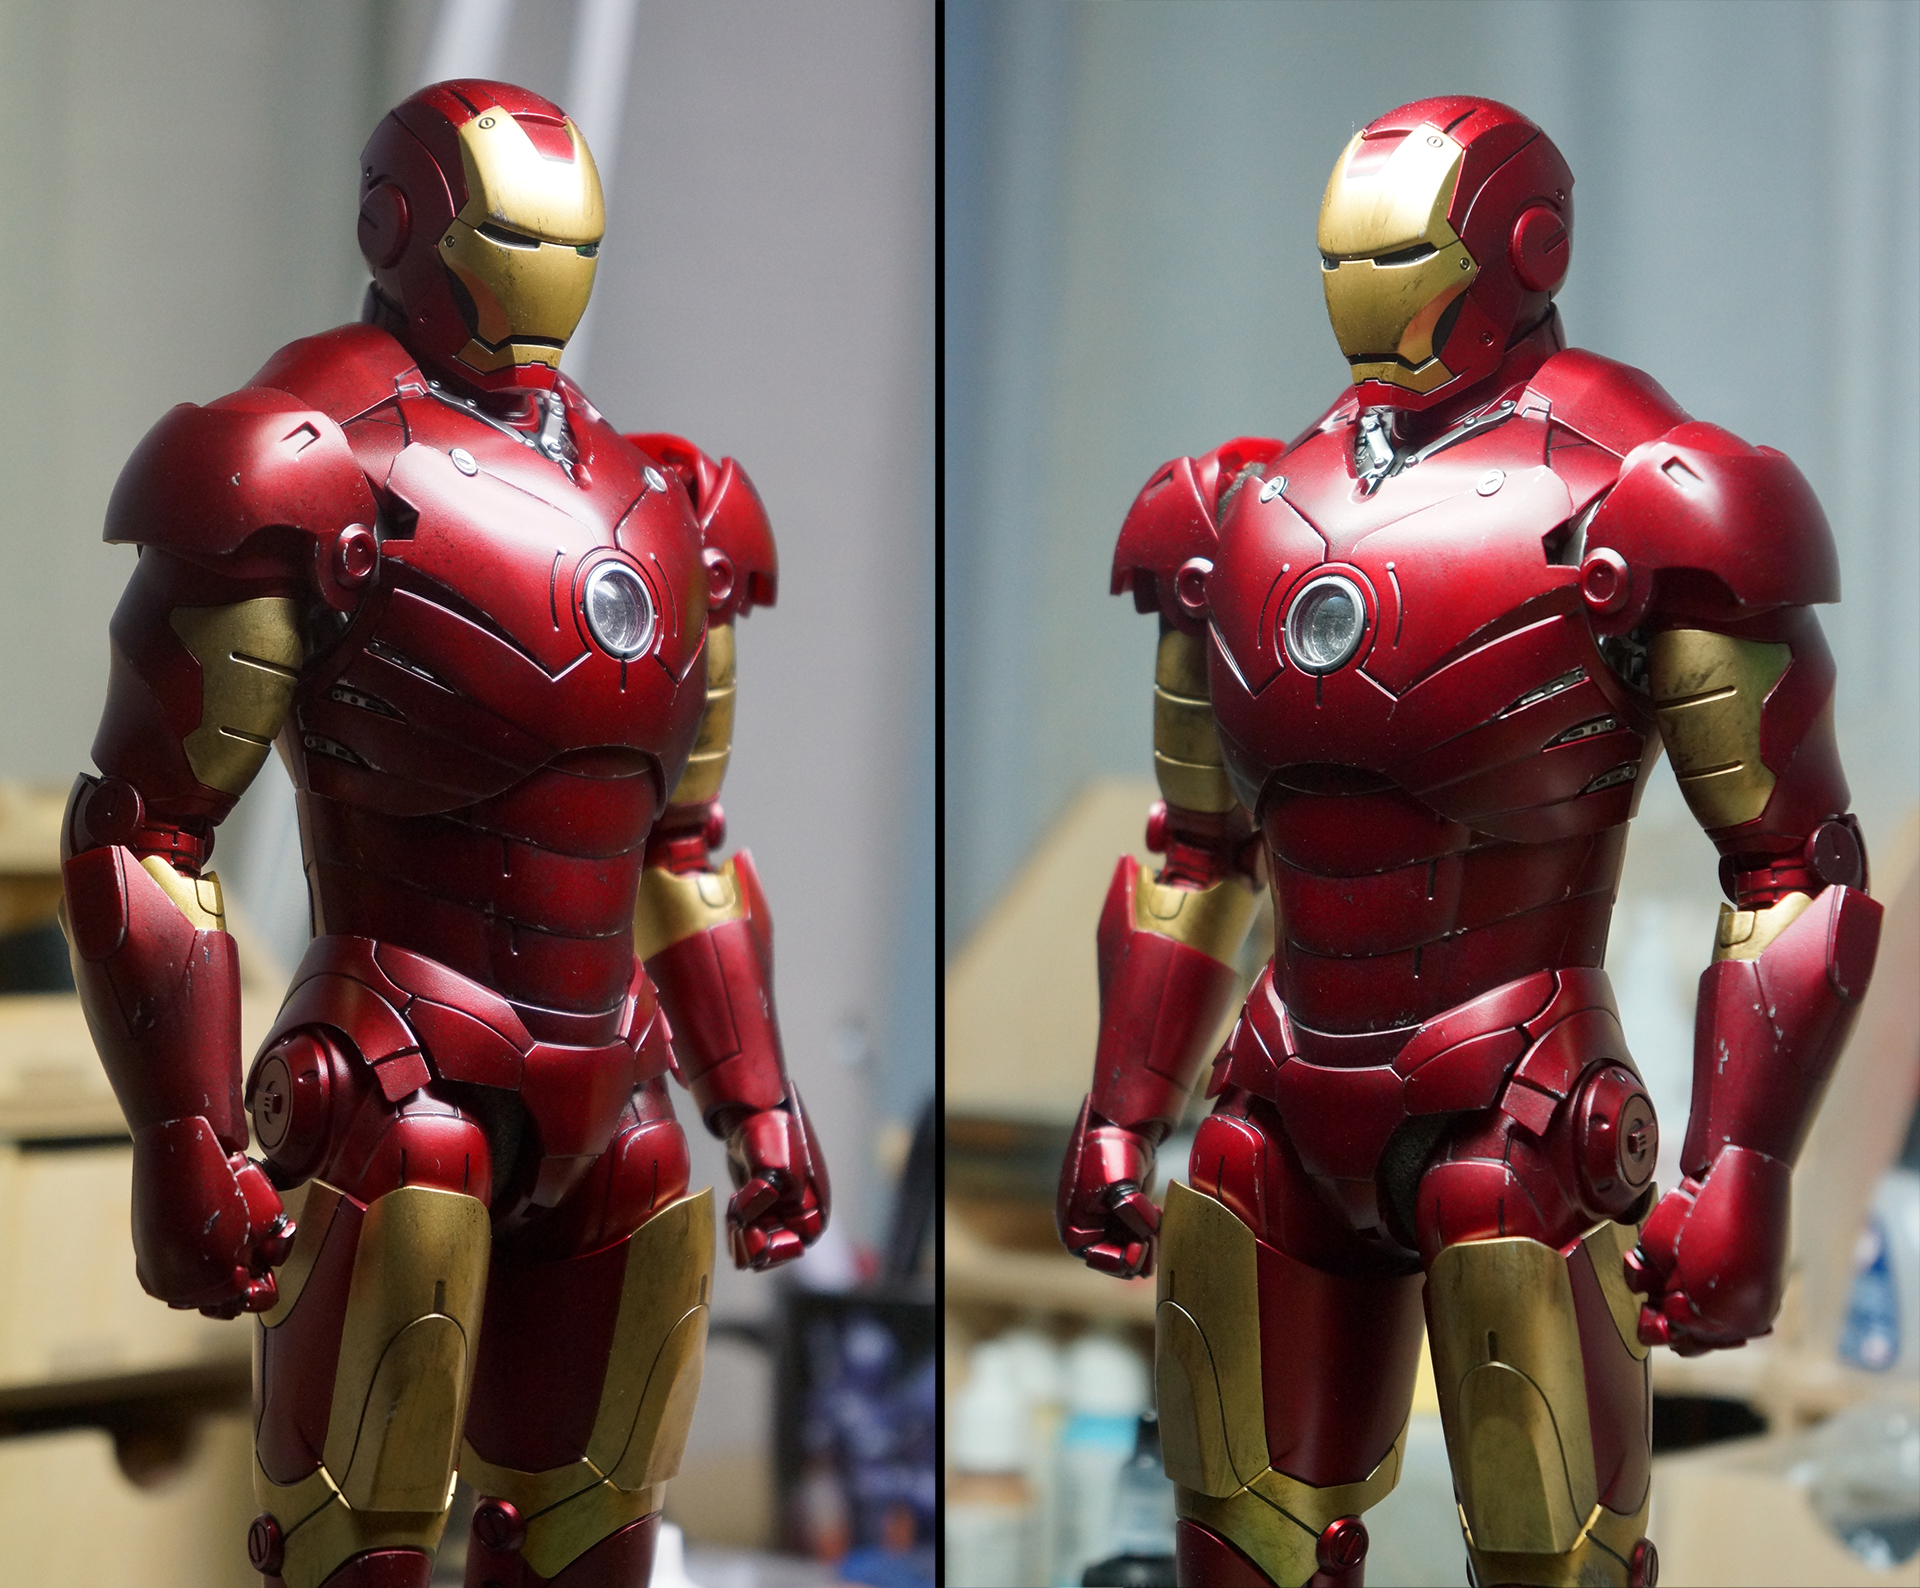
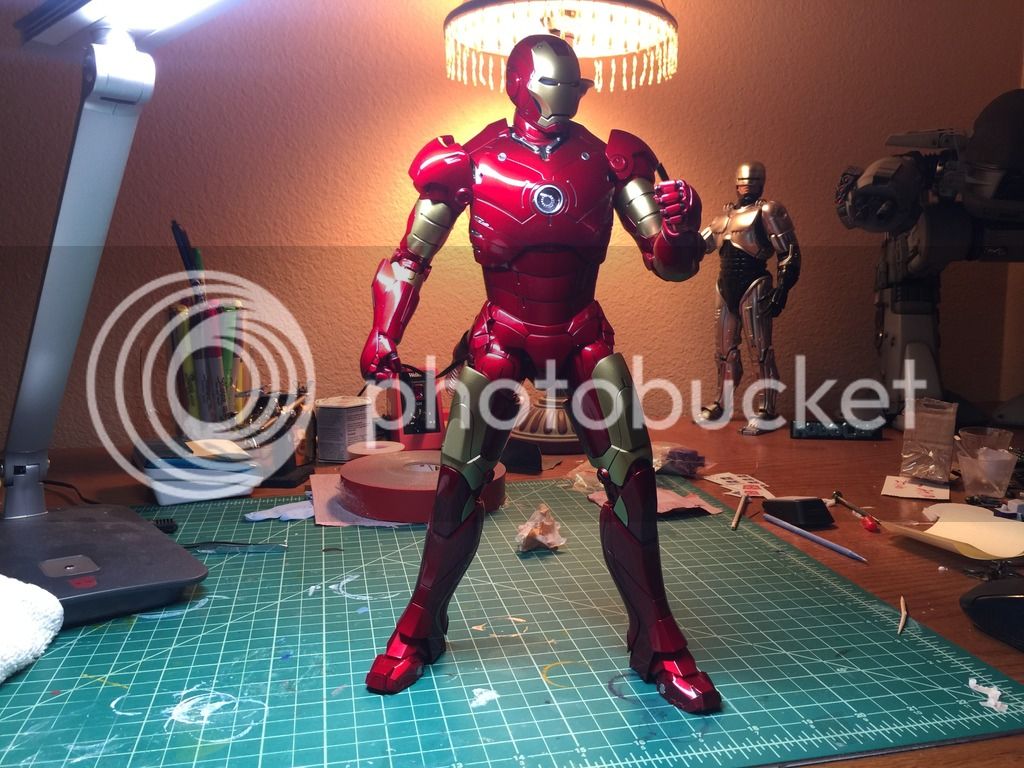
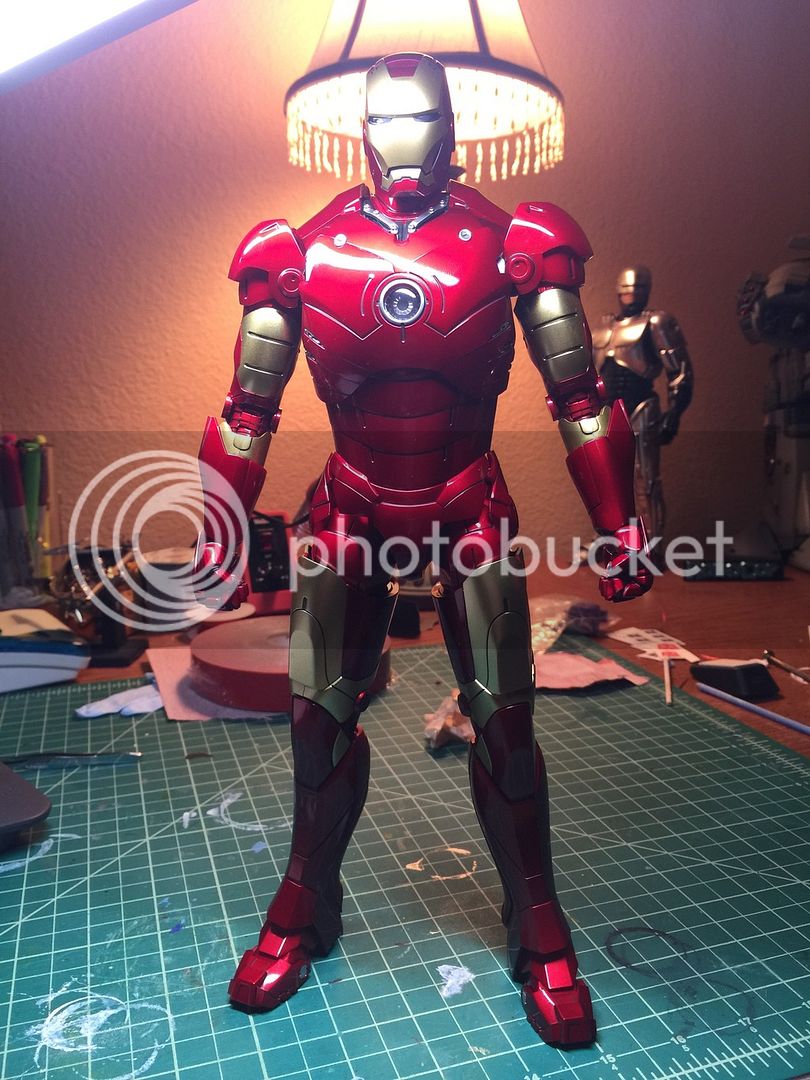
OK so I couldn't stand the way my new MK3 looked w/ no ankle tilt...
Decided to mod it. I was worried about taking it apart, but honestly, it's a few screws and a little cutting. Nothing outrageous or earth shattering difficult. It was just getting over the fear factor, but again, all it entails is undoing a few panels and a few screws... the most "nerve racking part" was the cutting... but it's all buried inside the leg parts and you'll never see it unless you take everything apart... and the result is 100000 times worth it!
So here's a quick walk thru of what I did w/ some pics... I took a ton of pics w/ the walk thru so just be aware there is a bunch!!
I did one side at a time, to keep track.
Just take your time and don't force anything... should be a piece of cake!
Enjoy!!
Lay down a towel to start...
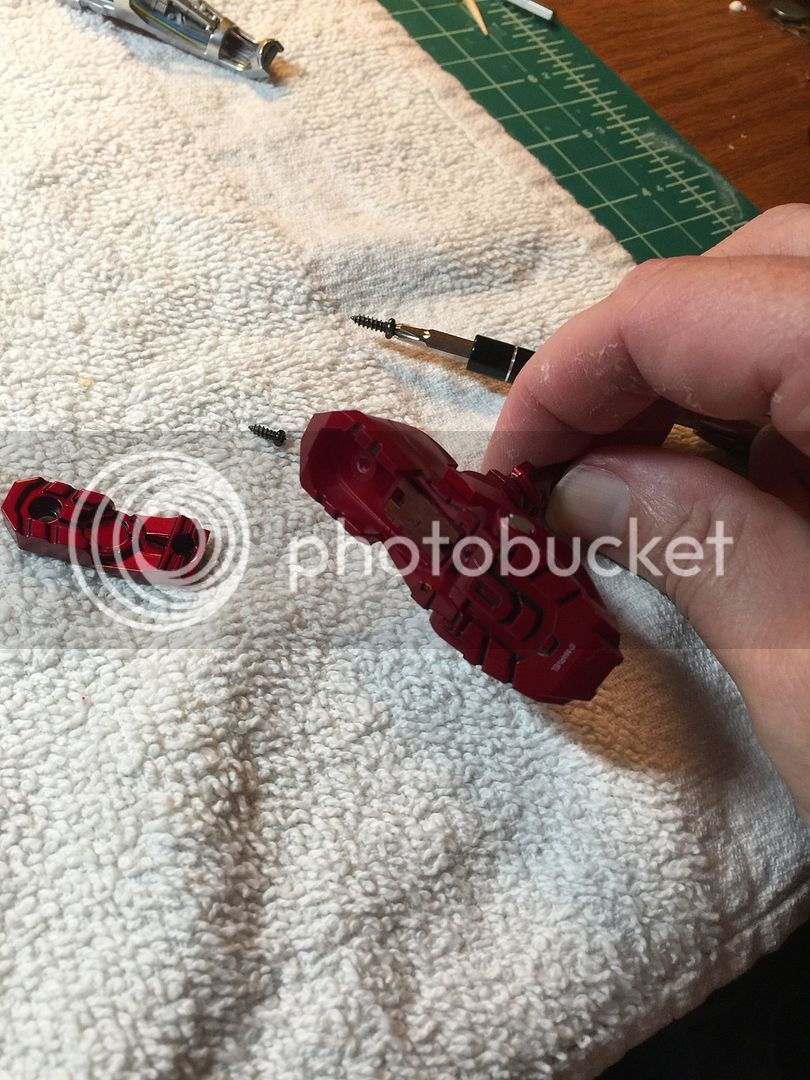
First take off this panel... it just pulls off with wiggling it off the 2 prongs
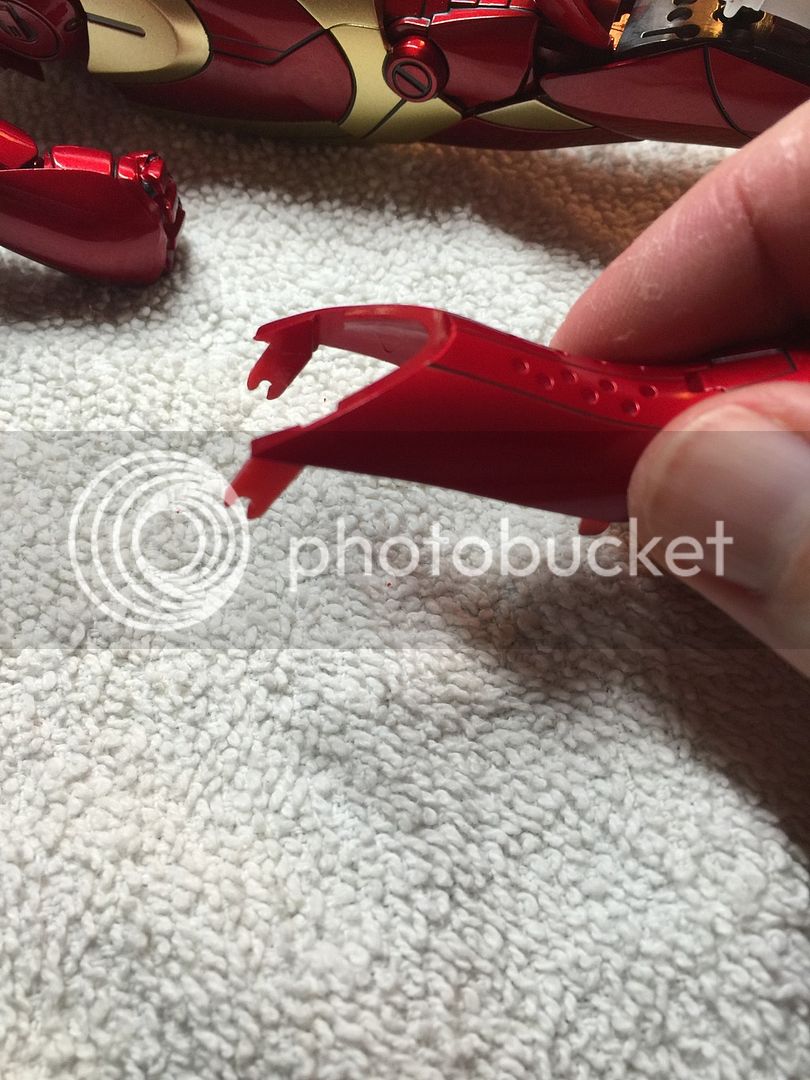
Next pull this panel off w/ your index finger from the top as in this pic... its on tight but will pop off. theres a big square tab on the bottom holding it to the leg
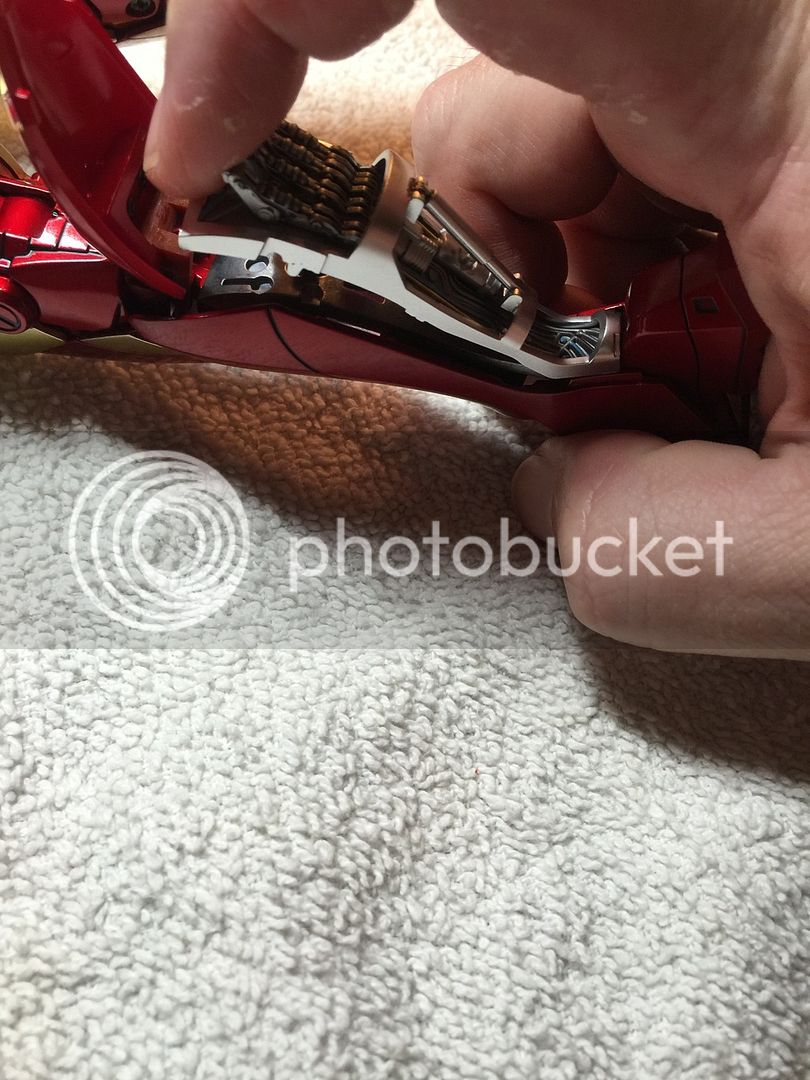
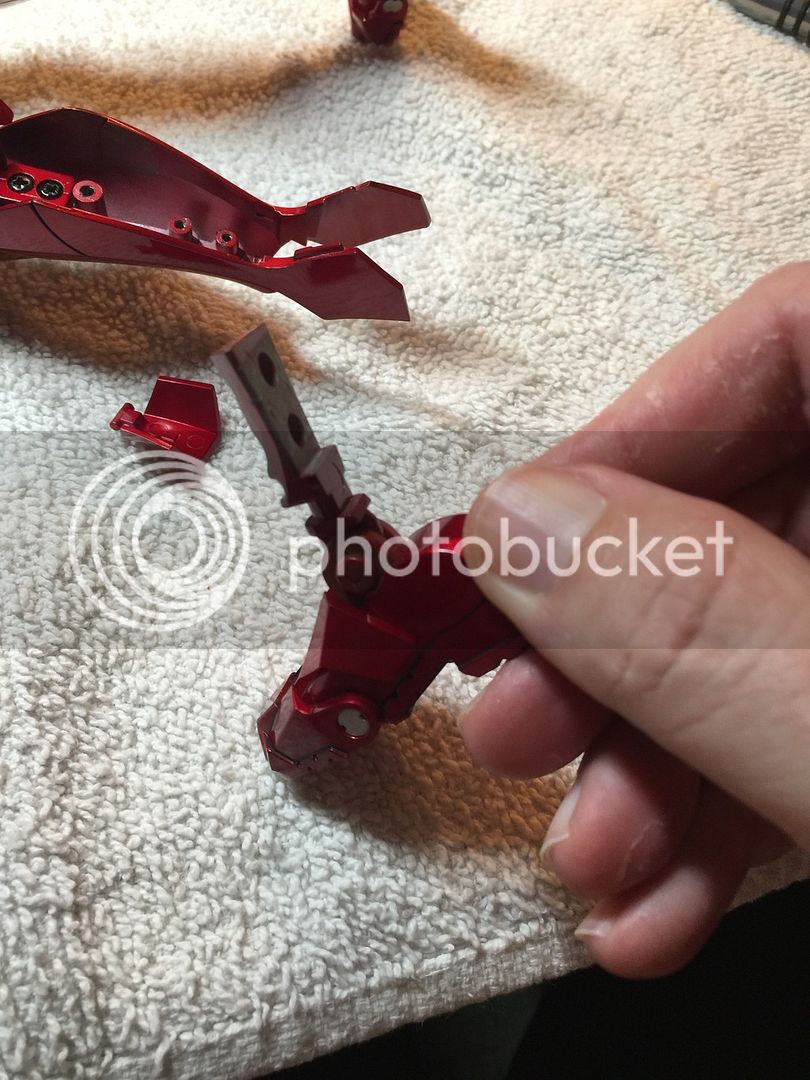
Undo these 3 screws and diecast plate will come off releasing the foot.
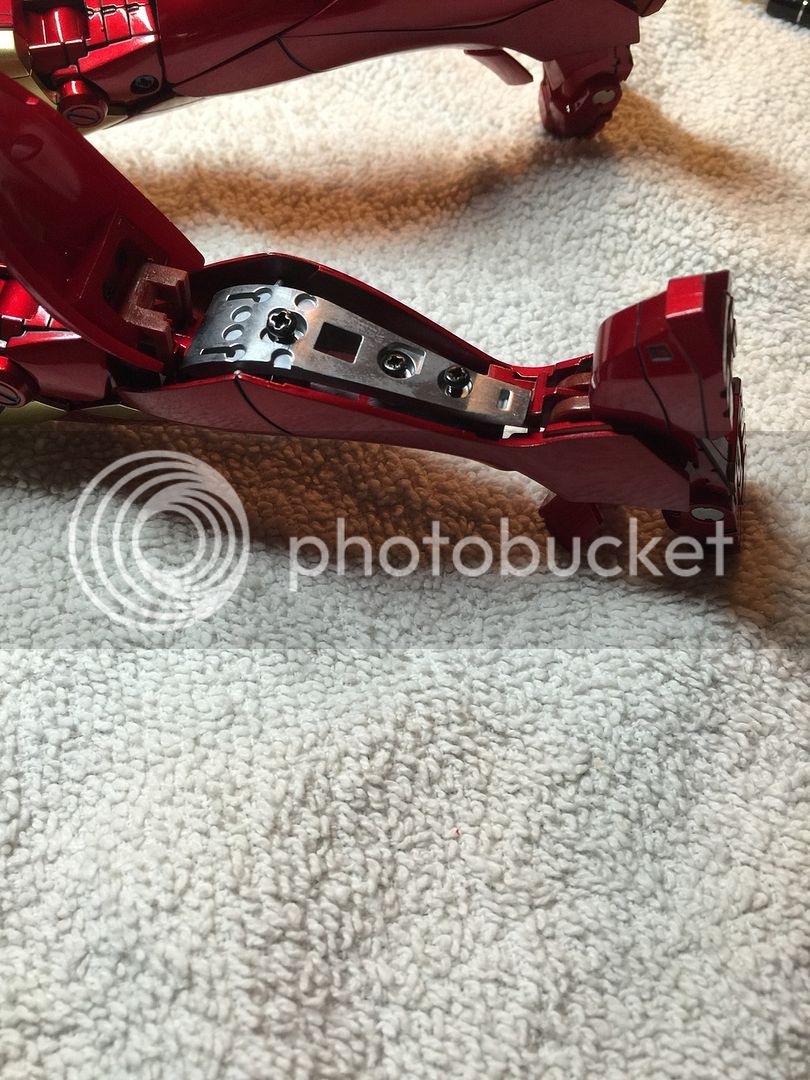
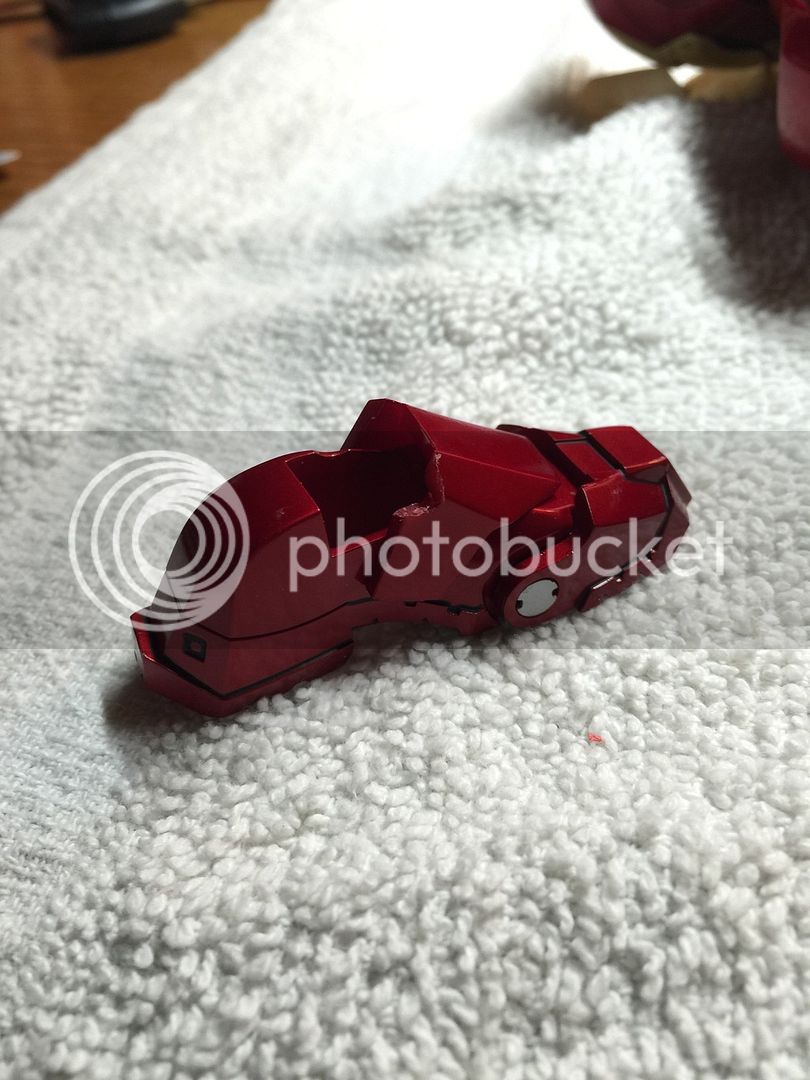
Foot comes free and you'll see the front foot cover now comes off. It just sits between the leg and that panel you took off.
Undo that screw... then that plate comes off. A little plastic tab will come off the other side that the screw goes into.
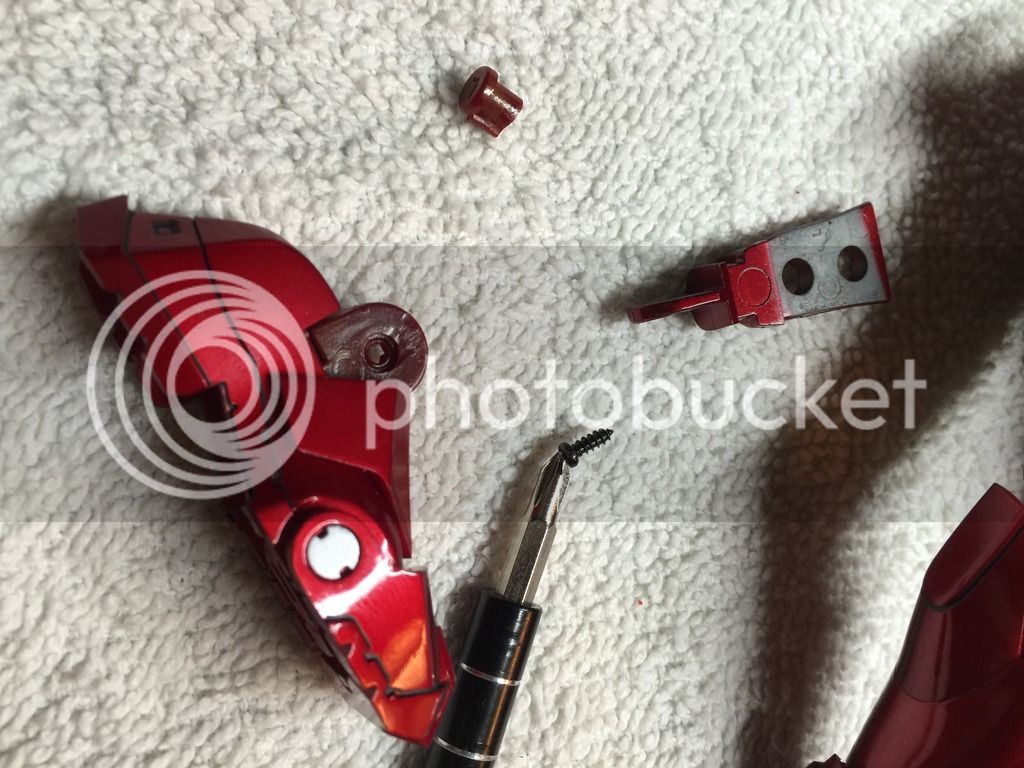
Undo the 2 screws on the bottom of the foot. Panel on bottom of foot comes off
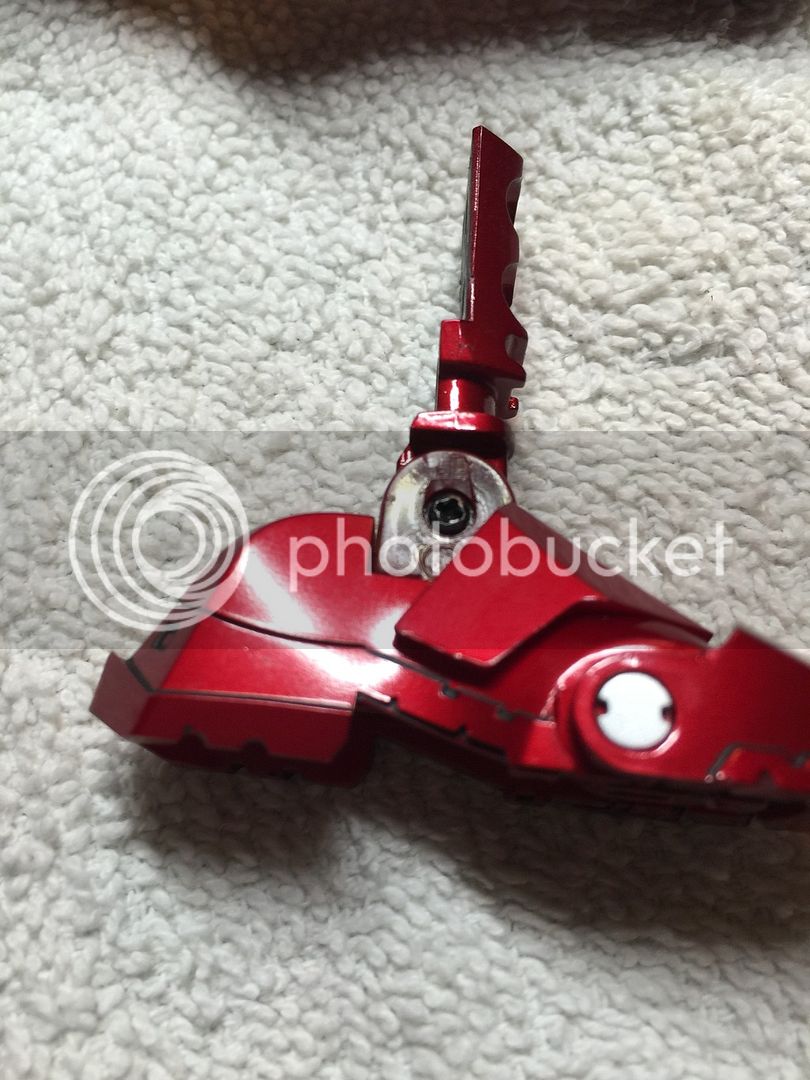
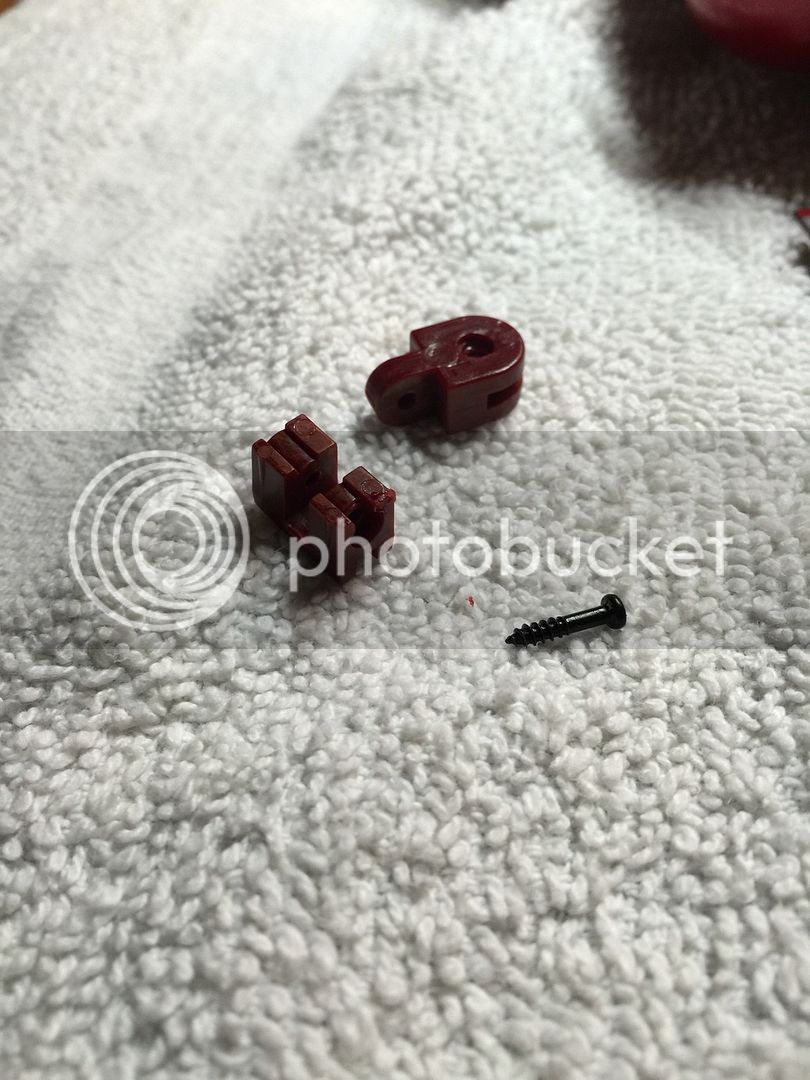
Now ankle joint slides out bottom

Undo screw
Now comes the fun part... nerve racking, but honestly nothing to it!
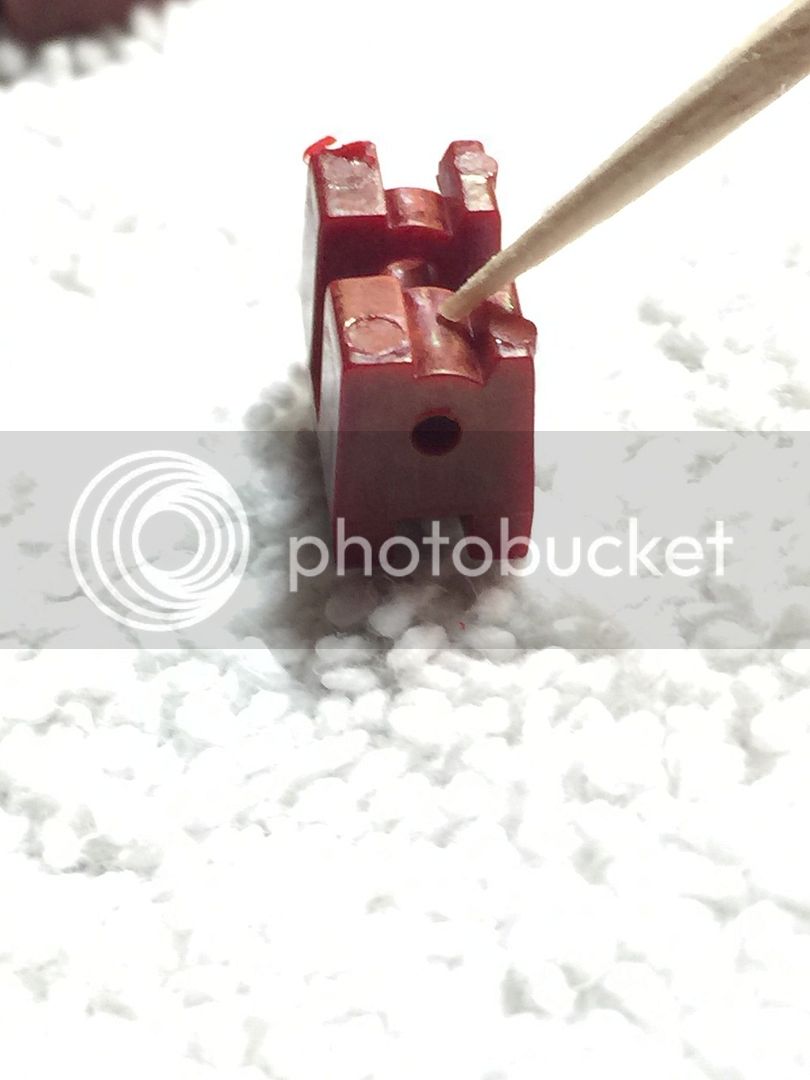
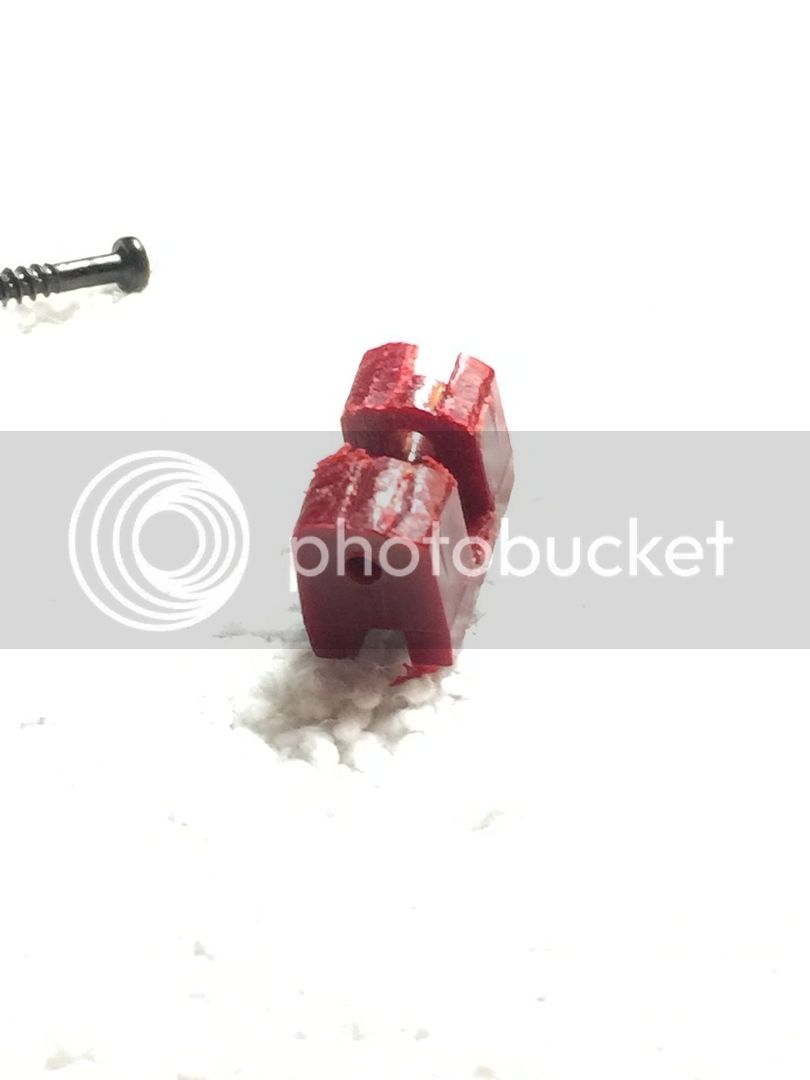
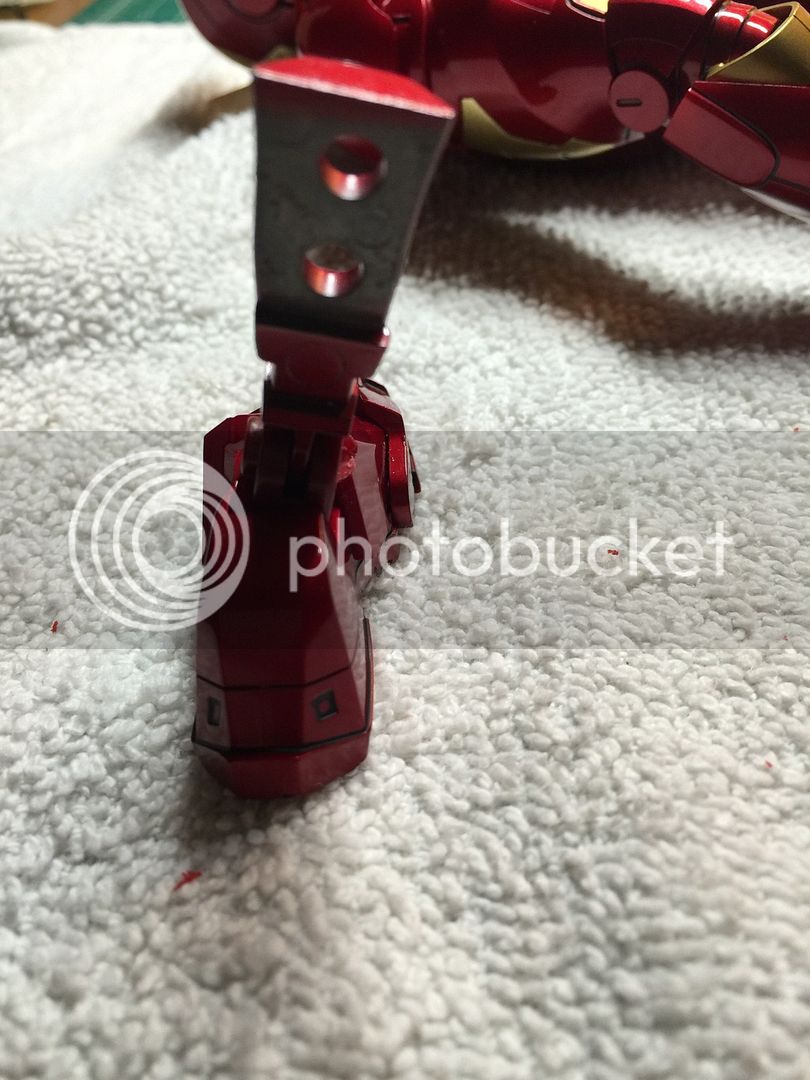
You need to use a file or dremel and sand down both sides of the tab so it is flush with surface I'm pointing to. Like this:
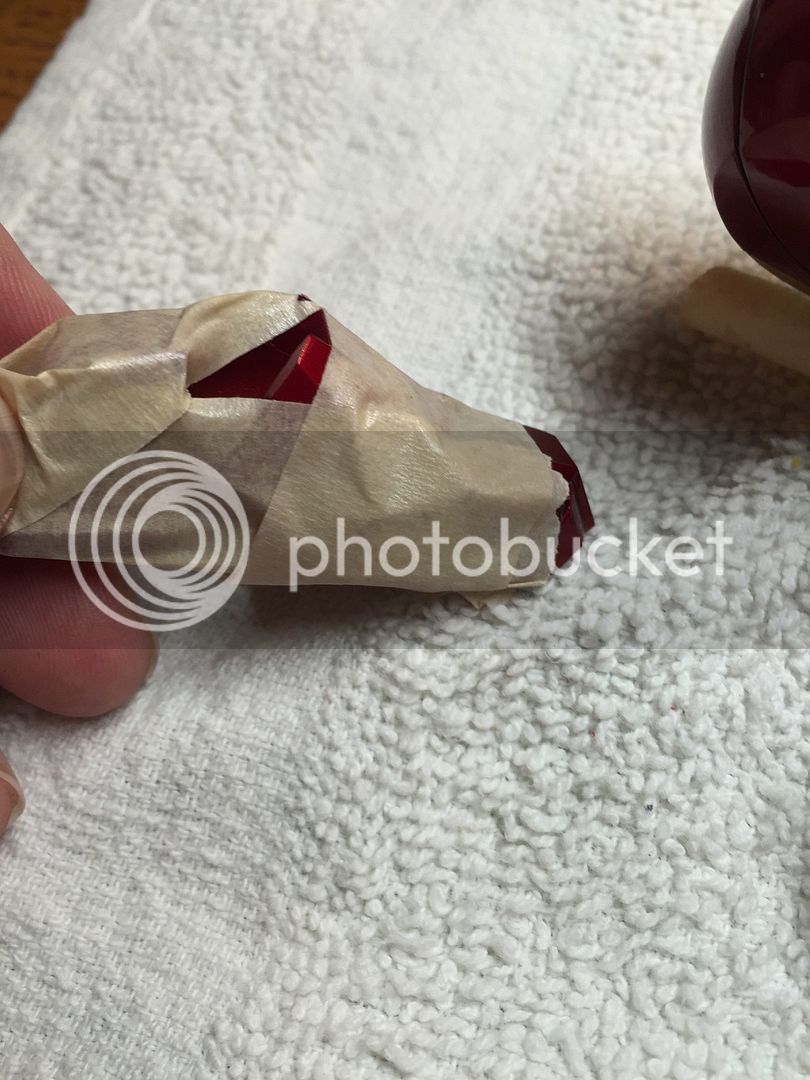
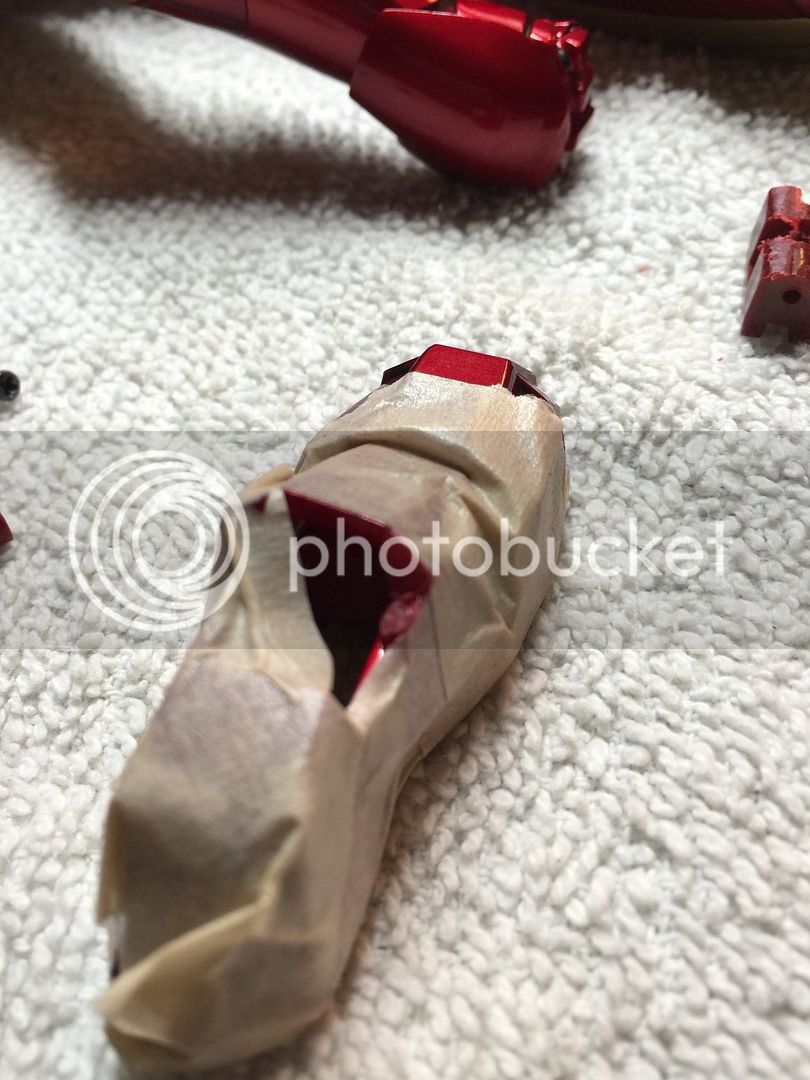
Tape the foot w/ some masking tape for a line as in this pic. You are going to file down that corner that is not taped
After that, you are basically done...
Just go in reverse and start putting it all back together! Very easy and won't take you more than 15 min if you take your time.
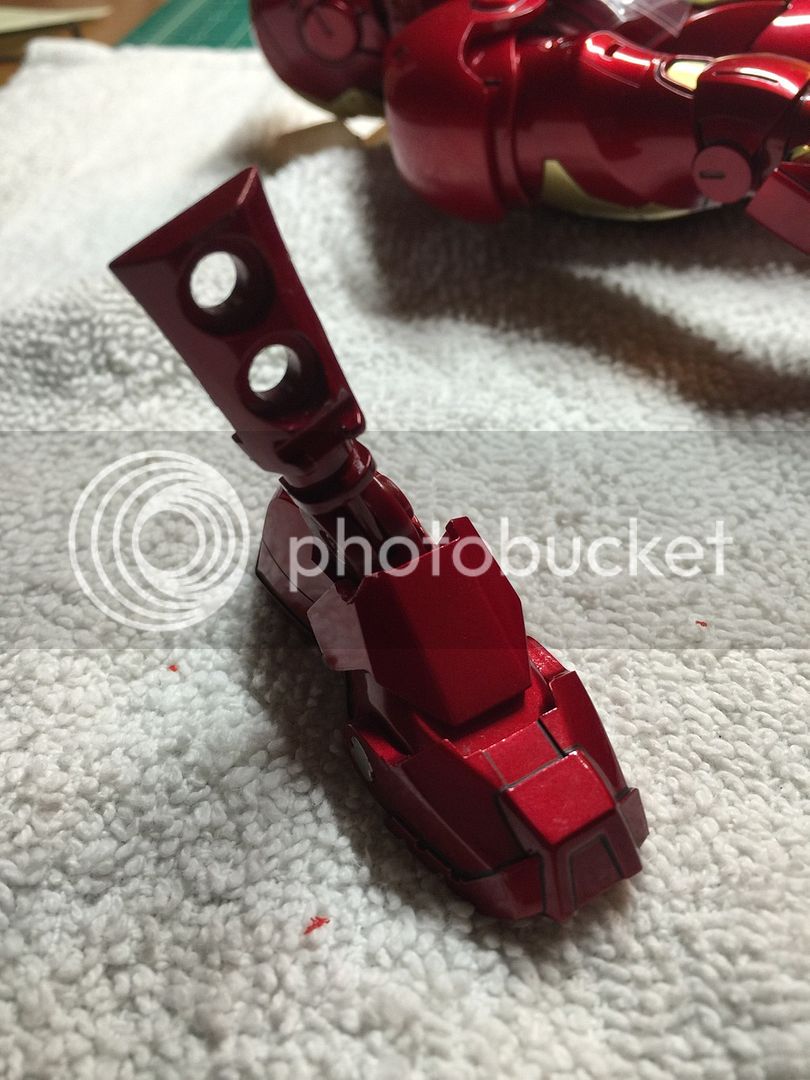
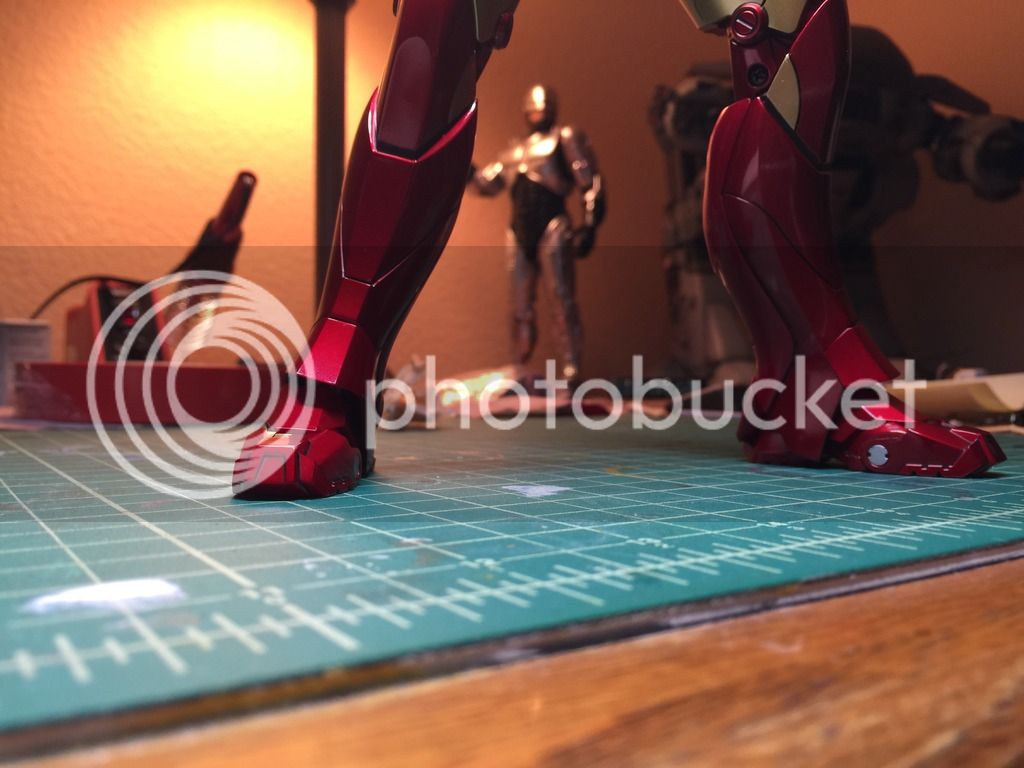
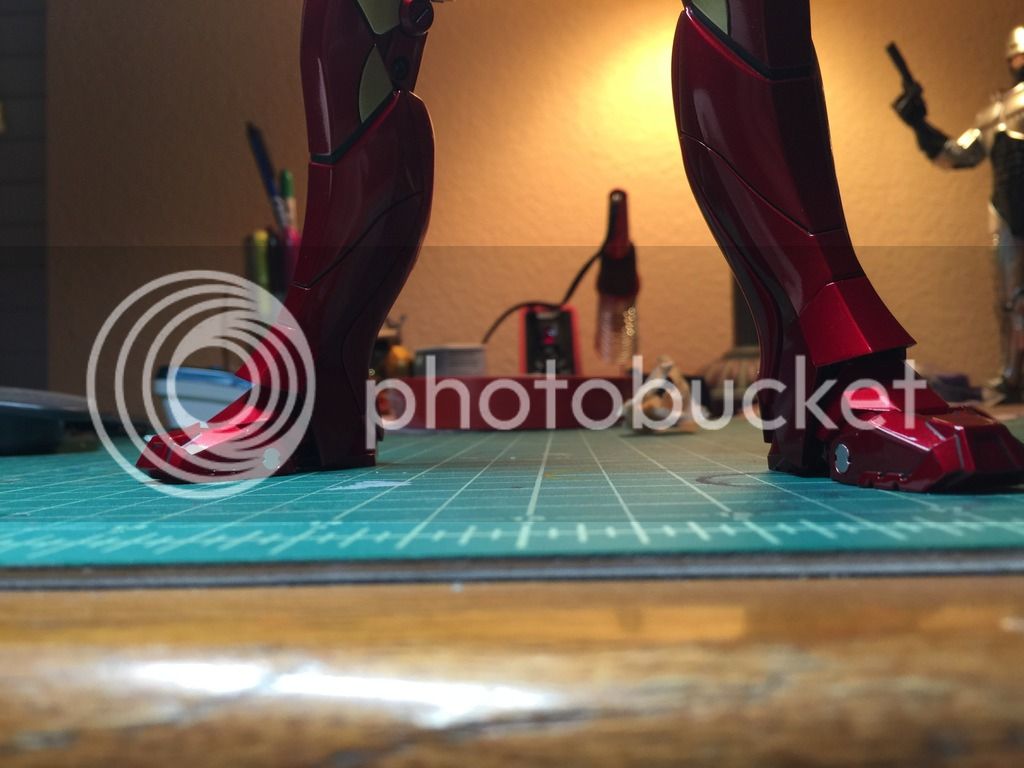
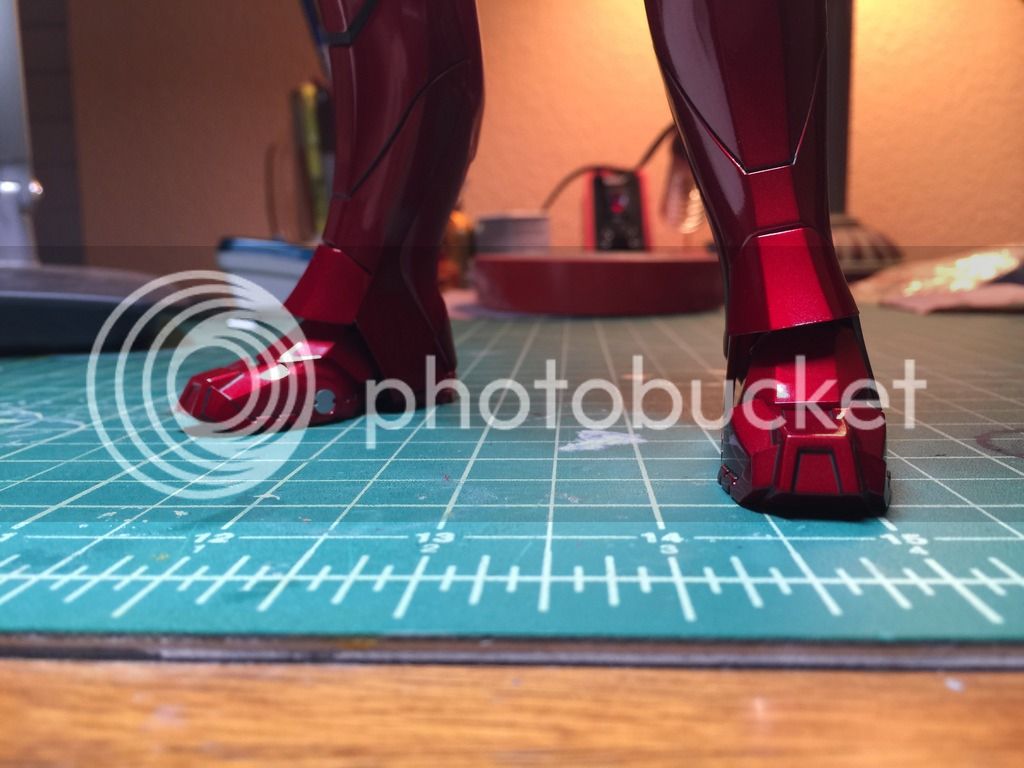
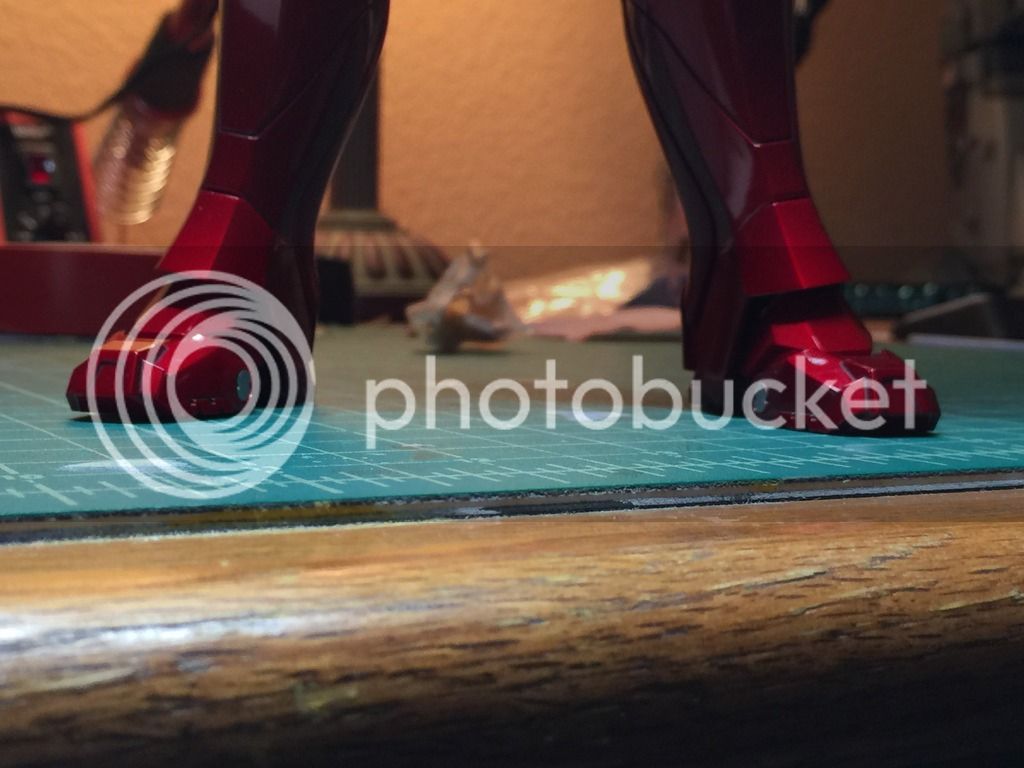
By smoothing out the tabs off the ankle joint and trimming the corner off the foot... you now have ankle tilt!!
And the final result!
As you can see.. all work done to the parts is buried and you'll never know or see any of the cut parts.
Decided to mod it. I was worried about taking it apart, but honestly, it's a few screws and a little cutting. Nothing outrageous or earth shattering difficult. It was just getting over the fear factor, but again, all it entails is undoing a few panels and a few screws... the most "nerve racking part" was the cutting... but it's all buried inside the leg parts and you'll never see it unless you take everything apart... and the result is 100000 times worth it!
So here's a quick walk thru of what I did w/ some pics... I took a ton of pics w/ the walk thru so just be aware there is a bunch!!
I did one side at a time, to keep track.
Just take your time and don't force anything... should be a piece of cake!
Enjoy!!
Lay down a towel to start...
First take off this panel... it just pulls off with wiggling it off the 2 prongs

Next pull this panel off w/ your index finger from the top as in this pic... its on tight but will pop off. theres a big square tab on the bottom holding it to the leg

Undo these 3 screws and diecast plate will come off releasing the foot.

Foot comes free and you'll see the front foot cover now comes off. It just sits between the leg and that panel you took off.

Undo that screw... then that plate comes off. A little plastic tab will come off the other side that the screw goes into.


Undo the 2 screws on the bottom of the foot. Panel on bottom of foot comes off

Now ankle joint slides out bottom

Undo screw

Now comes the fun part... nerve racking, but honestly nothing to it!
You need to use a file or dremel and sand down both sides of the tab so it is flush with surface I'm pointing to. Like this:


Tape the foot w/ some masking tape for a line as in this pic. You are going to file down that corner that is not taped


After that, you are basically done...
Just go in reverse and start putting it all back together! Very easy and won't take you more than 15 min if you take your time.
By smoothing out the tabs off the ankle joint and trimming the corner off the foot... you now have ankle tilt!!


And the final result!

As you can see.. all work done to the parts is buried and you'll never know or see any of the cut parts.


Last edited:
 (insert the gif of the theater clapping scene)

")