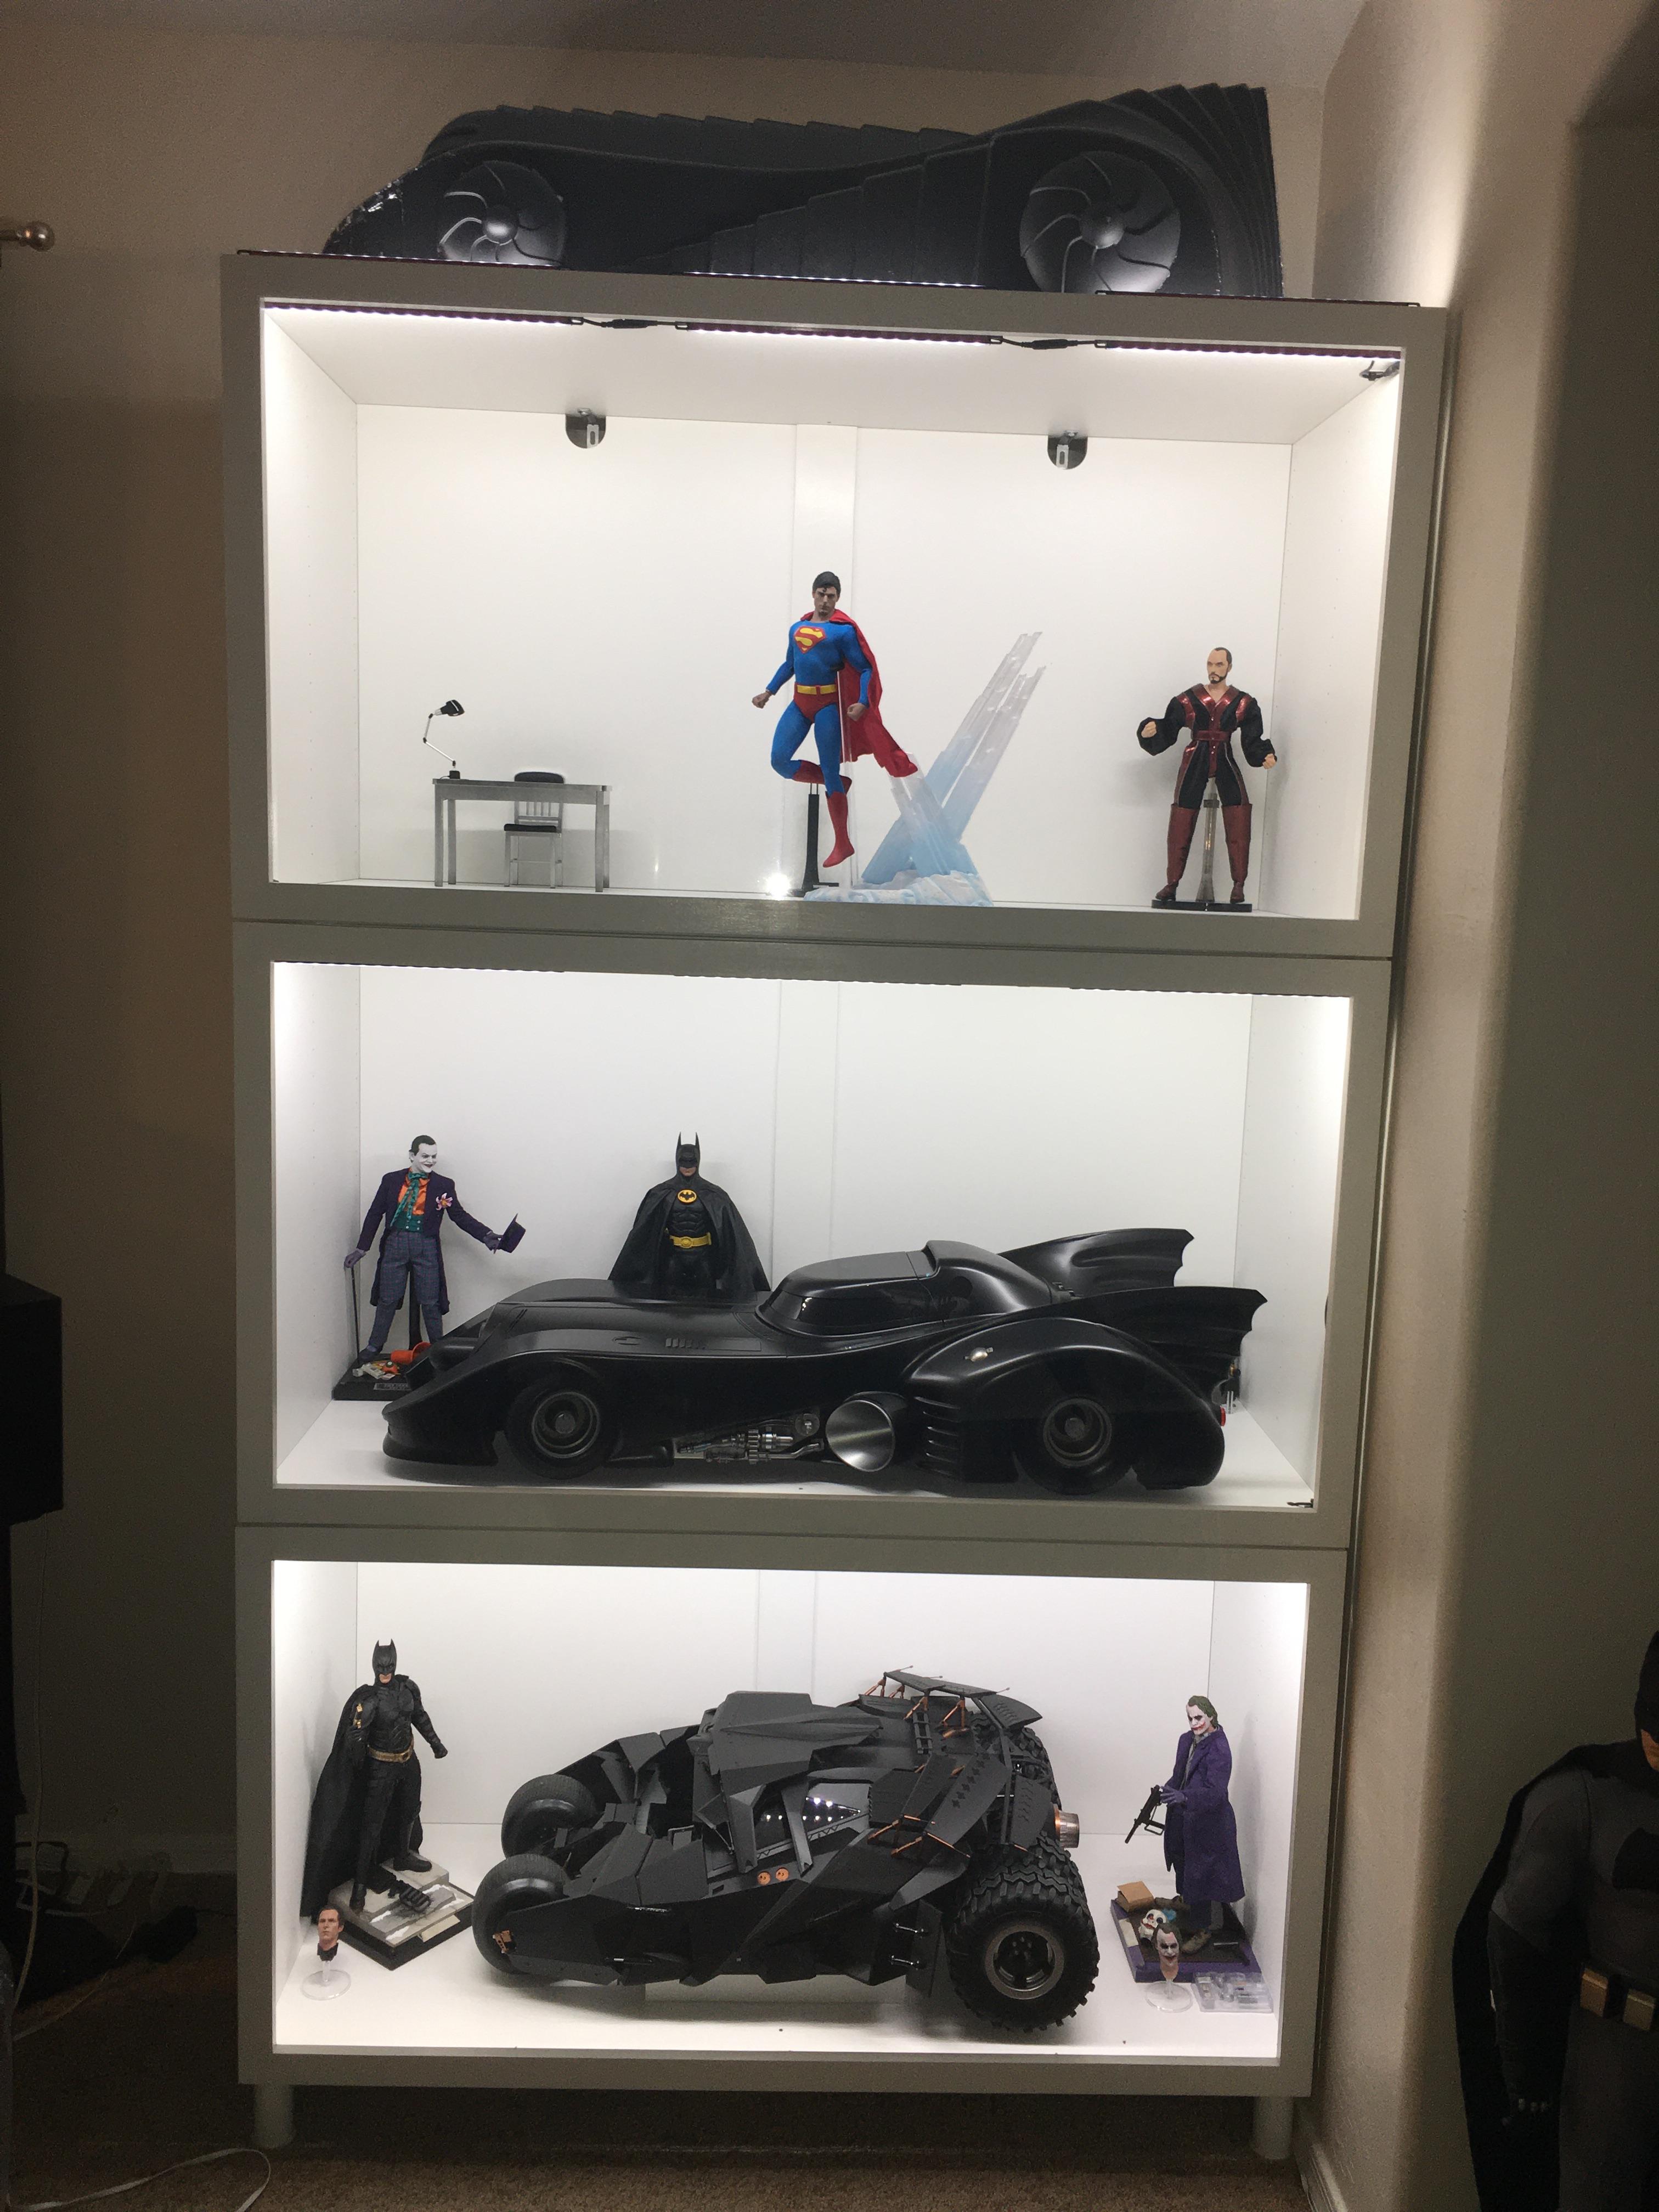
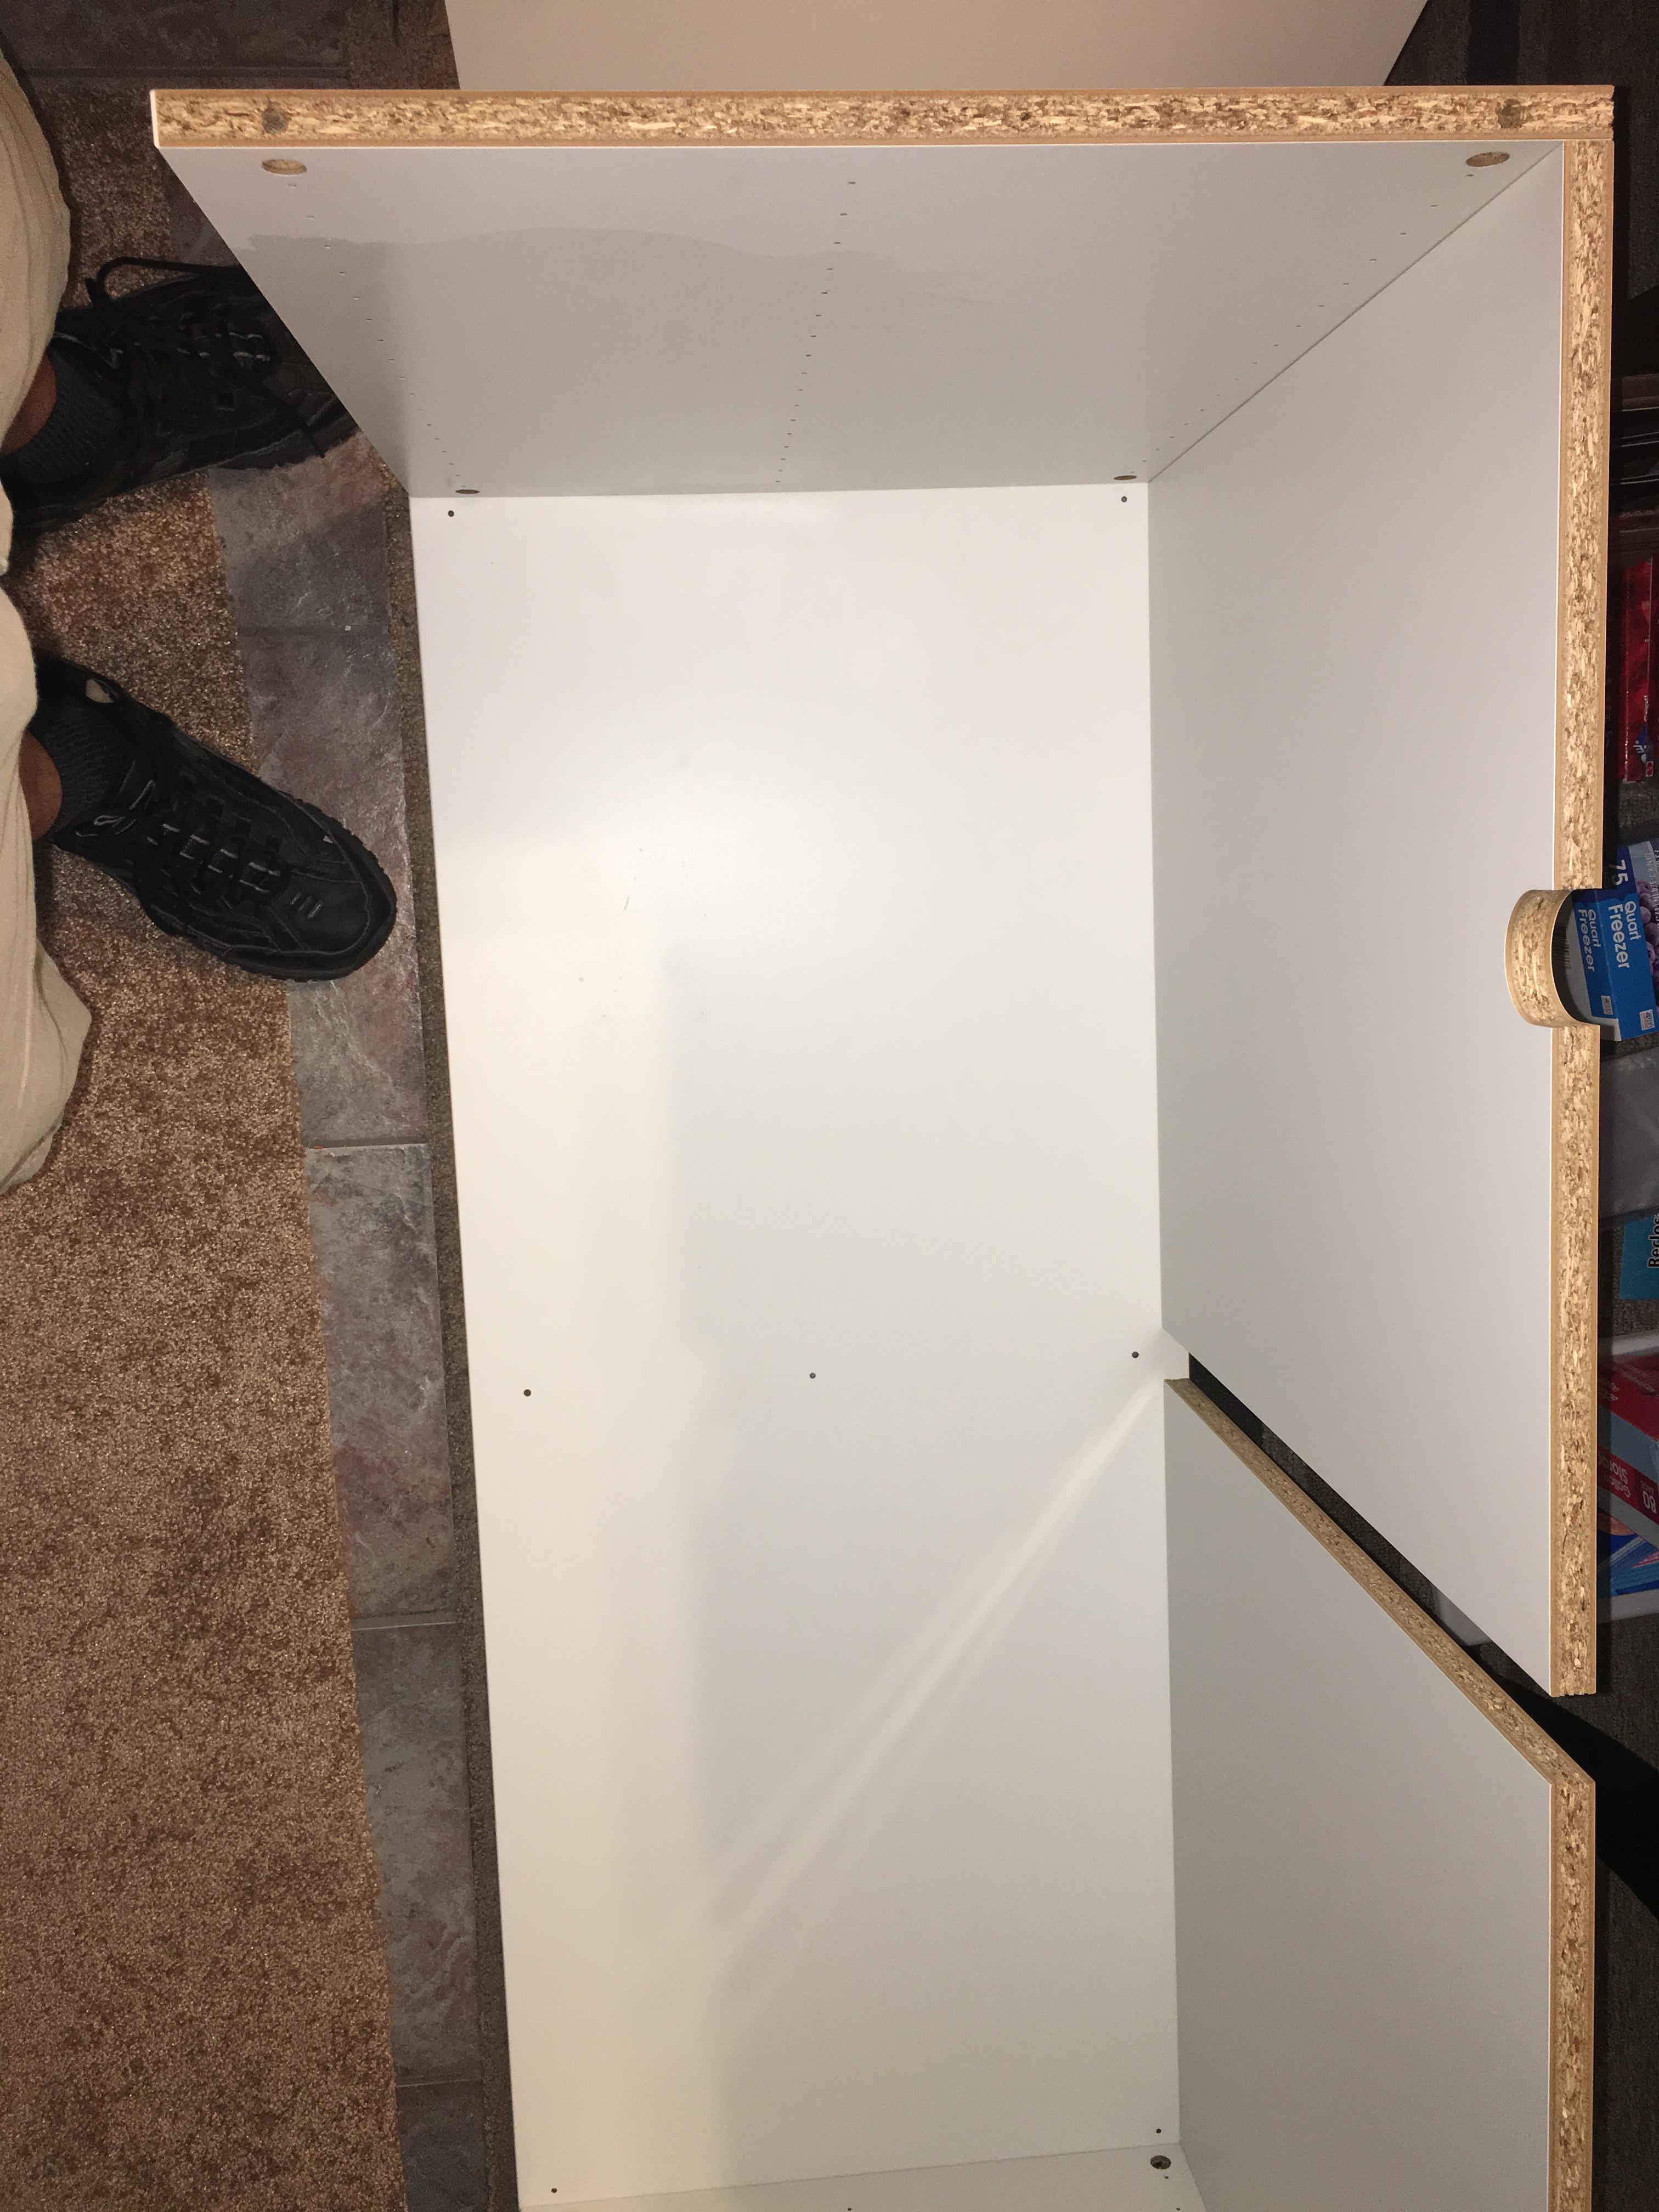
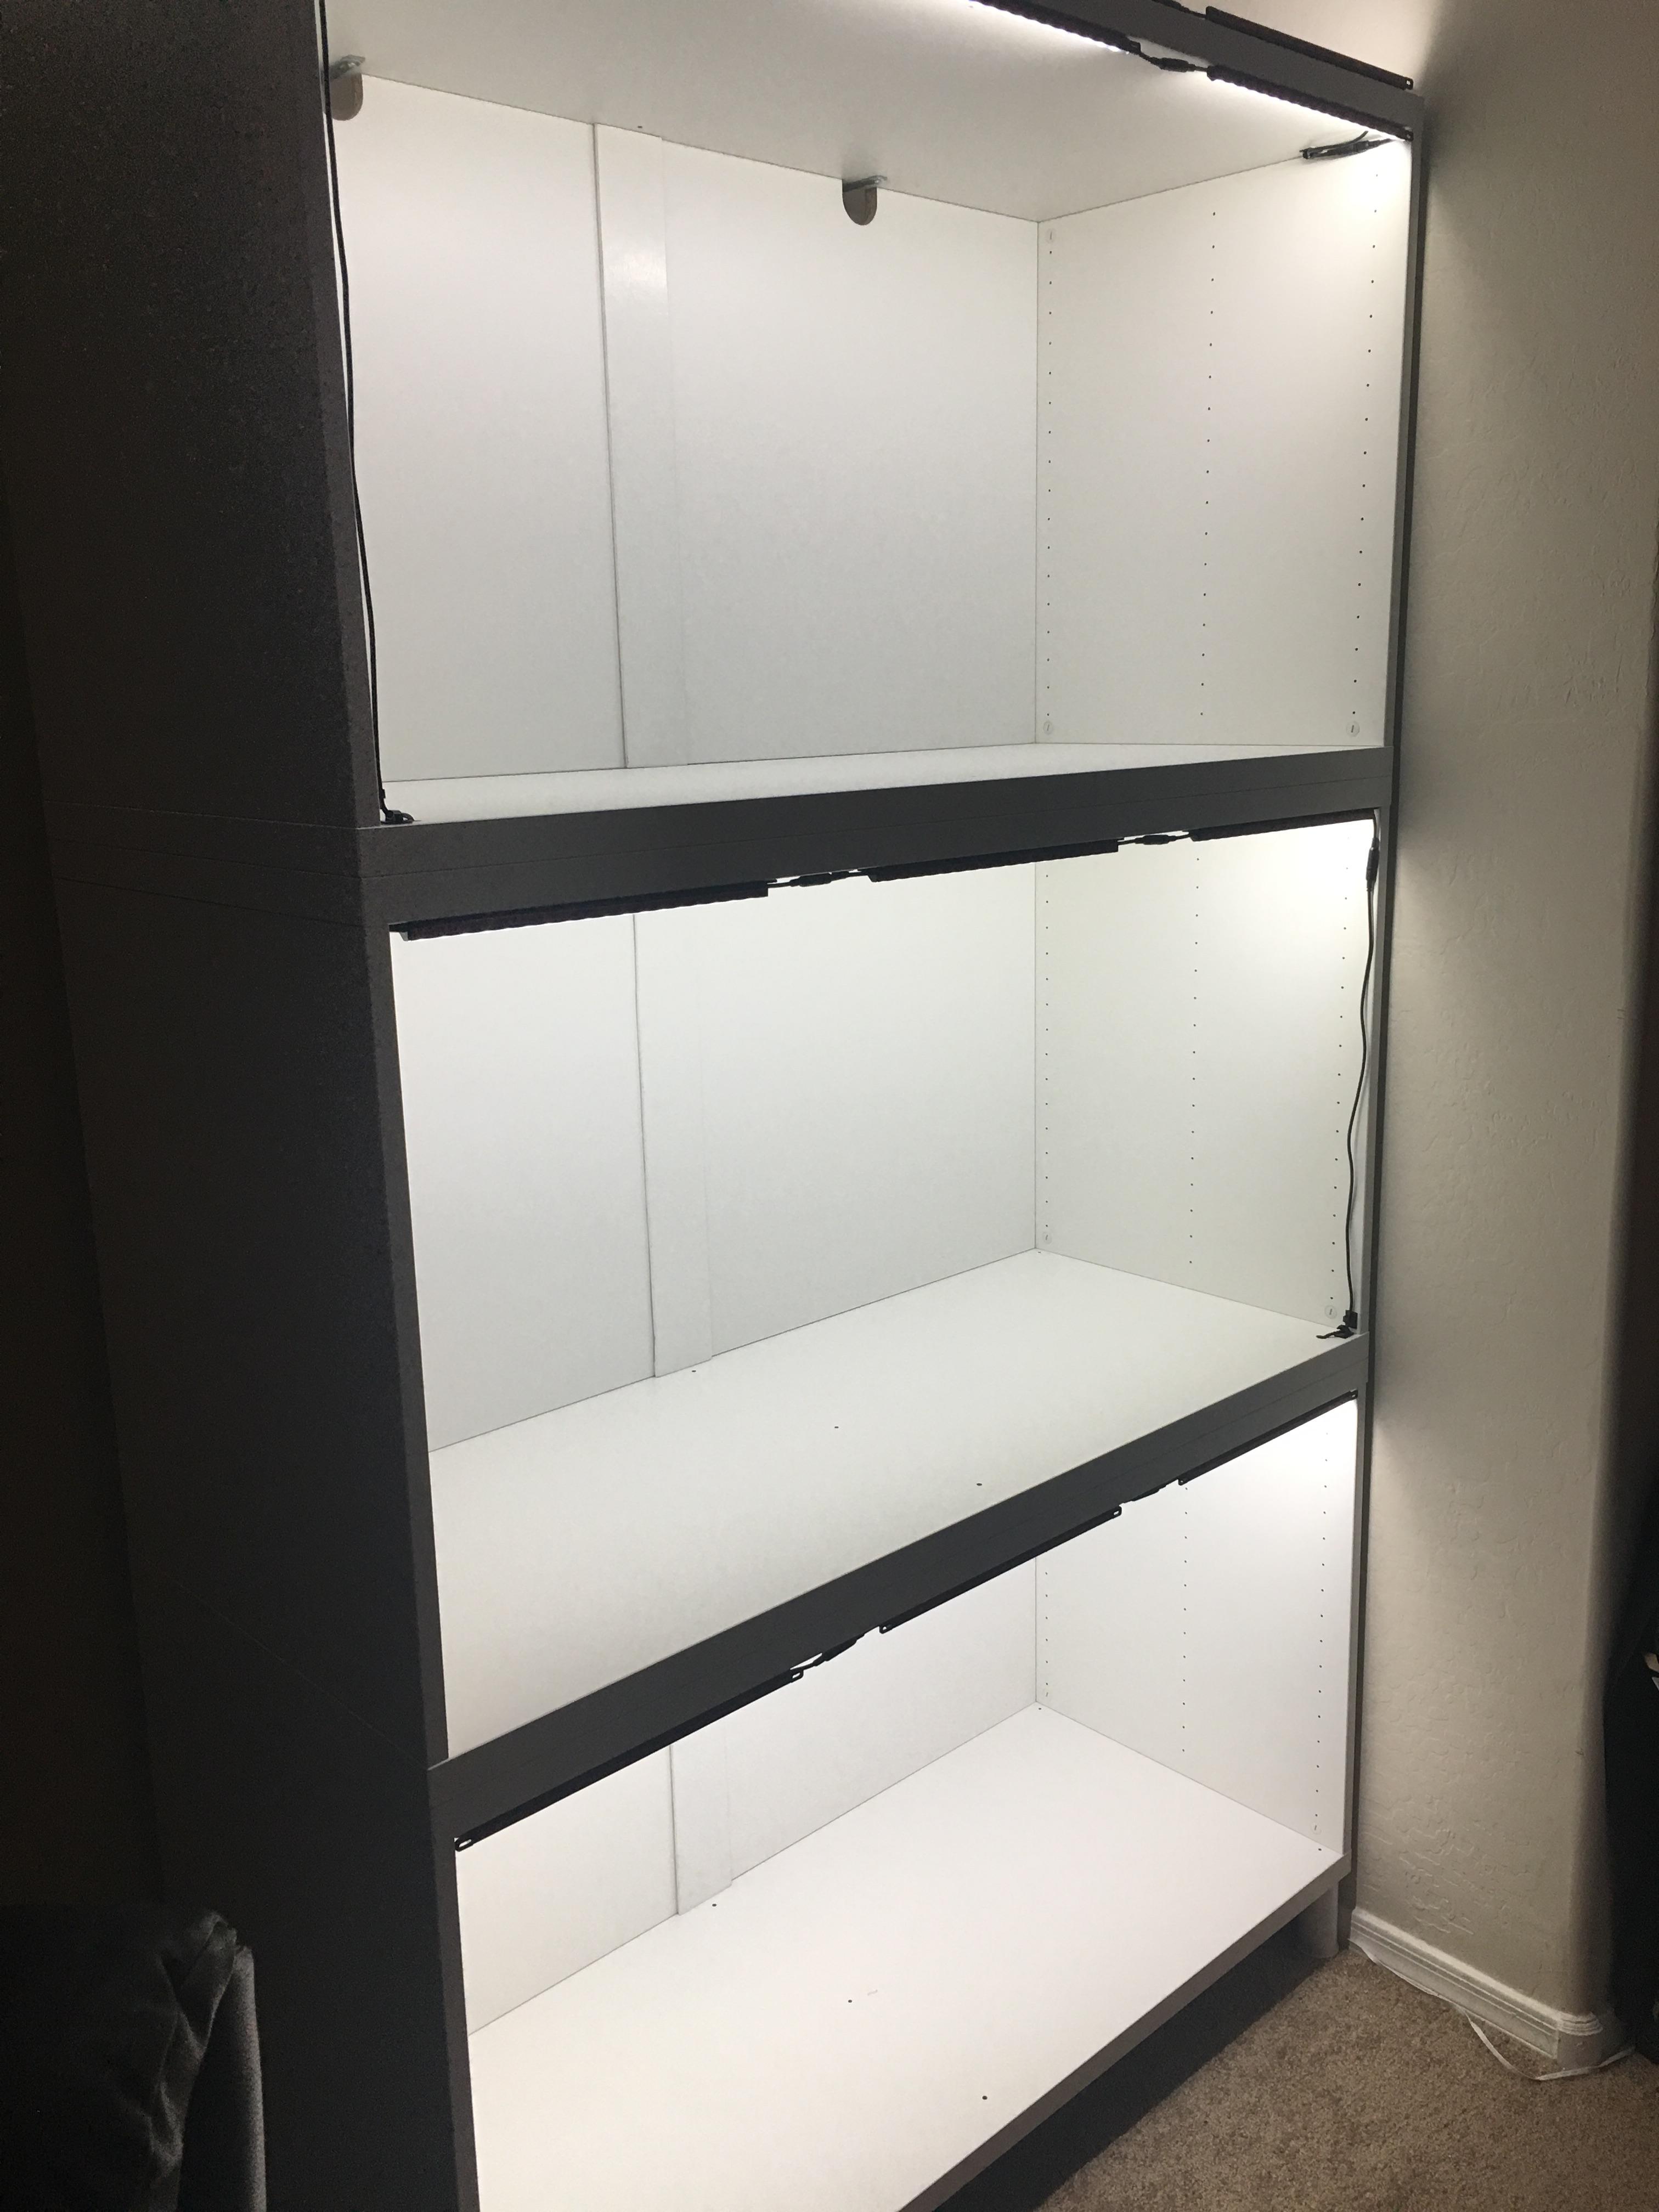
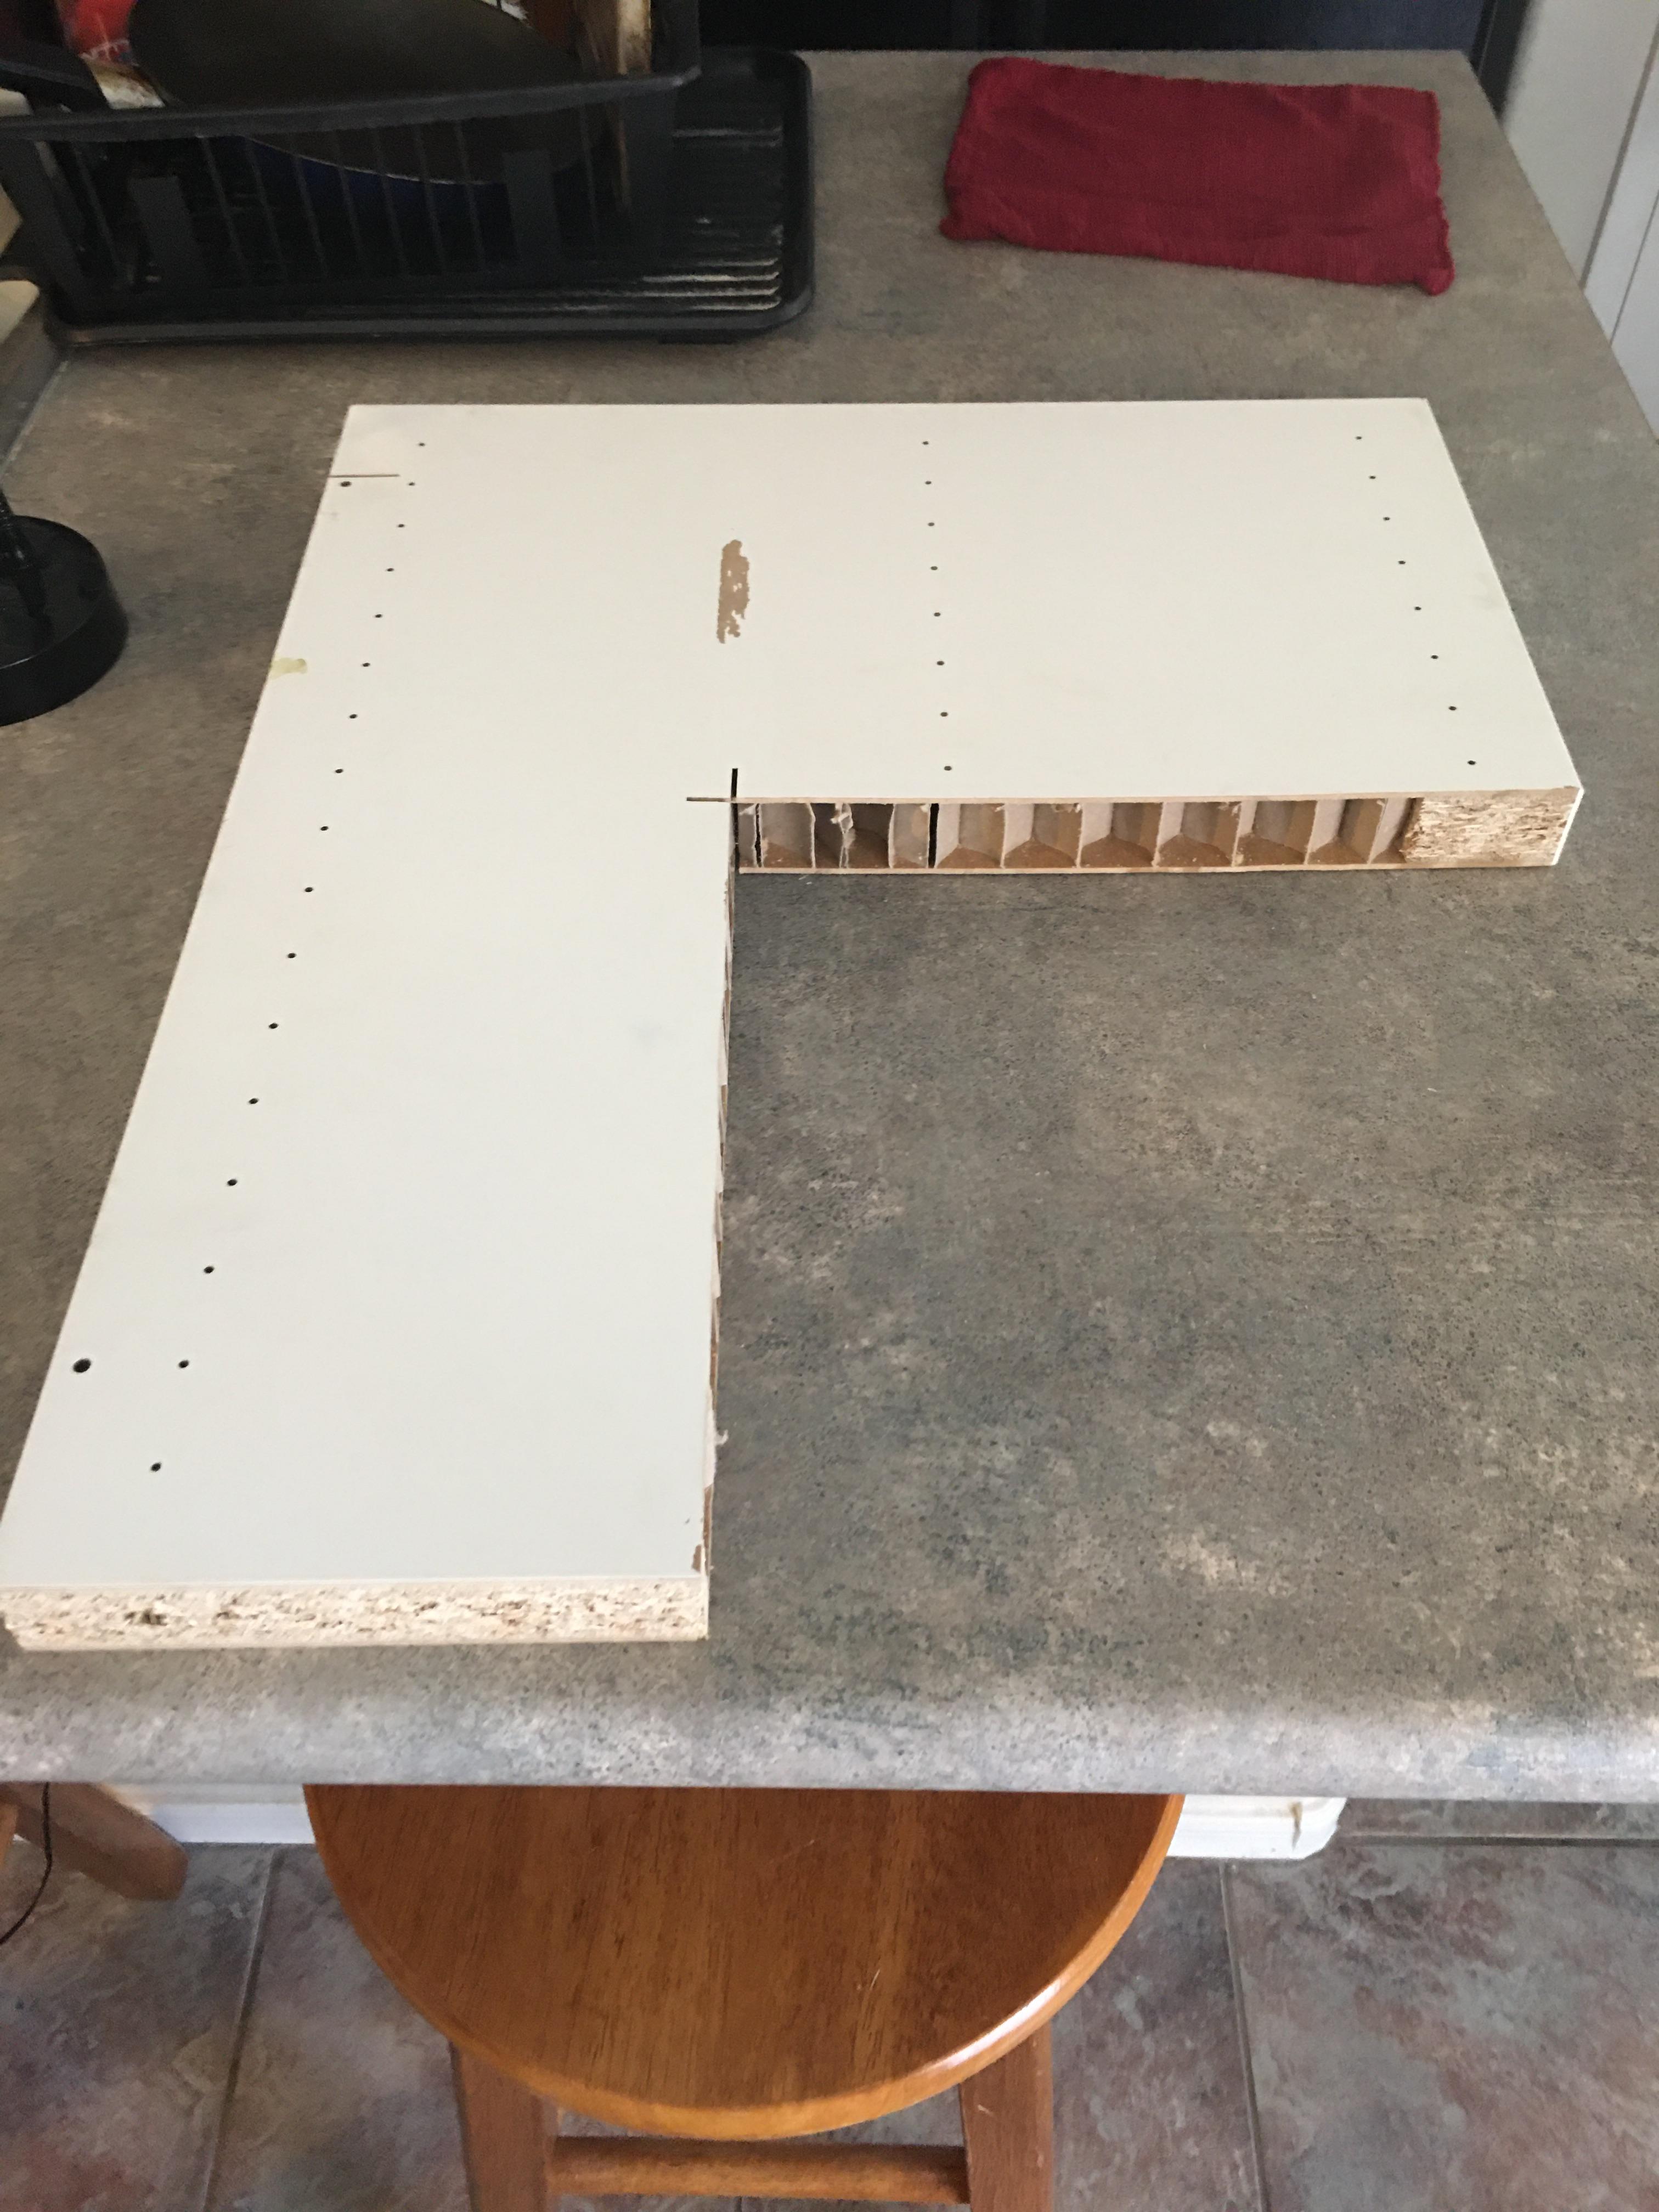
For those interested, here's some more info on how I made these. First off, I want to warn that I could not find any weight limitations from Ikea. So I stacked these at my own risk. Each unit weighs just under 100 lbs. I was not even sure the bottom frame could handle the weight of two frames stacked on top it. Unlike the Besta frames, the back wall is not just a piece of cardboard, its thick like the sidewalls. The back wall rests on the bottom shelf and helps support the weight of anything placed on the top shelf. There was a huge warning sticker on the inside wall. Its meant to be permanent. It has to be removed slowly and carefully or it will damage the finish.
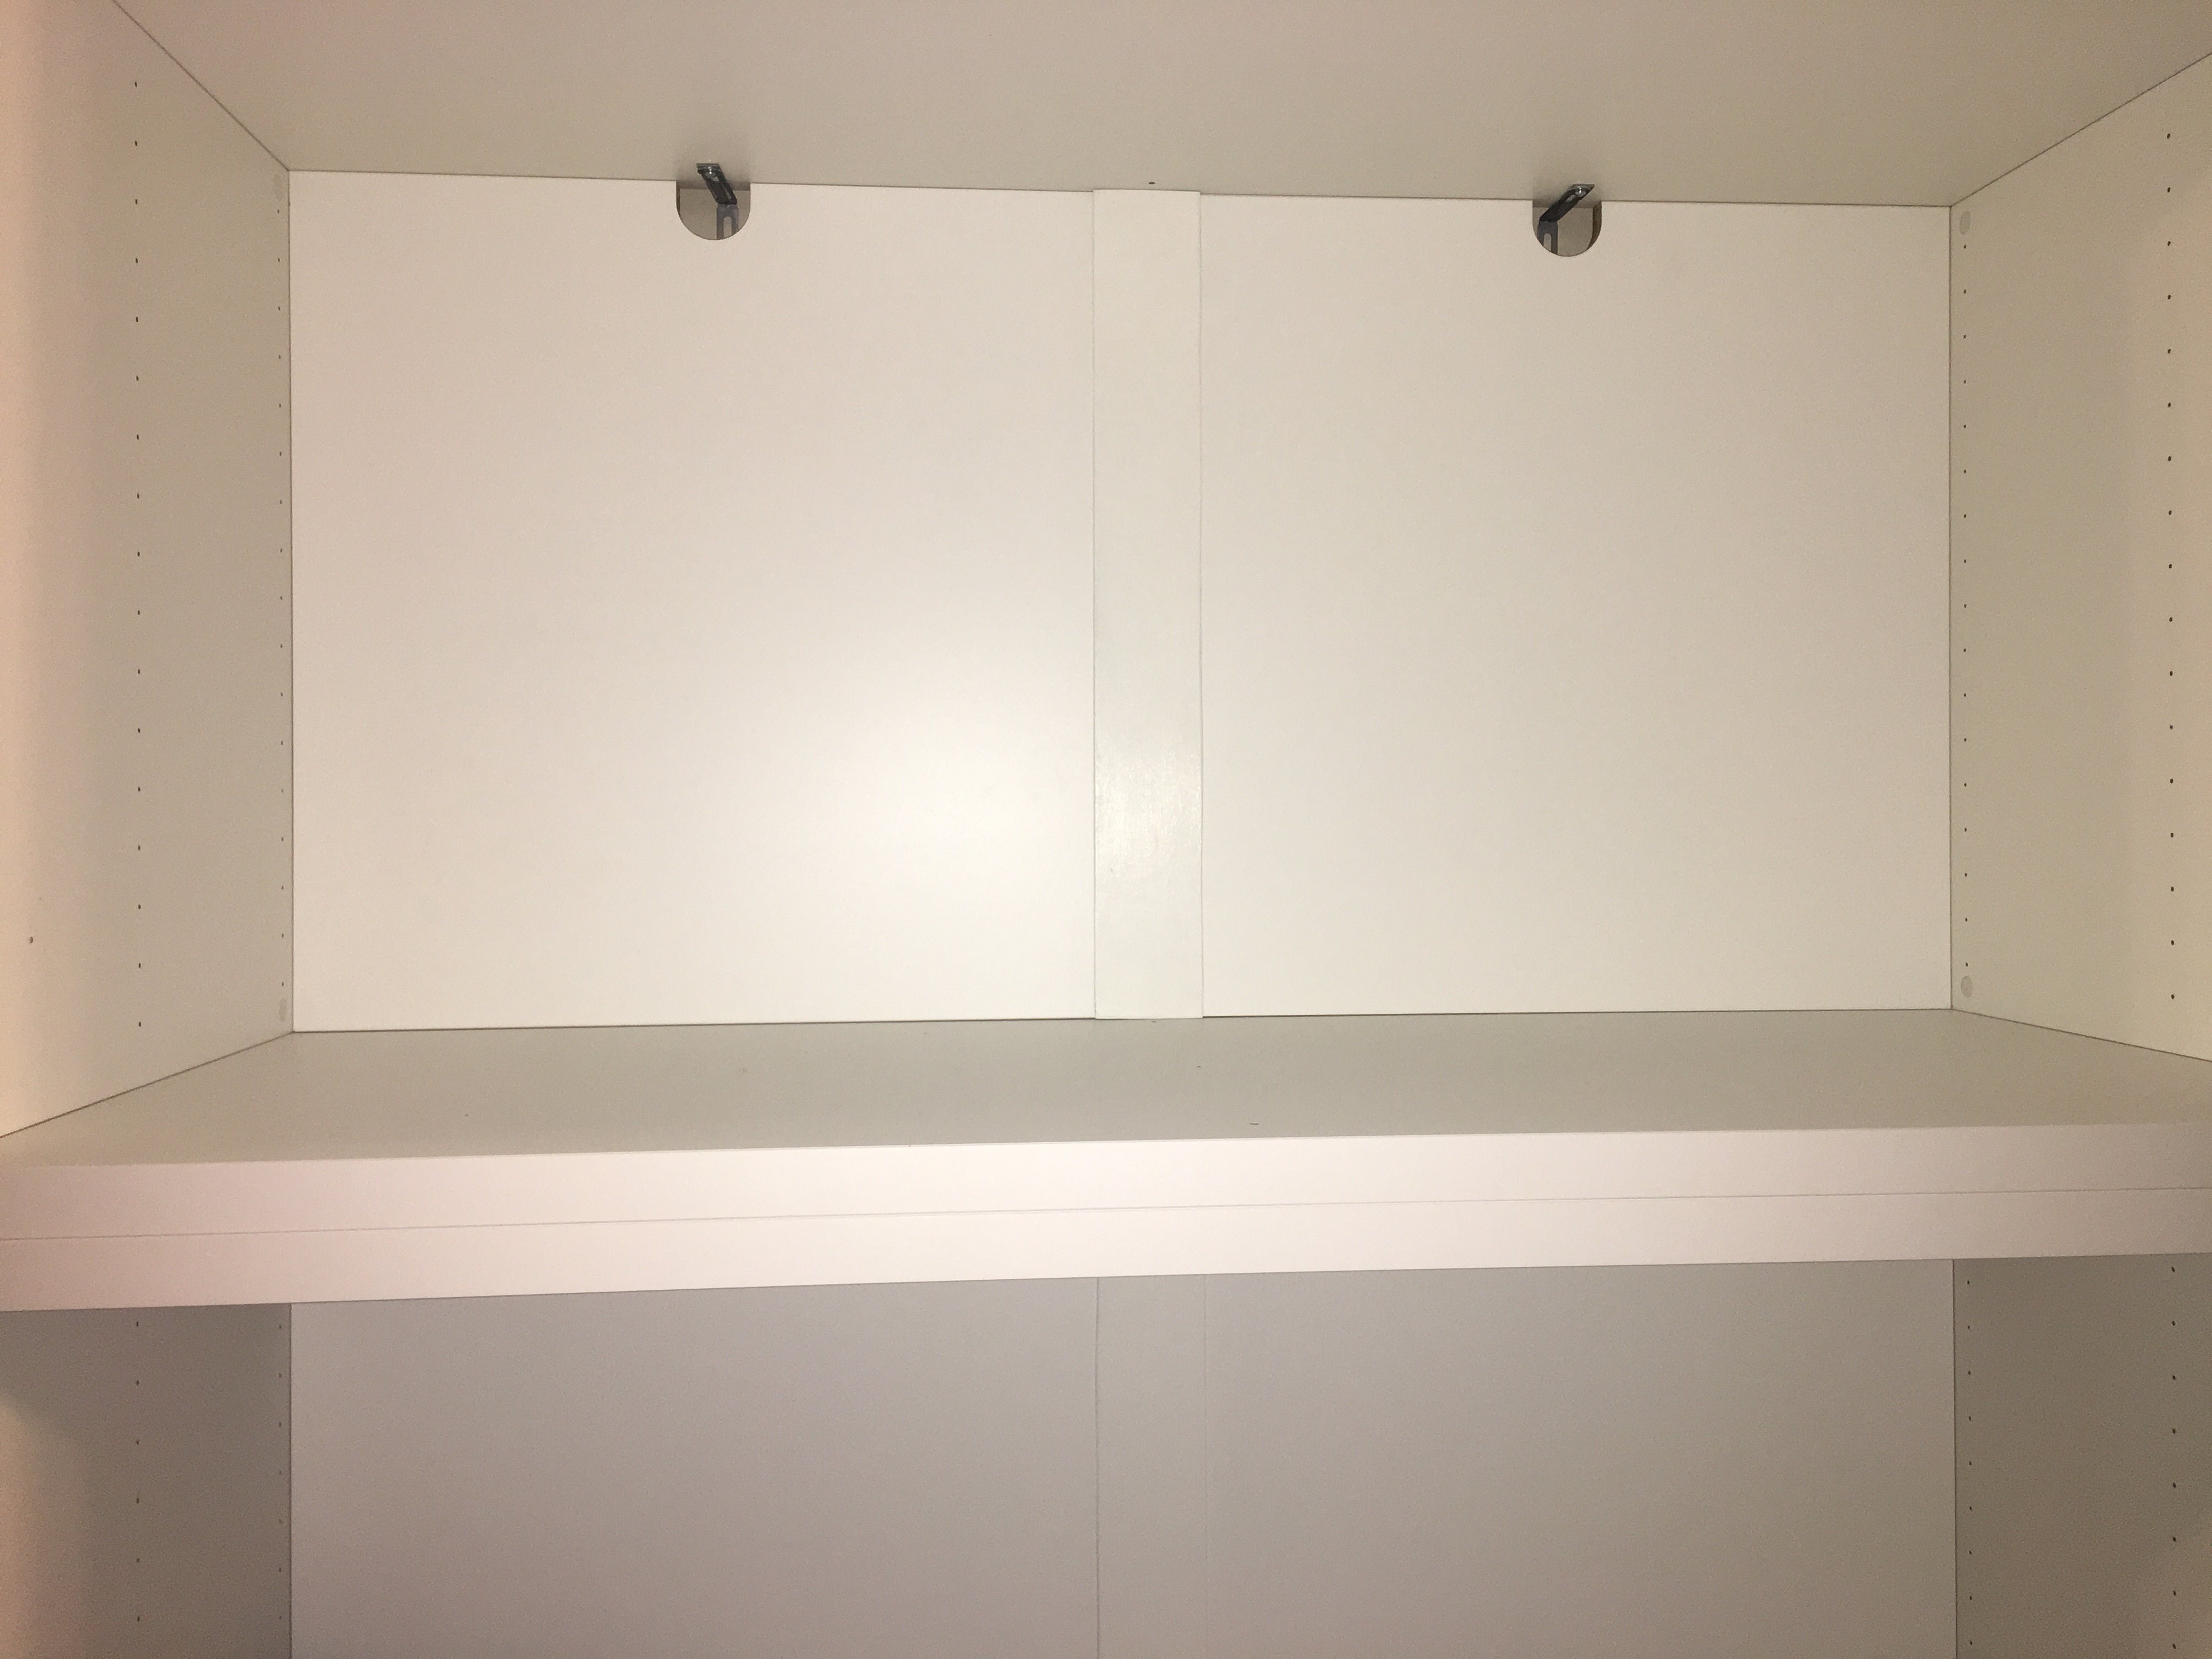
Since the middle wall is left out the two back piece need to be secured to the top shelf another way. I used mending plates on the back of the unit.
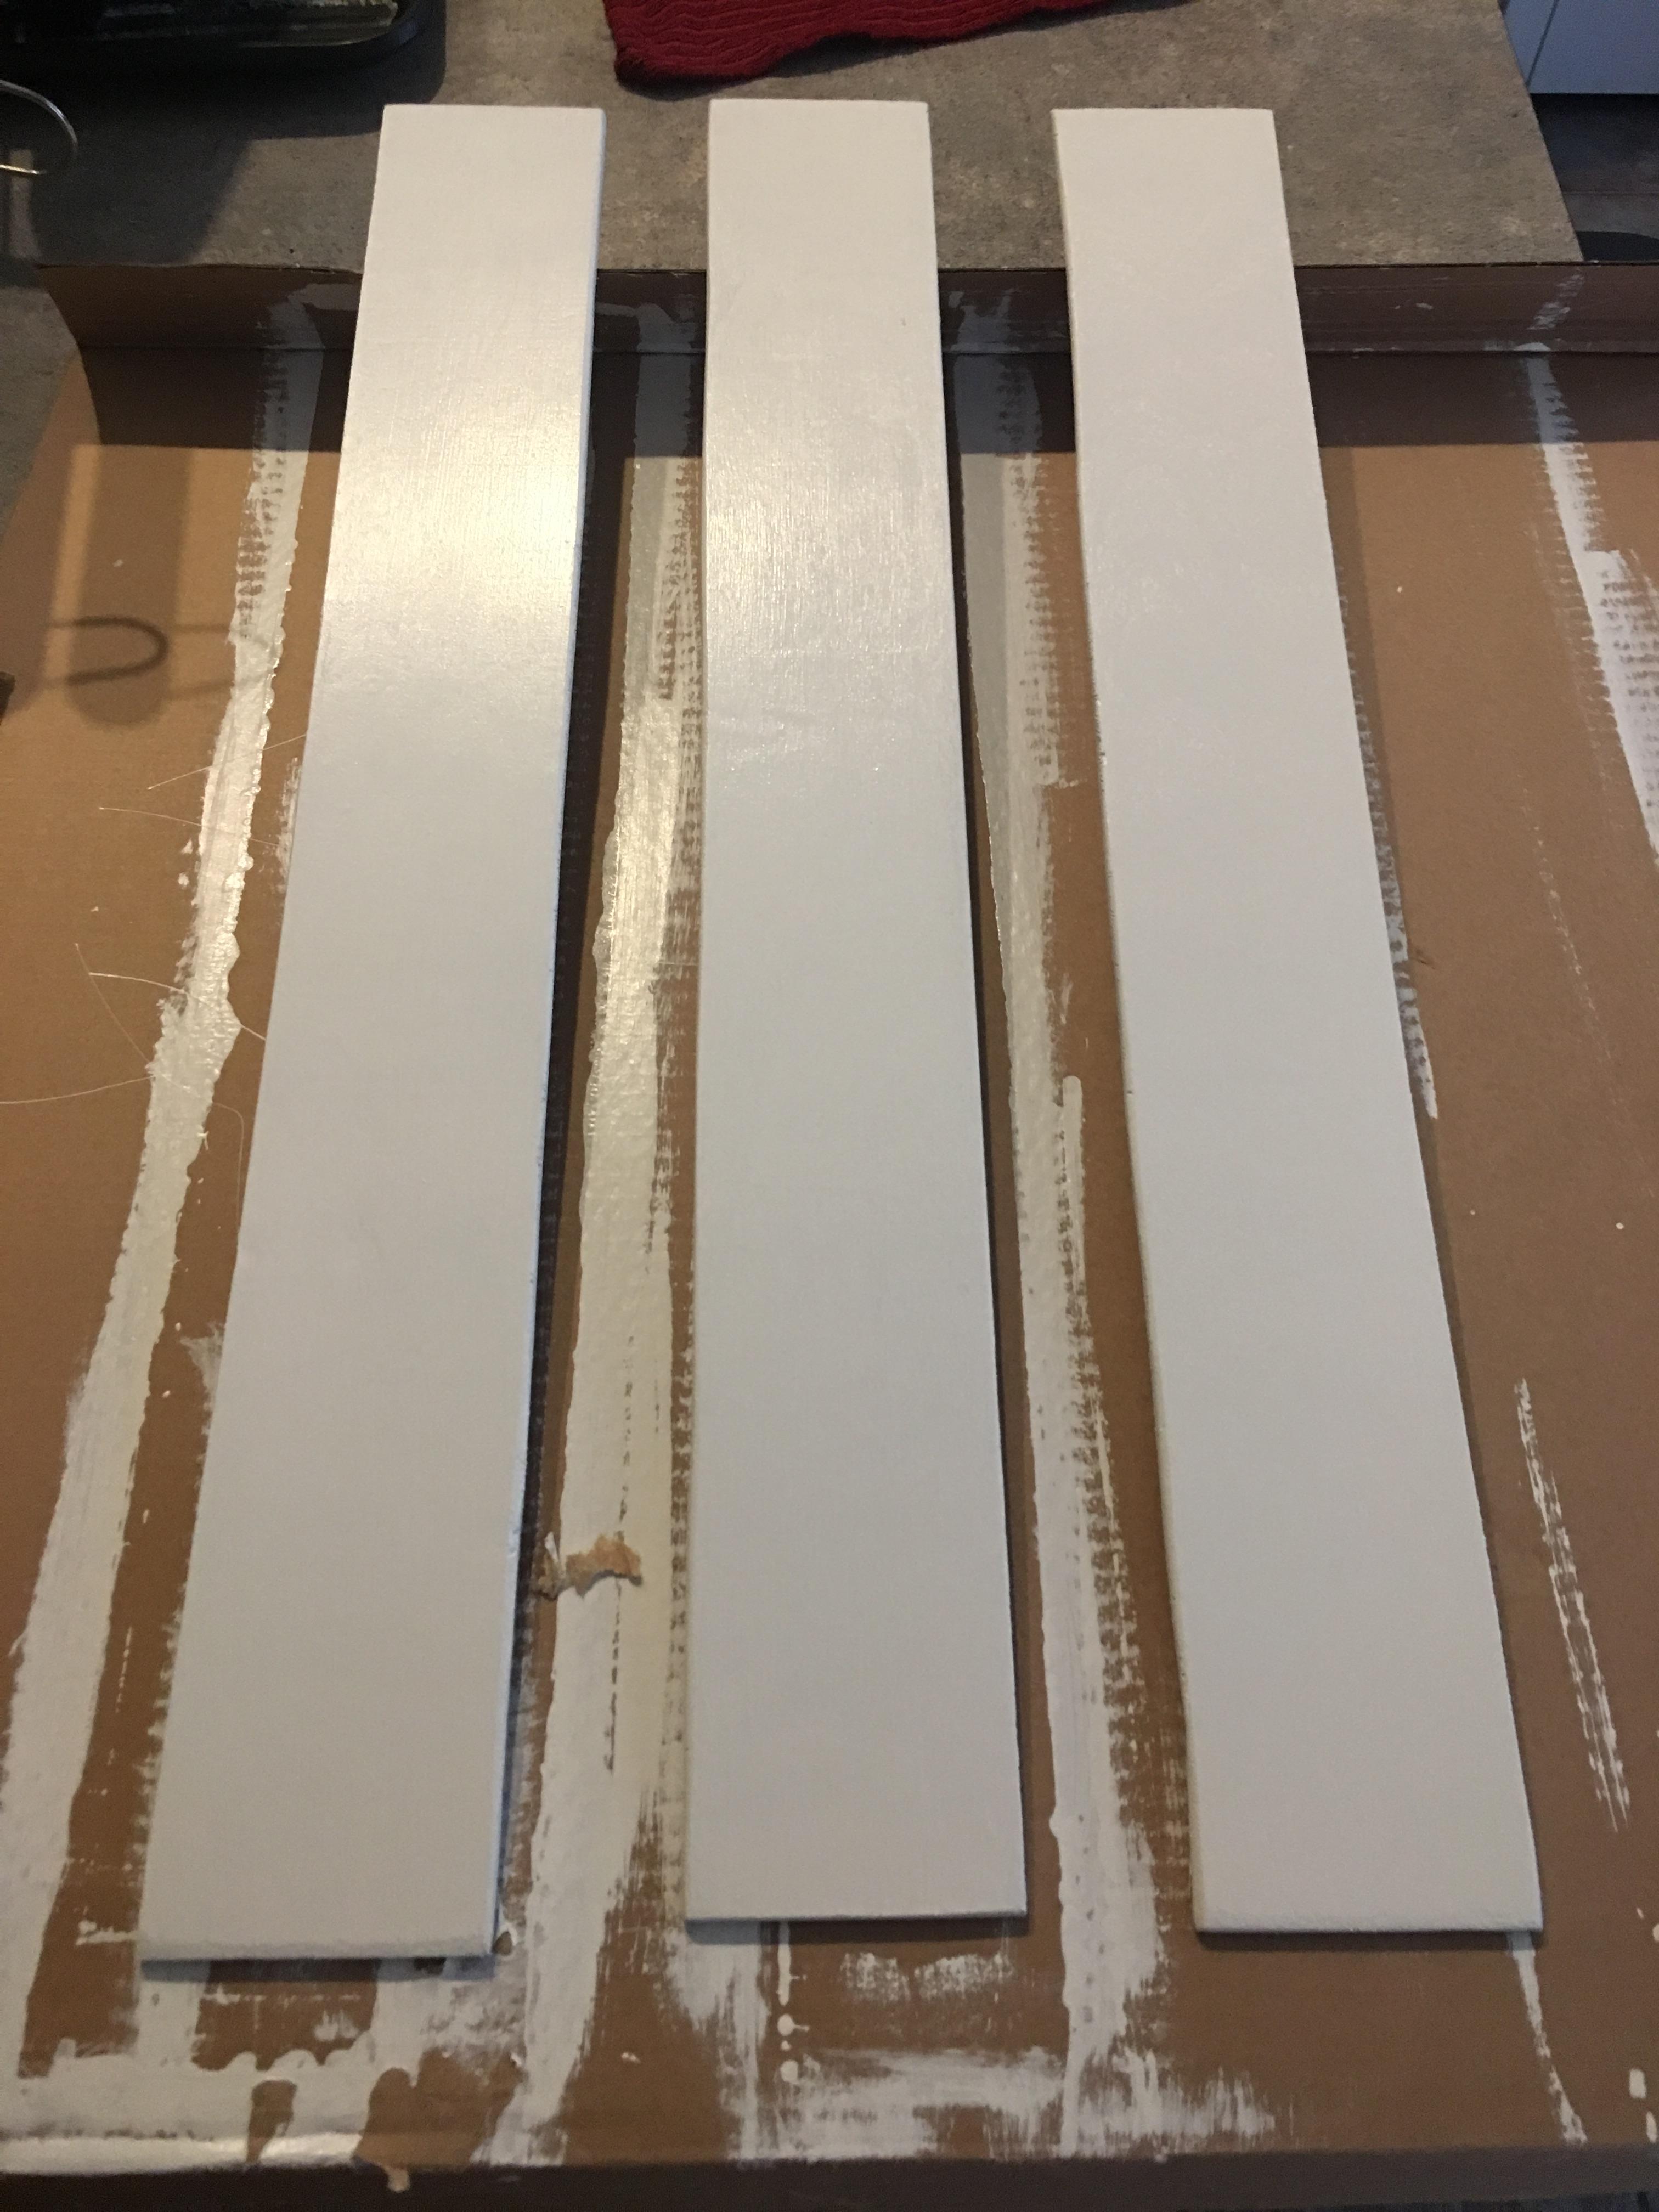
As you can see a big gap is left by leaving out the middle wall. I cut some plywood scraps, painted them and glued them on to cover the gap.
Added lights from Amazon (2 sets)
https://www.amazon.com/gp/product/B01FDAET80/ref=ppx_yo_dt_b_asin_title_o05_s00?ie=UTF8&psc=1
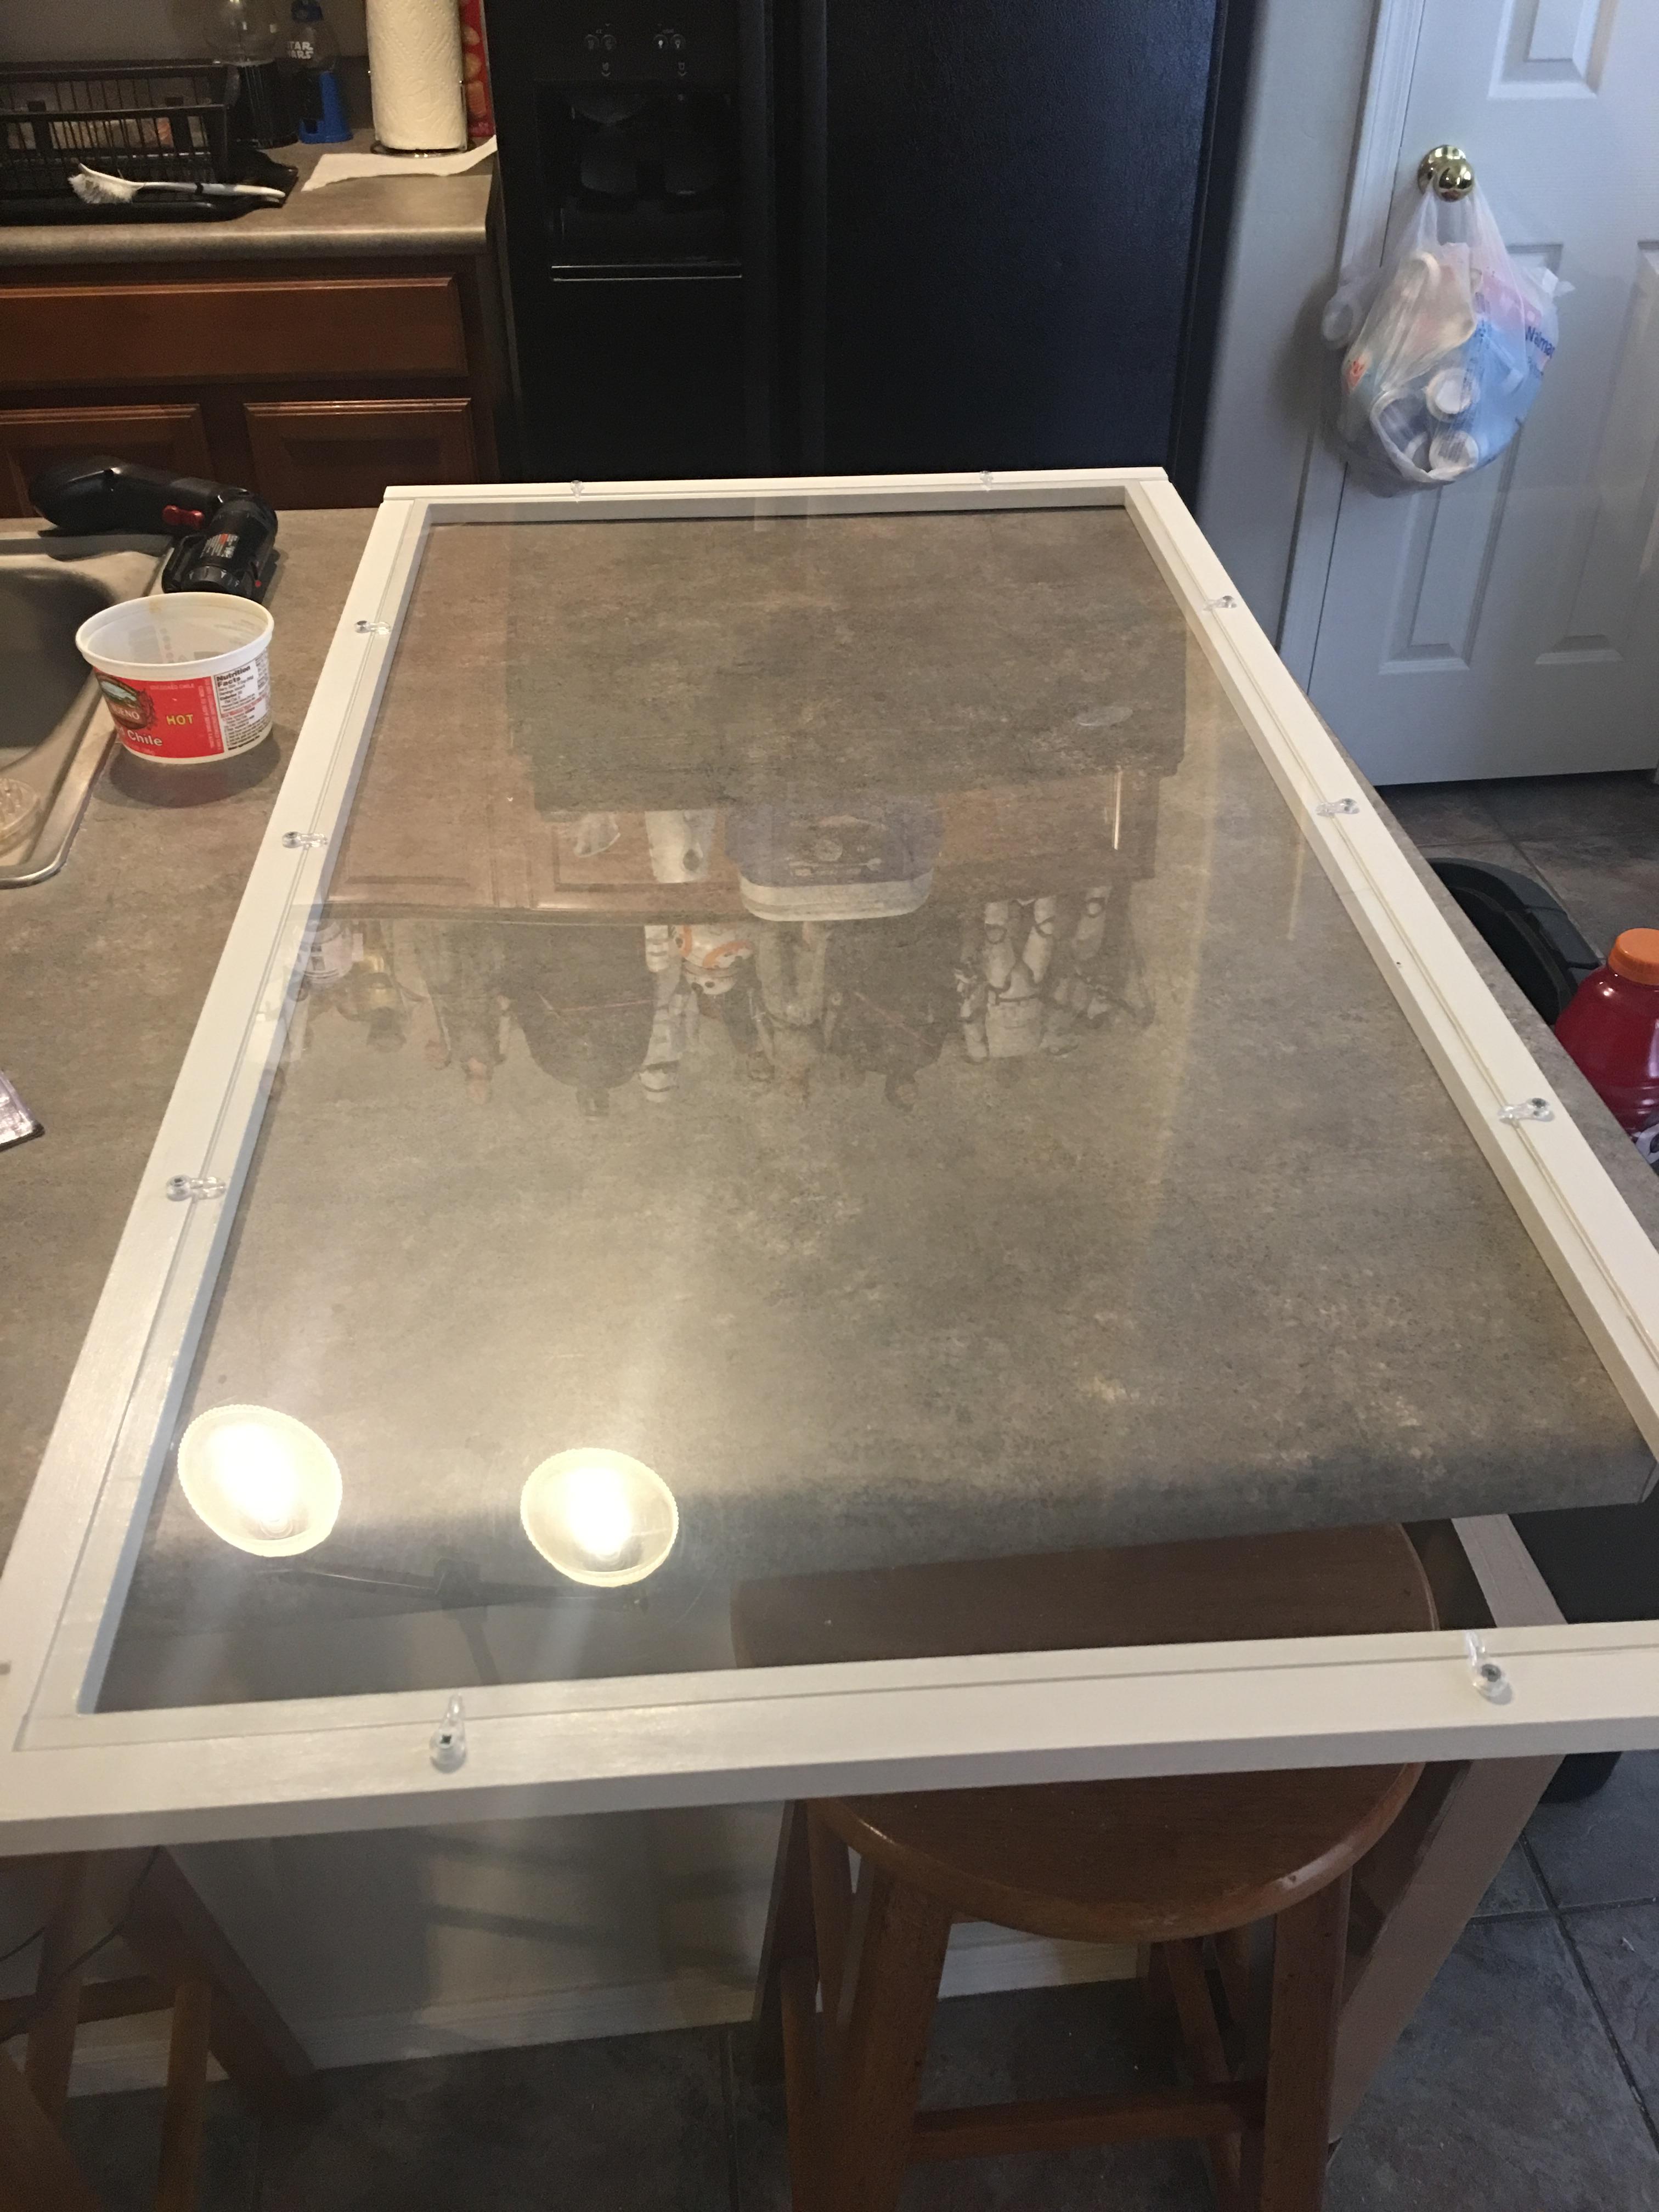
The "doors":
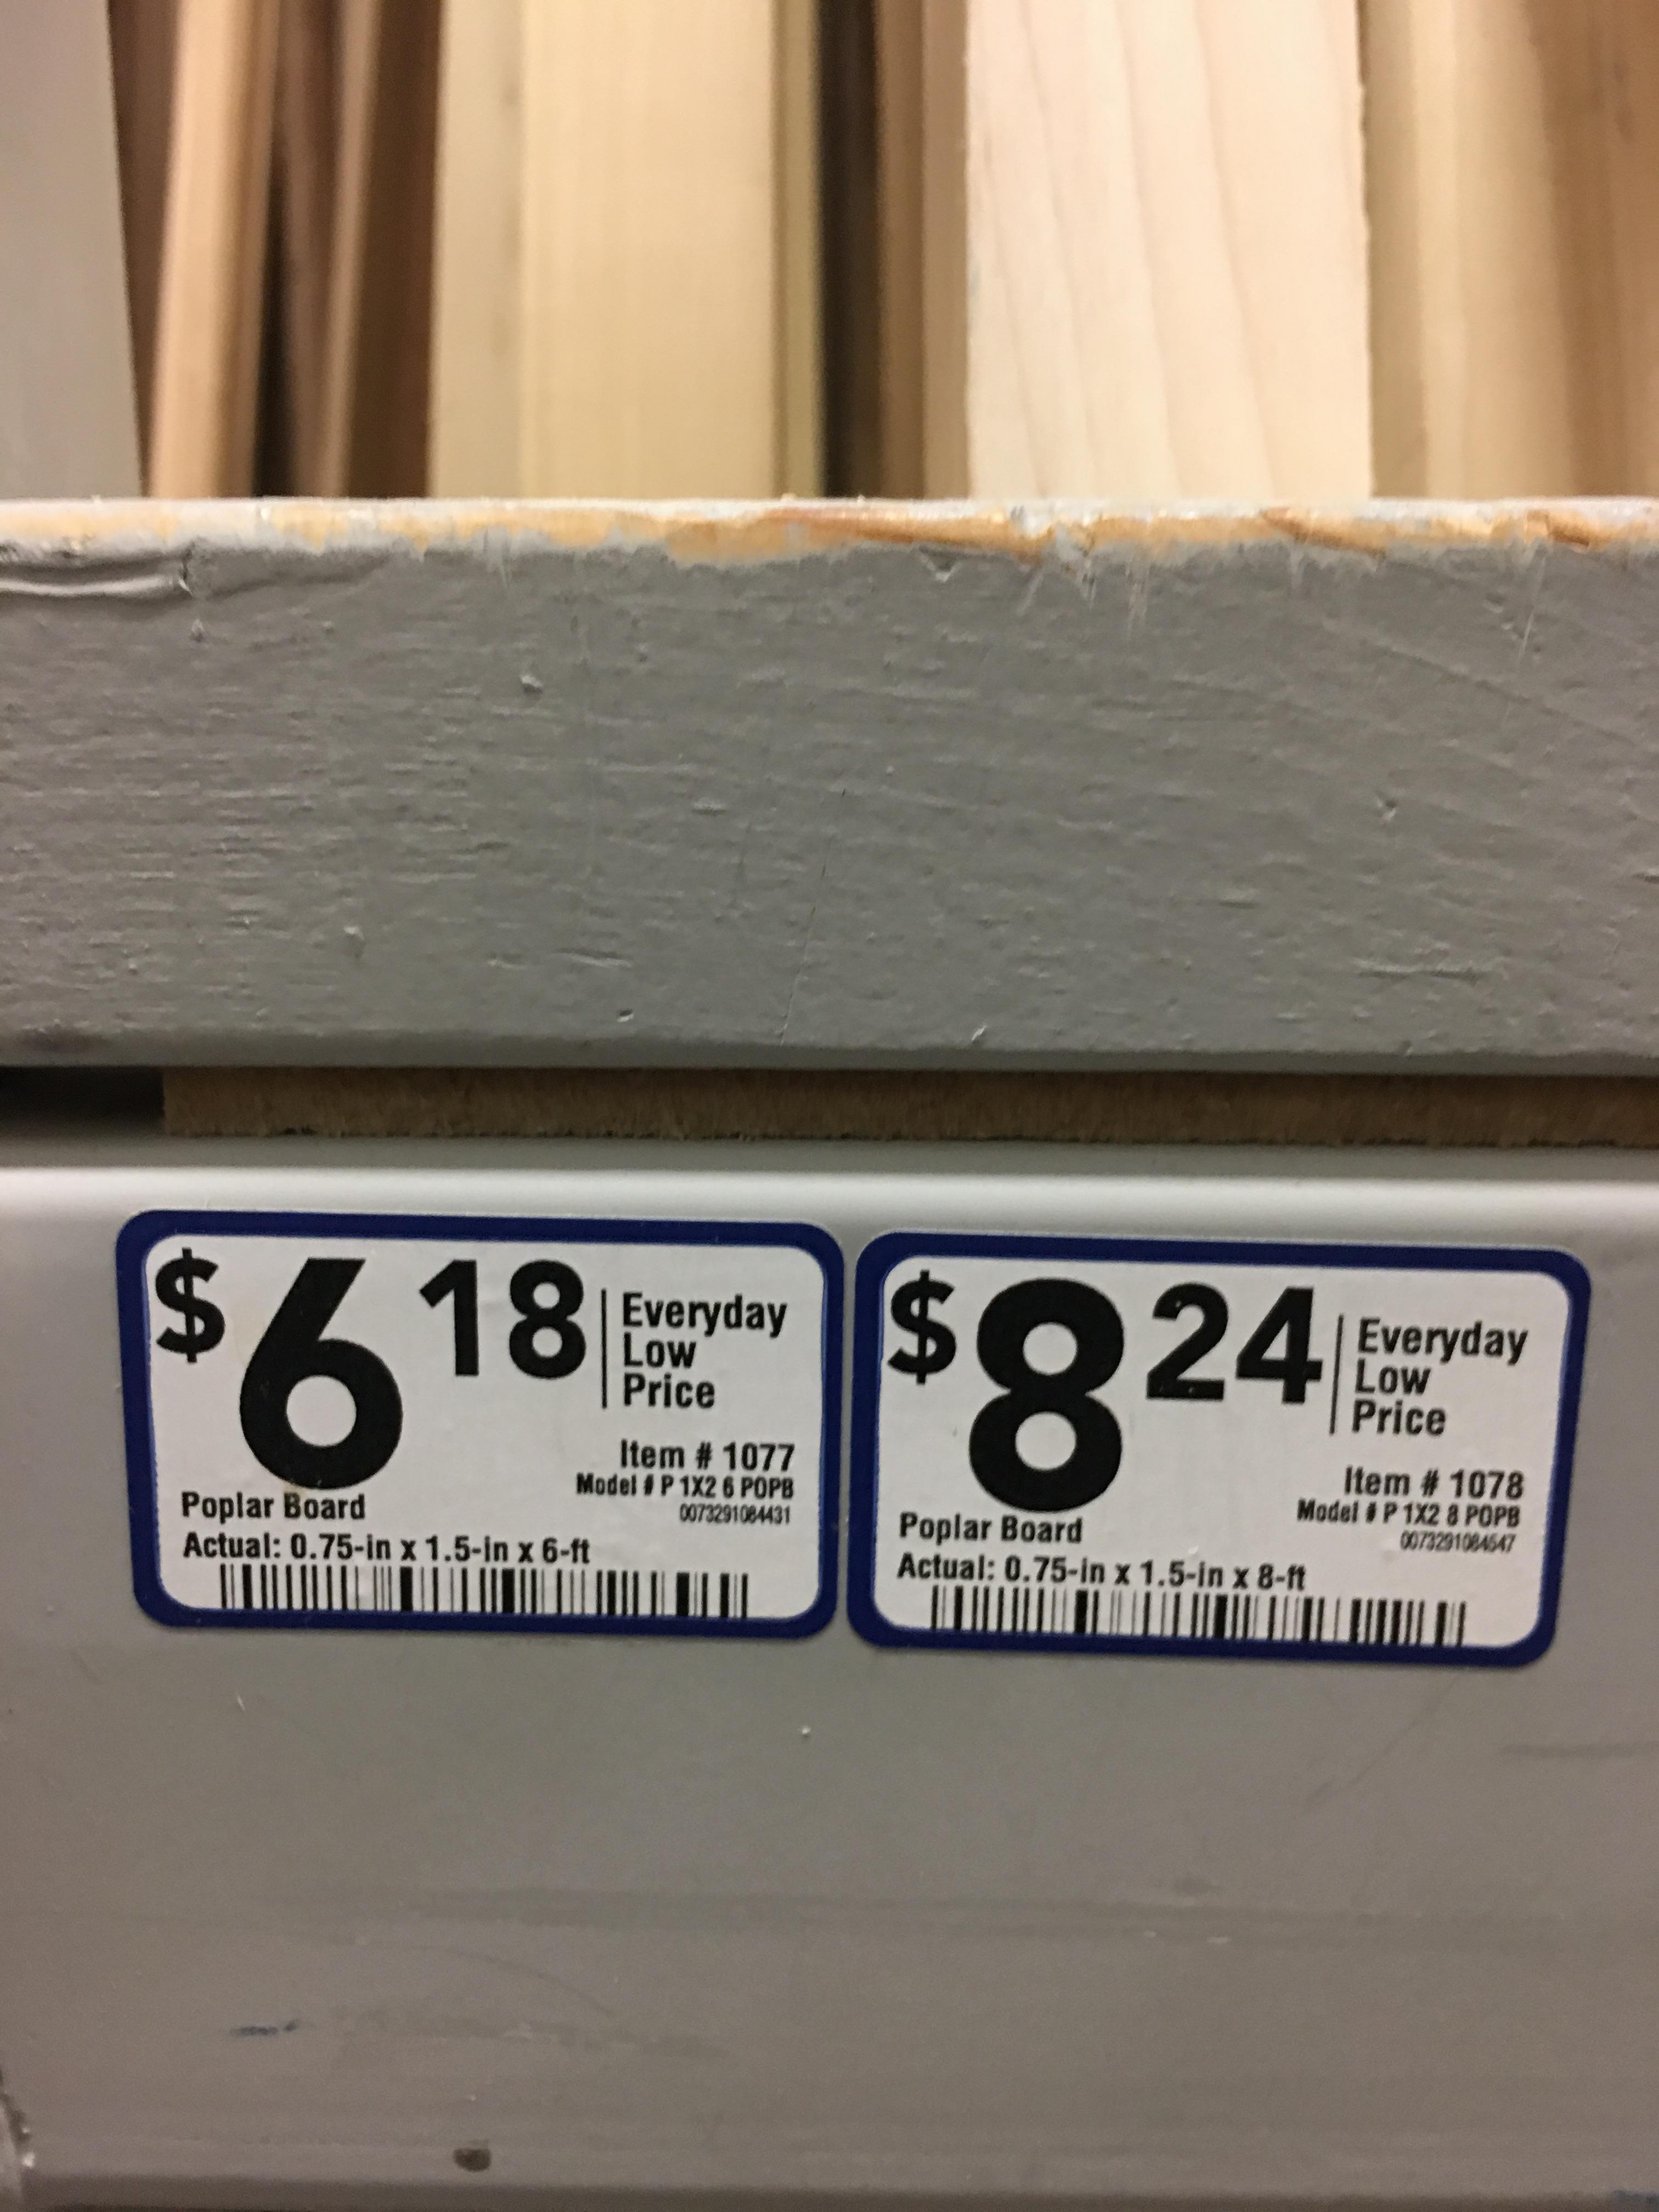
I am not a carpenter, and haven't really made anything since woodshop class in junior high. Luckily YouTube is full of tutorial videos. Also my father has lots of knowledge and tools I can borrow. I used poplar wood for the door frames. I think pine would work also.
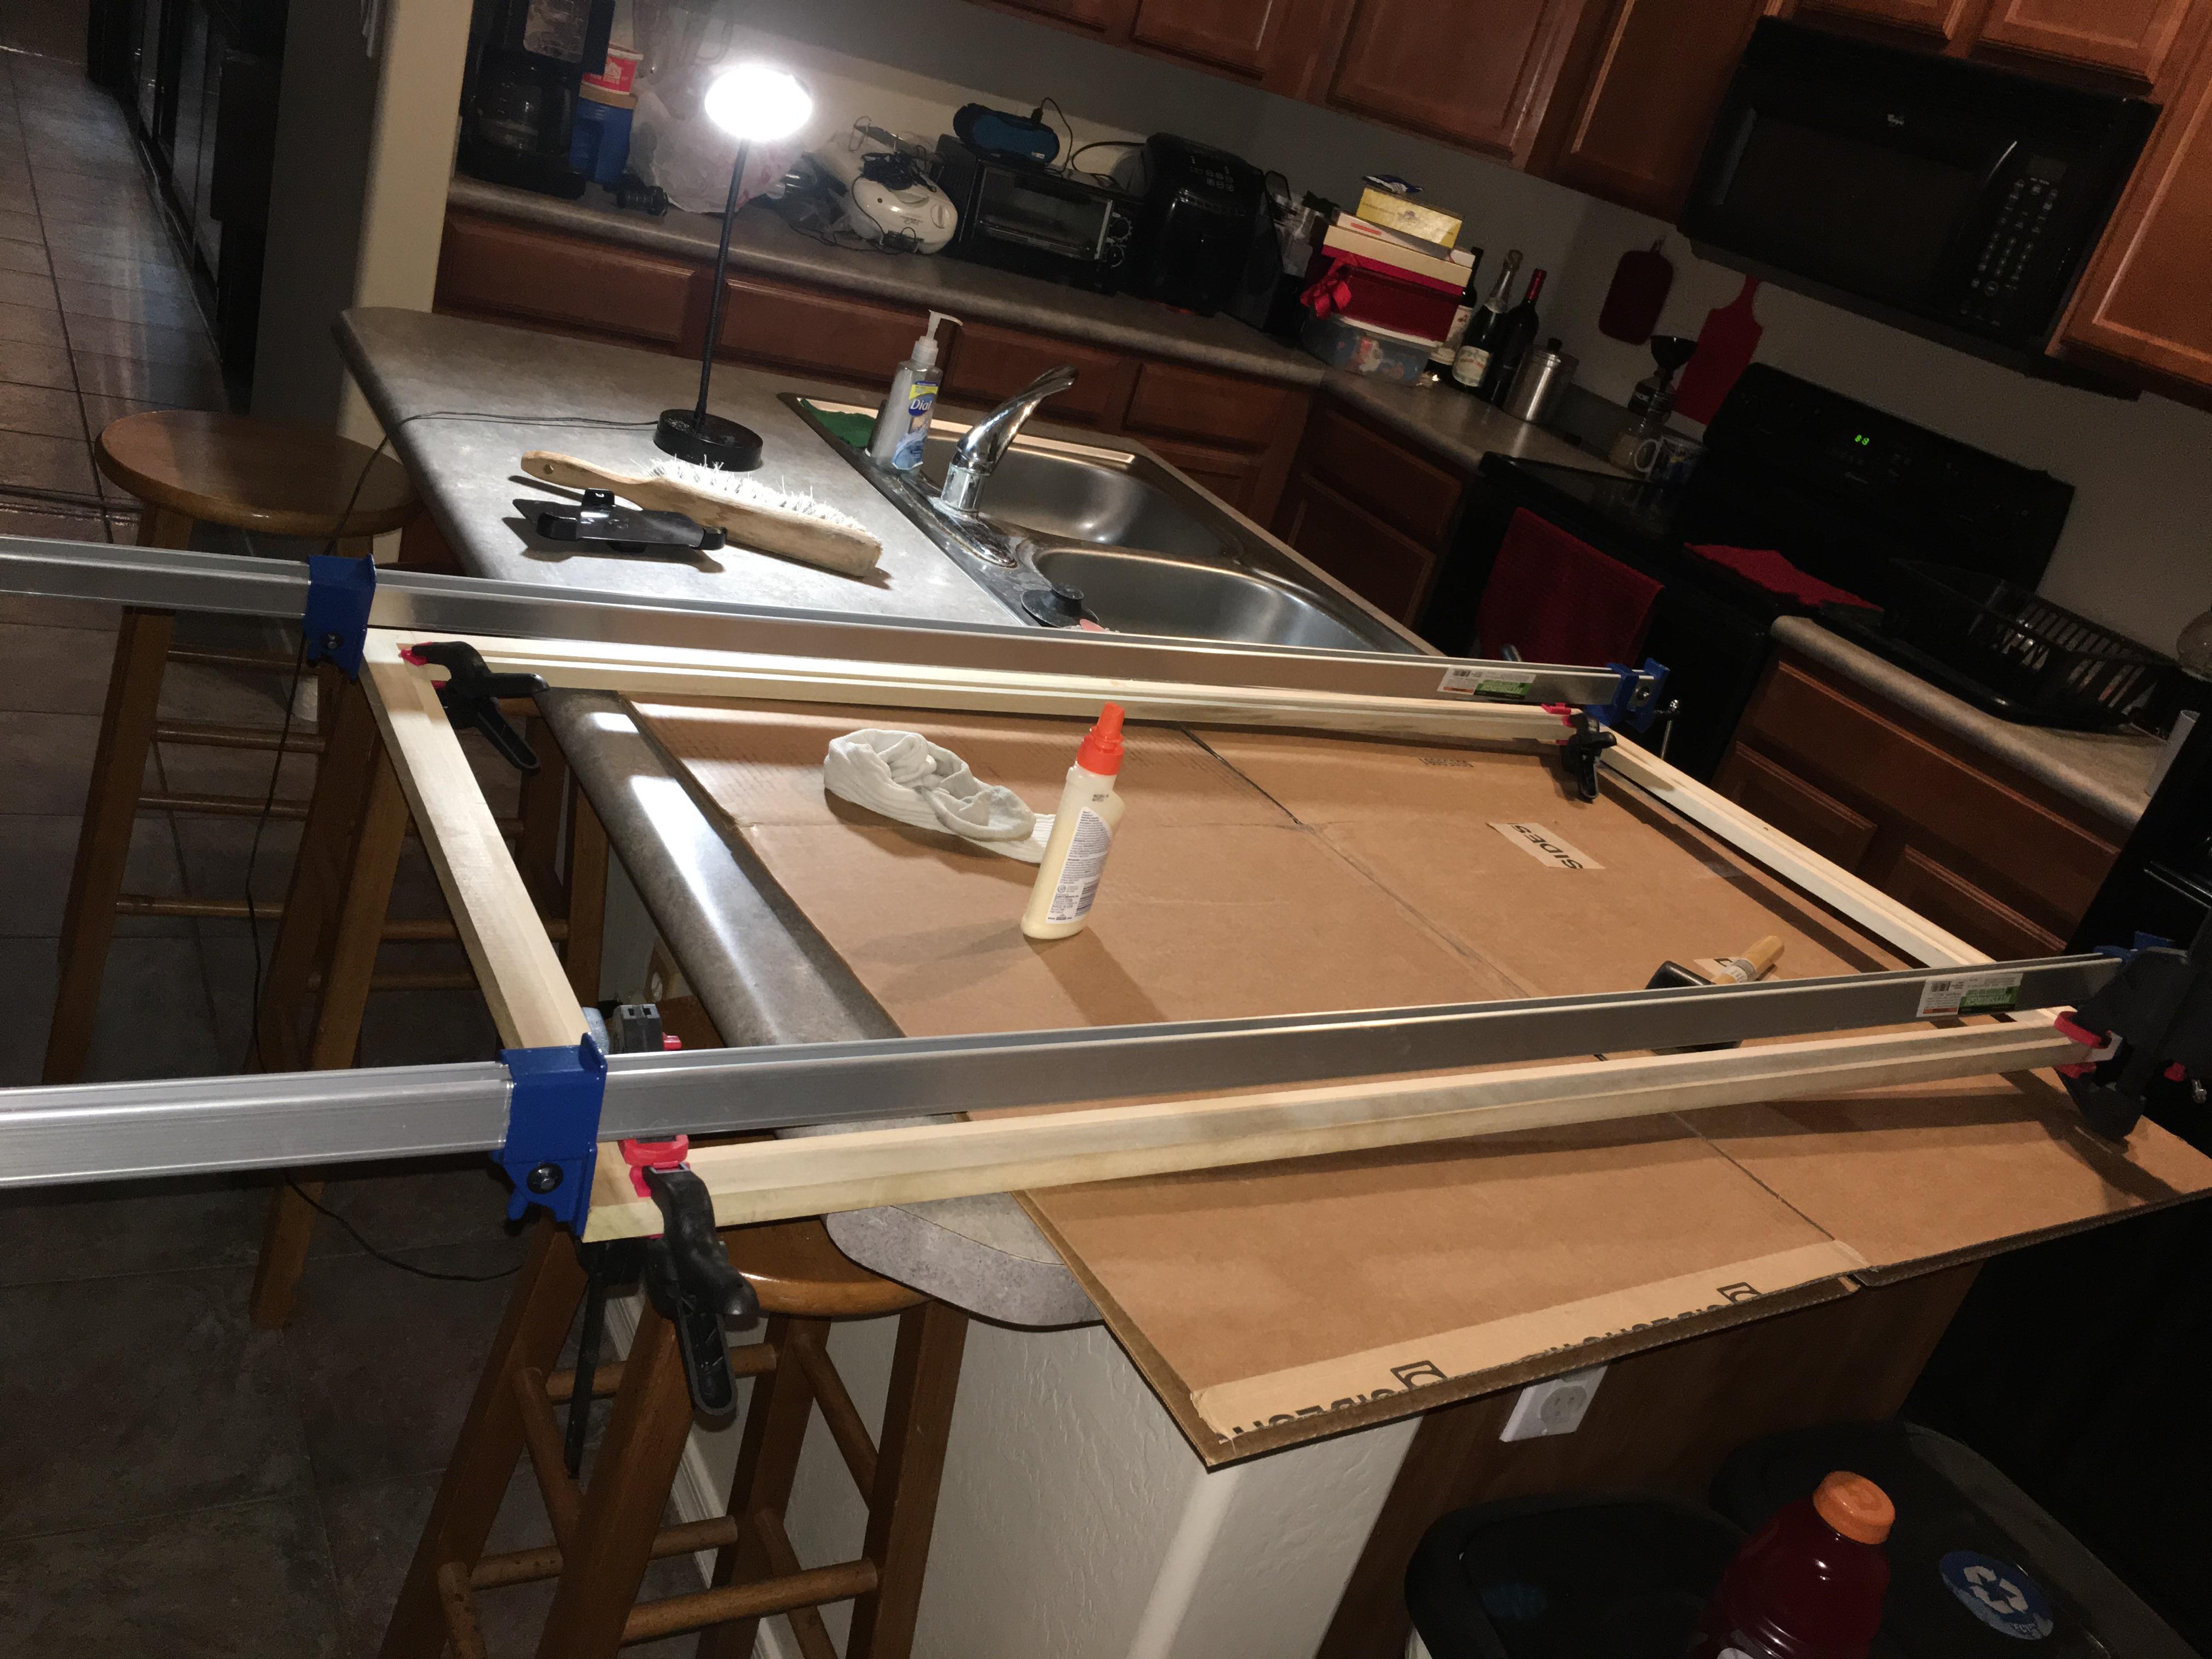
I used my fathers miter saw to make quick cuts and his router/table to make recess for the acrylic sheet.
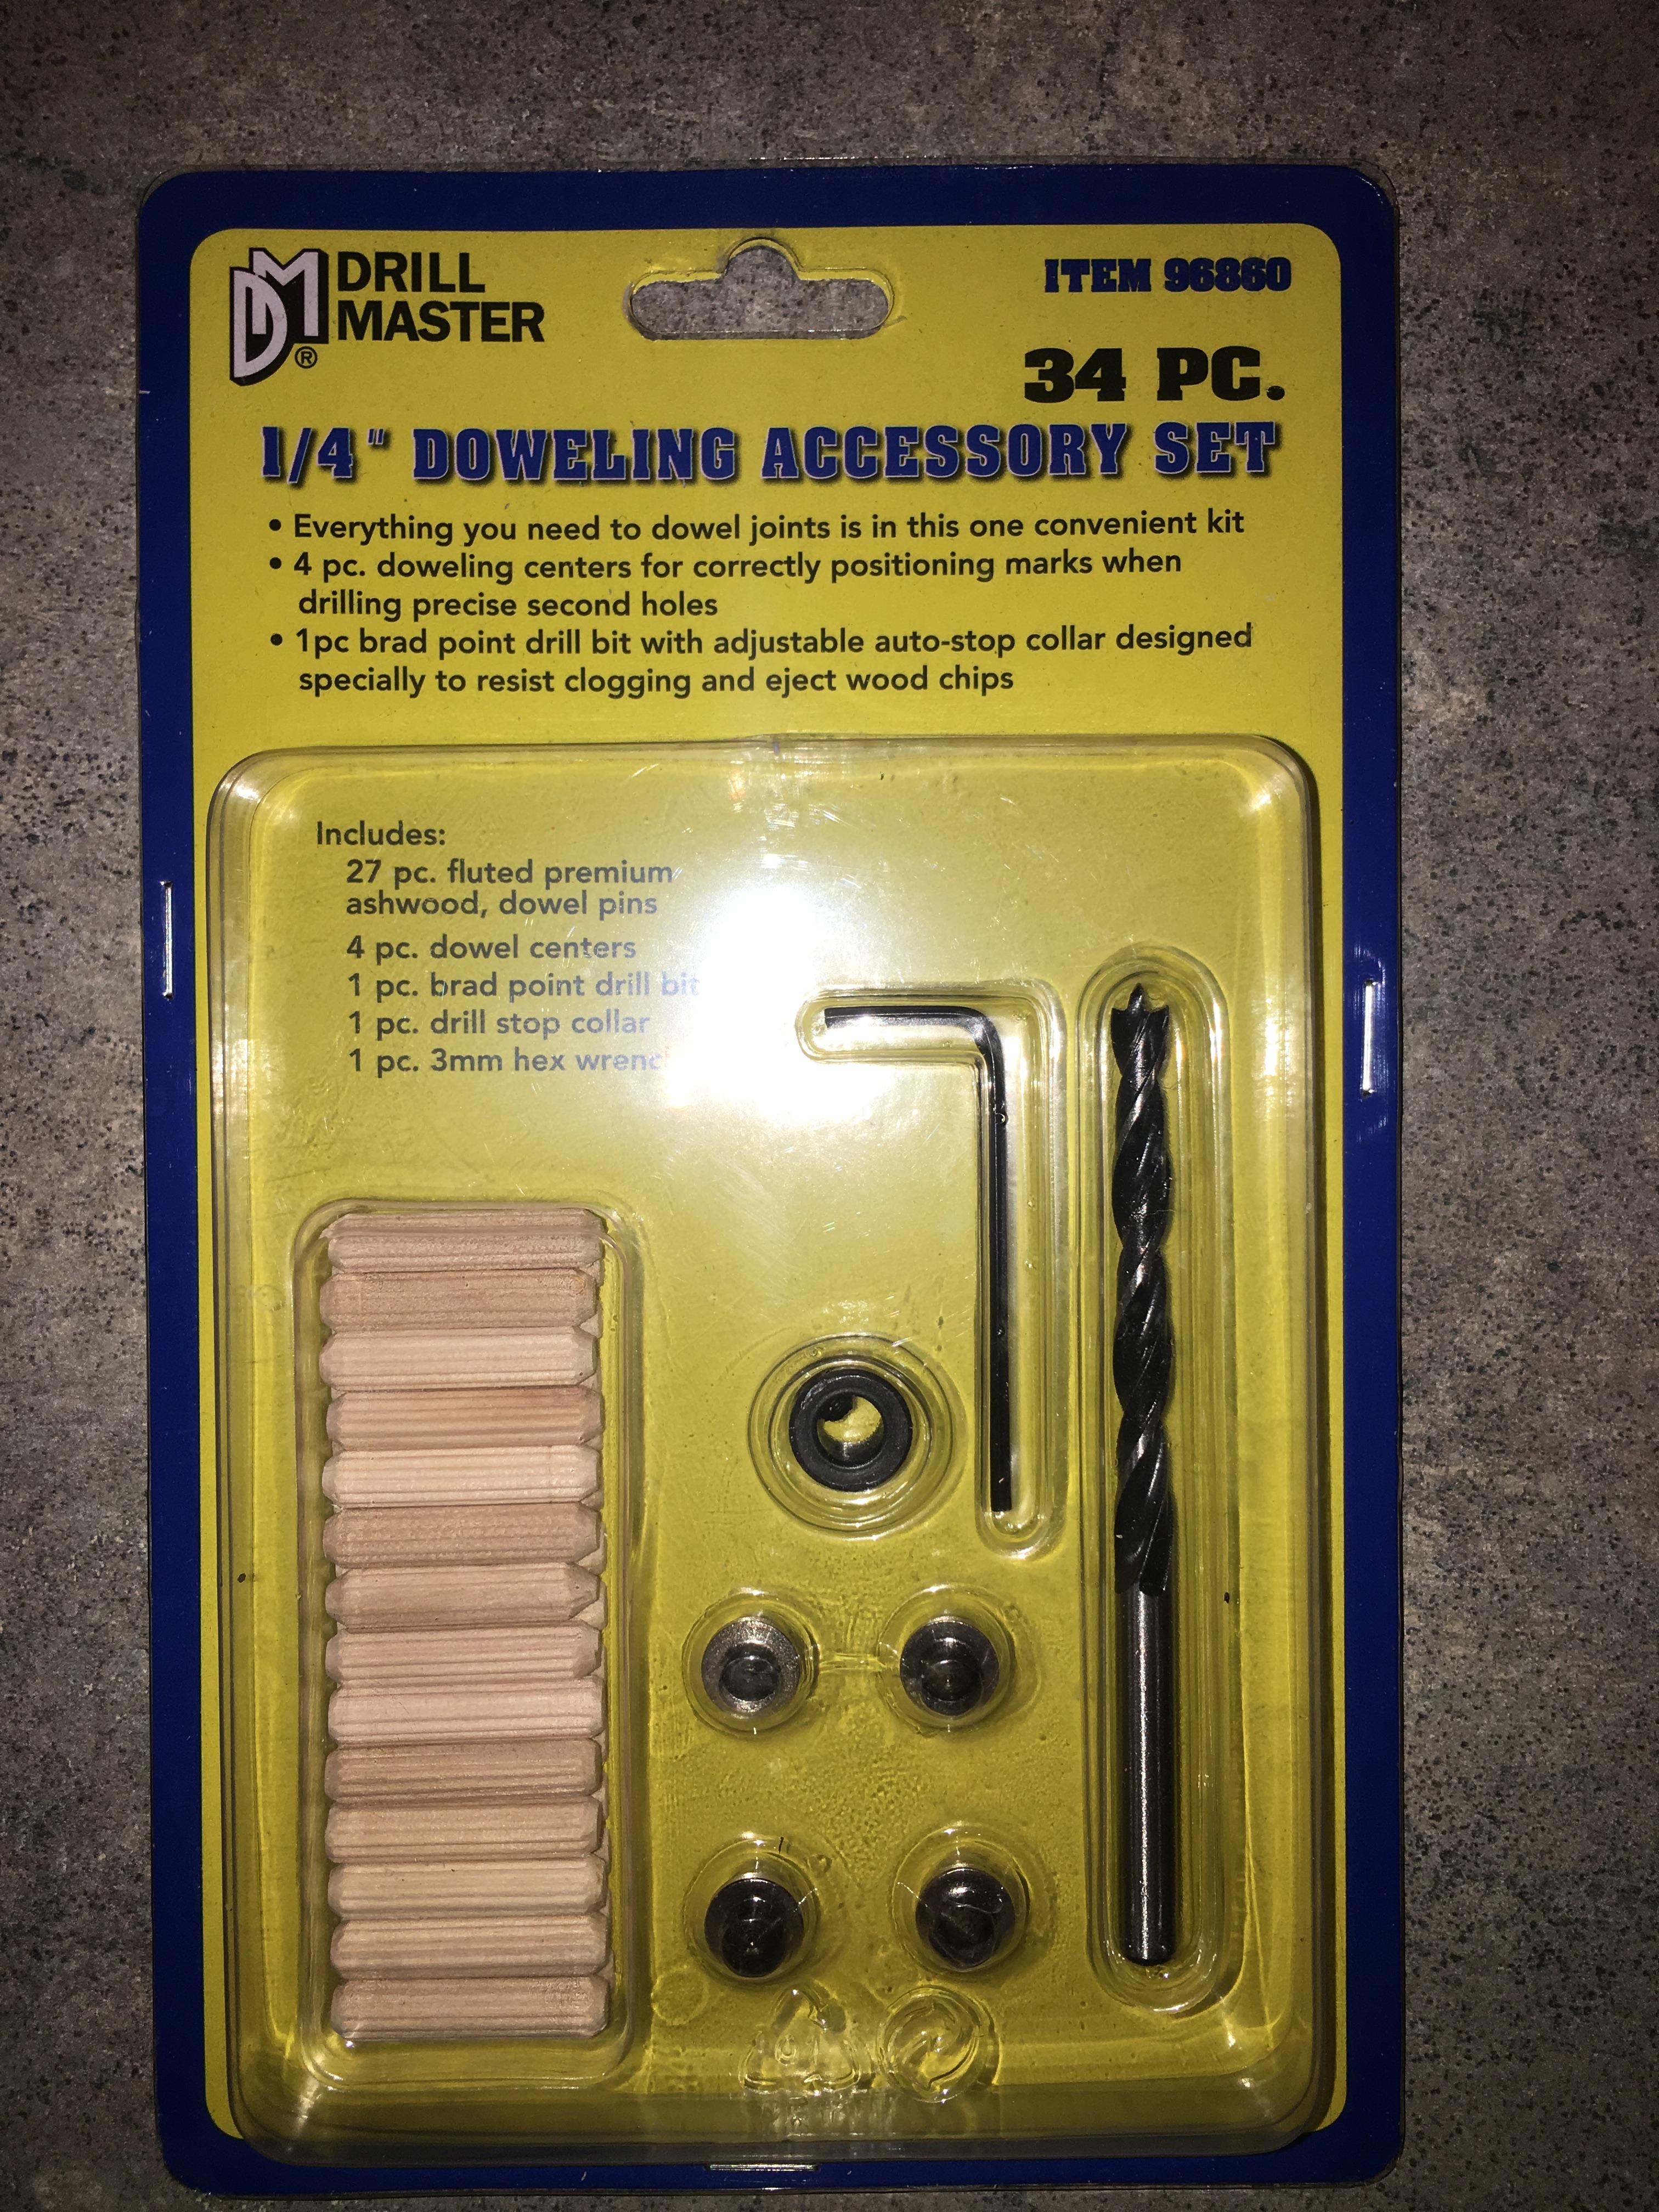
After watching tons of wood joinery videos I went with dowel joints. I bought this kit for a few bucks at Harbor Freight
Some other tools/things required, drill, table vise, wood glue, small clamps, long clamps, hand held sander, paint/brush.
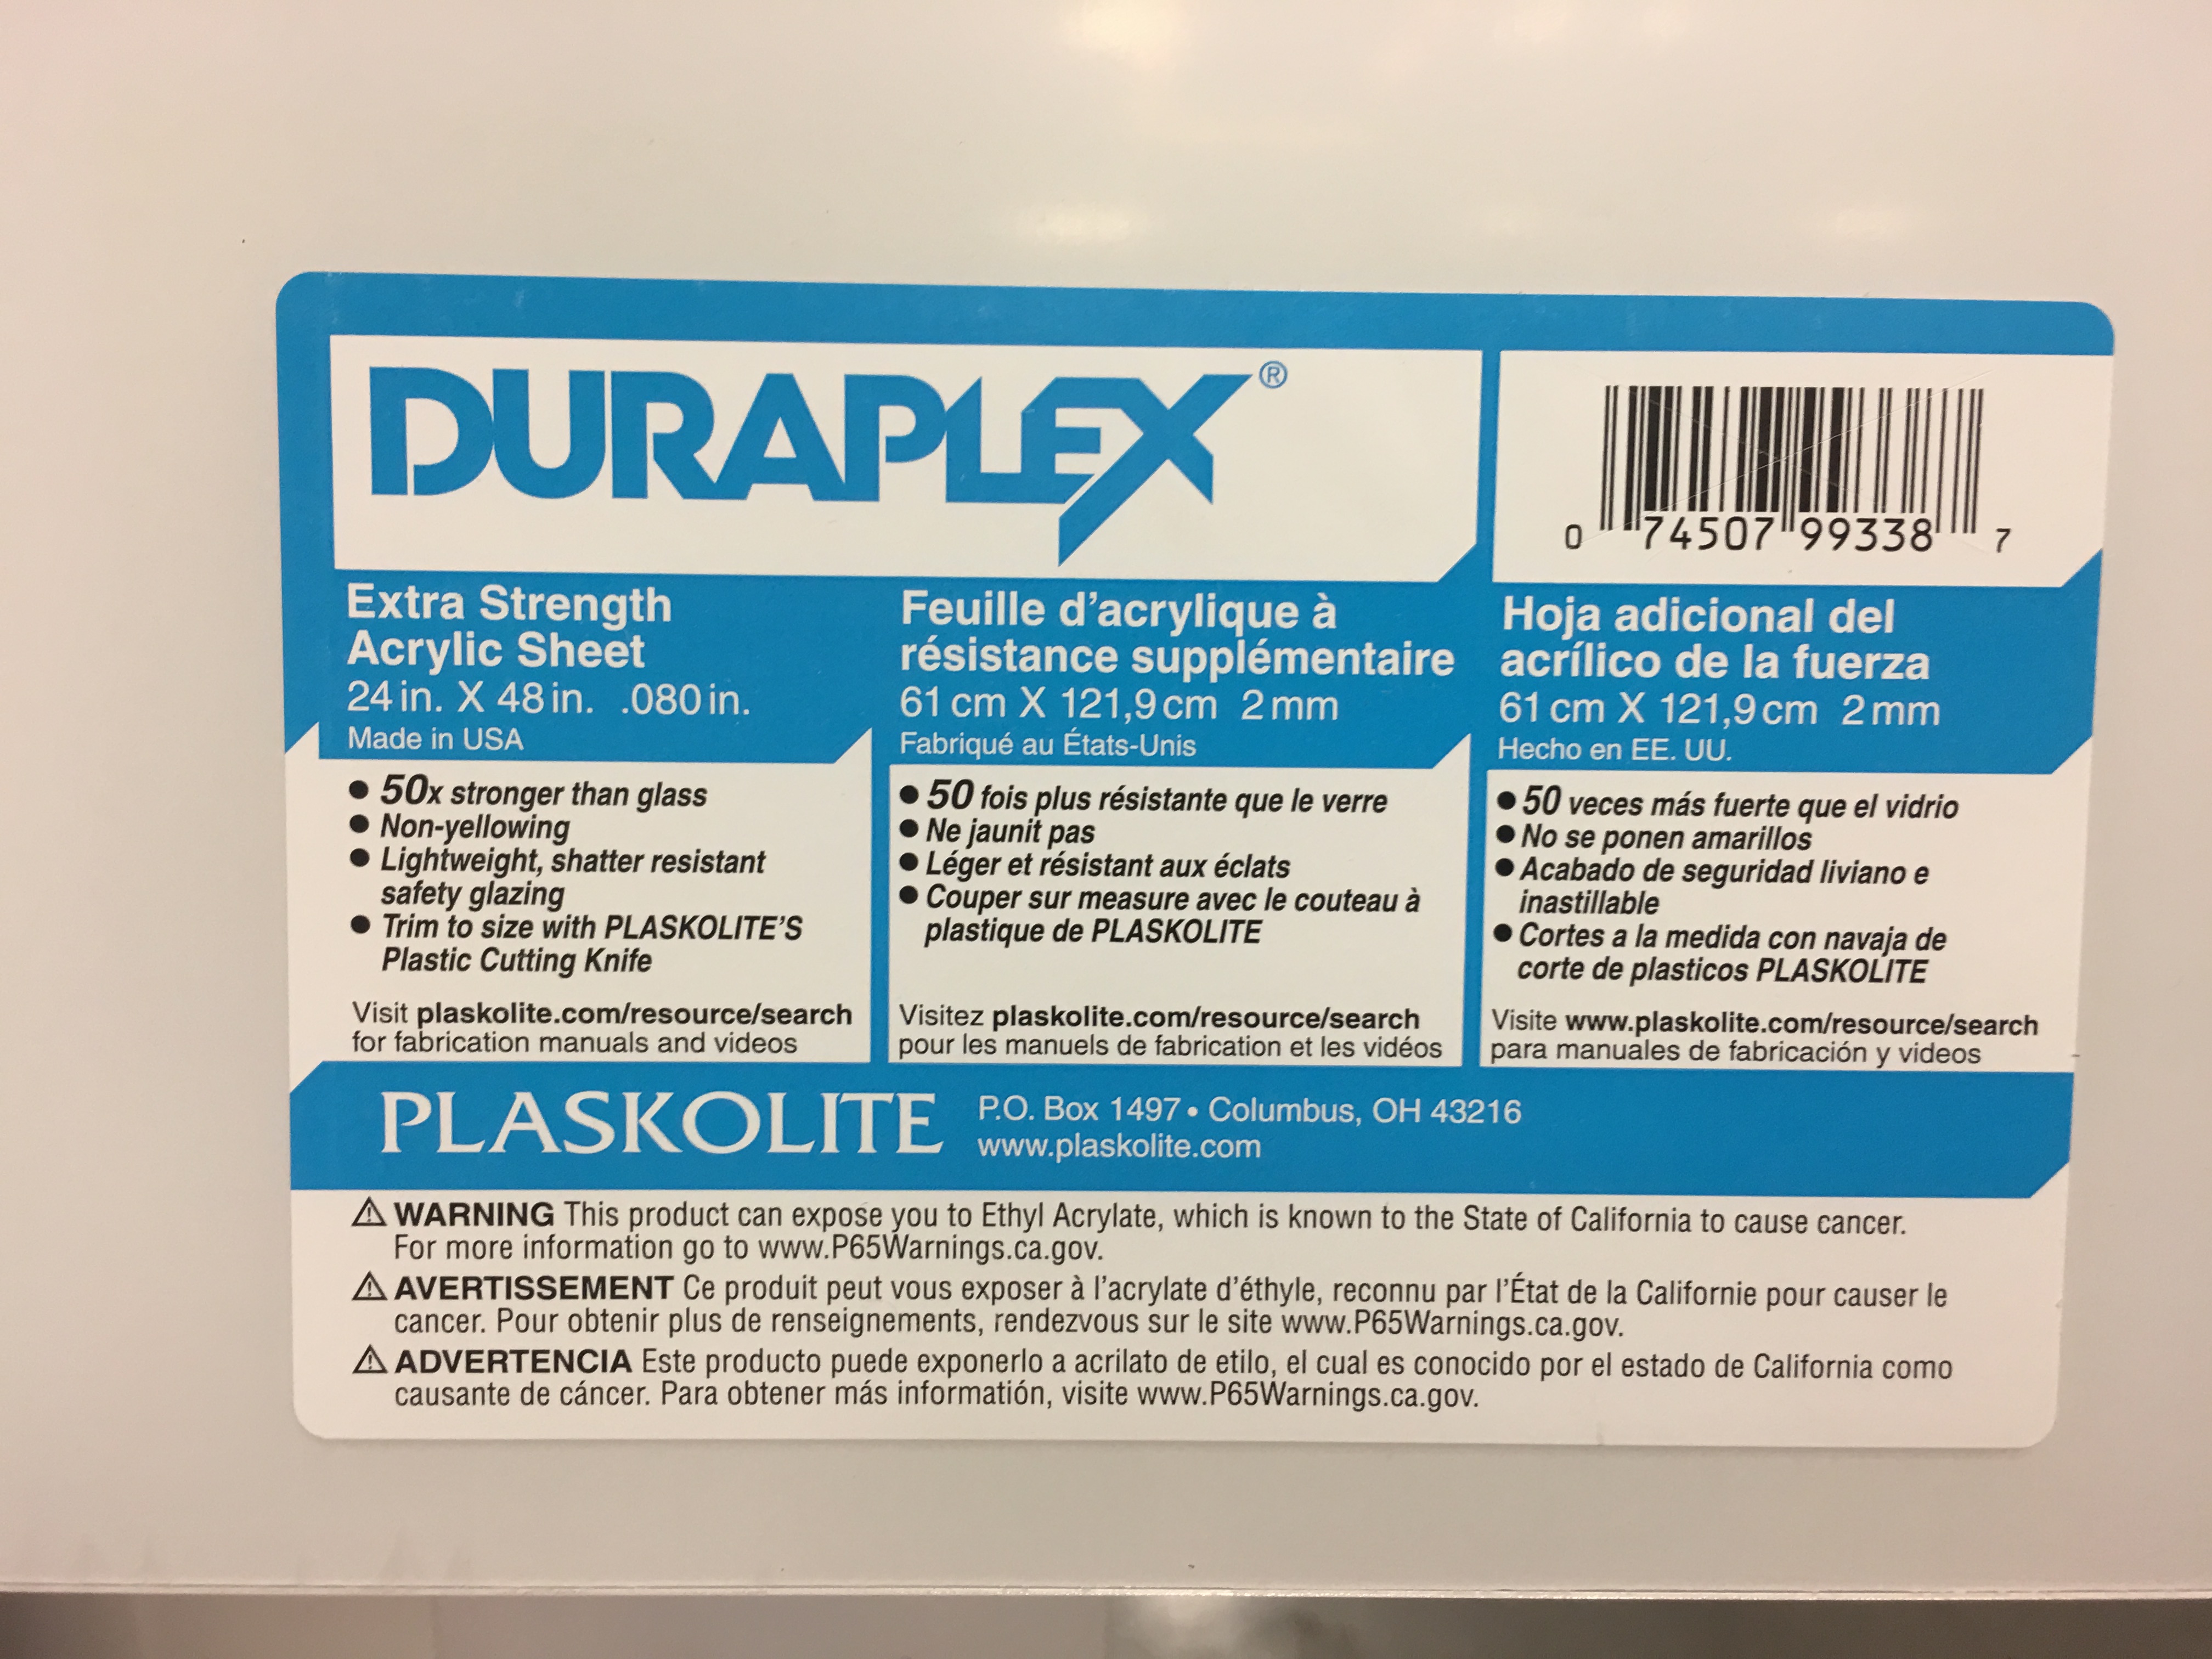
I went with these acrylic sheets from Lowes. They will cut the sheets to your size for you. I recommend taking a sharpie and measuring tape to the store with you. Make the cut marks before calling an employee over. Also leave a little room for error.
I used these clips from Amazon
https://www.amazon.com/gp/product/B0030GOZ6G/ref=ppx_yo_dt_b_asin_title_o05_s00?ie=UTF8&psc=1
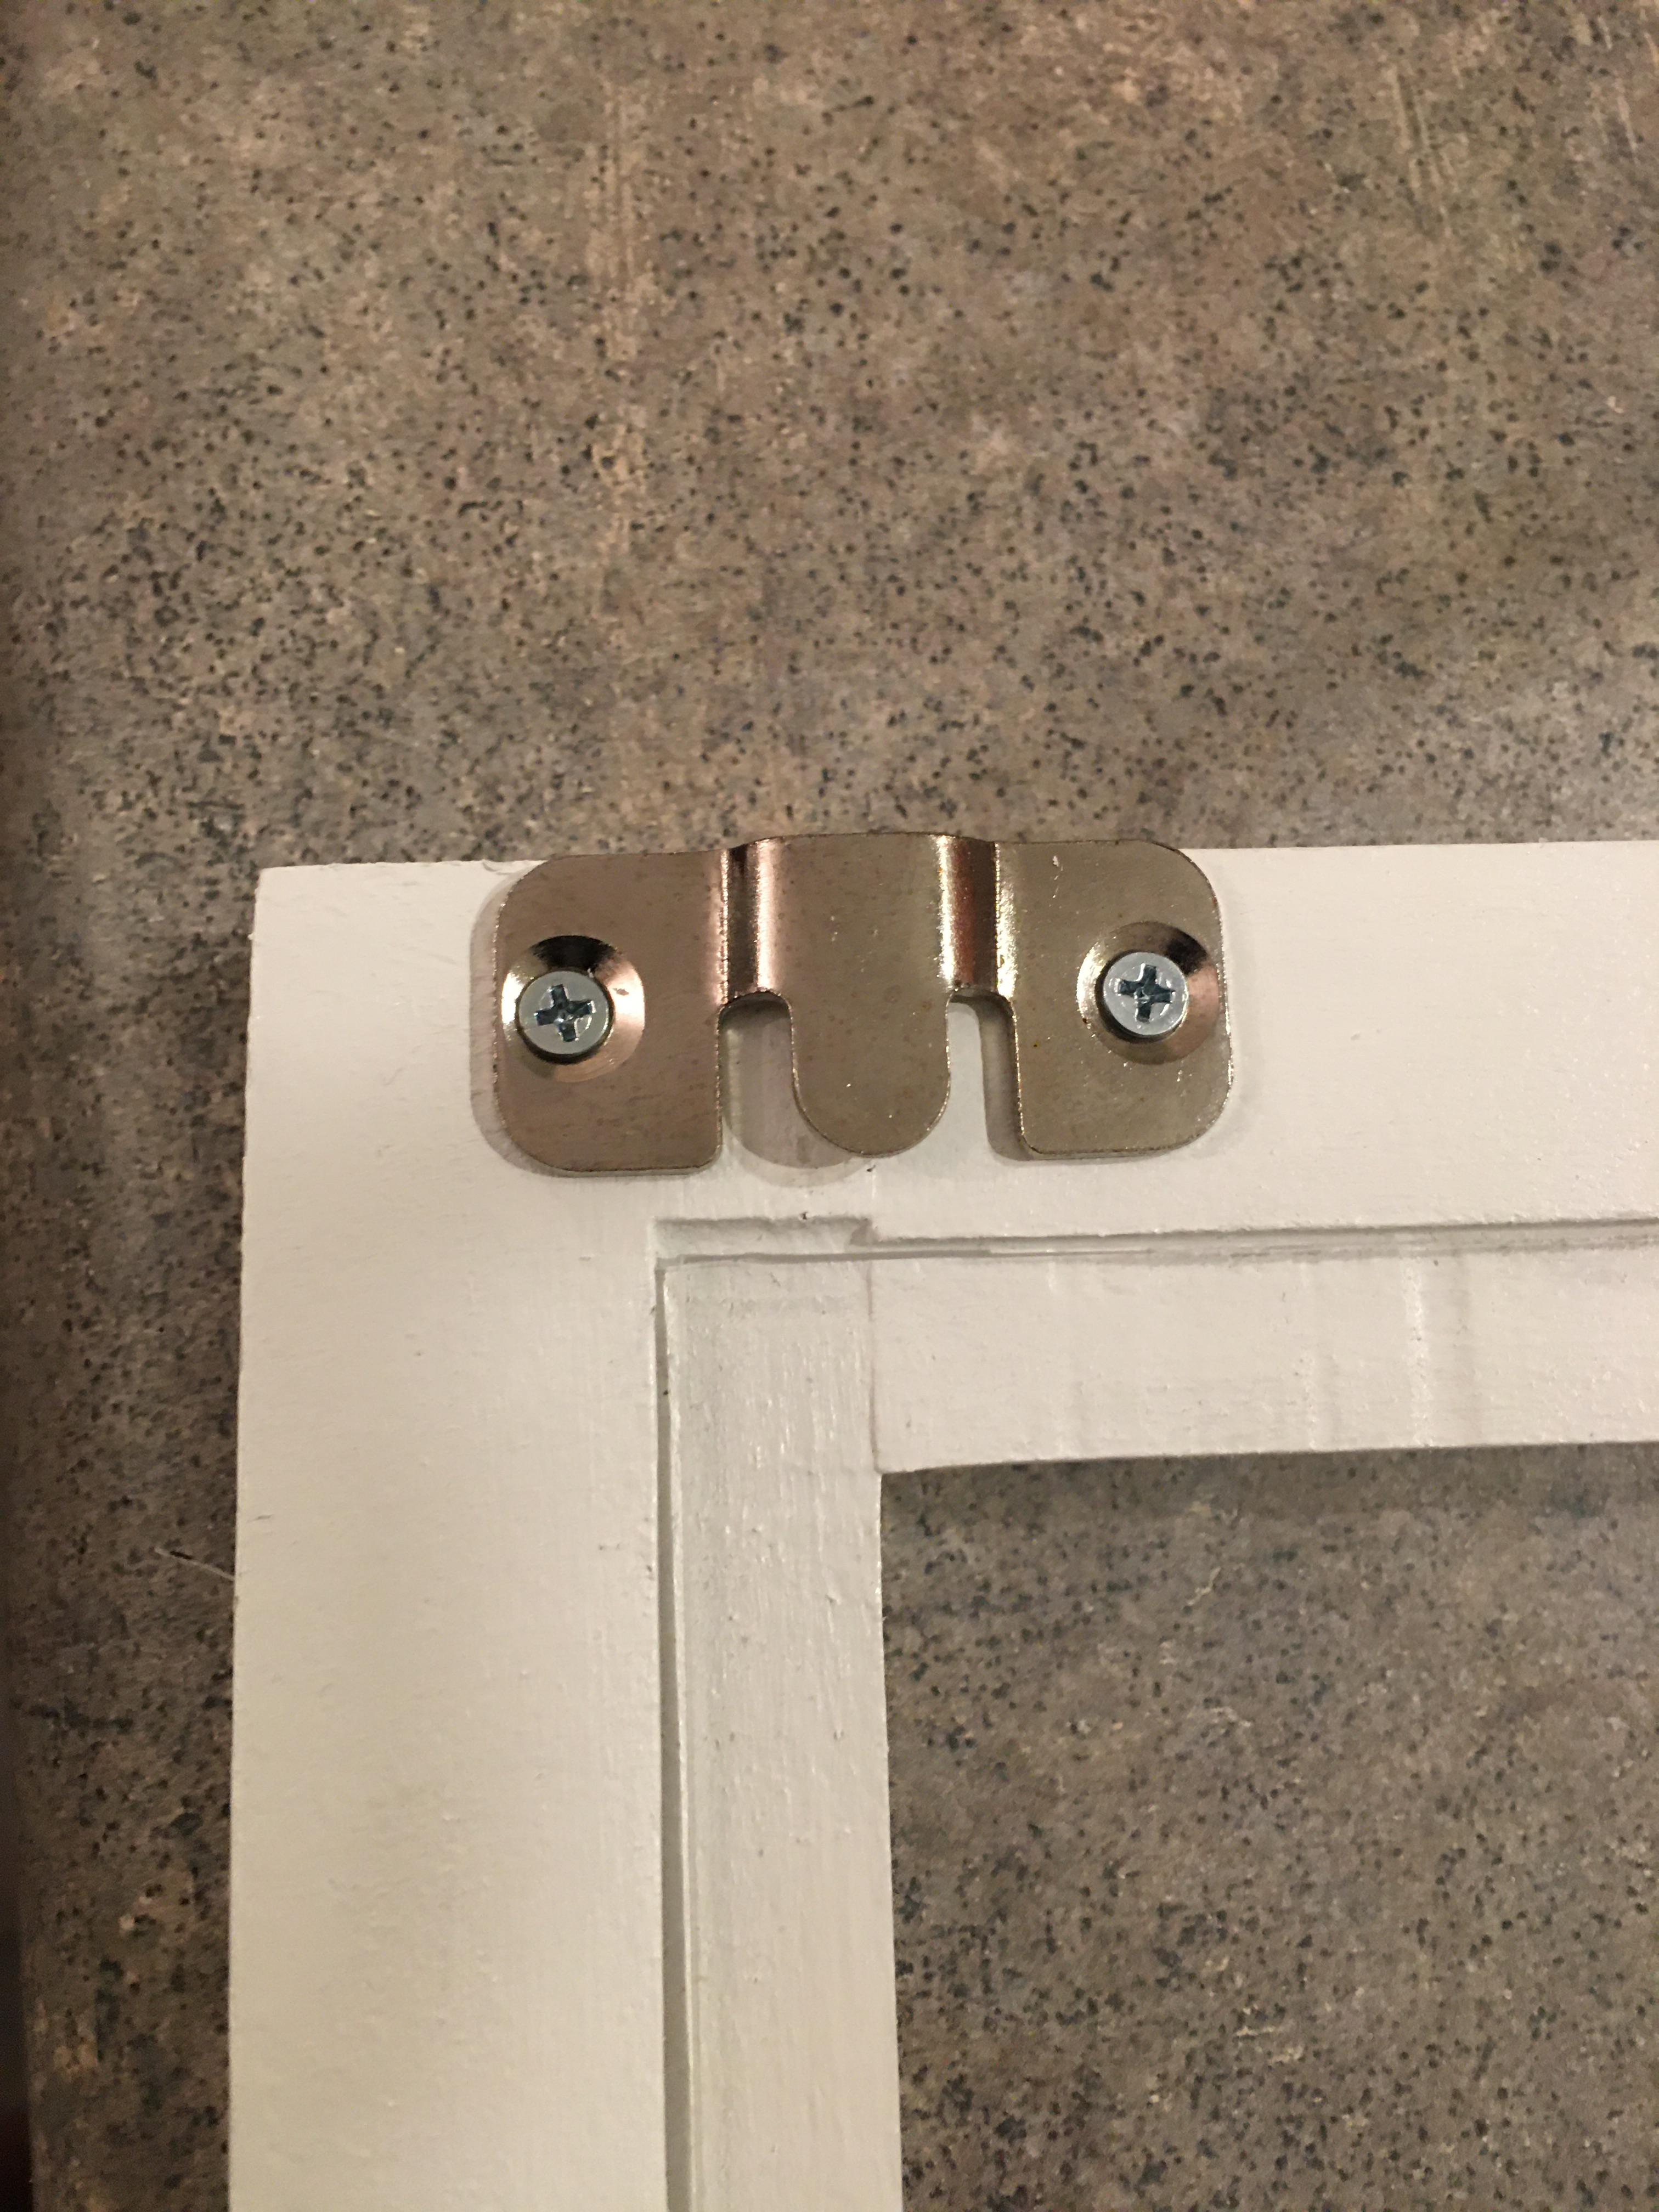
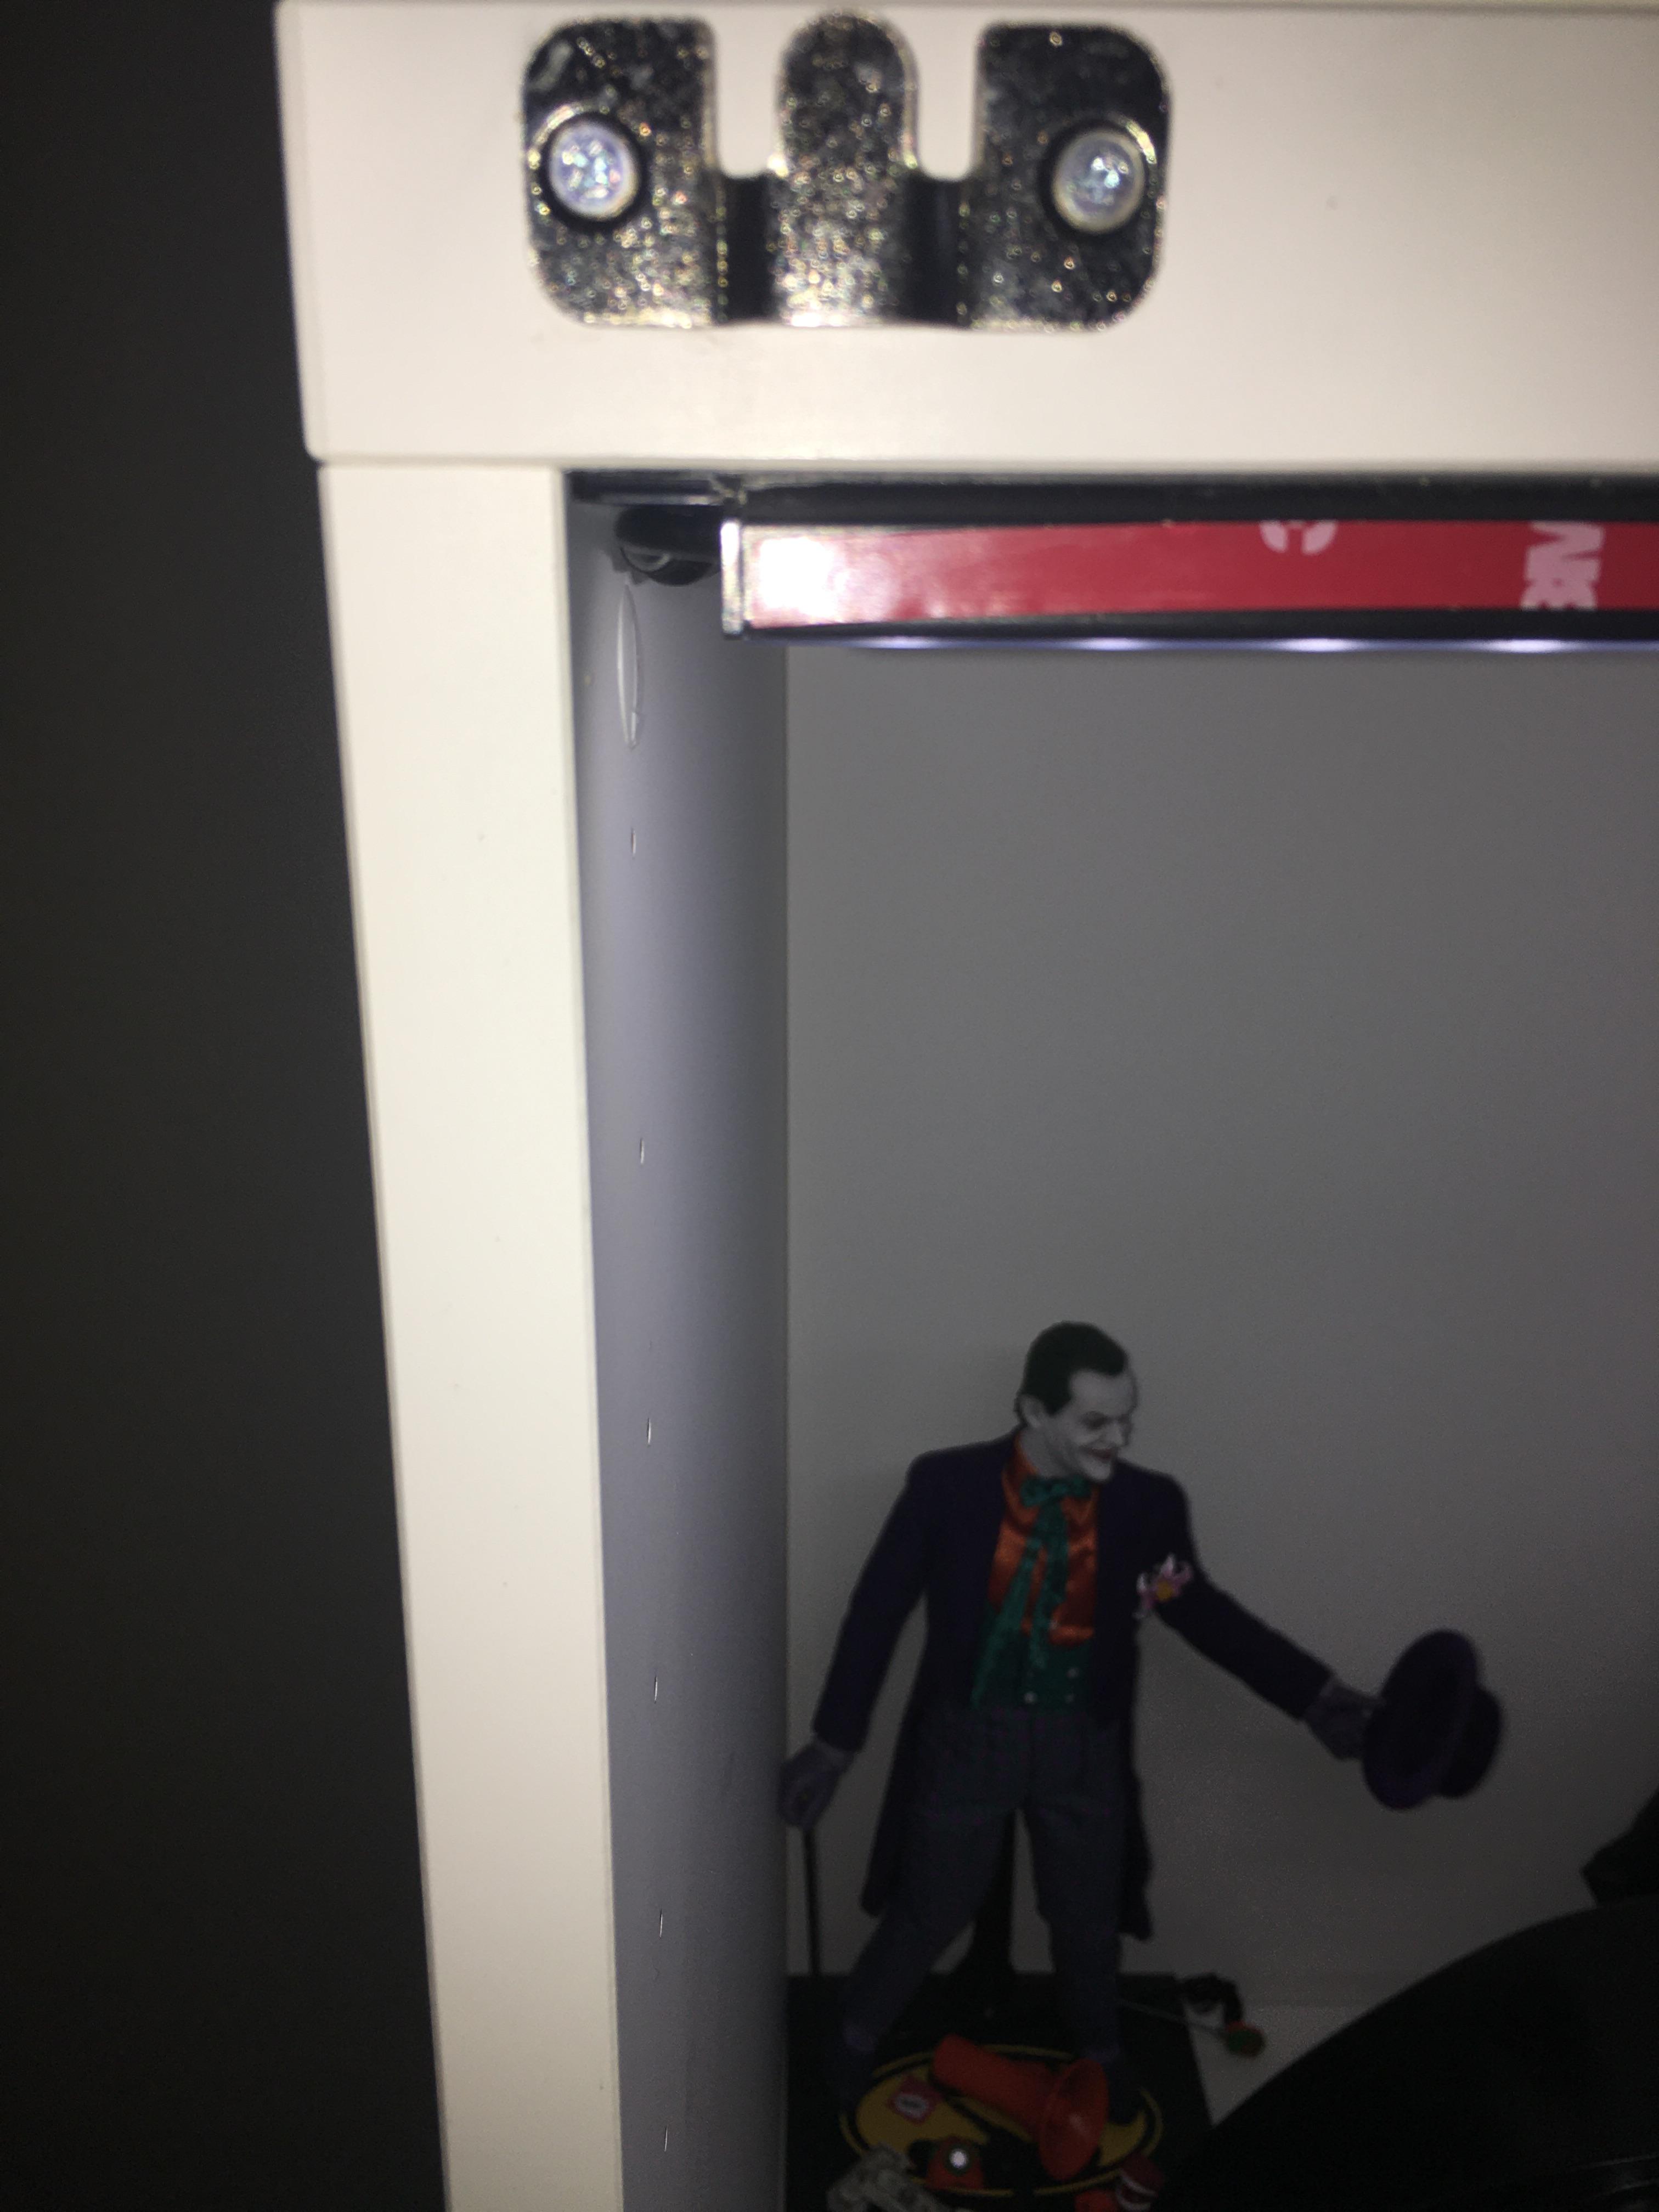
I decided not to use hinges, instead I used these picture hangers near all four corners, so the "doors" slide off instead of swing open. They are from Amazon
https://www.amazon.com/gp/product/B07K6HVYP5/ref=ppx_yo_dt_b_asin_title_o02_s00?ie=UTF8&psc=1
They are not as flush as I would like so I will use some kind of weather seal strips to keep out the dust.
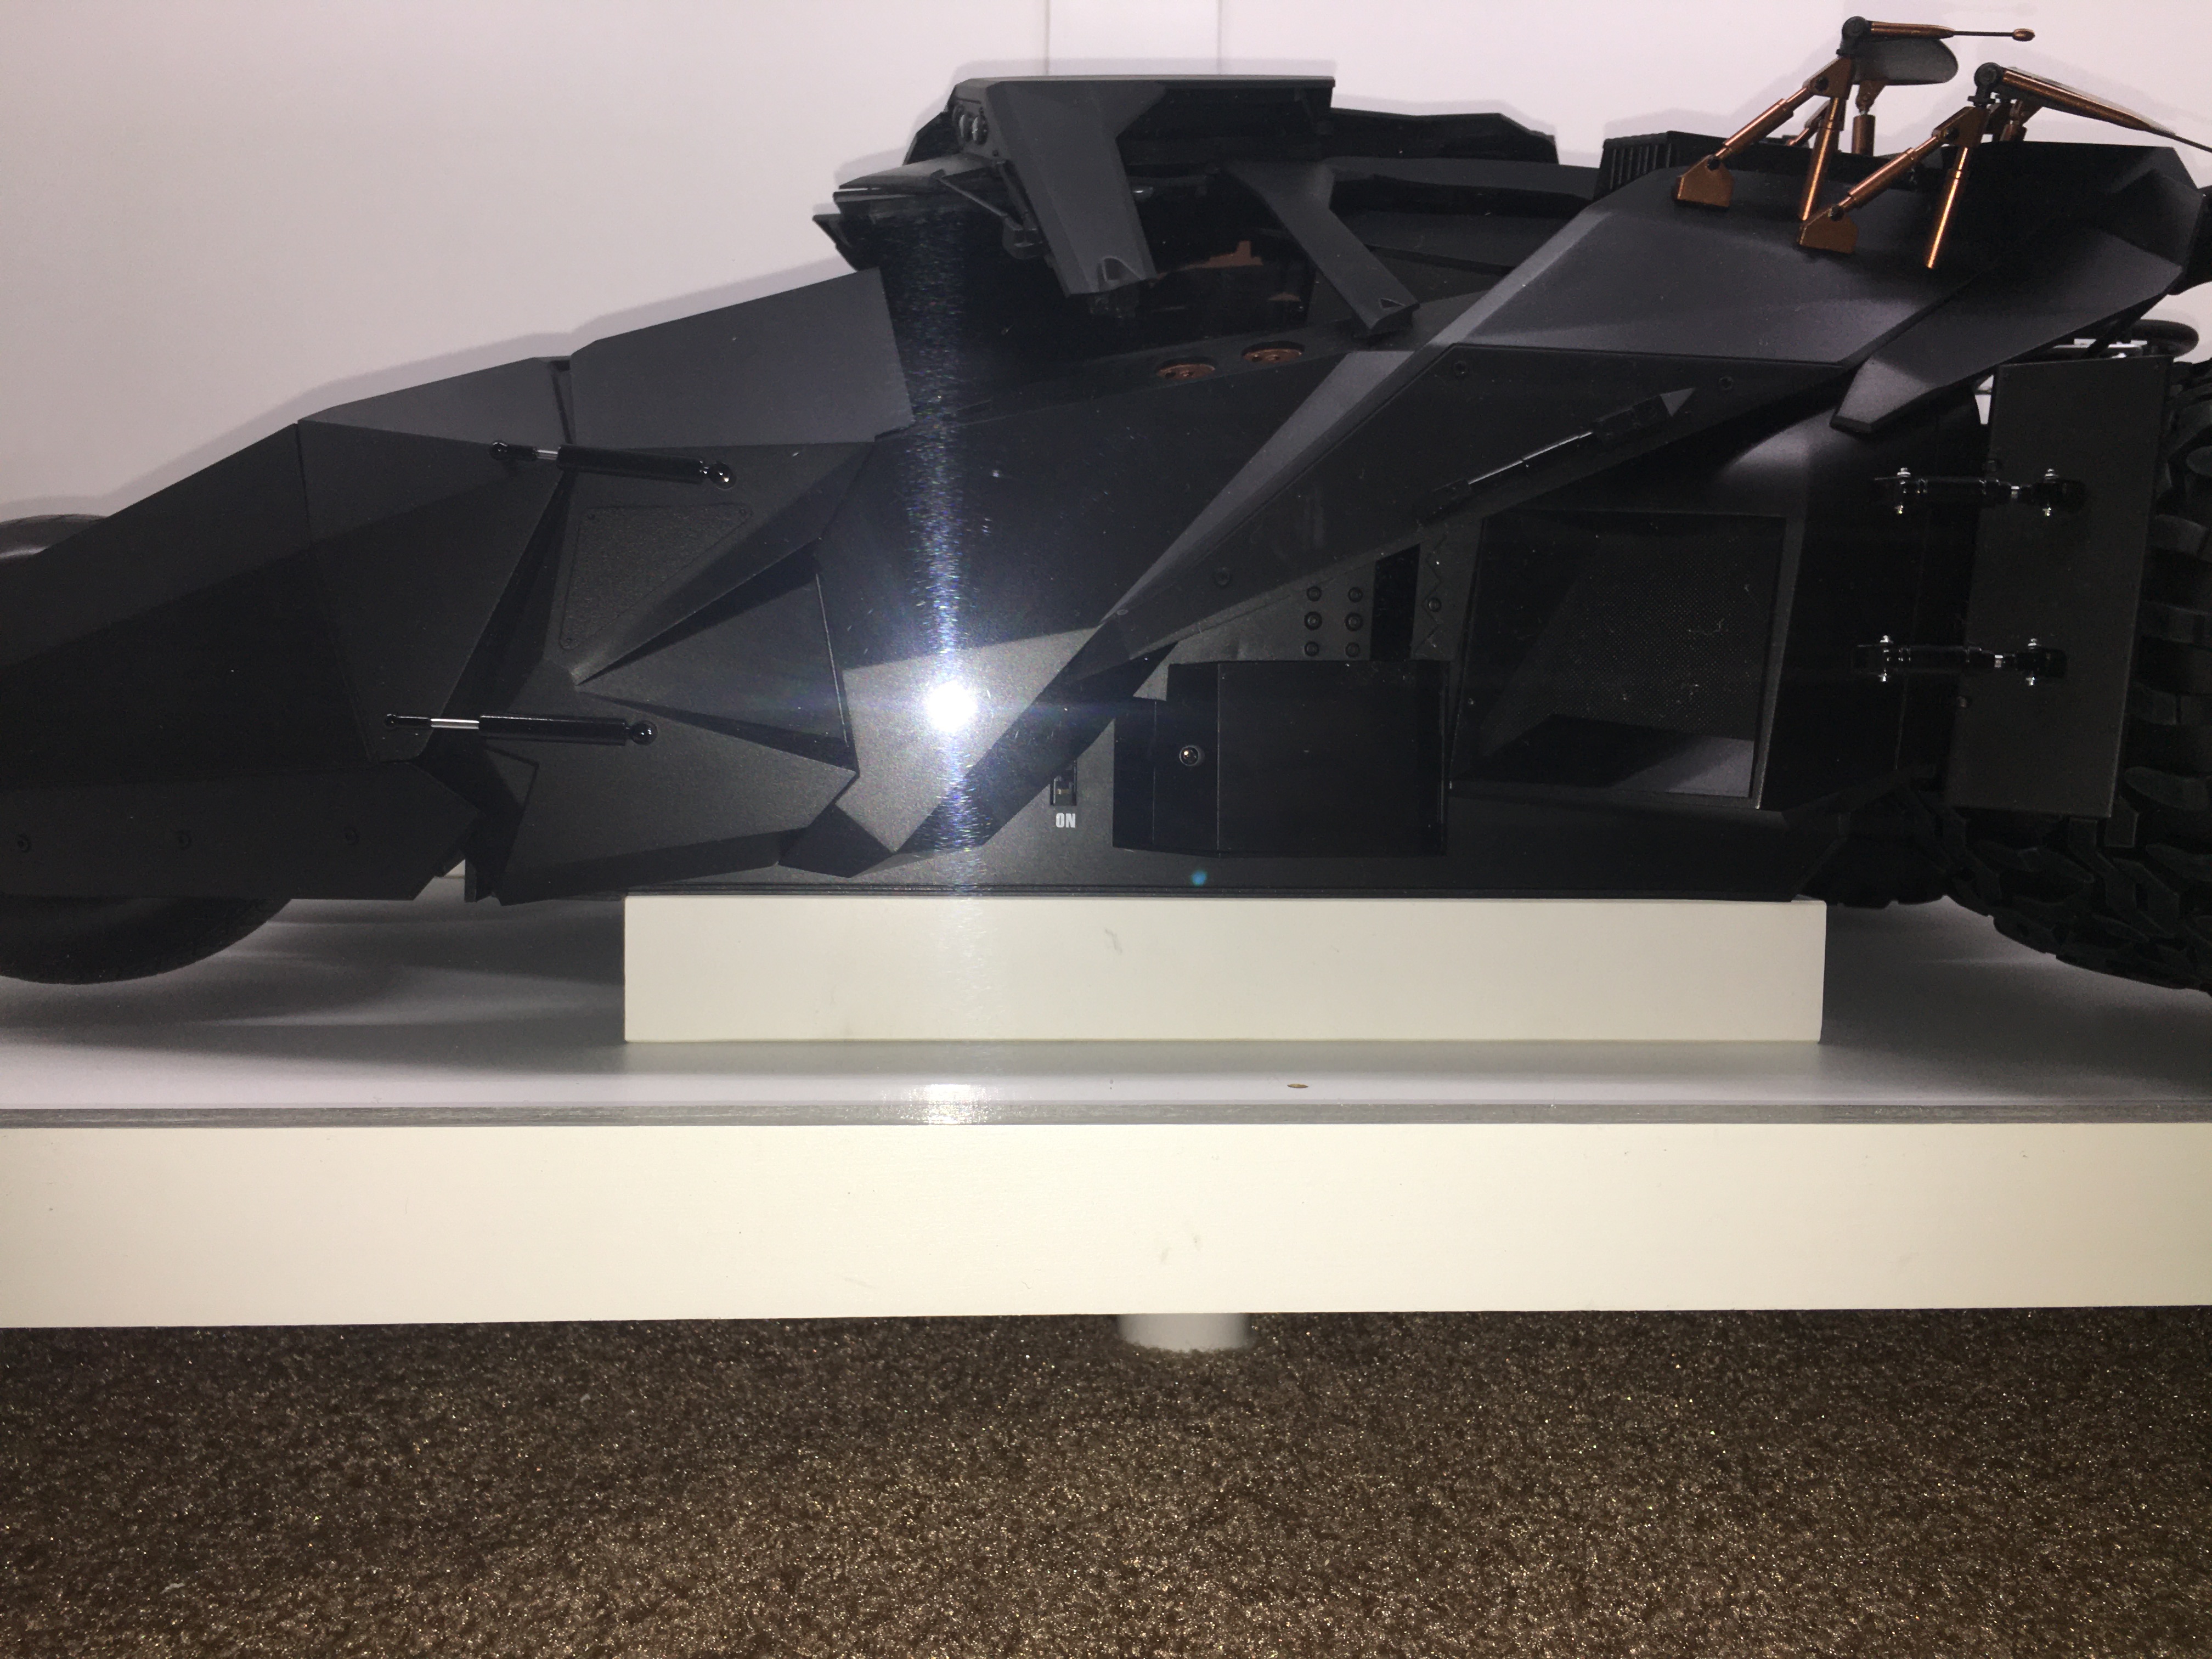
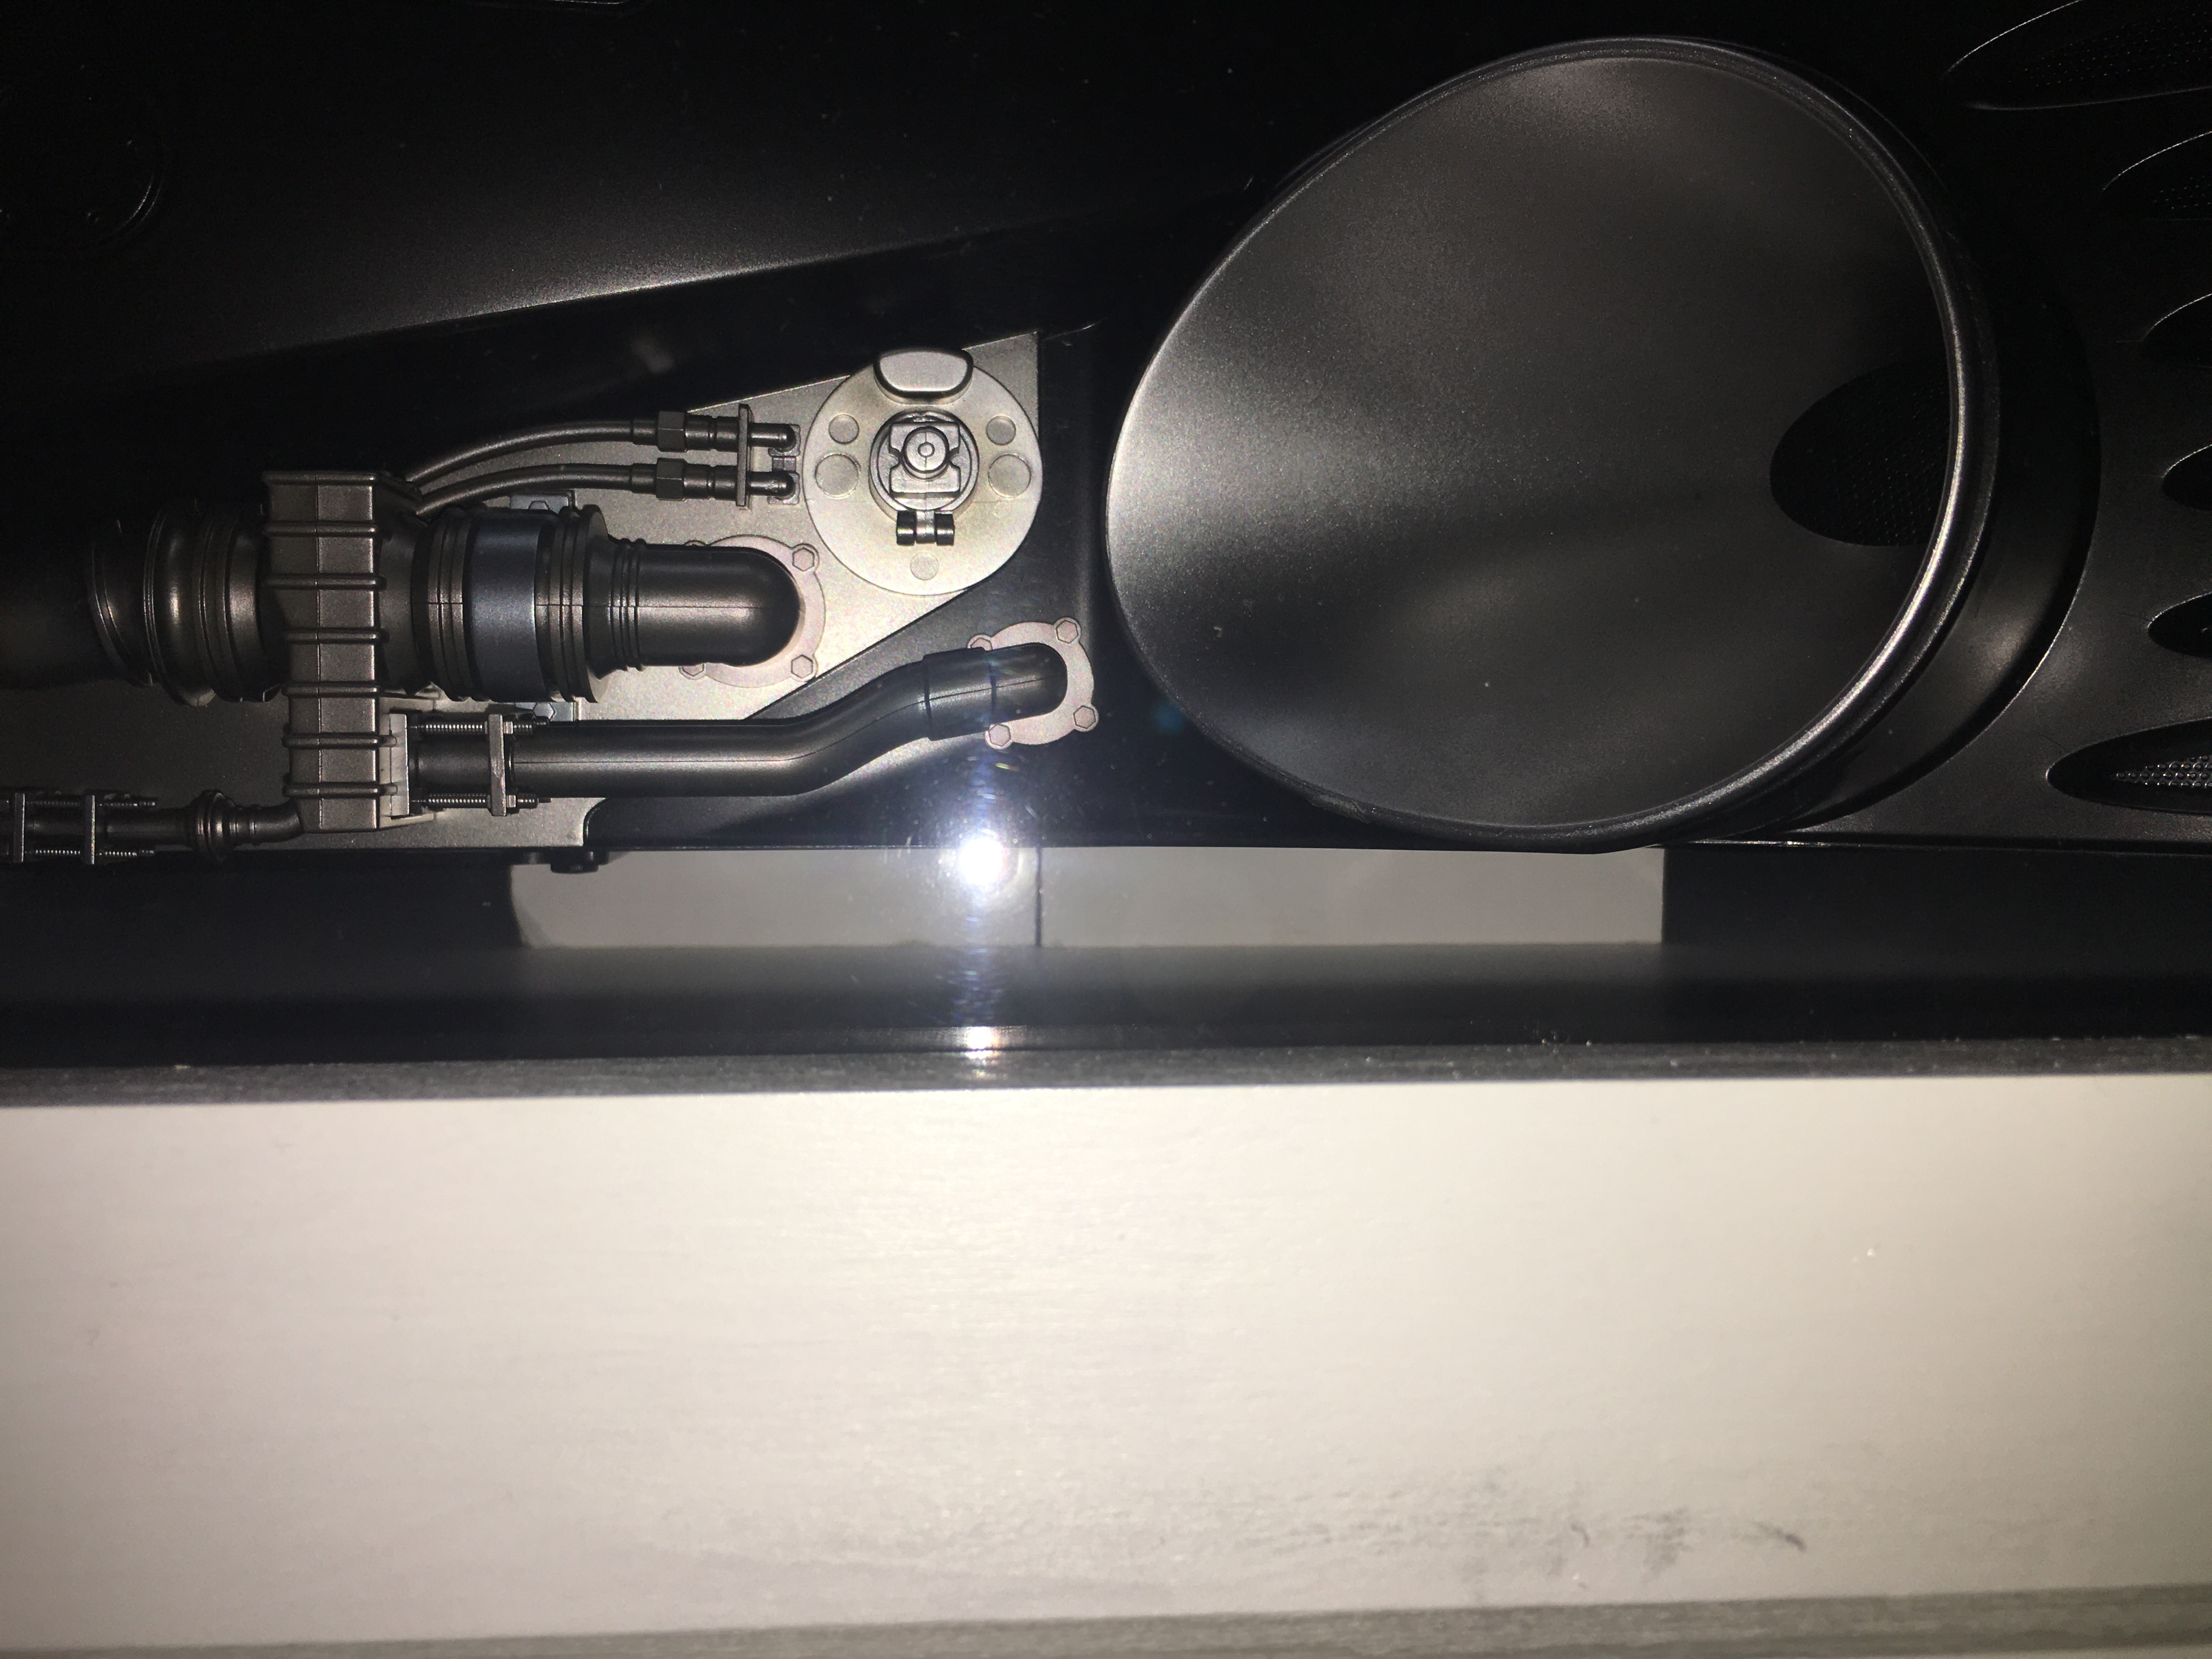
As some have noticed the rubber tires can leave marks on shelves. I cut a section out of the unused middle wall to raise the Tumbler slightly off the "ground".
Also used a small scrap of wood to do the same for the 89 Batmobile.
Hopefully this helps anyone else who wants to do this.