The Side of the Show
Super Freak
- Joined
- Jun 1, 2011
- Messages
- 729
- Reaction score
- 0
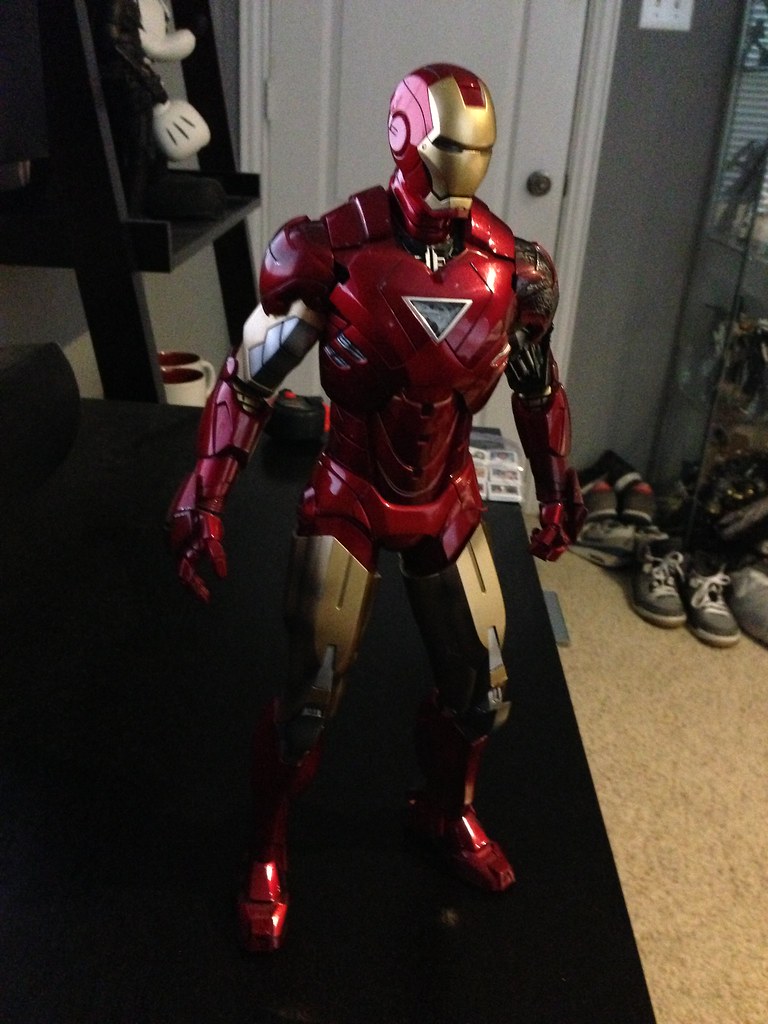
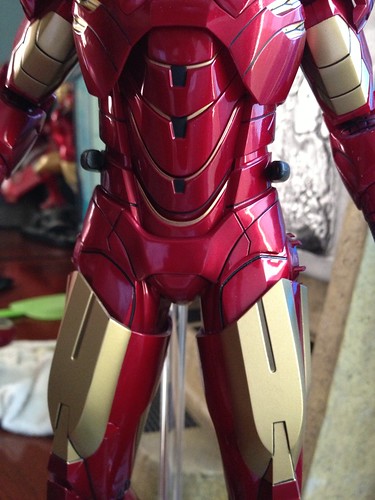
I have no problems with my Mark VI yet, but need to prepare myself on the issue!


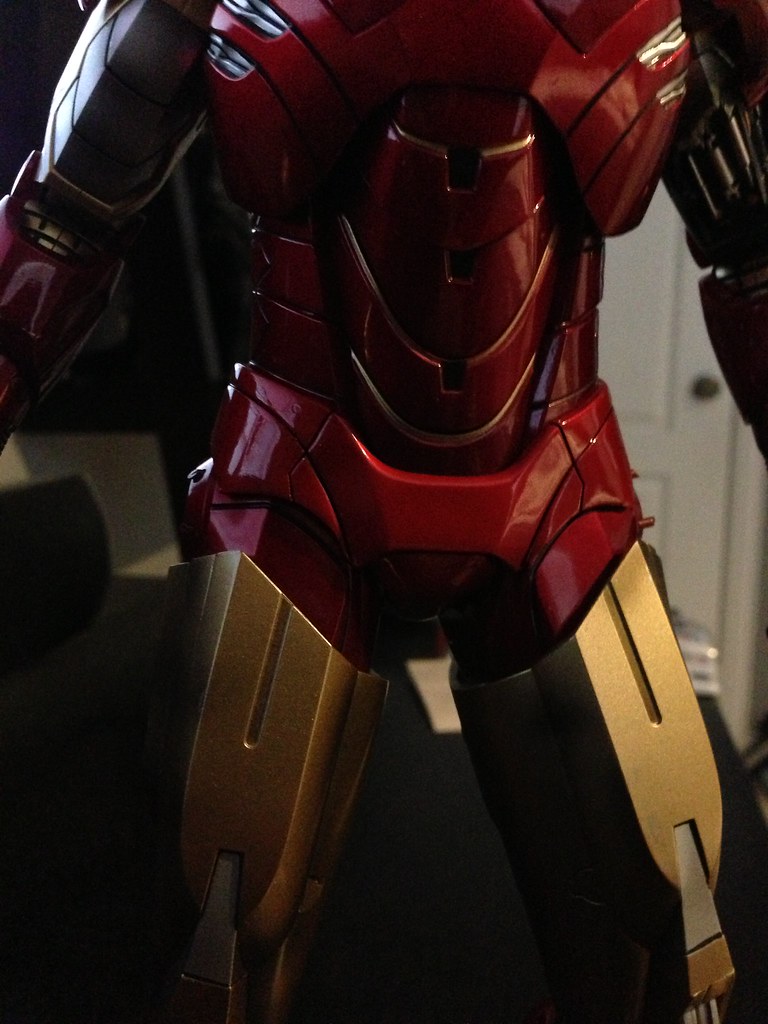
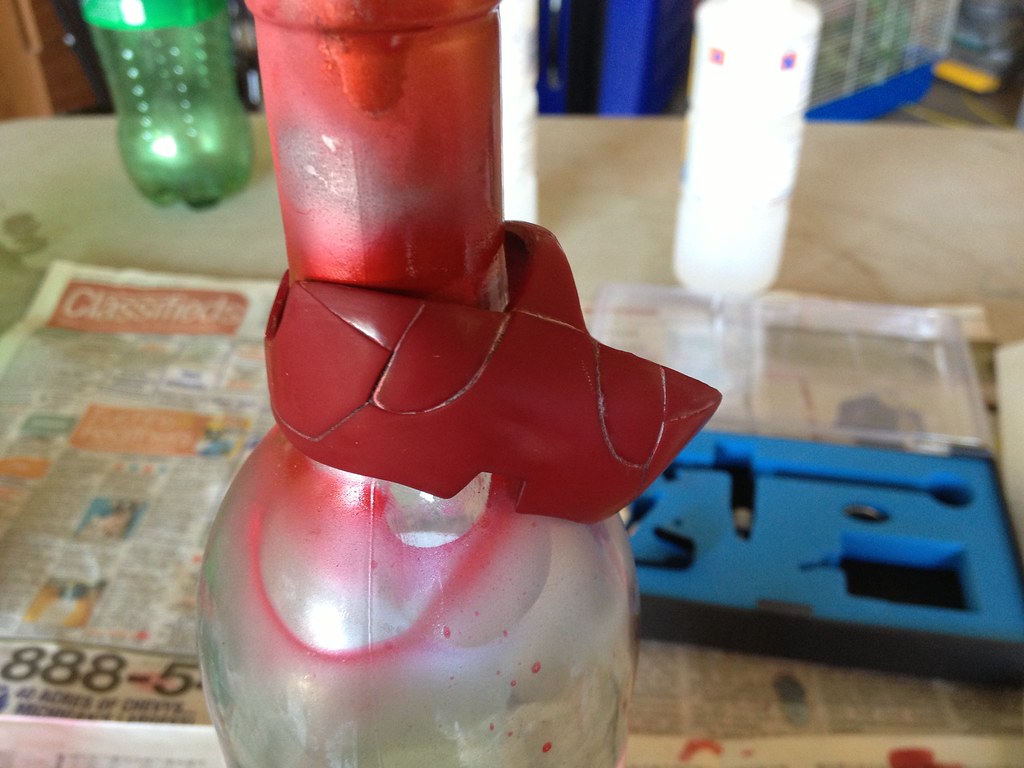
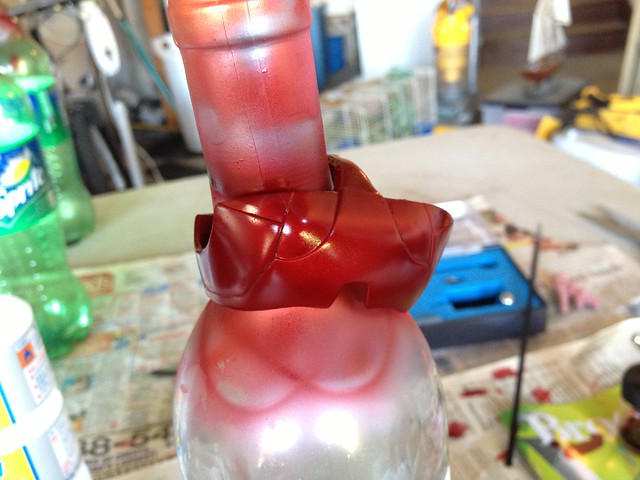
My Mark VI had light/medium fading on the underpants. I researched several solutions and decided the easiest and safest solution was to spray paint it. I bought Tamiya clear red and tested it on a penny, but it was way too bright.
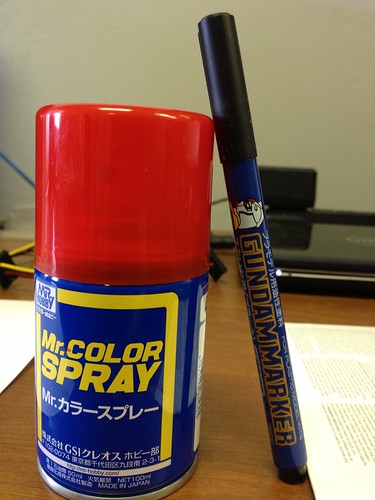
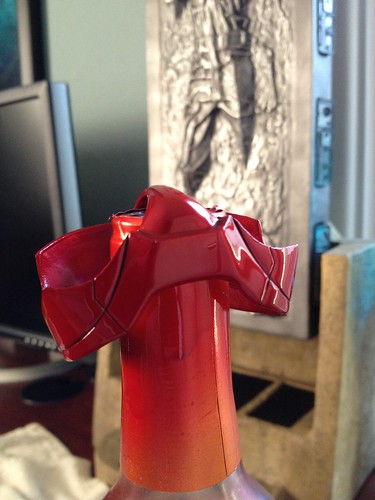
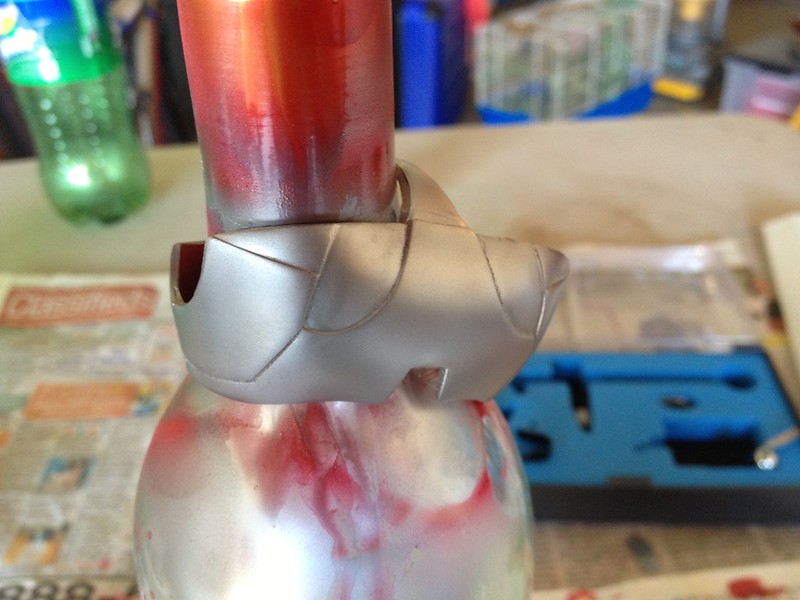
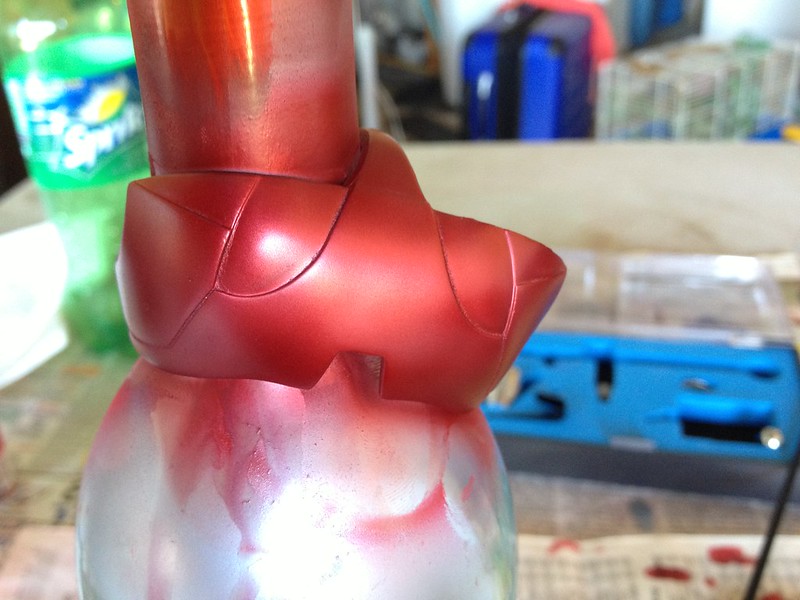
I then purchased a spray can of Mr. Color No. 47 and it worked great. It's not exactly the original deep red color, but it's close and blends in with the figure well. About as good as you can expect with minimal effort. Just spray with light coats until the area has a nice gloss to it.
Purchased here if anybody is interested https://www.toyarena.com/product_info.php/hobby-color-spray-gloss-clear-red-100ml-spray-can-p-7482
My Mark VI had light/medium fading on the underpants. I researched several solutions and decided the easiest and safest solution was to spray paint it. I bought Tamiya clear red and tested it on a penny, but it was way too bright.
I then purchased a spray can of Mr. Color No. 47 and it worked great. It's not exactly the original deep red color, but it's close and blends in with the figure well. About as good as you can expect with minimal effort. Just spray with light coats until the area has a nice gloss to it.
Purchased here if anybody is interested https://www.toyarena.com/product_info.php/hobby-color-spray-gloss-clear-red-100ml-spray-can-p-7482


IMG_0273 by justin86b, on Flickr
IMG_0276 by justin86b, on Flickr
IMG_0277 by justin86b, on Flickr
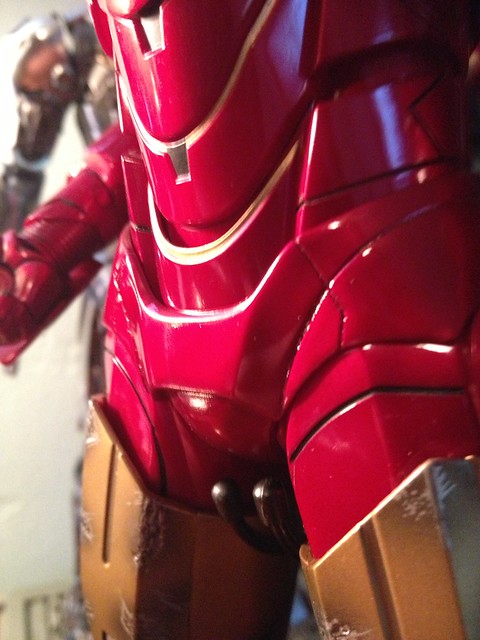
Instead of removing the paint and starting from scratch I just did several overcoats, 30 minutes between each later on top of the existing paint with MR. Hobby 47 until I liked the shade of red. Then used the Gundam marker to recolor the panel lines that may have been covered. If you have an airbrush I would recommend Gaia #41 clear red.
Hey fellas, how were you guys able to remove the legs with out breaking them, any method to this?
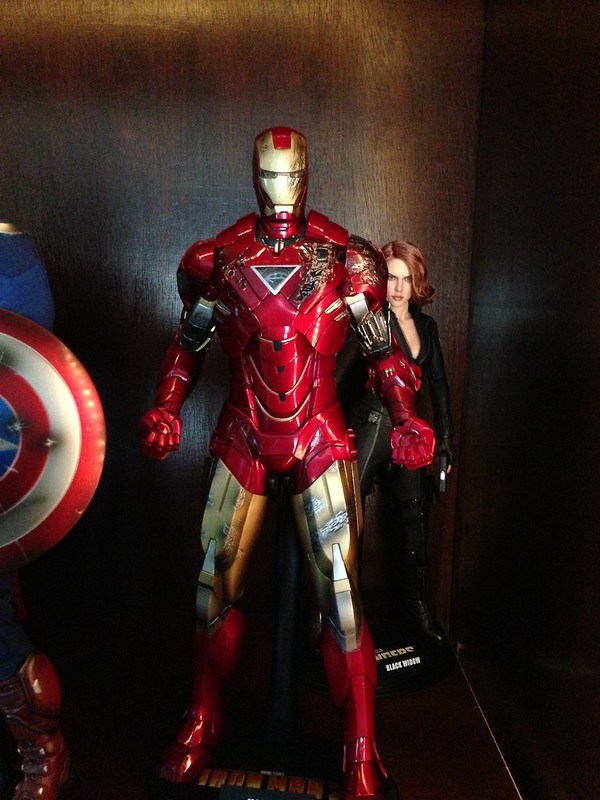
Great job on making a bad situation good. I can't even tell the difference in some pics. would a clear coat at the end help protect it from happening again?
Enter your email address to join: