Hasbro Speeder Bike and Scout Trooper Diorama

Collector Freaks Forum

Help Support Collector Freaks Forum:

This site may earn a commission from merchant affiliate links, including eBay, Amazon, and others.
Thanks guys...

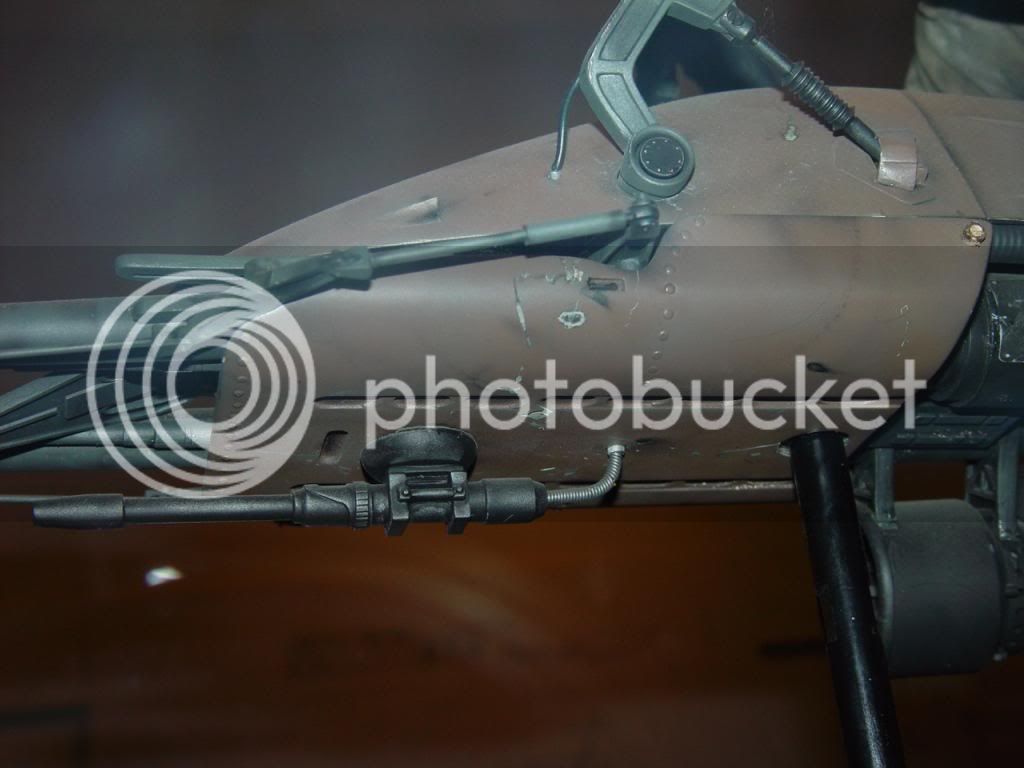
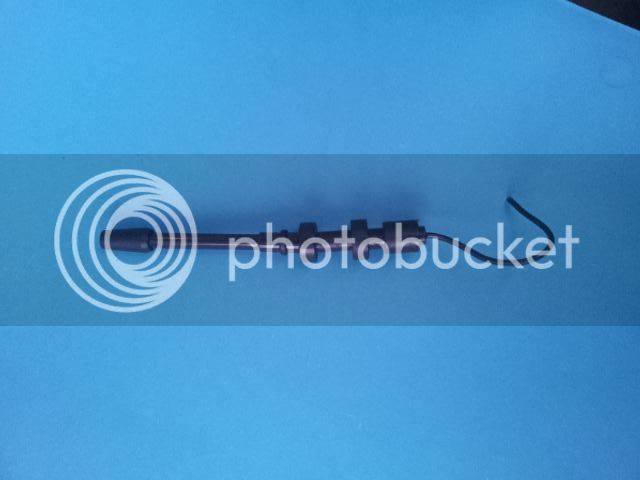
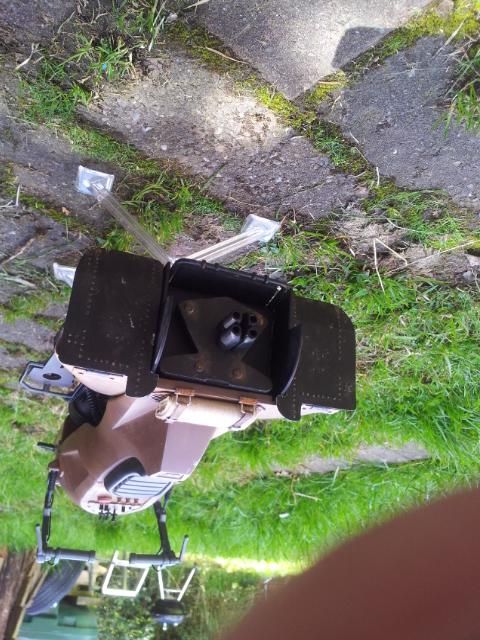
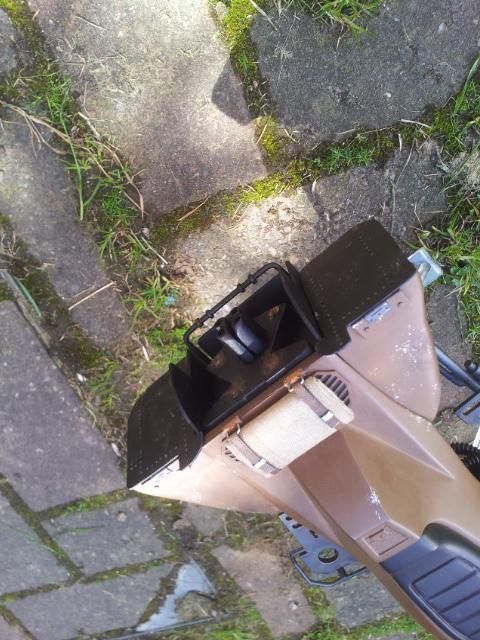
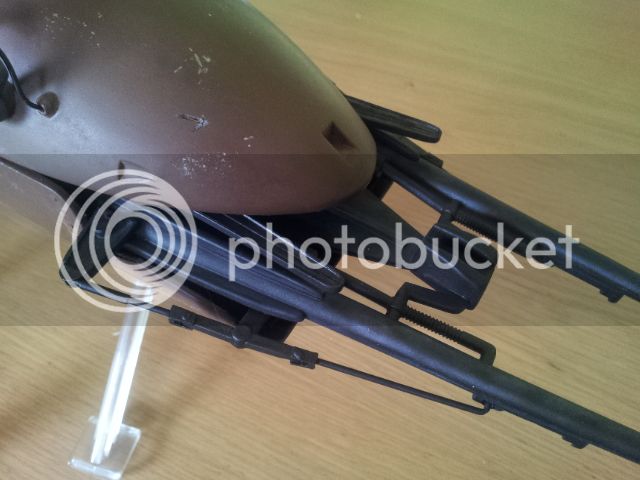
Exhaust stack V2.0 nearly done which will be the last thing (nearly ) on the speederbike.

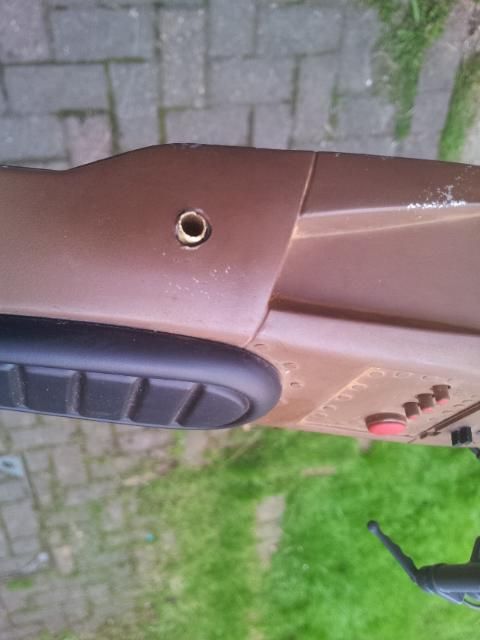
Thinking of making some round plates to hide the mounting pins of the handlebars. These will be made in keeping with the ILM sppederbike.

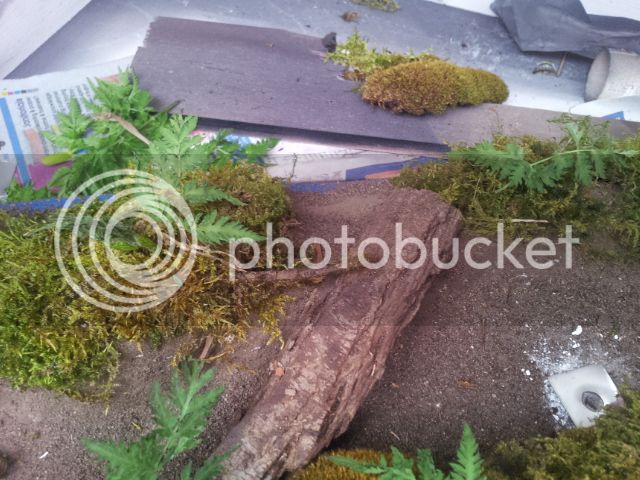
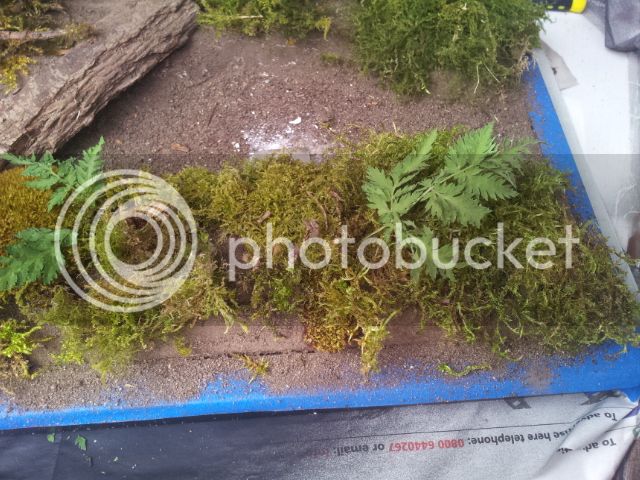
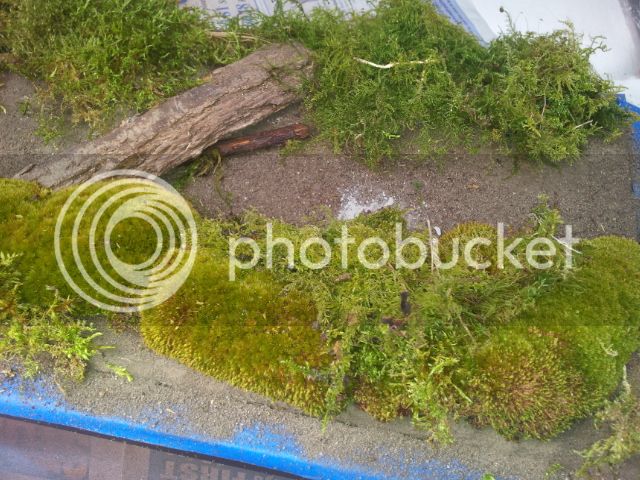
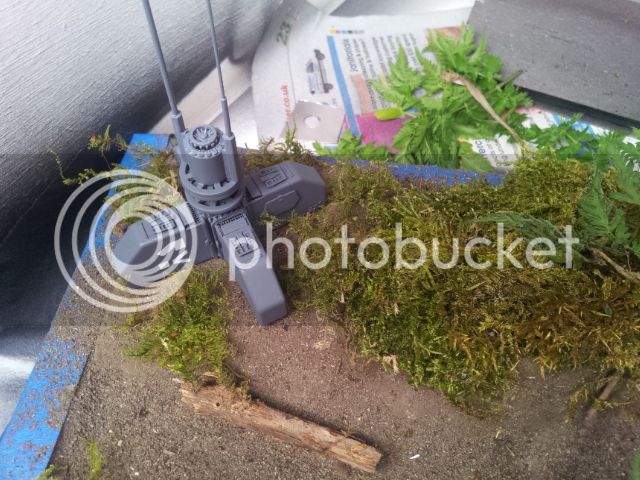
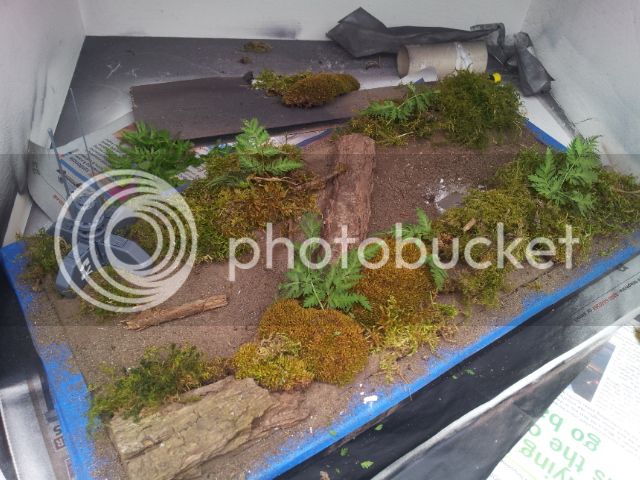
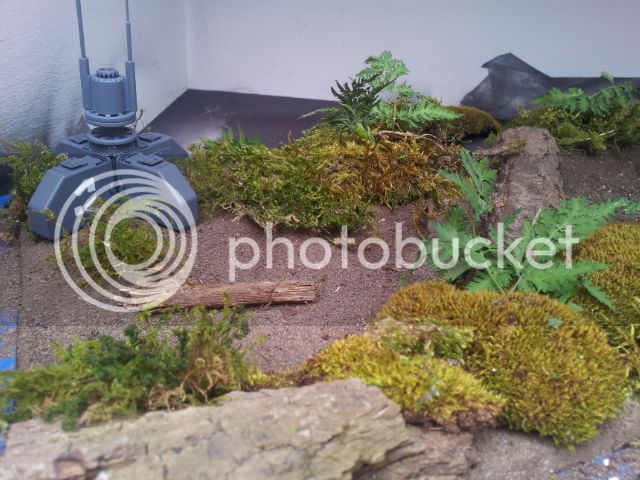
On to the Trooper and base now full throttle. Want to get this finished ASAP.

Pics of fitted exhausts soon.

Thanks for looking in.
 
Ok I am past the point of no return...

I have just carved up a perfectly good speeder bike. Drilled the body and fitted an internal support bar.

2013-04-29194445_zps8e3252a0.jpg


2013-04-29194502_zps20885eee.jpg


Then had to carve the innards to make room for the bar. This is all hidden under the top body when its fitted so not a problem.

2013-04-29194605_zps1ae81538.jpg


2013-04-29194555_zpsd498df01.jpg
 
Fitted a 5mm brass tube into the butt hole and filled the remaining voids around the tube with metal putty.

2013-05-01134742_zpsbfabd23c.jpg


Soldier on a stick!

2013-05-01134633_zps0ab8887f.jpg


The tube is a brass 4mm which slides perfectly into the 5mm in the body. Albion Alloys make brass and Aluminium tubes that each fit into the next with no play between them, they are perfect for the job.

The tube fitted into the speederbike was also a 5mm one, so the soldier will fit snug to the bike.

White goods drying in the sun. Painted with Plasticote matt white.

25f7012d-d7c9-4db8-8a95-cd896307a26f_zps4c95f5c5.jpg


Nearing completion...should not be too long now.

Any questions...fire away.
 
OK...did a dry run of fitting the trooper to the bike to see if he can support the bike...........AND HE CAN :yess: :hi5: :clap

Will be finishing armour painting and making the troublesome cummerbund..then its time to put it all together.

Quiet relieved...PHEW!

Pics soon
 
Cut the knee pads to create the depression on the top section. Superglued thin plasticard behind and put some Green stuff into the V to create the sloped sides. Here they are getting a sun tan!

2013-05-02125105_zpsf61ced12.jpg


Put new elastic cord onto the armour, it was easier to cut off the original, paint them, then install new.

2013-05-02125130_zpsb0652544.jpg


And because I forgot to show pics, here are the two arms added to the front, all made in plasticard and secured to a plasticard mount ( inside the body ) via screws to make them secure. Line down the centre of each arm was scribed in.

2013-05-02125610_zps693162c8.jpg


Ciao for now :wave
 
I have been working on the base a bit over the past week so here is where its at.

Based on a black picture frame, a thick ( 6mm ) mdf section was glued into the rear of the opening to add strength.

2013-04-18115107_zps1993b14f.jpg


Then using real bark, moss and fern leaves....

2013-04-29122734_zps7f23cefa.jpg


2013-04-29122719_zps5db73d72.jpg


2013-04-28102153_zpsdecc0cd5.jpg


Then addid the Intruder detection droid

2013-04-29122742_zps0a1107df.jpg


2013-04-29122446_zps90bcc218.jpg


2013-04-29122421_zps9f9dbc76.jpg


Its just a rough draft at the moment so any comments would be appreciated.

Ciao for now :wave
 
This is moving along brilliantly ! The droid on the diorama/base is a nice touch .:wink1:
How are you handling the ( notoriously bad ) cummerbund ? The majority have replaced it with a scratchbuilt one . I was lucky enough to get one of Vivisects ( before he dropped off the radar ) .
 
This is moving along brilliantly ! The droid on the diorama/base is a nice touch .:wink1:
How are you handling the ( notoriously bad ) cummerbund ? The majority have replaced it with a scratchbuilt one . I was lucky enough to get one of Vivisects ( before he dropped off the radar ) .

Building it myself...looks OK, but what the heck...you can hardly see it any way with the pouches and utility belt etc.

I have just test run fixed the trooper to the stand and the bike to the trooper...no glue yes so the bike swivels :rotfl 
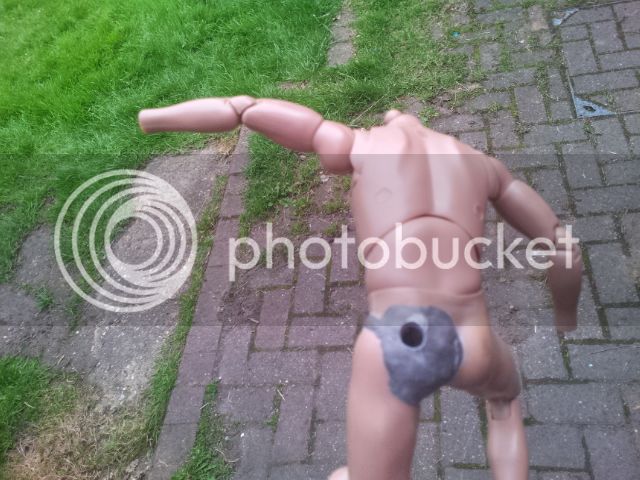
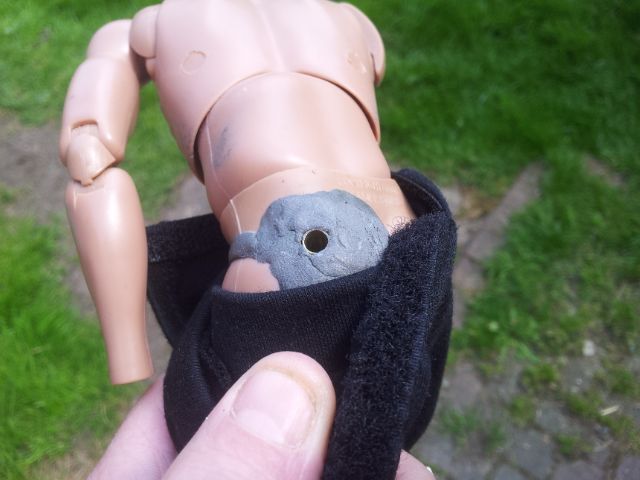
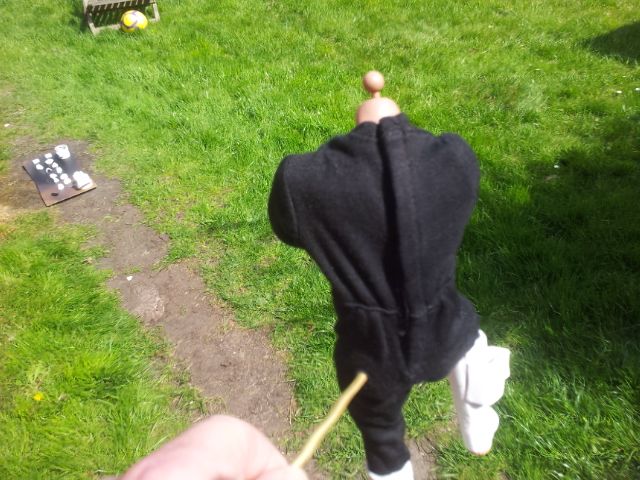
but looking promising. He is holding the sniper rifle and the macrobinoculars...pleased with the look.

Just noticed I have not got the underbody blaster on the speeder bike. This is a soft vinyl piece and 1) looks too big and 2) is bent slightly and 3) looks crap so I might have a go at turning a new one on my mini lathe. It will be my first use of the lathe so I have absolutely no idea of what I am doing! This could go horribly wrong :slap

If it does, then its just straighten the original one, drill a hole in the barrel and slap it on!

Wish me luck...I will certainly need it.

Ciao for now
 
The turning of a plastic rod in the lathe did not work..the plastic snapped so I have ordered some aluminium rod. Will no doubt take a few days to get to me so more pics when I can.

Figure stands nicely on the base but no pics now until its all
finished...TEASE
 
OK so here is the lazer cannon on the ILM model

SpeederBike76_zps0daf8b4e.jpg


And here is what I got with the Hasbro speeder bike!

2013-05-09193303_zps2c25068b.jpg


A wobbly, oversized blob of cheap vinyl plastic :horror

So as already mentioned I tried to turn a new one from a piece of styrene rod and I failed supremely. I had not used my lathe before and as a result the end product was crappy.

Having bought a length of 8mm aluminium, I tried again...again crappy...damn this lathe

Tried again with aluminium and it broke.....

So thought I would try again with styrene but rather than attempt to achieve the piece in one go, would do some in styrene and add a brass rod barrel and hey ho!...Good result..at least I am happy with it. Needs a bit of smooting with sandpaper and more detail but it certainly a good starting point and infinity better than the Hasbro effort.

2013-05-09192757_zpsefa77d81.jpg


2013-05-09192701_zps03361bdc.jpg


Needs a little sanding and detail now but well happy with it. Hope you like.

Ciao for now.
 
BTW, have had a few issues with the 6mm steel threaded rod into the leg of the tropper. When mounted, the tropper would swivel a bit which was not acceptable as would throw out the speeder bike angle. So I removed it and dropped superglue into the leg hole, screwed the rod in and then sealed it with metal putty. Not sure if its worked yet...its setting, will let you know how it turns out.

Ciao for now.

I would just like to thank everyone thats commented so far, but there seems to be lots more watching...come on guys give me some feedback.

:hi5:
 
Okay, Ill give you some feedback.

THIS LOOKS AWESOME!!! The lower blaster looks great. Well done, good stuff so far. Really looking forward to seeing the trooper. :)
 
Now I need to do that to all 3 of my Speederbikes. Your Blaster is Far better than Hasbro's.

As are you other mods but not sure i am brave enough to attempt those as well.

like Chris above, really want to see the Scout Rider himself on this beauty. Your certainly going to have a centre piece to be VERY proud of, from what we are seeing thus far.
 
Back
Top