Hasbro Speeder Bike and Scout Trooper Diorama

Collector Freaks Forum

Help Support Collector Freaks Forum:

This site may earn a commission from merchant affiliate links, including eBay, Amazon, and others.

Scallywag

Freaked Out
Joined
Mar 10, 2013
Messages
100
Reaction score
0
Hi, I am new to the site and although never considered 1/6th figures, the oppurtunity to get hold of a Hasbro Speeder Bike with a 12" Trooper...proved too much for me.

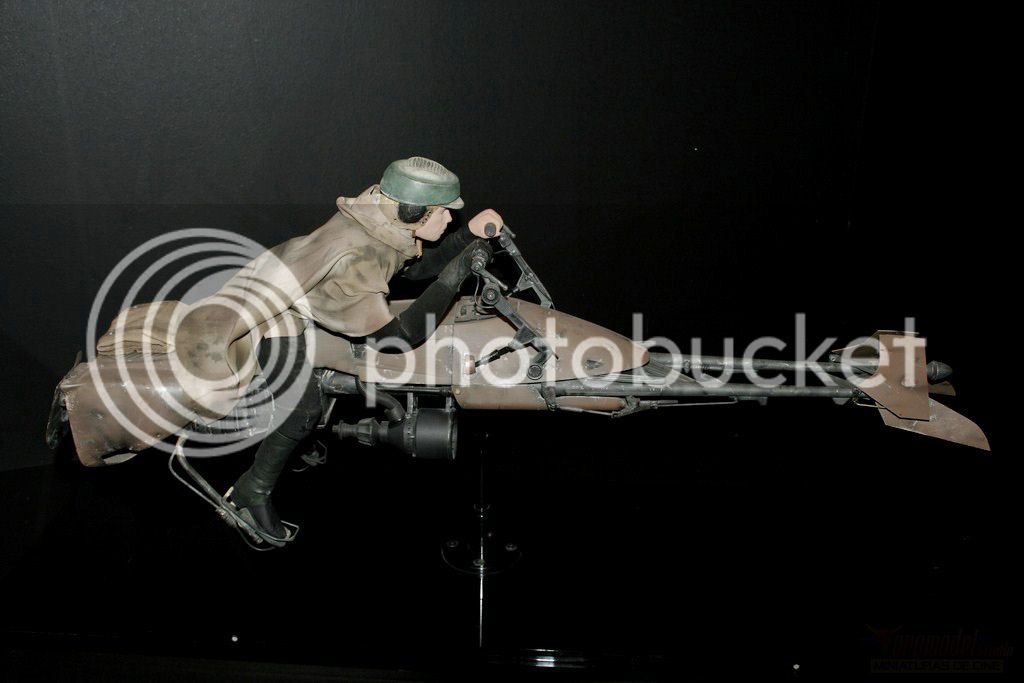
Once it arrived I was very impressed by its size ( see it does matter :wink1:) and decided to emulate the Gentle Giant Trooper pose on the hovering bike, but then decided on something more dynamic.

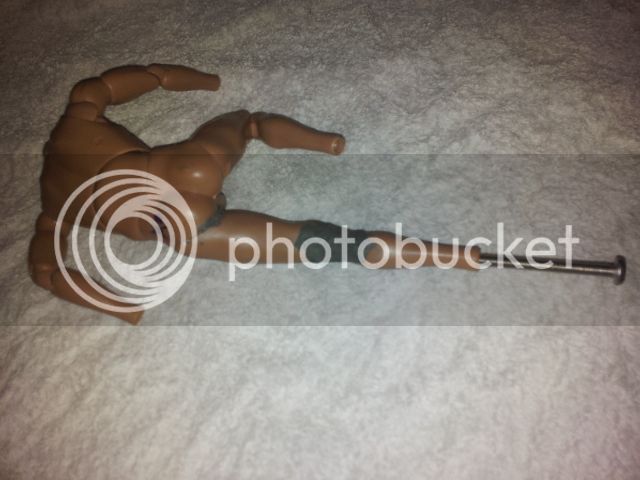
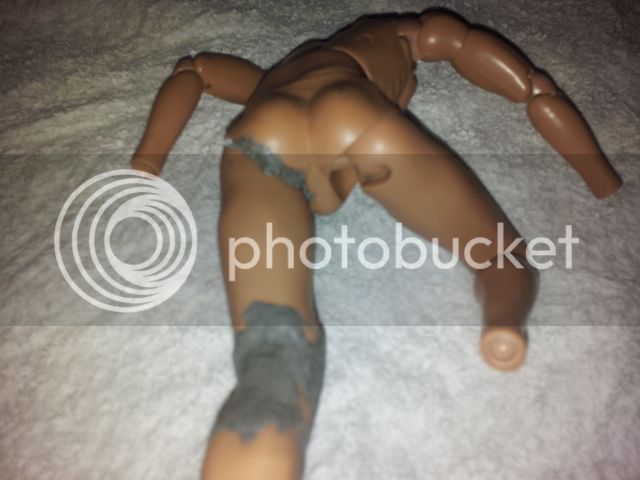
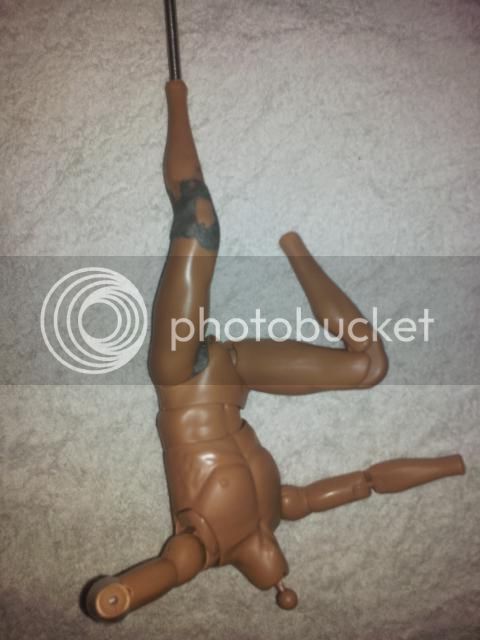
I bought a Soldier Story figure and set to work.

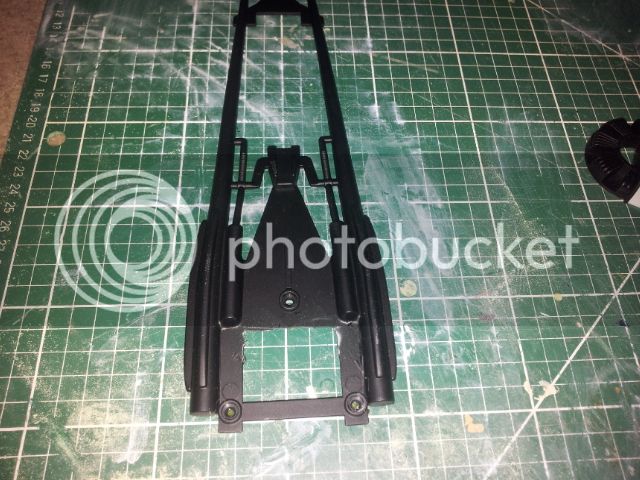
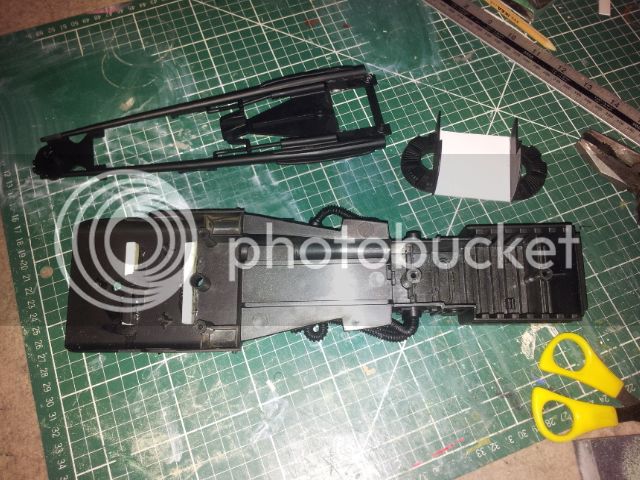
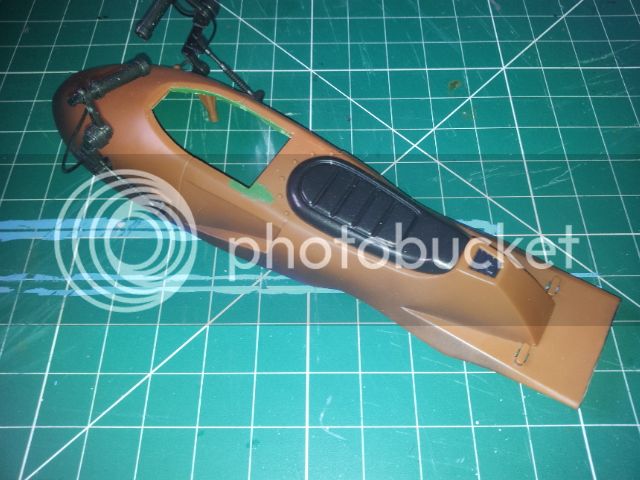
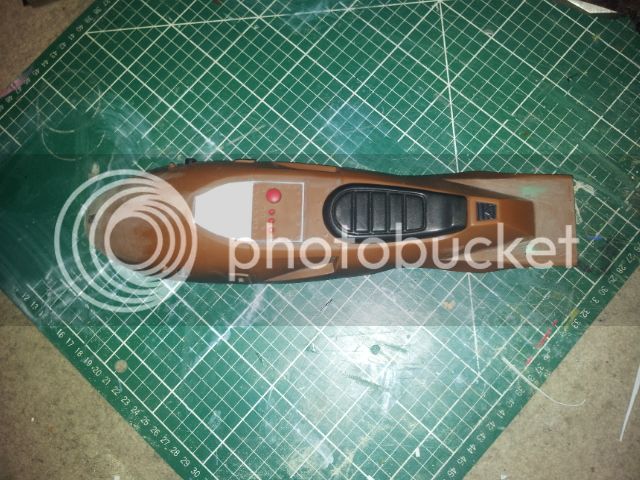
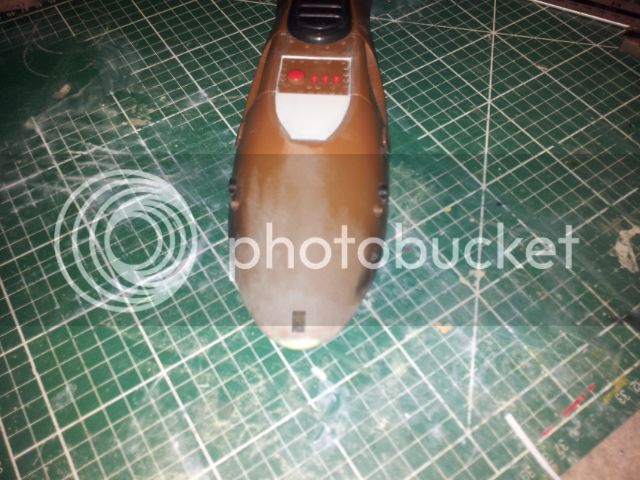
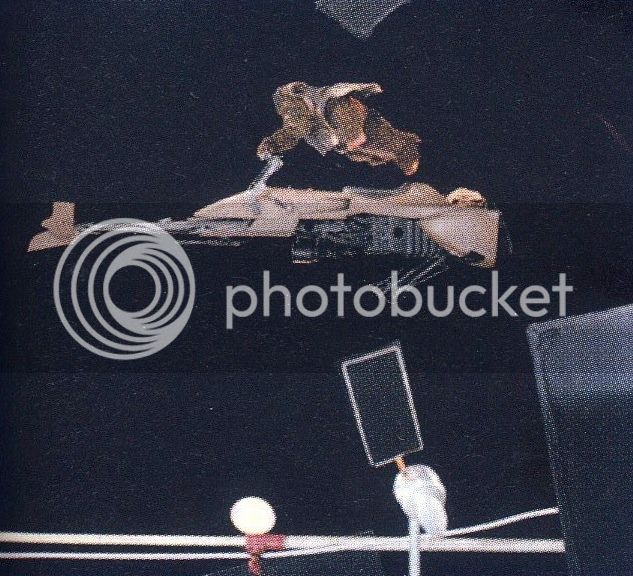
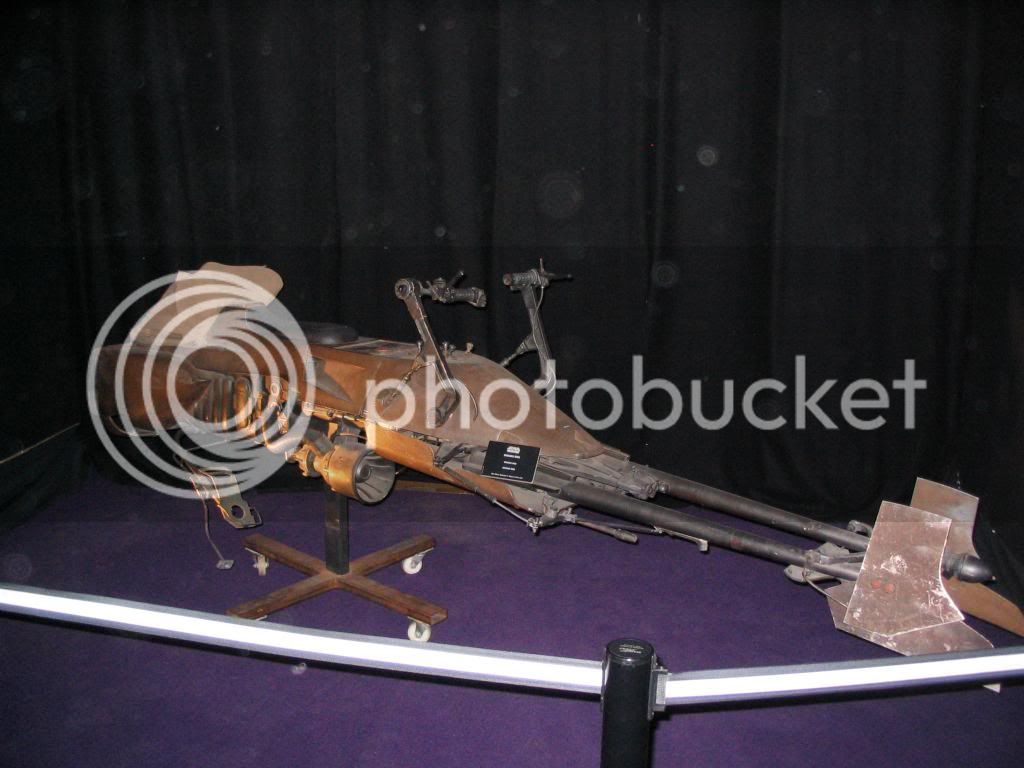
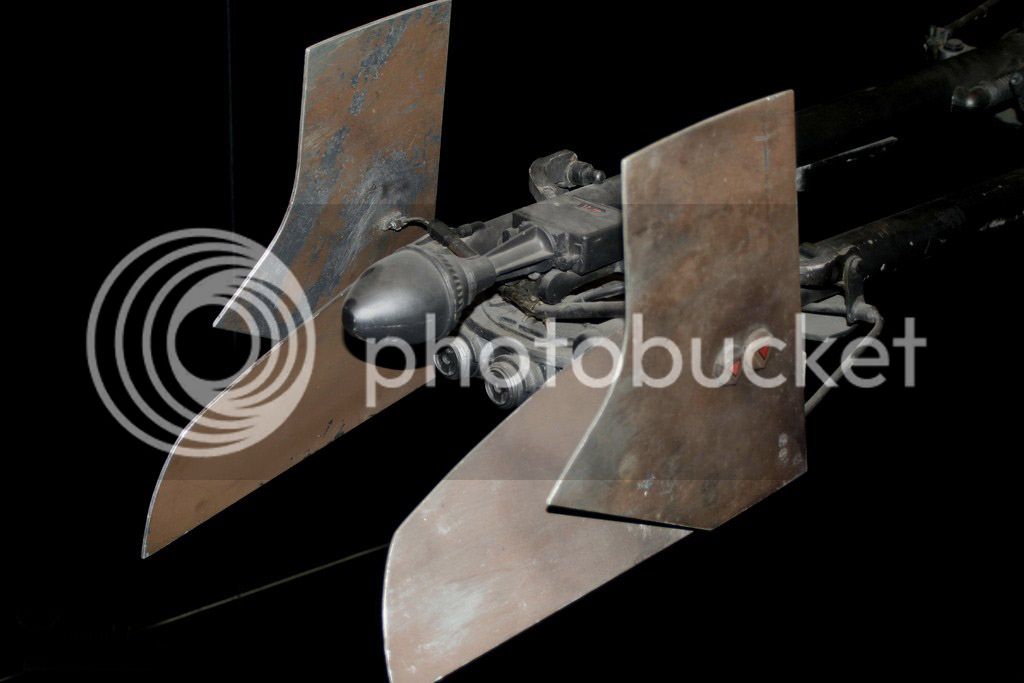
I do not want to go overboard on the Speeder Bike, but I do want to accurize it a bit more in line with the Studio model from ILM.

Just thought I would get the thread going and hopefully get some pics on line tomorrow.

Thanks for dropping by.:clap
 
Last edited by a moderator:
Re: Speeder Bike and Scout Trooper Diorama

Welcome aboard, can't wait to see your pics.
 
Re: Speeder Bike and Scout Trooper Diorama

This sound interesting. Waiting for the pics :)
 
OK, here we go:

Firstly, the front forks look a bit long, so I enlarged the cut out at the rear of the front mounting point, to enable the forks assembly to be slid back about 3/4 of an inch.

2013-03-31200407_zpscf690d5b.jpg


As a result I needed to glue in two plastic mounting battens for the revised location of the forks. I also decided to cut the back engine plate and re-do that as well.

2013-03-31200319_zps920dce1e.jpg
 
I hate working with the kits vinyl plastic...It's a bugger to glue. Superglue works OK ish on the hard bike body but the soft stuff like the forks, pedal assembly, engine plates etc is horrible to glue..hey ho! Enough gripping.

I want the bike to float free of any obvious mounting point. The bike will hover, and be attached through the Scout Troopers butt cheeks!:horror

In order to do that, the standing leg had to be adapted to take a threaded bolt and the leg had to be very set in position, such that it could easily take the full weight of the Speeder Bike. To allow this to happen, and after many many ideas..I finally settled on using a metalised epoxy putty called "HARD AND FAST" by Evo Stik. You just pinch a chunk off and start needing untils the centre black is mixed with the outer grey, to make a uniform dark grey putty. It sets in 7 to 10 mins so theres no messing.

2013-04-03214419_zpsf9e93b3b.jpg


First his knee was packed out at the rear, following the leg contours, and around the front knee to ensure the complete knee joint was encased. Voila...10 mins later...hard as rock.

Next, I had to pack out his Butt Cheek ( never thought I would ever use that sentence :lol )

The putty was made into small ***** and using a screwdriver, packed into the cavity.

2013-04-03214402_zpsee8b958d.jpg


2013-04-03214331_zps6d0d5fcd.jpg


a M6 bolt was threaded slowly into the full length of the lower leg...a fooot not being used at all. A hole has been cut through the bottom of the boot to enable the bolt to be inserted once he is dressed in the uniform.

The bolt head, will be angle grinded off so that later a nut can be used to secure the figure to the diorama base.
 
Just noticed that the forum programme has deleted the word B A L L S and put ***** instead :lol Bless!
 
Ultimately, a peg or maybe another bolt ( though smaller diameter ) will be fixed into the Butt and through the bike. The HARD AND FAST epoxy says it can be drilled, so we will see. I really think this stuff is fantastic...glad I thought of it.

On to the Bike

I hated the massive rivets, and had to lessen their impact. Easy to do by sanding on the underside of the bike, but nigh impossible on the instrument panel with the big red starter button, so using a craft knife, I scored around the panel until I was through and it camer out.

I then cut out the front panel as well to re-do the detail as it looked poor.

2013-03-30085128_zps1d4cd15f.jpg


After sanding down the rivets, the lower panel was replaced and a new panel for the top added in a higher position than the original.

2013-03-31201741_zps35e90374.jpg


I have removed the rear strap mounts for the plastic strap that holds the tarp on the bike. Will re-make these with wire.

And finally for the moment, I have rounded up the bike nose. The bluntness of the Hasbro, seems to reflect the full size ILM Speeder, as does the detail throughout to be fair, whereas I am aiming to build in line with the 32" ( or so ) model with Luke on it. Has anyone noticed that on this model, the front fork plates ( on the very front ), the plate on top is back to front to the other models, inc the full size? Is this in the movie...will have to check. Anyway my plates will be facing curved face forward as it looks better IMO.

2013-03-31201809_zps4f373796.jpg


New Nose.

Thats all Folks for the moment. Off to do the Blaster Holster on the boots (More crappy soft Vinyl :gah:)

The design of that Holster looks appaling...whoever designed that mess should have been fired. But at least its in keeping the the messy boot build too...vinyle glued to walking boots and floppy vinyl boot tops! JEEZ!

At least they look OK from a distance!

See you all Soon. Hope you enjoyed.
 
Just re the nose plates:

PAPLOOONSPEEDERBIKE_zps29a1651b.jpg


and Full sized

CEJULY07200_zpsb2d407db.jpg


3666997919_23d30e0971_b_zpsf772788f.jpg


All forward.

Yet larger ILM model

3924913621_21d59b3b83_b_zps527ef574.jpg


Maybe its one of those things that nobody noticed. Off to check the movie for continuity errors :wink1:

Bye for now.
 
This is really cool. I love that statue that you are trying to recreate. At one point I also considered recreating it (I have 2 or 3 of those speeders lying around), but thought it was beyond my creative capability. However, I might borrow some of your ideas if I decide to pursue it in the future.

Also, I have the original Star Wars Chronicles (https://starwars.wikia.com/wiki/Star_Wars:_Chronicles) with a ton of reference photos. Let me know if you need any and I'll scan and post them.
 
Just noticed that the forum programme has deleted the word B A L L S and put ***** instead :lol Bless!

i know isn't that just nuts..............:monkey1


cool project to follow......:clap this should be put into the customs section.
 
This is really cool. I love that statue that you are trying to recreate. At one point I also considered recreating it (I have 2 or 3 of those speeders lying around), but thought it was beyond my creative capability. However, I might borrow some of your ideas if I decide to pursue it in the future.

Also, I have the original Star Wars Chronicles (https://starwars.wikia.com/wiki/Star_Wars:_Chronicles) with a ton of reference photos. Let me know if you need any and I'll scan and post them.

Hi, I love the casual pose too, but have decided to tweak it to an all action pose.

Lets pretend that the Scout Troopers ARE the Imperial Empire's Elite soldier, and that they are NOT prone to getting beaten up by a bunch of TEDDY BEARS!!!!!:slap

This diorama I hope will give a glimpse of what the Imperial Scout Troopers really are.
 
Apologies if this thread is in the wrong place...NOVICE :slap

If anyone wants to move it, go for it.:goodpost: NOT
 
This is really cool. I love that statue that you are trying to recreate. At one point I also considered recreating it (I have 2 or 3 of those speeders lying around), but thought it was beyond my creative capability. However, I might borrow some of your ideas if I decide to pursue it in the future.

Also, I have the original Star Wars Chronicles (https://starwars.wikia.com/wiki/Star_Wars:_Chronicles) with a ton of reference photos. Let me know if you need any and I'll scan and post them.

Hey LasVegas...I had never heard of the Star Wars Chronicles book, which is stupid of me as I have the making of SW, TESB, the Sculpting a Galaxy and SW Archive books, but that book looks amazing. I assume it is totally worth getting?

Obviously any Speeder Bike model pics would be massively appreciated. Thank you.

:hi5:
 
I have finished the boot with the blaster holster, though it needs painting yet. Will put pics up hopefully tomorrow as too dark to shhot the boot with camera phone. Flash blasts it out whilst no flash too dark...need sunlight.

Starting to work on the base, in terms of geometry, levels, where things go etc. Its going to be a Forest Moon of Endor enviroment, lots of ferns and moss etc. Looks great in my mind!!!

Hope it looks good in reality!

Question, was thinking of spraying the body armour in an acrylic white matt primer. Has anyone tried this ( Halfords primer ) on this crappy soft PVC? Does it peel off when the piece bends? Any help much appreciated.

Take Care

So Say We All.
 
Last edited:
Back
Top