Hasbro Speeder Bike and Scout Trooper Diorama

Collector Freaks Forum

Help Support Collector Freaks Forum:

This site may earn a commission from merchant affiliate links, including eBay, Amazon, and others.
Great work scallywag ! I did up a Speederbike a couple of years ago , but that was a simple re-paint . Can't wait to see how it works out . And that sniper rifle is superb . That alone deserves it's own thread . :clap
 
Thundergod, will post some better pics of the rifle tomorrow.

This evening, I have mostly been working on the front.

Fist need to chop the thin arms off the brackets

2013-04-09213143_zps338c1e5f.jpg


Then took a few mm off the front tube

2013-04-09213206_zpsf016e3ee.jpg


This will bring the whole assembly lower

Took a bit of either side of the front acorn bracket

2013-04-09213234_zps709b0acf.jpg


Add a small box from the spares bin

2013-04-09213115_zpsa496605d.jpg


And we are getting there. Will be using metal tubing to mount the outer forks as per ILM model. Need to investigate the inner blade mounting though.

Hope it all made sense.

Thats all Folks
 
damn............need me a sniper rifle..........snow camo'ed......:)


great work man.
 
Finished the Troopers Detonation box last night.

2013-04-12082219_zps413a838e.jpg


2013-04-12082206_zpsd3a23a59.jpg


With the weekend looming, I hope to get the body painted brown and the front forks done at a minimum.Might also get the rear built too.

I tried to re-build the exhaust flaps. The originals are way too thick, with those huge rivets and made from soft PVC so you cannot doo much with them. The results of a few hours toil were dissappointing, so its back to the drawing board for take two. :slap
 
I have been busy but as I am working on lots of bits at the same time, nothing is finished. However the second attempt at the rear flaps is going well and I spent a couple of hours knocking out about 140 tiny rivets with a punch and die set...boring. Now I have to glue them all on...

Just got the exhausts to do on the back.

Body and panniers painted red brown..so ready for weathering.

Instrument panel cut out and on the bike...still need to make the levers.

Cummerbund nearly done, not sure if it will look good yet? Need to get the pouches made to see what the overall effect looks like.

Shoulder pads filed and painted. Elastic fitted.

And the hopefully magic ingredient to secure the scout trooper to the base have turned up...angled washers. A couple of these either side should set him in his pose strongly enough to support the bike.

Also been collecting bits for the base in preperation.

Lots on the go.

Pics soon.
 
hopefully you are taking pics as you go,because I think alot of us will want to use your work as refference for ours.
 
Bobamike, thats kind dude. Glad to hear I am a Trail blazer :)lol)

Here's where we are at

As a laugh, my first abismal attenpt at riveting therear exhaust flaps!

2013-04-11162444_zps35e3e929.jpg


2013-04-11162327_zps50756c8f.jpg


They got very CURLY!. They also got Thrown out!

So after a couple of hours with a punch and die set, I now have about 160 rivets ready to be individually placed on new plasticard flaps, which I hope to start tonight.

2013-04-18105029_zps2ed41fff.jpg


2013-04-18105046_zps94ee7c21.jpg
 
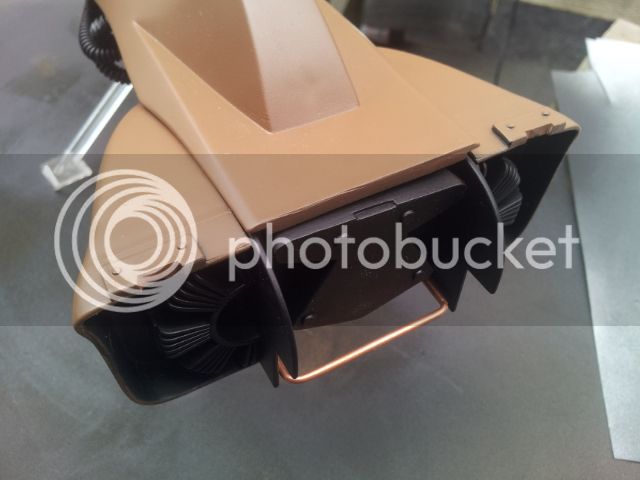
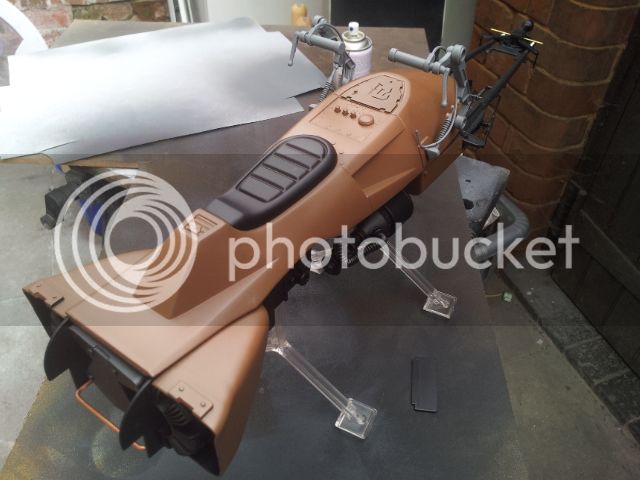
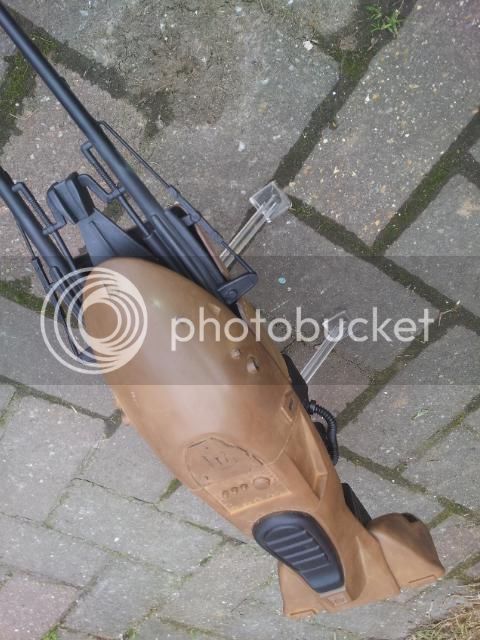
The rear is coming along nicely. As the proportions of the speeder bike body seem to be well off, the panniers for instance are too shallow in height, I have decided to fit the bits in as best as possible.

2013-04-18102626_zpsb8ad76fa.jpg


2013-04-18102148_zps258fef0c.jpg


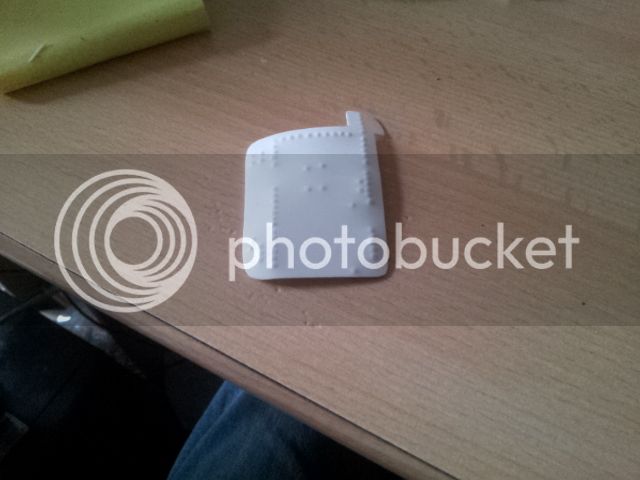
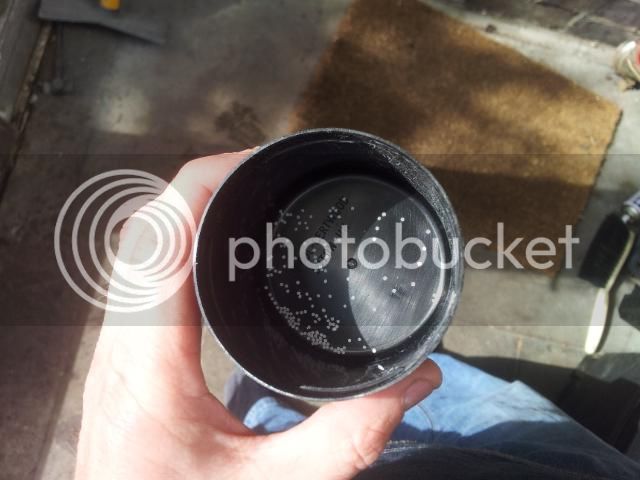
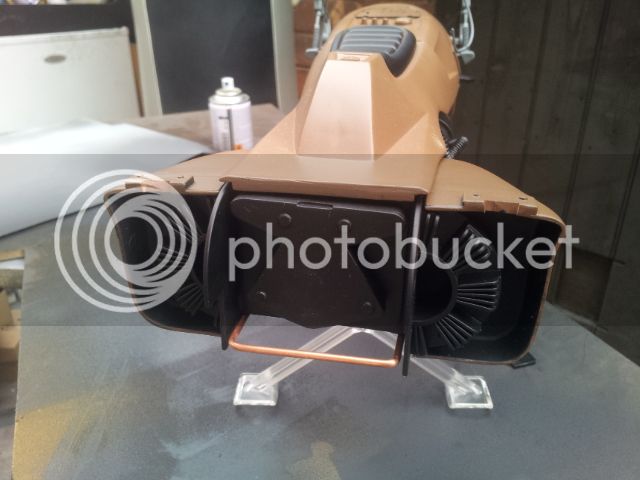
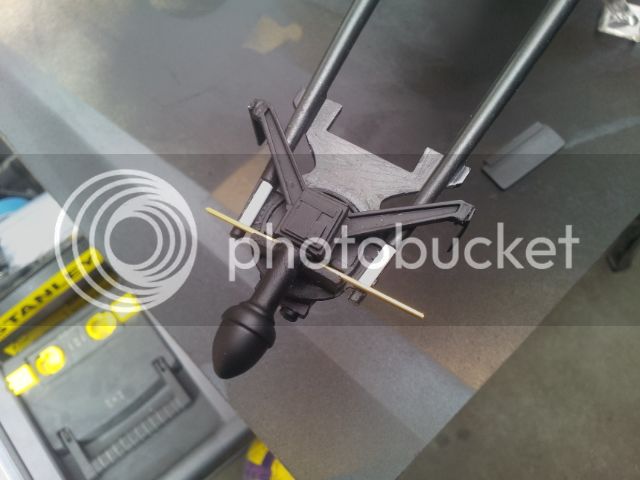
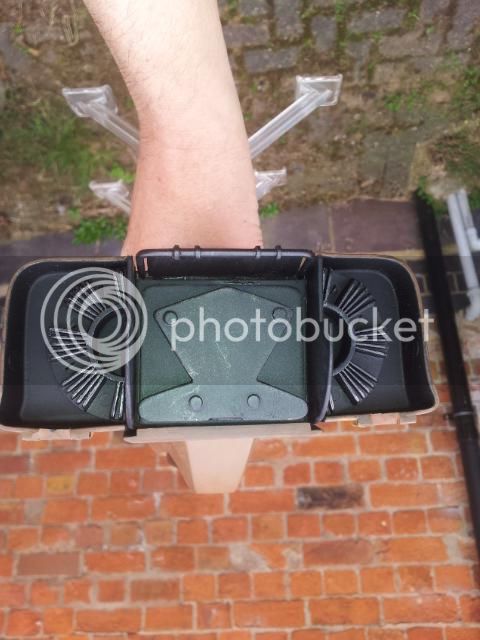
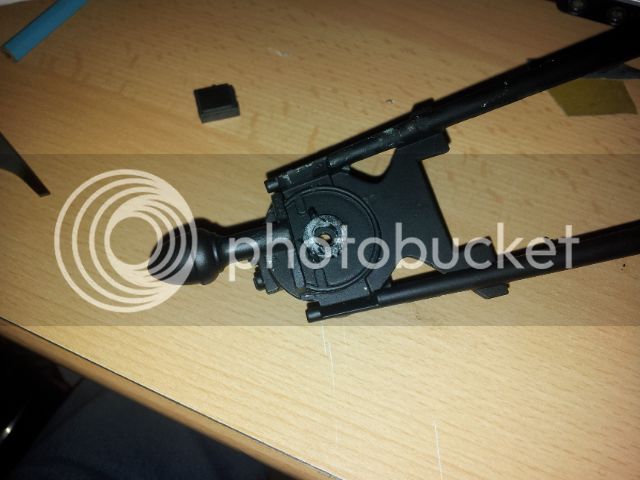
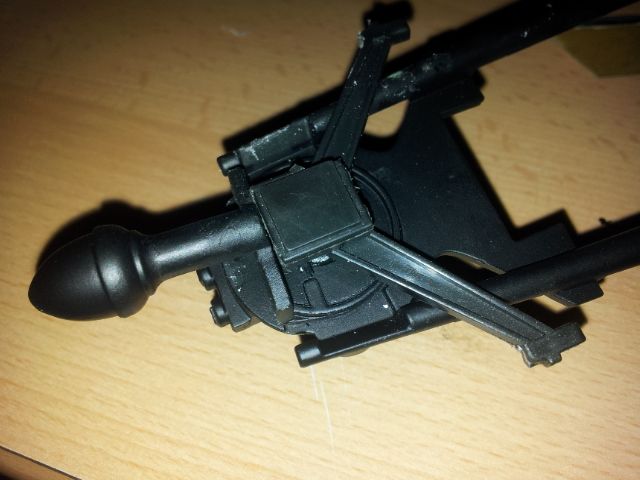
The central plate has been remade by layering 2mm styrene sheet - 3 layers and with punched circles added. There will be a platform added below the plate in between the bumper bar. I have also cut out notches for the small brass hinges ( think for dolls house doors ) which will allow the exhaust flaps to be raised and lowered.

I tried to cut the two slatted outlets which sit on the back under the tarp, but the first attemp was very dissapointing. Will try a different approach.

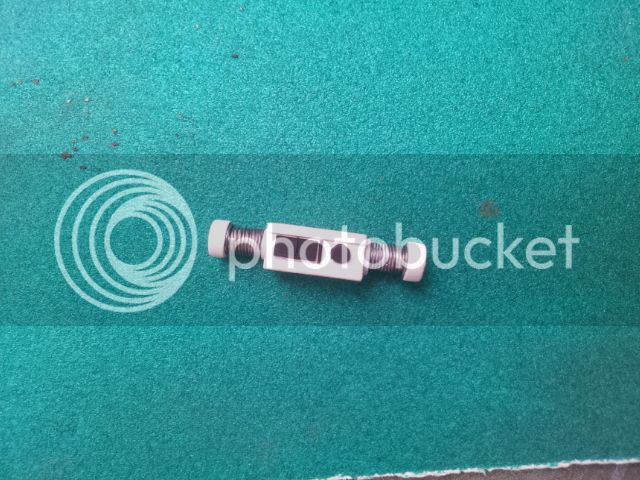
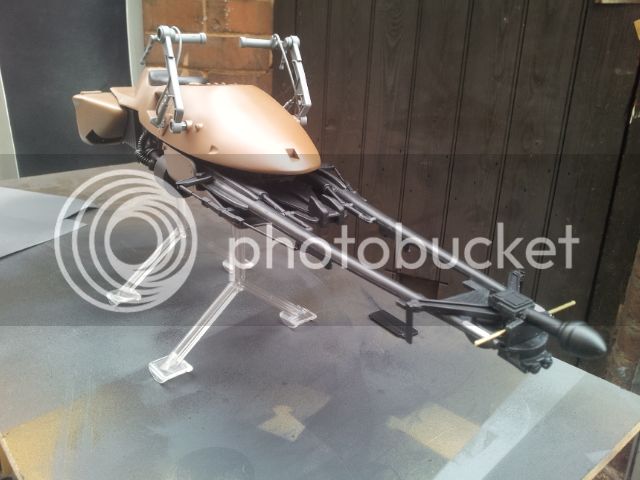
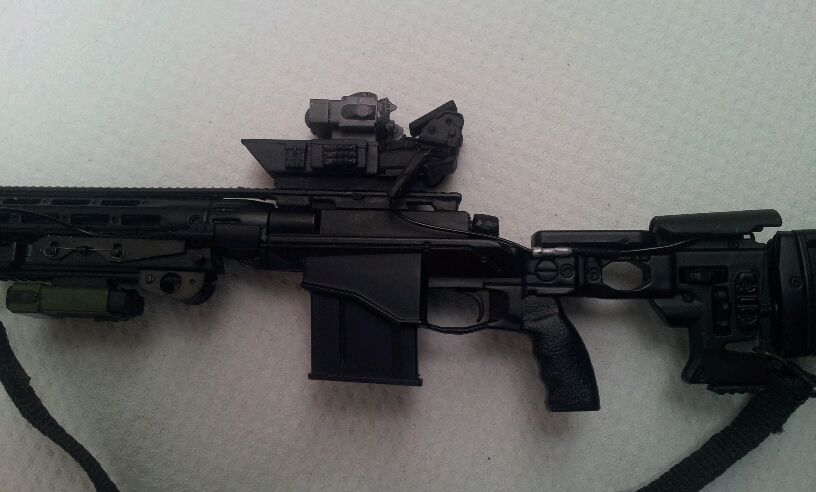
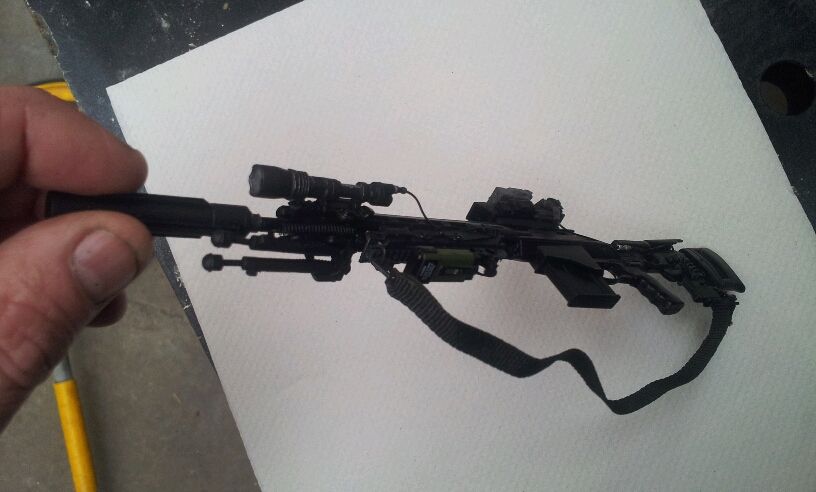
But as we stand, with the body dry fitted, this is where we are:

2013-04-18102526_zpsfdab4055.jpg


2013-04-18102538_zps29560448.jpg


2013-04-18102204_zpsb0ab1558.jpg


2013-04-18102224_zpsecff4a37.jpg


2013-04-18102238_zps4292f394.jpg


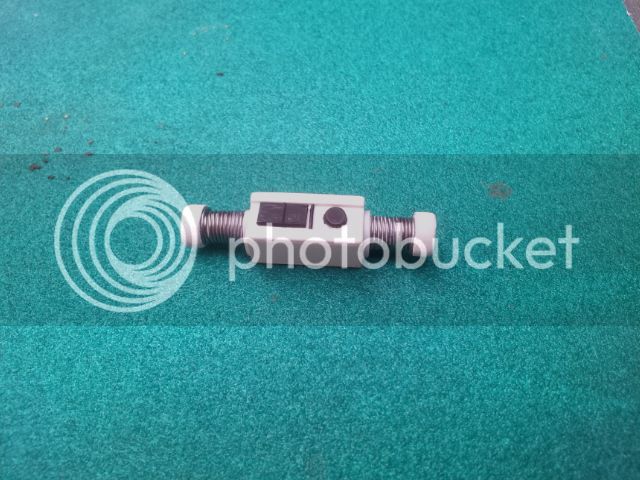
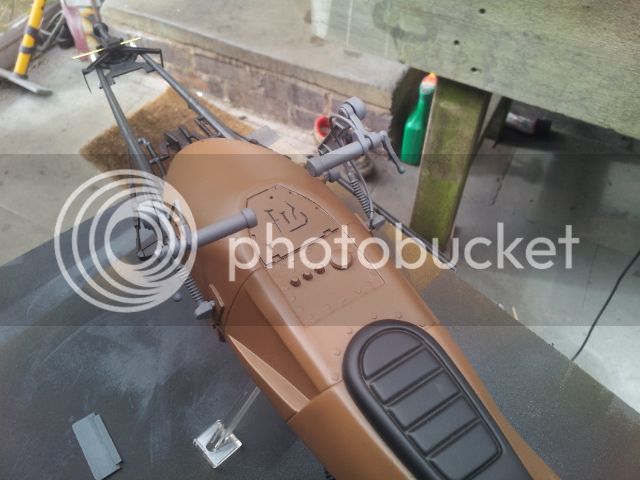
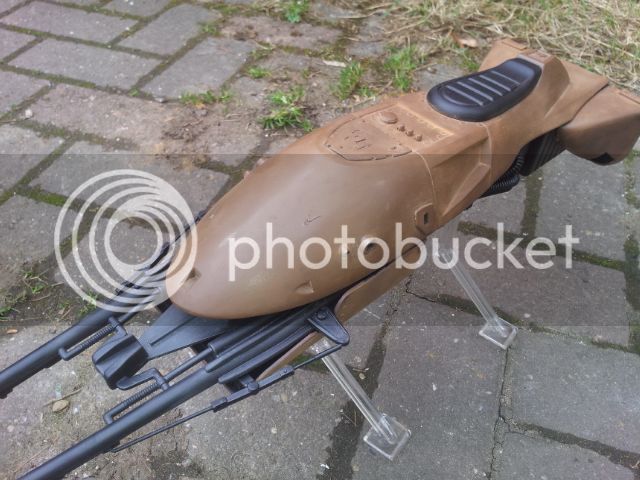
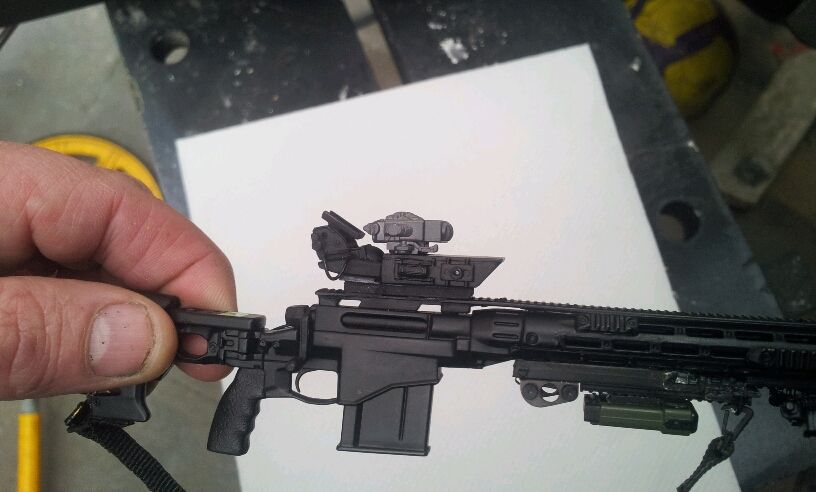
The last pic highlights the new instrument panel with engraved lines.

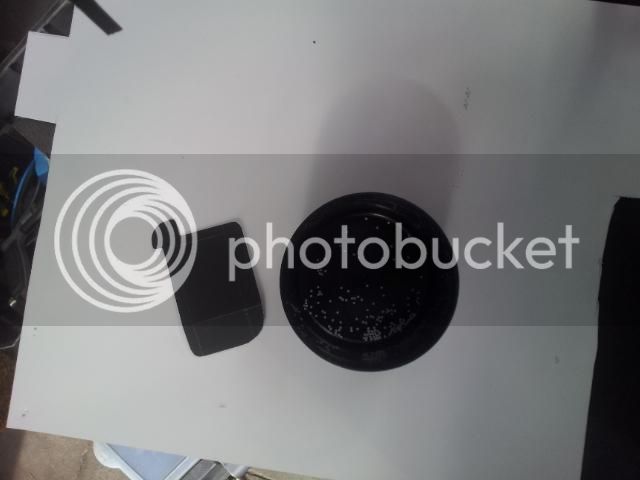
When looking at pics of the 81cm luke and speeder bike ILM model, some pics show elements of the rear to be maybe gun metal coloured, but others where the camera flash is not directly on these parts, show them to be black...so black is what I will go with.

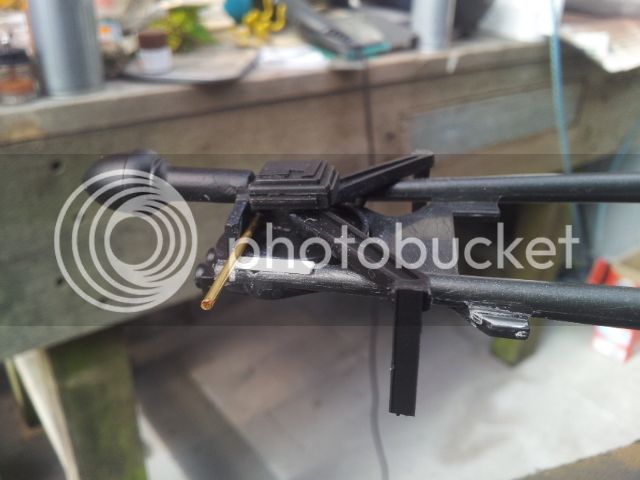
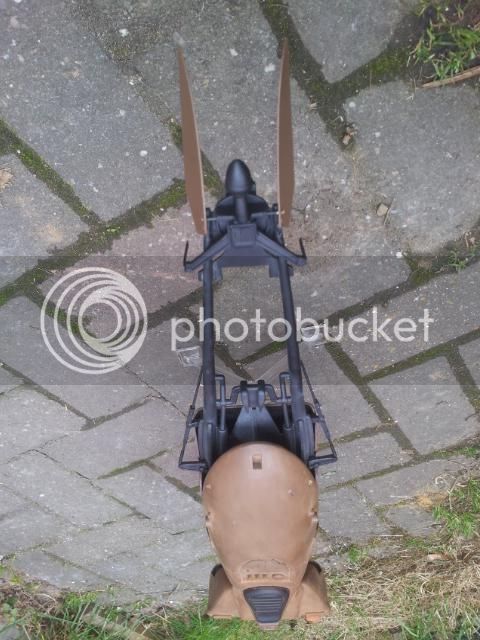
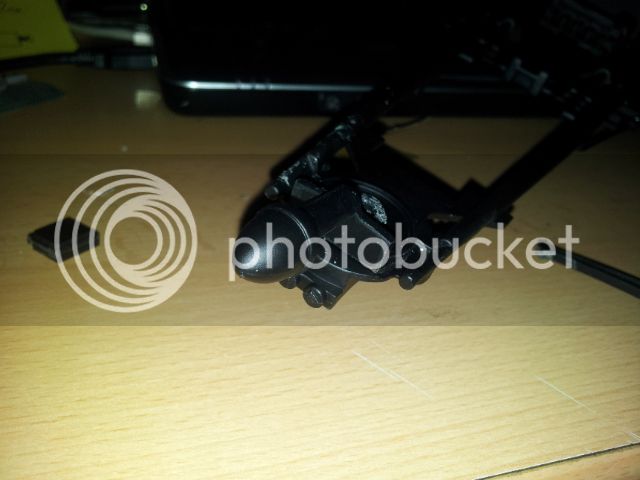
The main forks of the bike are interesting in that as yet I cannot decide whether they are a mid grey and weathered, or black and weathered....will keep thinking on this.

I did spray the main forks black, but as they are soft vinyl, every time you touch them, it cracks and peels off. So I picked it all off and they are at the moment as they came..a gun metal colour which looks good if a little shiny. I will see if they will take MIG pigments.

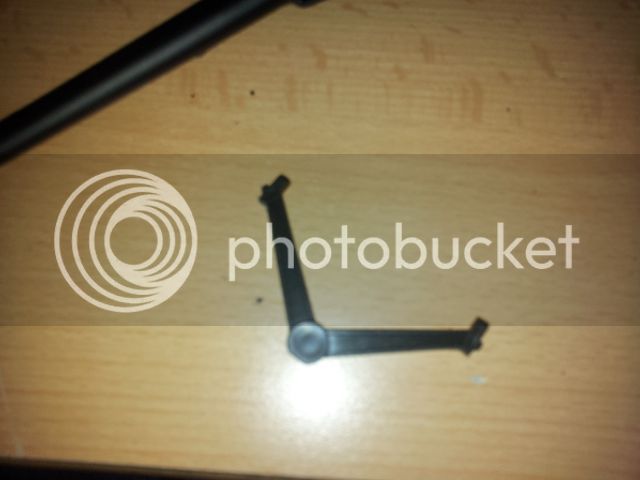
I am more sure however that the handlebars are grey rather than a silver, black or gun metal so I have gone gray and will attempt to weather them as ILM did ( fat chance! ). As this is not a speeder from the ROTJ film, I have a lot of lisence with regard to weathering and scratches etc. I will be abusing this...

I have little ( read very very little ) experience of using an airbrush so I will be using pigmants to weather ( which I have almost no experience of either ). Caught between a rock and a hard place..the results should be interesting.

Can you remove pigments if they do not look good?

Well folks, thats all for the moment. Thanks for popping by. Any comments appreciated, and I am hard to offend so don't be shy with you're thoughts.
 
Did you get your book yet?

Oh yes my young padawan...I got the book and what a beauty. Bugger to get out of the case though!

Fantastic pics, so much to drool over. Will take months to soak up.

I hear the Making of Jedi is out oct/nov so looking forward to getting that one too, then I have the set.

Again, thanks for the heads up on The Chronicles. :clap
 
Worked on trying to mount the front inner blades. Tried to drill holes through the small round rod at the end of the forks...no good so I slipped a brass rod through the gap and pushed in a small ball of metal putty each side and pushed it well in. Now its solid.

2013-04-18102602_zpsbd9007df.jpg


2013-04-18112340_zps71d6cbbf.jpg


I think once its painted, it will hardly be noticable.
 
thats looking sweet! keep the pics coming,I plan to rework my 3 speeders at some point and I have to say your project will inspire me to get them started sooner rather than later.and I will be using your pics for guidance when I do mine so more pics the better.
 
by the way I love this detenator,how did you build it?


Finished the Troopers Detonation box last night.

2013-04-12082219_zps413a838e.jpg


2013-04-12082206_zpsd3a23a59.jpg


With the weekend looming, I hope to get the body painted brown and the front forks done at a minimum.Might also get the rear built too.

I tried to re-build the exhaust flaps. The originals are way too thick, with those huge rivets and made from soft PVC so you cannot doo much with them. The results of a few hours toil were dissappointing, so its back to the drawing board for take two. :slap
 
Boba...the body is a U section of styrene, with a thin strip added each side to make the channel. A platic rod was inserted and then covered with lead wire. The end caps were rod with a die punched circle added to cap them. Check out the site https://www.studiocreations.com/howto/bikerscout/thebelt.html for dimensions. This is a good site for all elements of the trooper suit though I think their cummerbund pouches are a little too large, I will be making them with milliput a bit smaller.
 
Back
Top