Mandible
Super Freak
- Joined
- Jul 16, 2010
- Messages
- 3,304
- Reaction score
- 1,256
Yeah totally. It's been so great watching things develop in this thread....
I have utmost faith in Pete's painting skills and am sure this is going to look epic. (no pressure Pete). It's also been great that Jas has listened to and made small modifications according to our popular suggestions. A real collaborative effort.
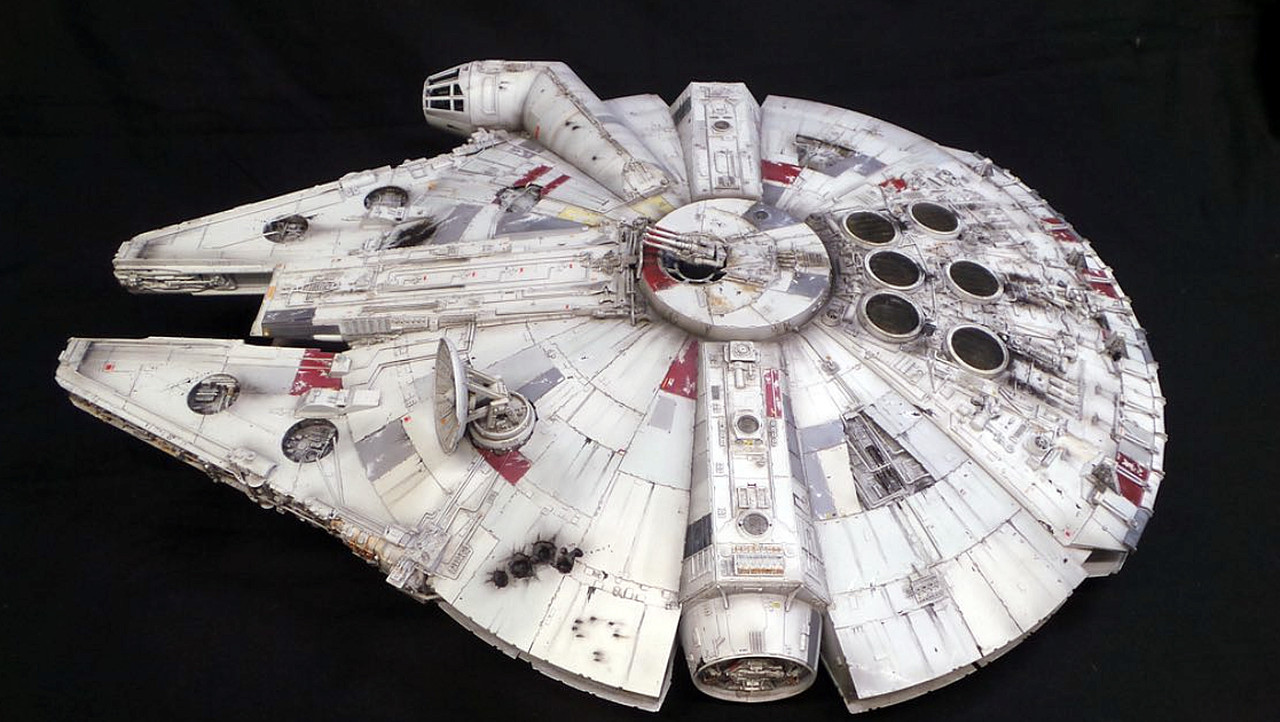
Pete just finished my Bandai PG Falcon and it is nothing short of breathtaking! There's no worries he'll knock the speeder out of the park!
 and that is a thing of beauty
  in my eyes the Falcon is something you never ever get tired of just looking at.