So it begins....
Good luck with your buildAny reason your spending extra $$$ on DX10 head ?
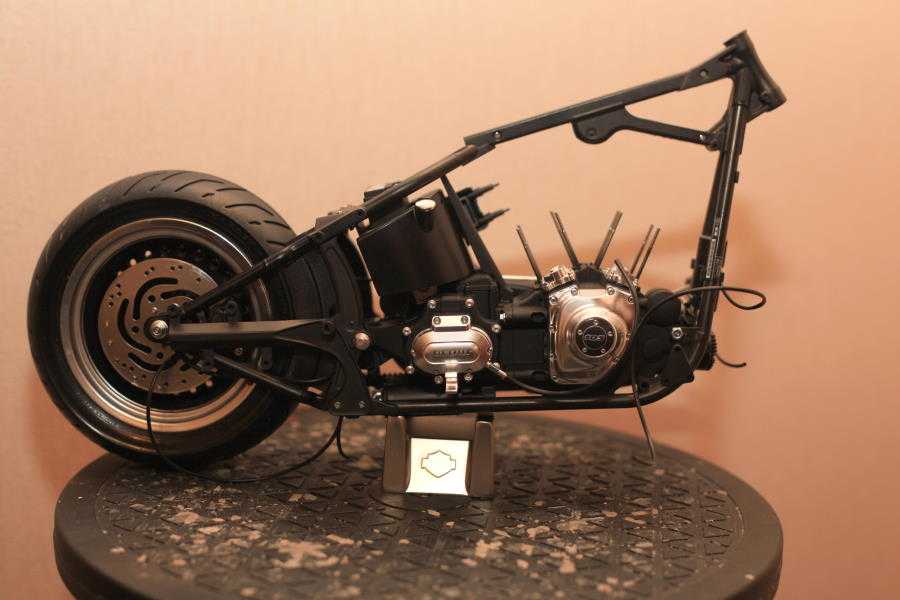
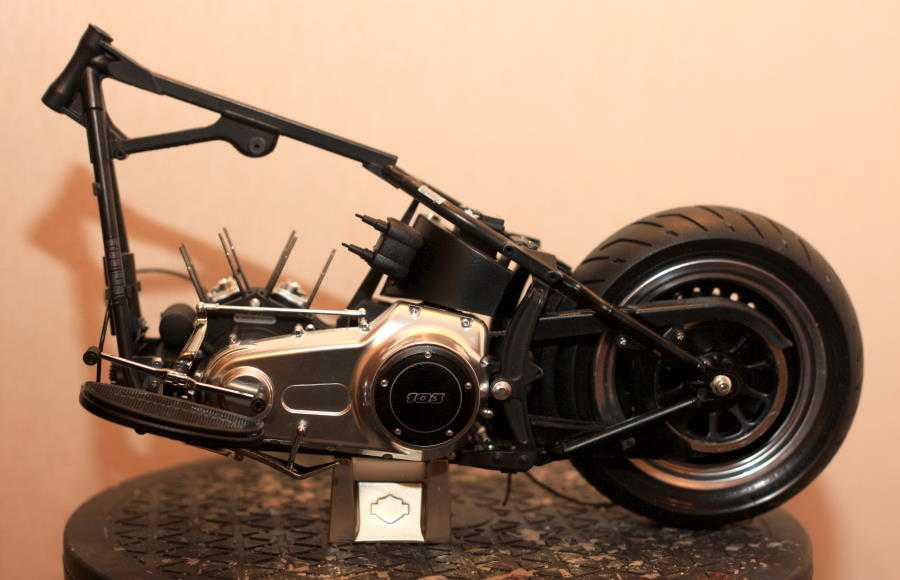
Thanks... it's been good so far... The reason for the DX10 head is that I'm not a fan of the original sculpture... with the sunglasses the DX10 is sput on for me. I made a bit more progress last night. What slows the build down is having to prime and paint the parts before putting them together. The detail in the kit is excellent though.
For those who have asked about painting, the kit comes in black and chromed plastic, plus some soft vinyl parts like the seat and some other bits and pieces. The instructions show Tamiya paints, there's about 6-8 of them I think... luckily I had most of them already... off the top of my head you need, Black, flat black, semi gloss black, Titanium Gold (I think), Silver Chrome, and there is a shade of green, maybe a couple of others, I'll check later if anyone wants the full list. It's not too difficult a build, as usual you make up sub-assemblies, but you do need time and patience... the nuts and bolts and screws can be a little fiddley so it's not for the heavy handed either. I'll take another pic tonight for those interested in the build.


")