Man, User you seriously are one resourceful collector. You're right about it looking the business. Very cool.
Thanks. The guy that owns Mechaskunk got new supplies in a while back and i stocked up. I was up at work today and remembered them still mint in package.
He has since closed the store, so i lucked out when i ordered them and made a big order.
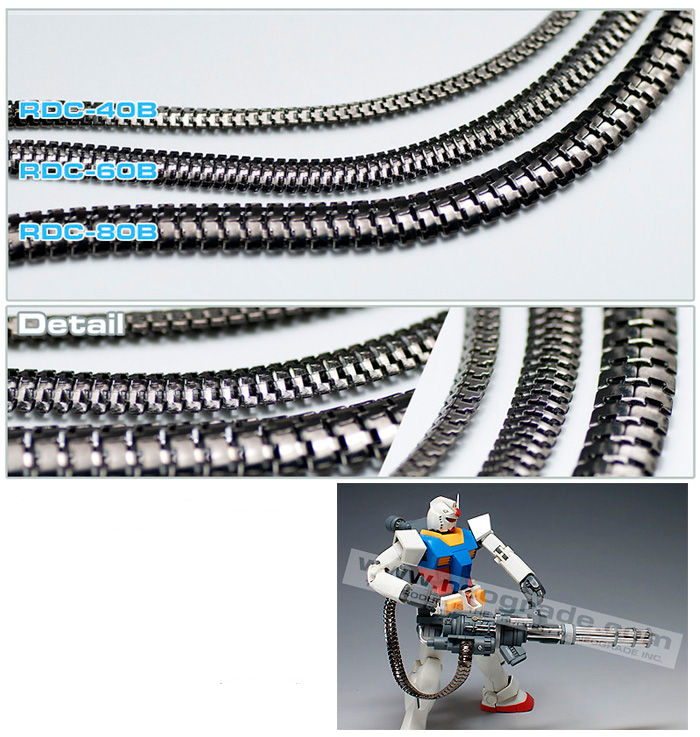
They were meant for gundam upgrade parts, but it looks great on War Machine