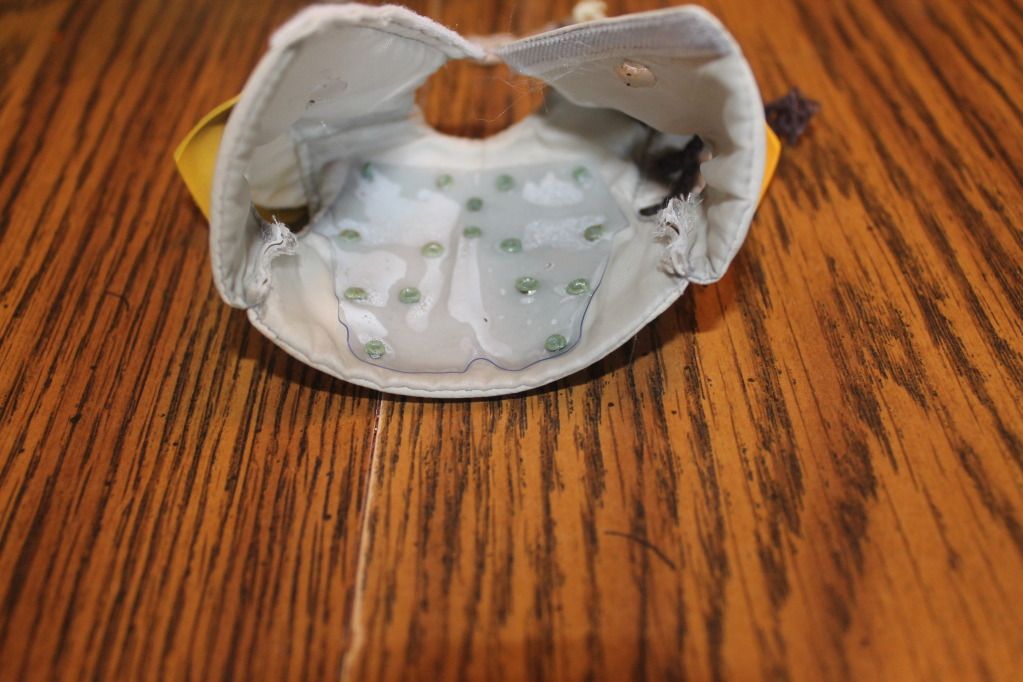
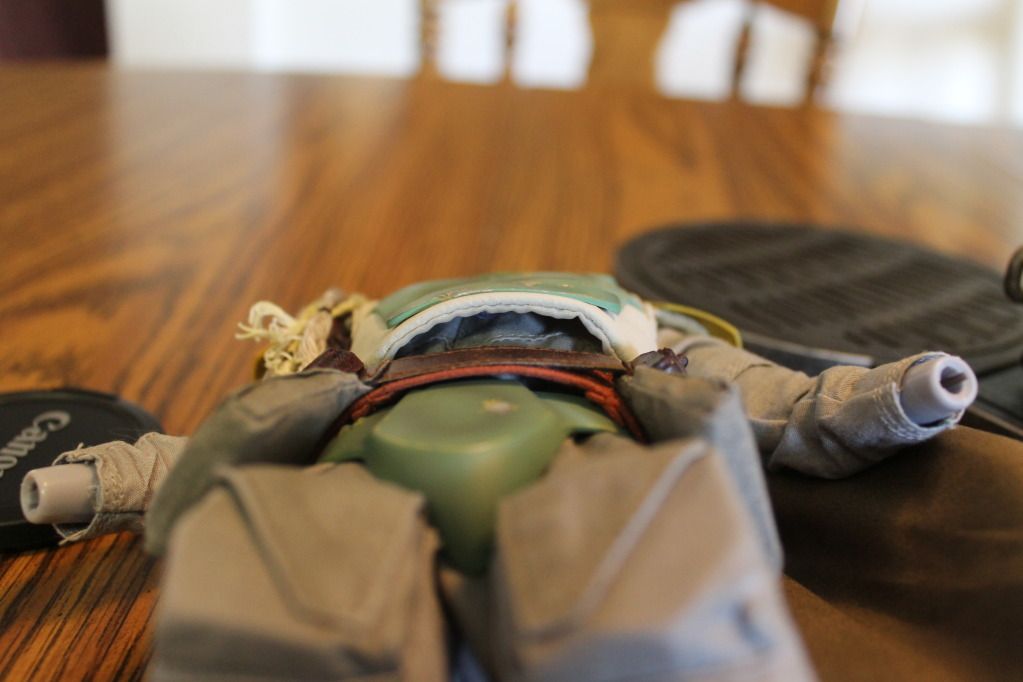
That inside clear plate is a very weird solution IMO...
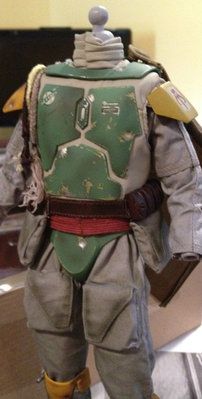
That's one of the things I love about the Medi Fett, is that the chest plates are attached nicely to the fabric...
With that said, great mods!
Looks so much better!
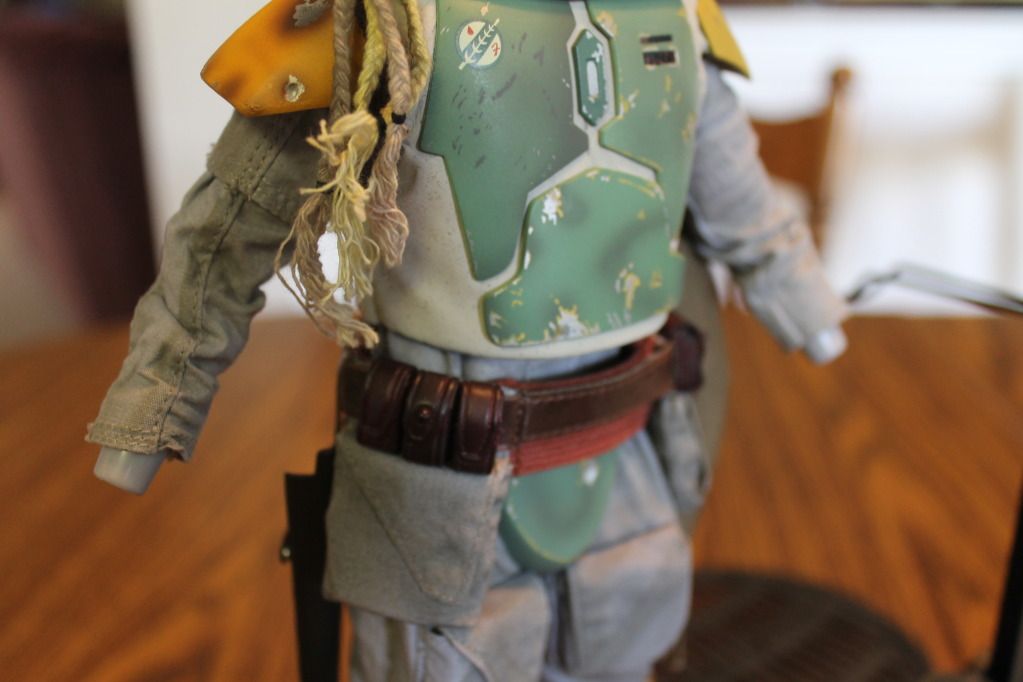
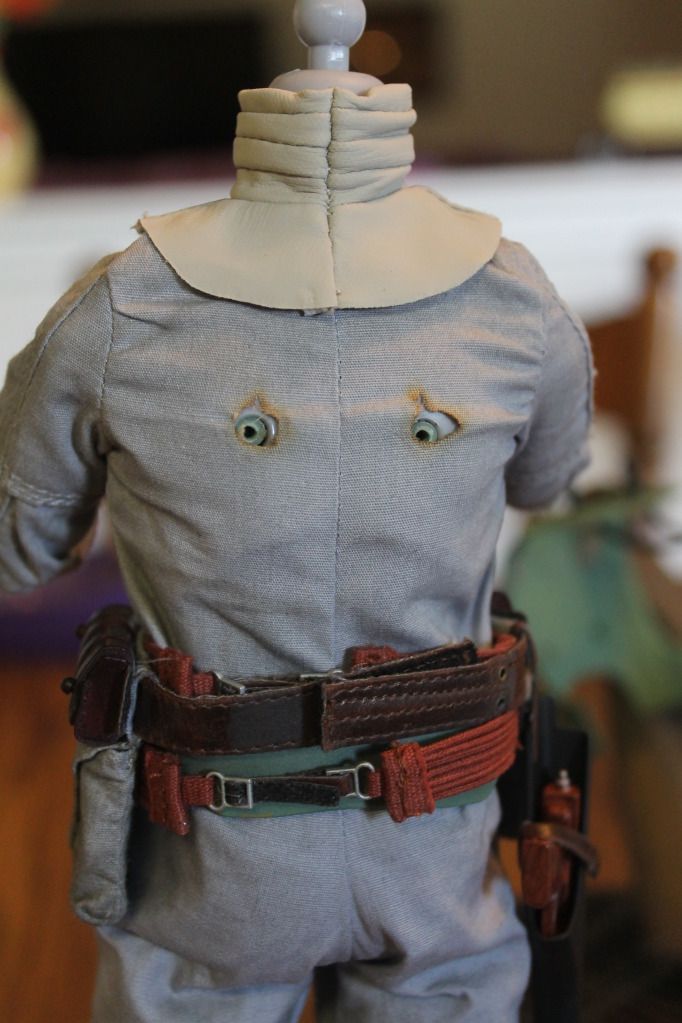
I wouldn't mess with the rivets...that's the only thing holding the armor on. One thing I might try this afternoon is cinching the vest tighter and using a safety pin or other fabric fastener to keep it in place. The pin should lie flat against the back armor.
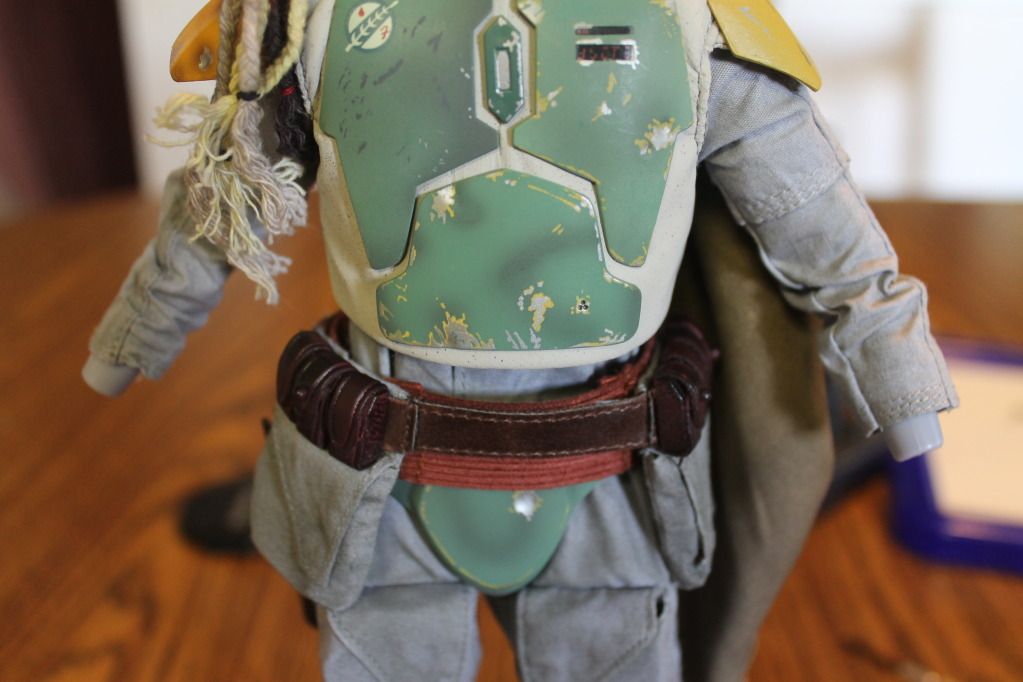
I did try the hot water trick over lunch, but was unable to get it pliable enough to get the curve I wanted. So some improvement over the stock, but not complete. I left it in hot water for 5, 10, 20 and then 30 seconds and at none of those times did the underlying plastic melt or warp uncontrollably... but the ab armor also failed to become as pliable as I wanted; so I'll go a bit longer after work and see what happens.
This was the first test; a bit better but not 100% satisfied.
I can't wait to get my hands on this thing! I'm thinking of leaving the back, clear plastic on the interior vest, but cutting it along the armor plates, so basically the interior clear plastic will look like the green armor. Then I'm heating that abdomen plate and curving that sucker!
But, I'm getting mine from my local shop so....
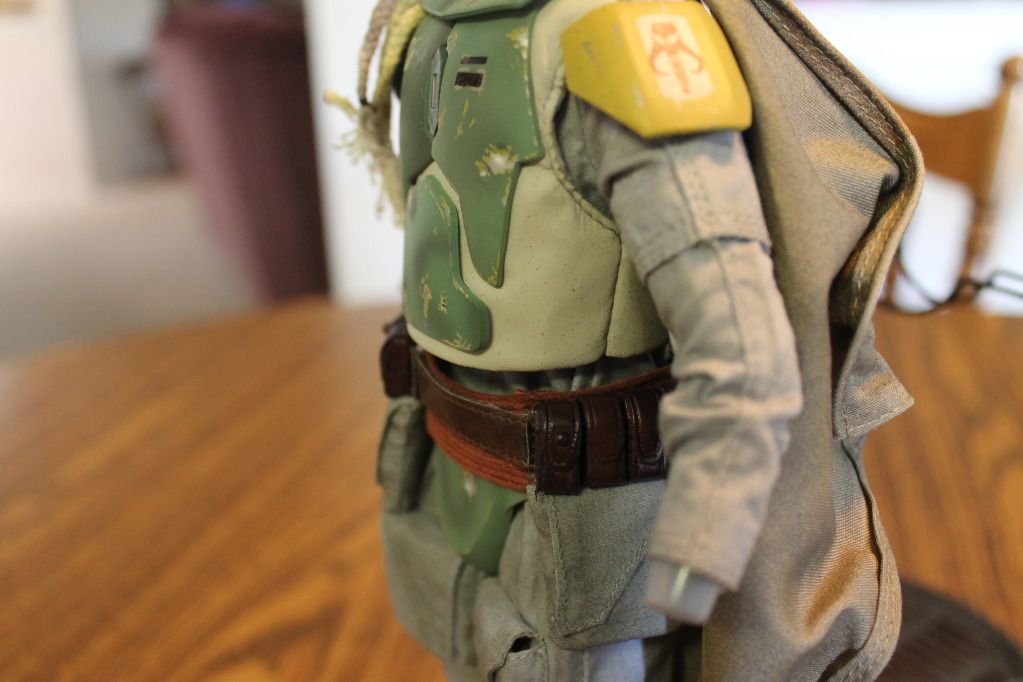
To me, this method make him look more "screen accurate" and a better look overall. and is very easy...
I think that the wather should be very hot, and put the vest for 5-10 seg... maybe trying to put on the wather only the ab armor, with the clear plastic facing up will prevent it to melt
I can't whait to have this on hand to do some futzzzzz
Has anyone tried taking a small wire brush and combing it through the ends of the scalps? It might break up the strand's end and soften the fibers so they don't look like unraveled string.


 You bastard, Matt!
  True!
True!