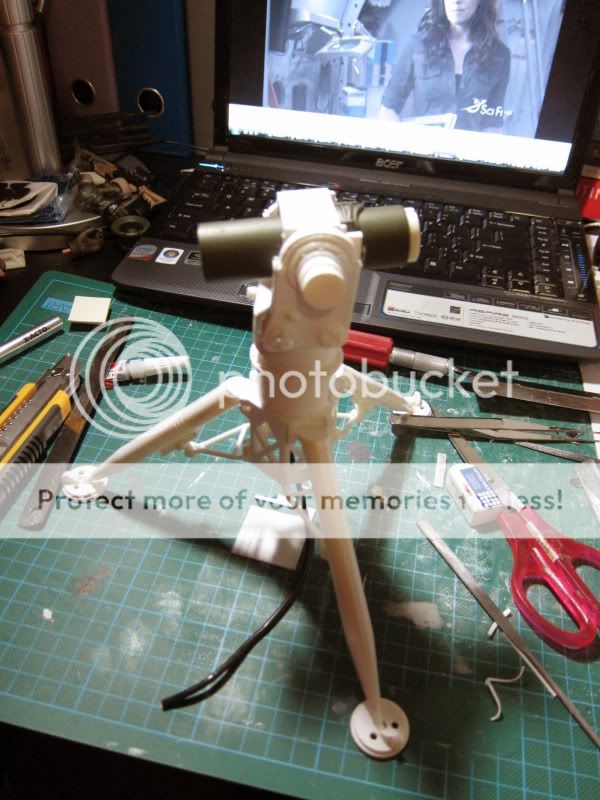
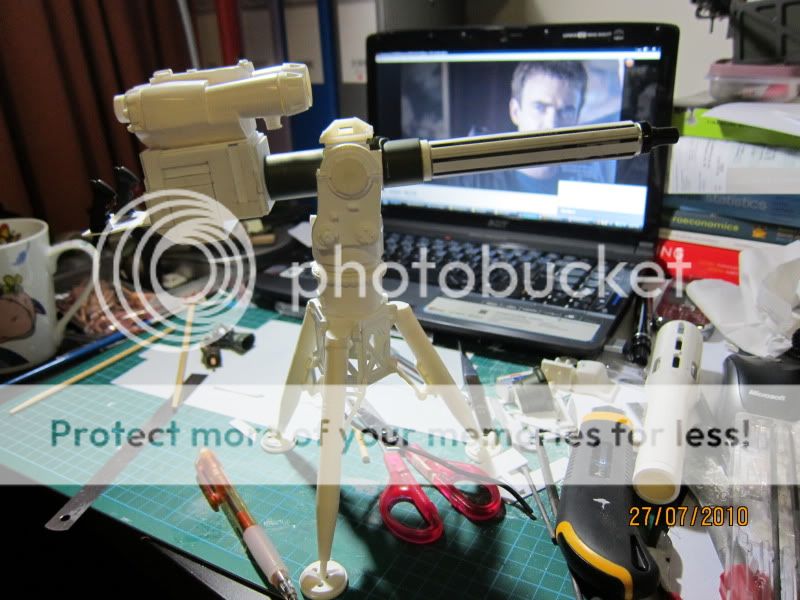
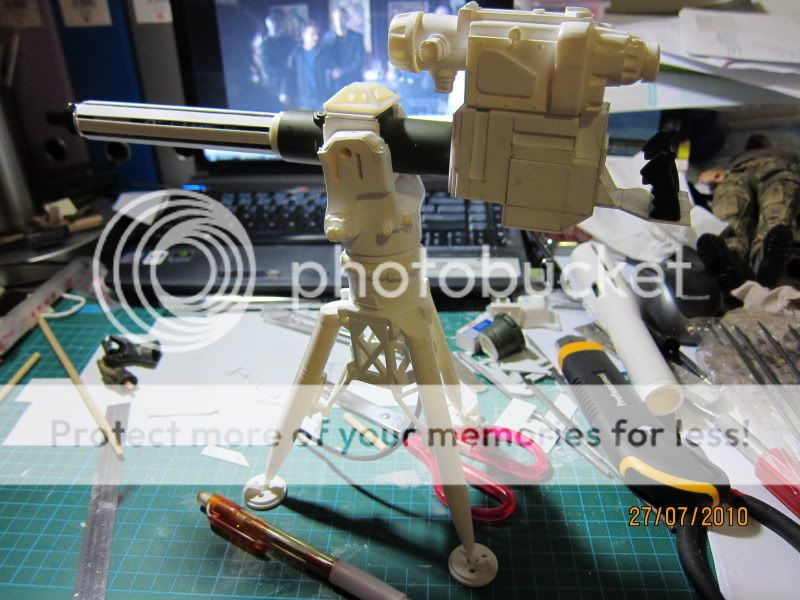
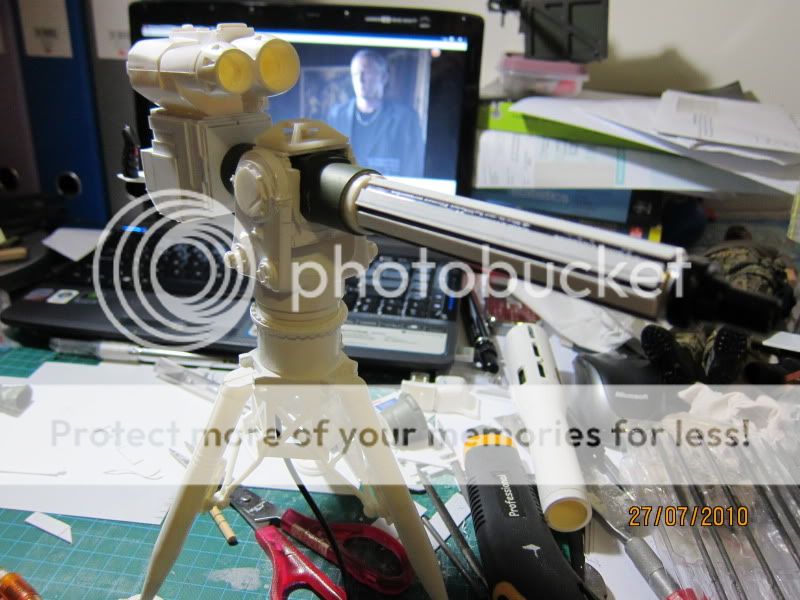
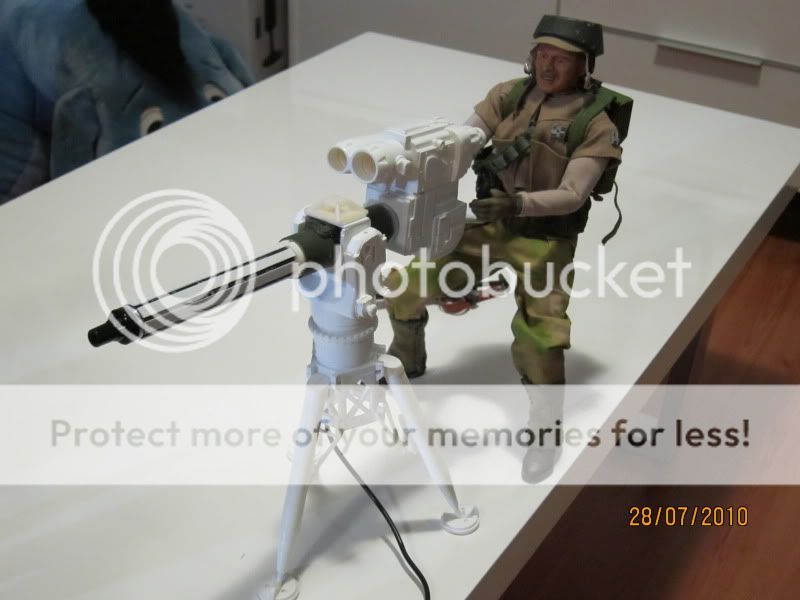
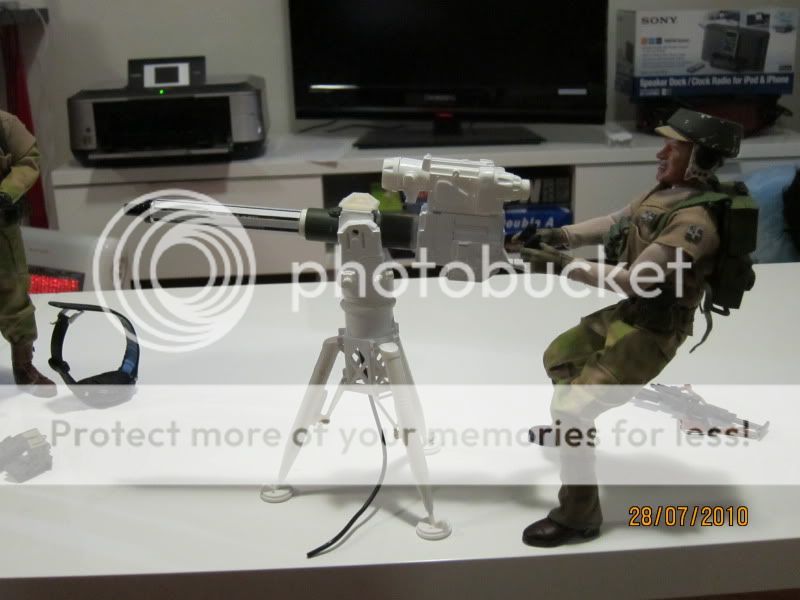
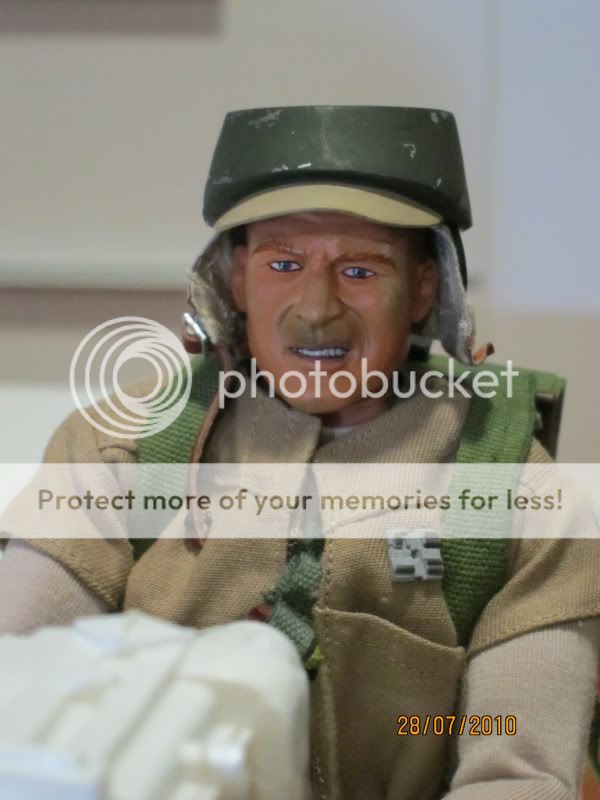
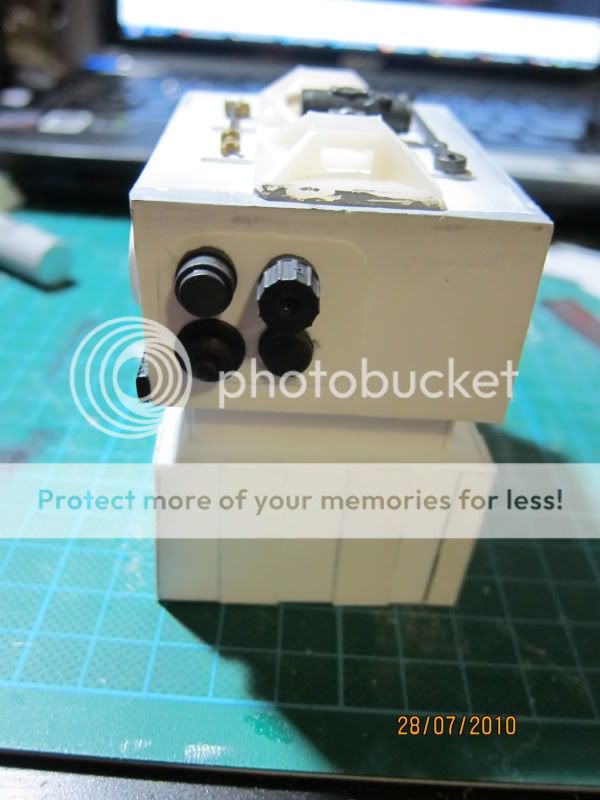
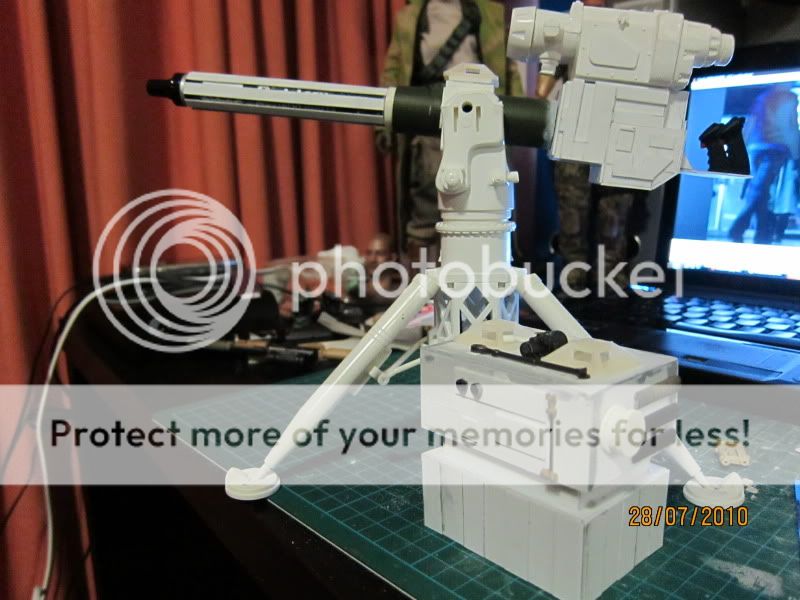
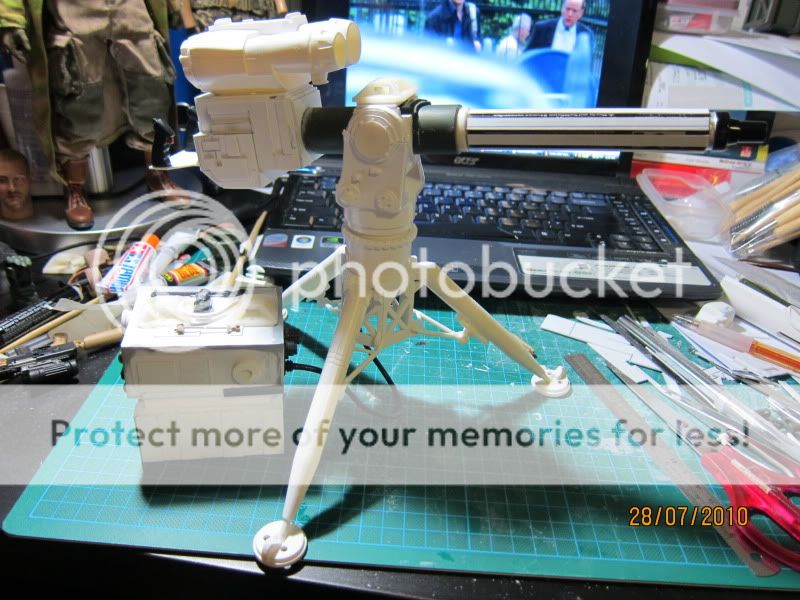
Onto the power generator for the Eweb. "Eksoan Class-4T3 power generator. Like many high-yield generators, the 4T3 was prone to overheating and potentially explosive overload, despite its advanced Gk3 Cryocooler cooling unit.[1] Power was fed into the E-Web via a conduit that connects to the base of the TR-62 Autocushion Tripod. "
what was used,
1.5mm black plasticard
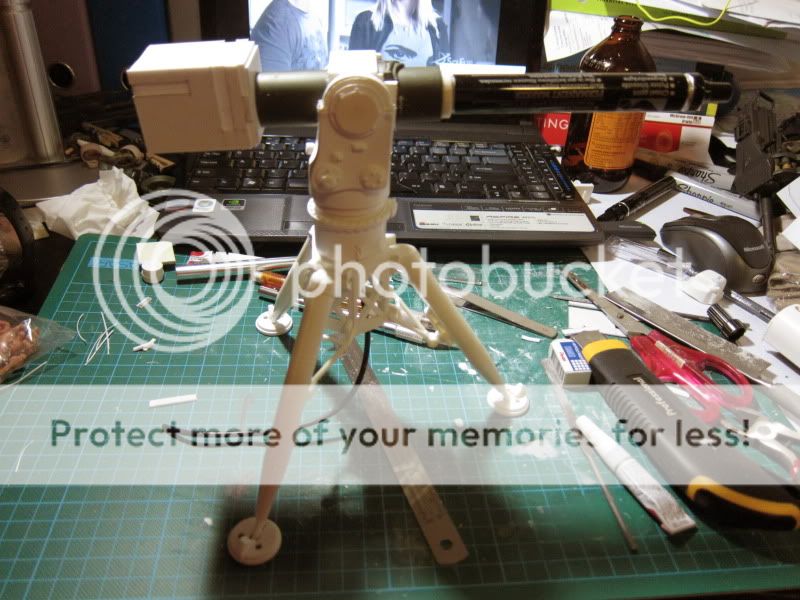
1/16th scale brass etched hinges
humbrol putty
lego
2.5mm plasticard
.5mm plasticard
1/16th scale tamiya kingtiger engine grill fixing bolts.
1/16th brass etched pipe fixing straps
hasbro 12" IG88 leg pipes.
brass rod.
hand made right angle pipe joints and fixing bolts.
1/35 scale photo etched bolt heads.
alot of swearing
headaches
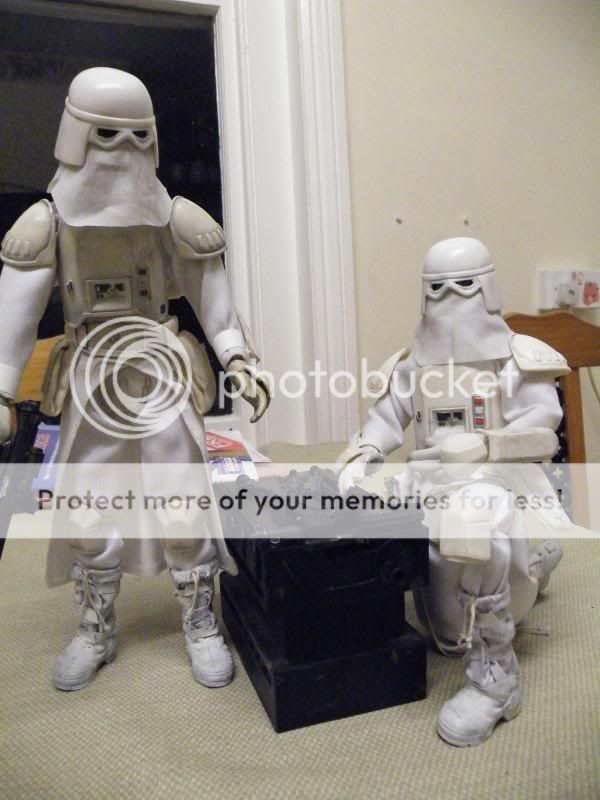
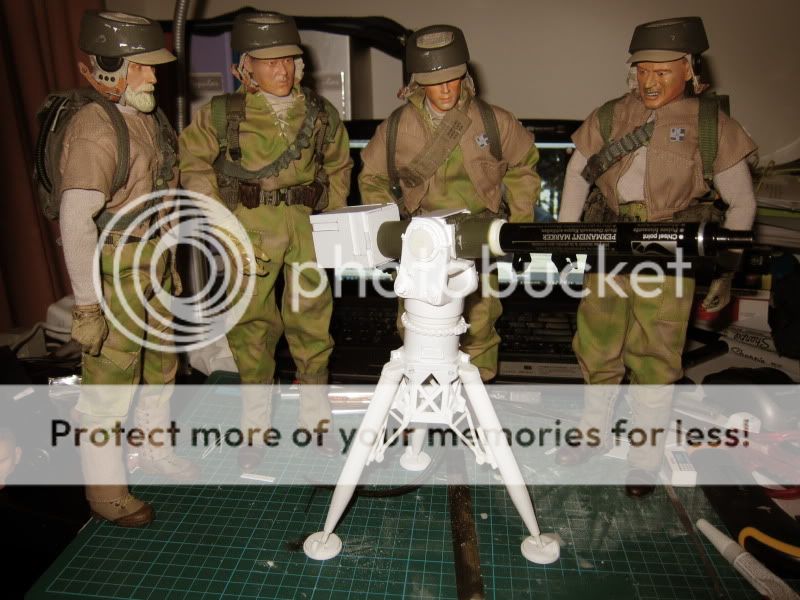
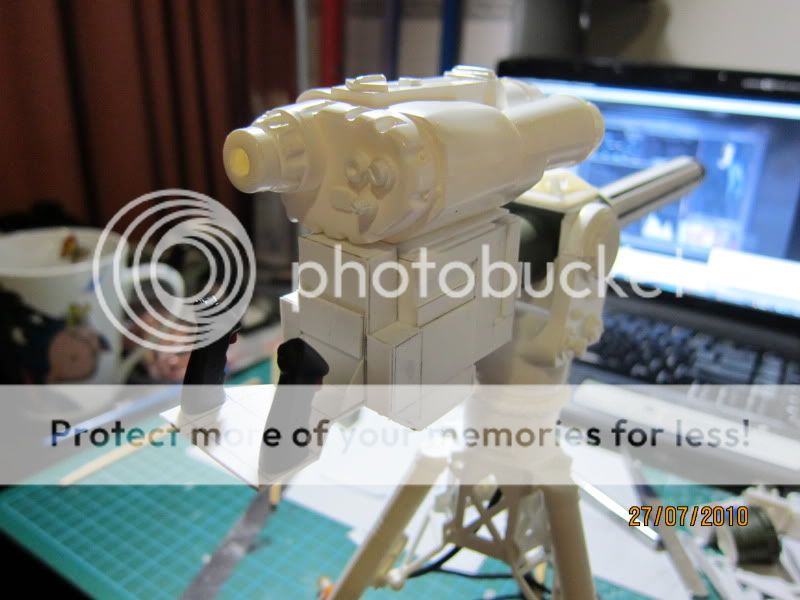
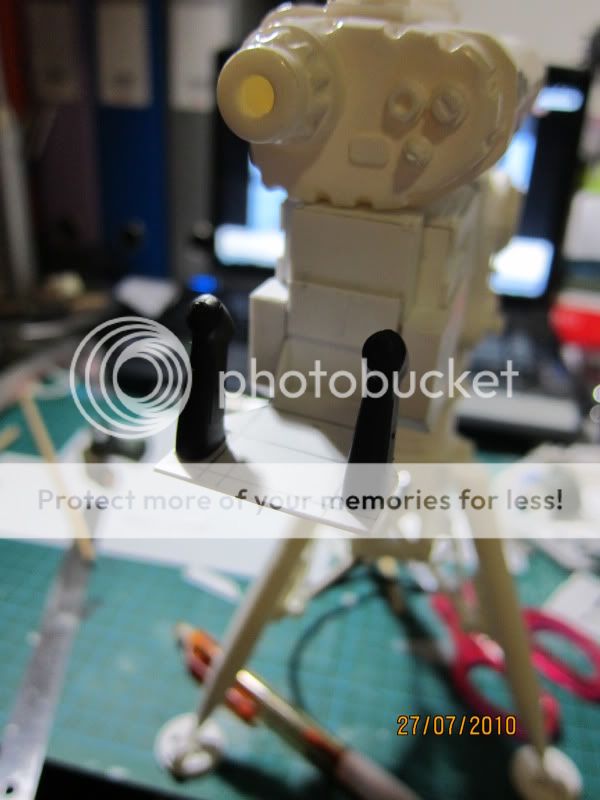
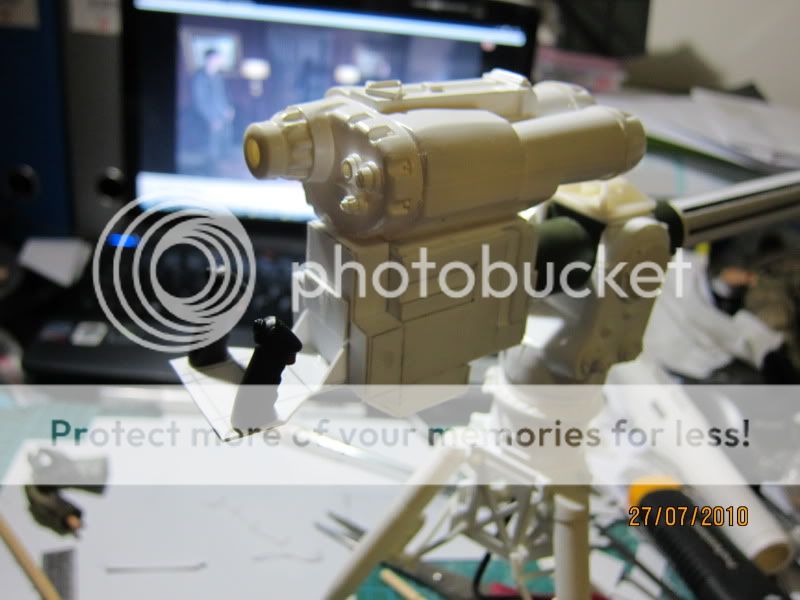
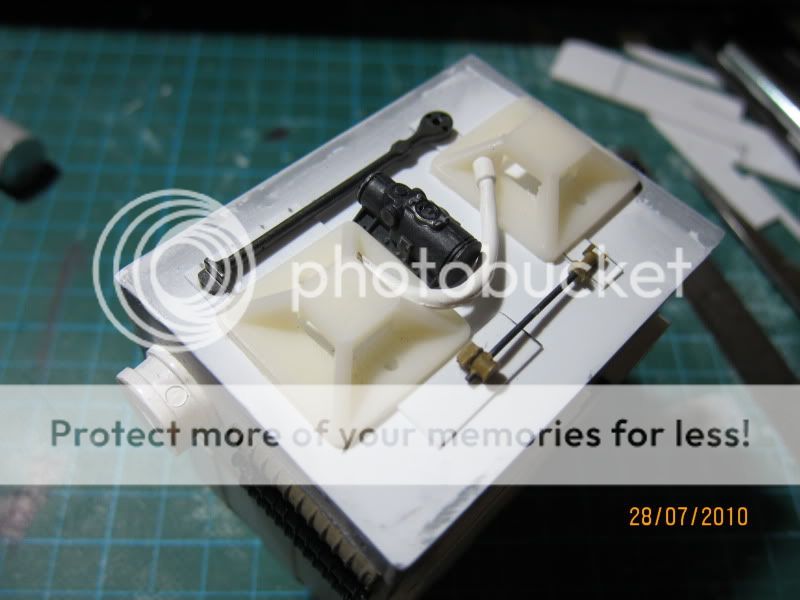
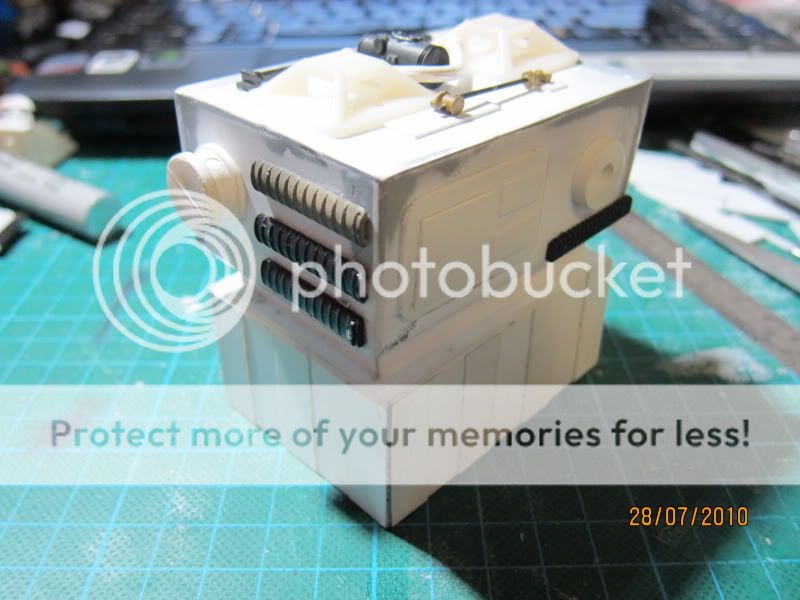
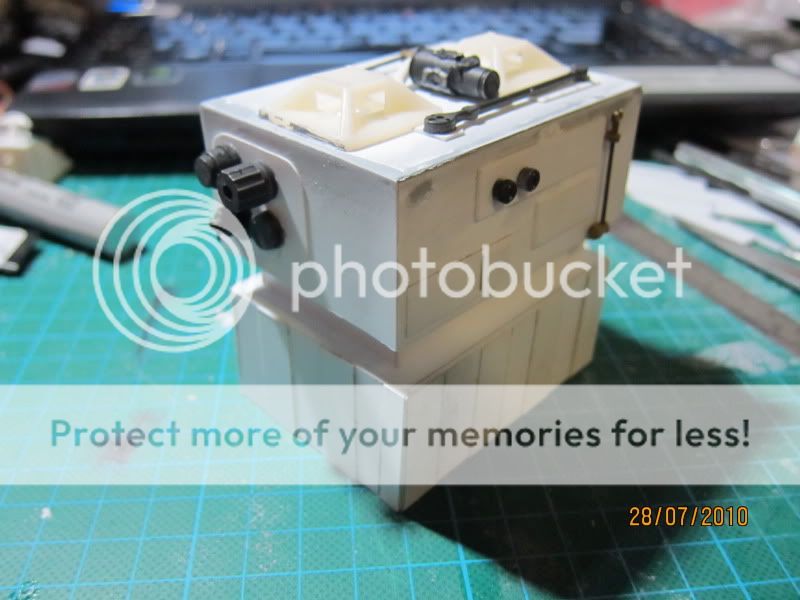
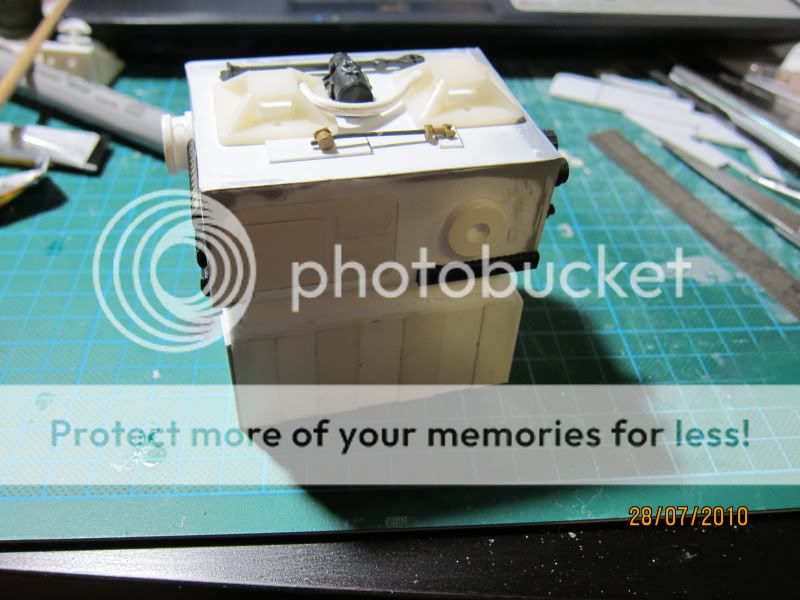
As i originally was promised some actual schematics for the eweb and generator i held out long as possible for these.They never came.So many hours of studying the few photos and screen grabs from ESB, some amatuer fiddling with paint shop pro to enhance the pics for better reference.some study of actual artillery pieces.On a 501st site i read the hasbro 3 3/4 inch toy is 75% accurate, er its not.The basic 'box' was made from 1.5 mm plasticard, strengthened and kept true and square with some lego bricks glued inside.I appoached the generator as an actual thing as opposed to a prop.With this in mind ive added weld seems to all major edges , casting number here and there as found on full size armor/artillery pieces.All the plumbing has had junctions etc made with hex sections to resemble something that could be striiped down and mantained/repaired.
The genearator has the makers name 'casted' on one panel, not in Aurebesh, but in 'glalactic standard' as i guessed this world be a widely used generator and so a widely used language was fitting.Theres alot of guess work for dimension i went with photos showing the snowtroopers using the generator for approximates, ie: its roughly up to a troopers knee in height, so scaled down this is about 3" and with width i went with a shot showing a troopers arm across one end.The hemispherical section on the top was made using a kids toy ball one of thos cheap soft hollow ones, it was cut open and half filled with resin.Theres a fair bit of artistic license invloved but as i said no definitive ref was available, and the ESB shots actually conflict in some ways.The whole thing was airbrushed with citadel gun metal, then dabbed with masking fluid using a scrap of scotchbrite, once dry ,sprayed black with 'army painter' black primer.The masking fluid was rubbed awy leaving random scratches and chipped paint,especially around the base, sides, and carry handles.Mig pigments european earth was dusted over it and sealed in. this was the second one i built the first was not quite big enough and still exists as a basic box