1/6 SS: 1/6 General Grievous MODIFICATION & photography thread

Collector Freaks Forum

Help Support Collector Freaks Forum:

This site may earn a commission from merchant affiliate links, including eBay, Amazon, and others.
He's looking awesome, McHaley! I'm looking forward to trying your mod on my own Grievous.


Willing to throw down big bucks and modifying time for a subpar character such as Grevious but NOT willing to do the same for an iconic character of your childhood such as the Tama Threepio. Shameful, just....shameful.


Looks good though, buddy. :)


Sent from my SGH-T999L using Tapatalk
 
Willing to throw down big bucks and modifying time for a subpar character such as Grevious but NOT willing to do the same for an iconic character of your childhood such as the Tama Threepio. Shameful, just....shameful.

:D

If I had Reward Points for Threepio, I would have owned him long ago. Grievous only cost me about $48 after points burned. If you can get me the Tamashii droid for that -- oh hell, or double that! -- I'll bite.


But now.... I'm waiting to see what that R2 silhouette is. If its a Sideshow 1/6 R2, means Sideshow's 3PO won't be too far off.
 
Thanks guys! Wasn't really hard at all!
Just gotta make sure when you melt the slots you don't melt through the front of the ear! You can just gently bend the stock ear mounts and they'll break fairly easily, clipped out most of the extra with a flush cutter and then finished up with an xacto and sandpaper.
I did sand the tips a bit too sharp, but it is what it is. Drilled the holes with a pin vise and a bit around 70, can't remember the exact size. I haven't fixed the ears in place yet so they're a little wonky.
 
With the cape, are you guys simply doing a black acrylic drybrush? I wanna do some more work on this guy and the cape is pretty much all I have left to do I think.
 
With the cape, are you guys simply doing a black acrylic drybrush? I wanna do some more work on this guy and the cape is pretty much all I have left to do I think.

I did a black acrylic heavily-watered-down wet-brushing on the cape in streaks and blotches, then let dry... but double-check with Rory as he has a full-dip method that I did not try. I also had to wet-brush the red part of the cape with a lot of black in the parts that showed, as the red squares show up a lot better when darkened.
 
Got the ears "set", I put that in quotes because they're secure, but I can still adjust the "flap" motion. Now I just need the Milliput to do the eyeplate.

null_zps8f5cb3df.jpg

null_zps40c6d7e0.jpg


Rory, care to weigh in on the cape?
 
THE CAPE:

Fill a small bowl with warm water, add a good squeeze of black acrylic paint. Mix it well, until the contents turn into a pretty dark mess. All the acrylic will not mix into the water evenly. thats good. Dip your cape in, squelch it around with a fork or something, then take it out and look for the black dots of pure paint which are stuck to the cloak. Rub them into the damp cloth with your fingers until they become black stains (if you don't like the particular placement of a spot of paint, run it under cold water quickly. Once you have dirty wet cape, lie it down (plate, draining board, whatever) Then apply paint to the bottom edges of the cloak to simulate it has been trailing o the ground. Paint rub, paint rub. Use a flat wide brush for best results.

Now, take your wet cape and wring it, twist and twist into a knot. This will form crinkles and folds and add texture and detail. When it is as knotted as possible, put it on a radiator or somewhere hot to dry.

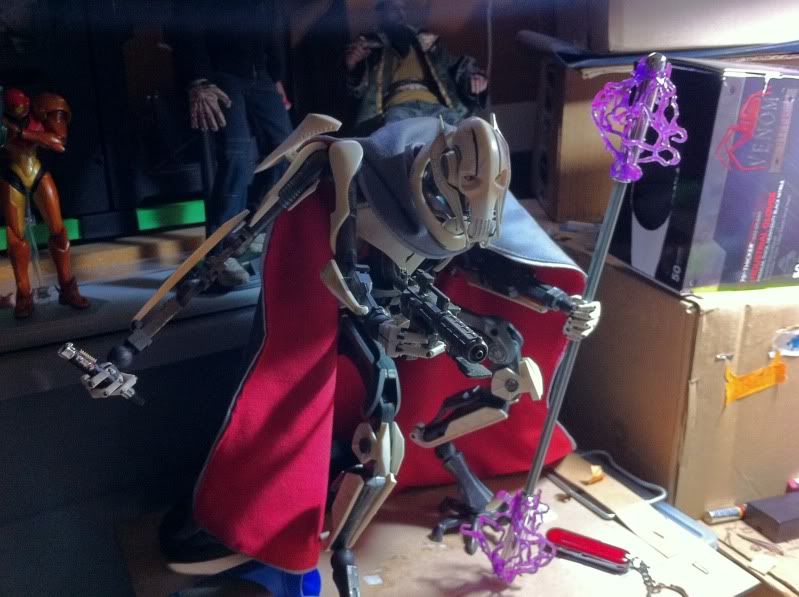
Then put on grievous, It will be a bit stiffer, so you can pose it a bit better. Wetting it on Grievous will let it hang better, but its trial and error.

Final thing is to add screen specific dirty spots (have a look at some screen grabs) you can do this last with a black wash as described above, do it on grievous though.

Good luck with it all...

:duff
 
Sweet, very awesome!
I had already started doing the trailing edges a bit before I saw your post, but I'm gonna go through with your method regardless. I was trying to get it to wrinkle, albeit without wetting, and interestingly enough I couldn't get the creases to stay in the fabric.

Thanks (once again) for another great tutorial!
 
the worst part and why it took so long to finish him is i only had nail Polish and a tiny paint brush and i also lol had to make a home made black wash with nail Polish and a clear porch coat spray.
 
Looks good, but you definitely need a better camera to show off your work. Hard to tell how it looks, but clearly its dirtier, and your painted the flesh around the eyes.

I like him in that two-arm pose -- you don't see that here too often.
 
i appreciate the critique. ill definitely get a camera here soon. its annoying because i spent so much time painting the actually eyes but you can't even tell by the photos. lol
 
Back
Top