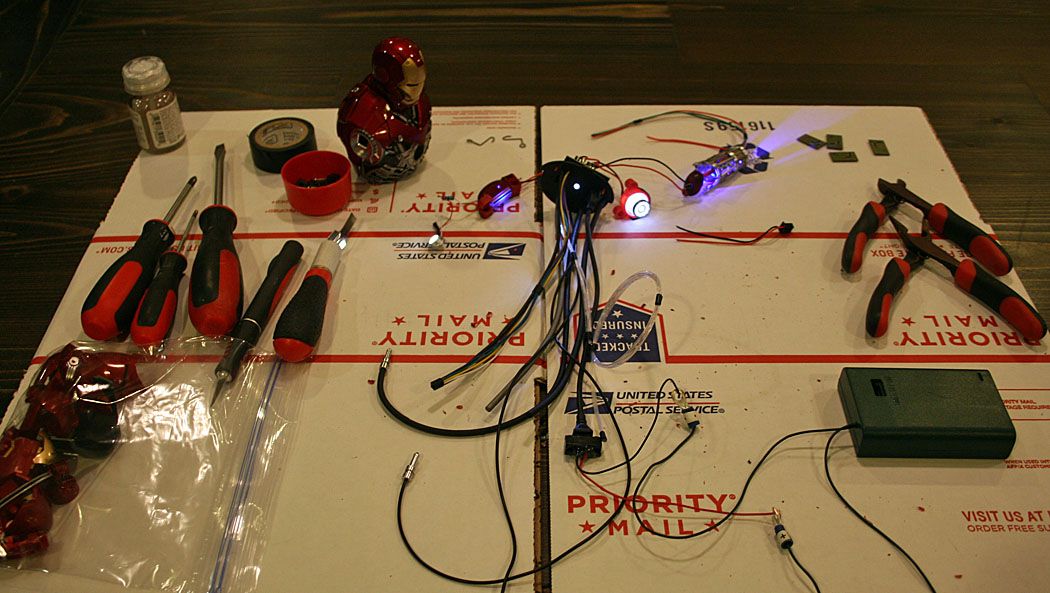
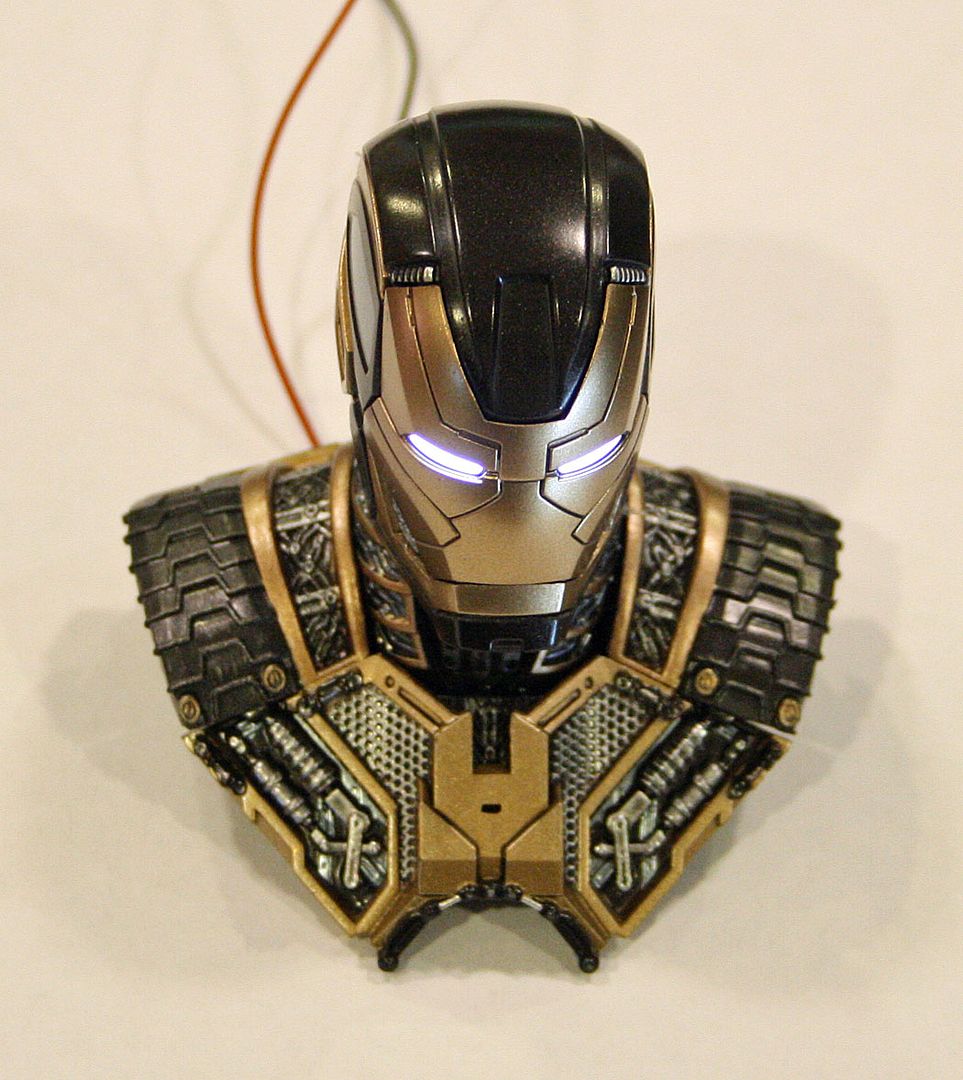
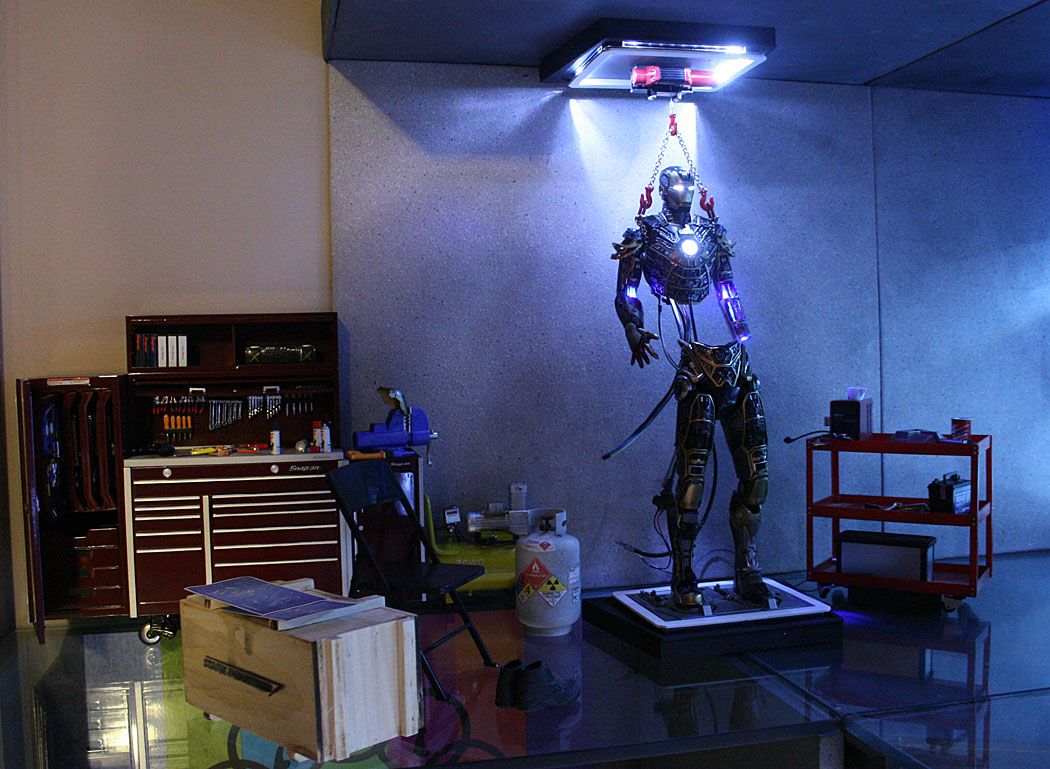
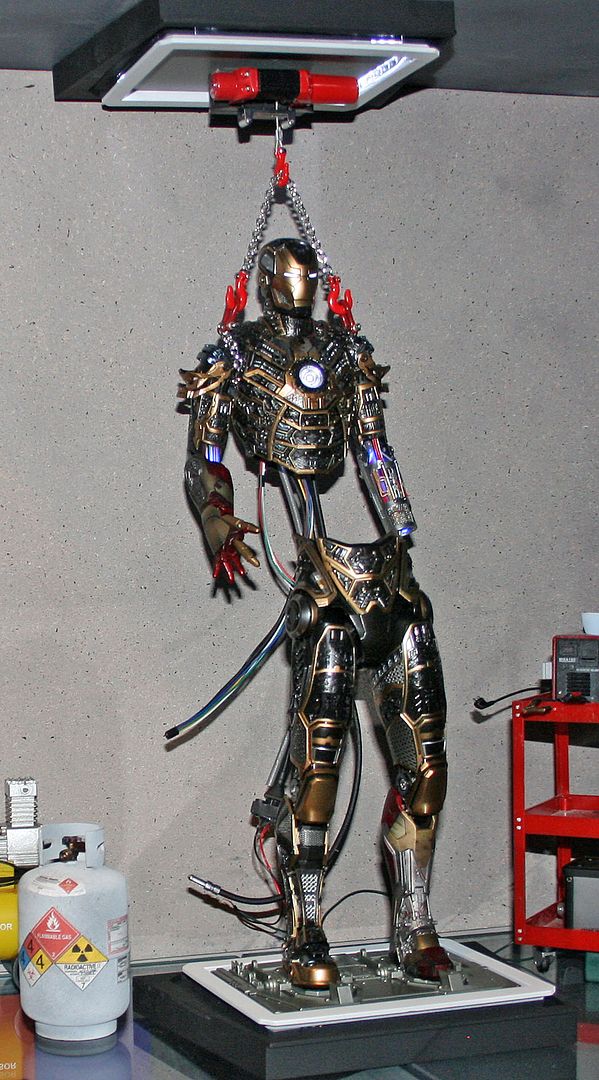
1/6 Hot Toys Iron Man Armor Construction Bay - Bones/Mark 42 Hybrid Armor Custom Project

Collector Freaks Forum

Help Support Collector Freaks Forum:

This site may earn a commission from merchant affiliate links, including eBay, Amazon, and others.
Re: Hot Toys Iron Man Armor Construction Bay - Custom Project

Dude, that looks brilliant. I love all of your custom touches! :clap


Thanks


Are you getting the new Mk III Diecast? Since the whole thing disassembles to change the midsection, you might be able to use the pelvis and legs for the display. Just a thought. You seem quite capable of creating and customizing, you might be able to dress the lower section to match the top.
Ryan


Yes and I considered this but at $340 for a figure I might just wait till they are discounted, if they ever are.
 
Last edited:
Re: Hot Toys Iron Man Armor Construction Bay - Custom Project

That's the thing. Don't do anything permanent to the full Mk III figure. Since you wouldn't have 2 Mk IIIs in the same area anyway, just put something over the top of the pelvis, like the lower ab section of the Mk III construction set so the two pieces match up. When you want the Mk III in the HOA, just put it back together.
Don't sacrifice the figure, just make it multi-task! ;)
Ryan
 
Re: Hot Toys Iron Man Armor Construction Bay - Custom Project

Are you getting the new Mk III Diecast? Since the whole thing disassembles to change the midsection, you might be able to use the pelvis and legs for the display. Just a thought. You seem quite capable of creating and customizing, you might be able to dress the lower section to match the top.
Ryan

That's the thing. Don't do anything permanent to the full Mk III figure......
Ryan


I missed the bolded part in your first post and I did not know the Mark 3 disassembled in this way. That's interesting and something I might have to look into.

Thanks for pointing that out for me.
 
Re: Hot Toys Iron Man Armor Construction Bay - Custom Project

Check through the Mk III thread. There's a couple of videos in there. I think Budget Stark did one and I think there's one by Xenomorph. It breaks down into sections to change out the ab piece. So atop the pelvis and legs is a trapezoidal type block for interlocking the midsection piece. I'm sure you could use the
lower ab section from the construction set and a little creativity to hide it. You could probably add a bunch of wires to hide it or something like C-3PO. I have
faith in you.
Ryan
 
Re: Hot Toys Iron Man Armor Construction Bay - Custom Project

Thanks for the info.

I have a Mark 3 coming but I'm going to keep an eye on it and if they get heavily discounted I may buy a second one for this display.

I amy even paint it dark gray to give it a "secrete project" vibe
 
Re: Hot Toys Iron Man Armor Construction Bay - Custom Project

Someone far braver then I figured out how to break down the Mark 3 torso.

I was able to save most of the torso and head but the arms are glued together so I had to sacrifice most of them to get the electronics out.

Now I just need to figure out how to break down Bones so I can get these electronics into him


Last edited:
Re: Hot Toys Iron Man Armor Construction Bay - Custom Project

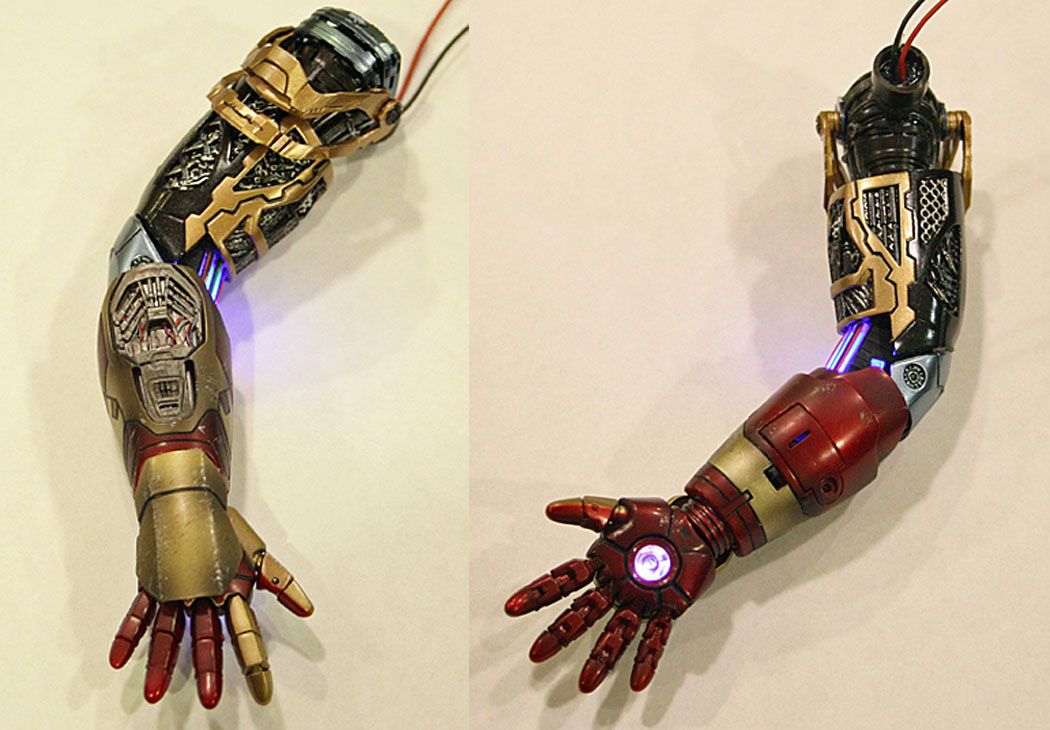
I built the right arm today.

Since this is a transitional prototype armor I am going to use some Mark 42 parts.

So far this has been pretty easy and I plan to do the left arm tomorrow


Re: Hot Toys Iron Man Armor Construction Bay - Custom Project

(mock Southern accent) You suh, are a maniac! Can't wait for the end result. Ryan

I love this idea, I am glad you found a way to make it work. Looking forward to seeing the results!


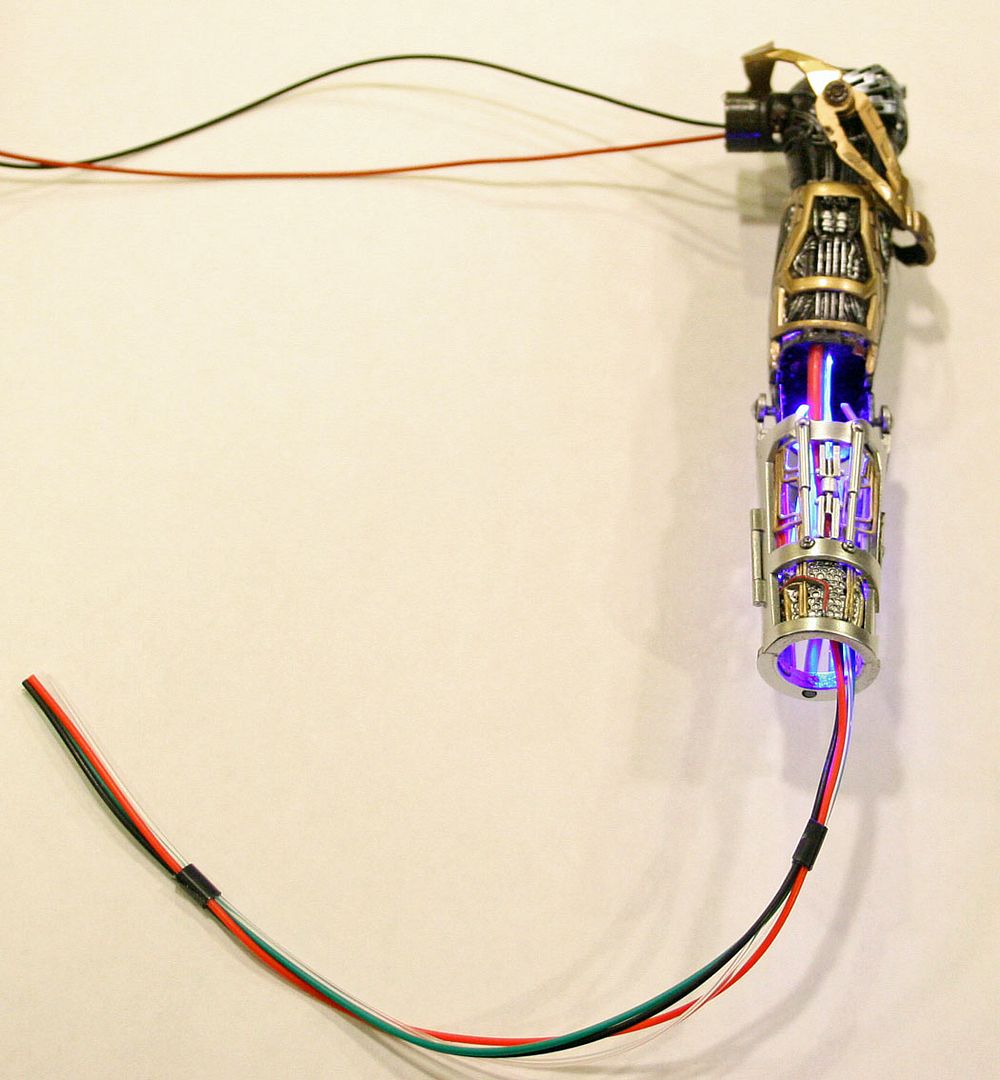
It would seem I can't wait for the final results too, I decided to build the left arm.

On the Mark 3 the lower apparatus is on the right arm but since I had Mark 42 parts for that arm I had to switch this over to the other side.


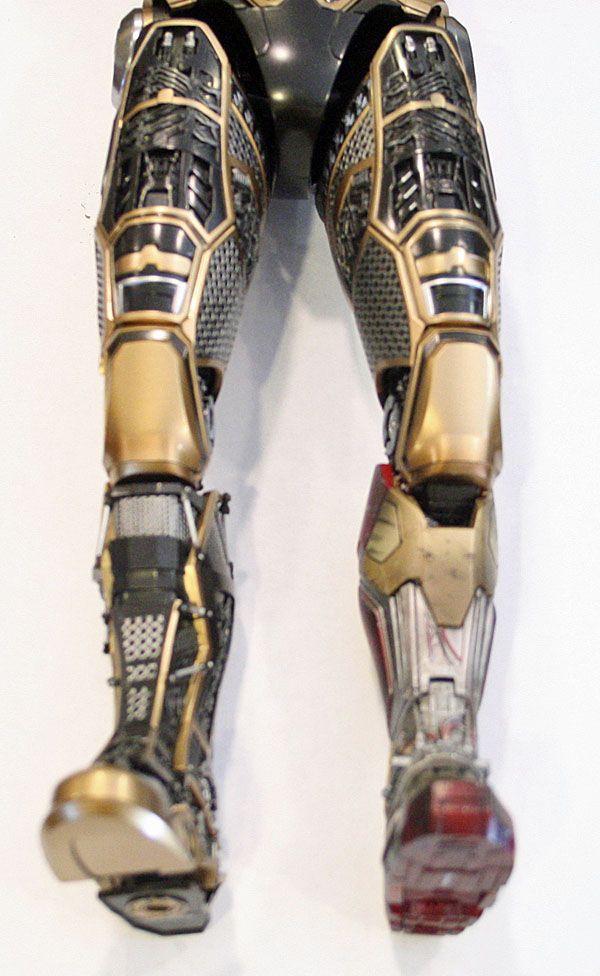
The left leg is done, now I need to wire the head so it can plug into the main control board.


I finished hard wiring the head, it was more difficult then I expected.

The only thing left to do it figure out how to get the torso apart so I can get the main control panel into it, then I can reassemble the armor and hang it from my hoist.

 
Well I stripped the torso.

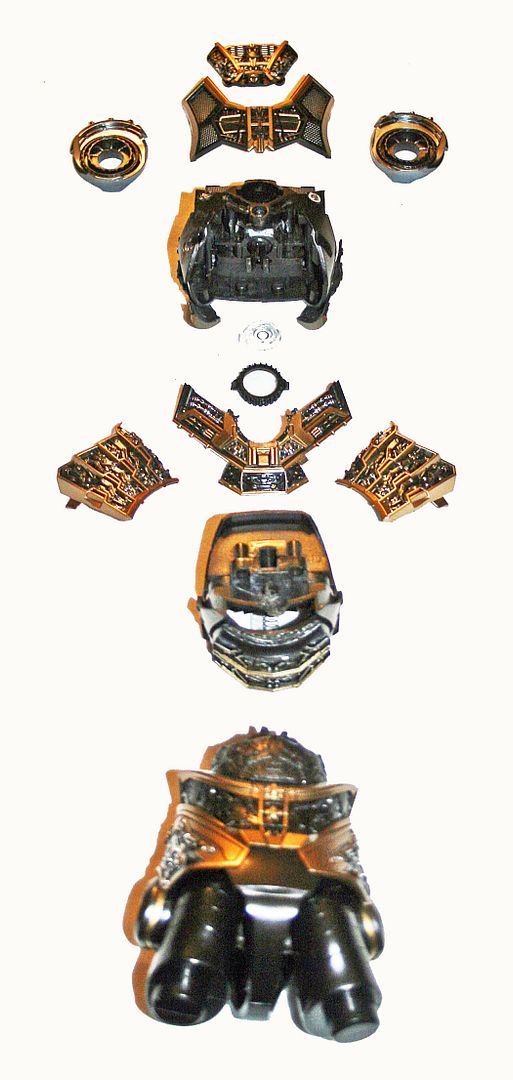
While investigating I realized that the upper part and lower part were connected to the center part with a clip/pivot system and all you have to do is pull them apart


Once you get them apart you can remove screws to remove large detail panels and after that a little prying pops of the smaller detail panels.


I decided to remove most of the exterior detail panels because I am going to hit this hard with a dremel to make room for the control panel and one slip can ruin a part


This image is intentionally over exposed so you can see the clip/pivot system better.


I had to trim the mounting plate so the control panel would fit into the Bones torso.

Once that was done I decided to attach the arms and plug them in before I installed the chest plate.

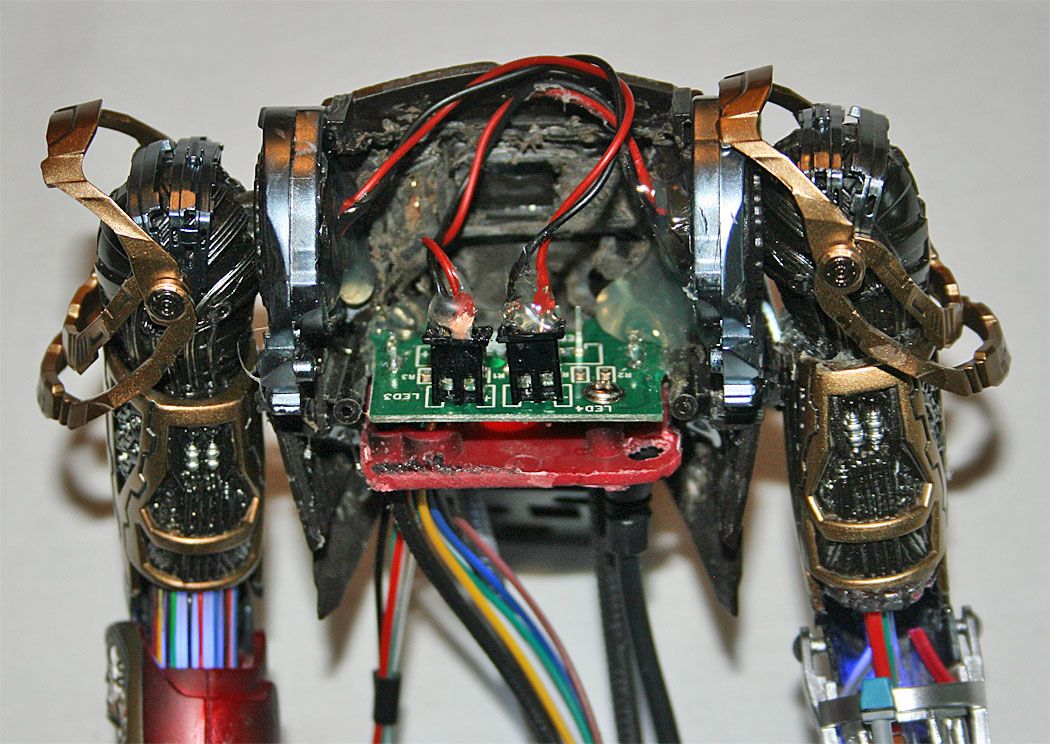
The chest plate and the shoulder/head assembly plug into the board but I will have to push the connectors onto the pins with long needle nose pliers.

As you can see in this photo Hot glue is your friend :)

 
I got the top part done and hanging from the hoist.

I'm going to take a break from this for a while before I work on the bottom part

 
That looks really great. I have the Mark III construction version and I think it is great too, but if this was an official version I would totally have gone for it over the III (also coz I will have the full Mark III soon).
 
Originally I wanted to do this custom from the start but taking the Mark 3 apart intimidated me so I was just going to be happy with the it hanging from my hoist.

Then a new friend sent me an email explaining how he took his apart so I went for it and a couple days later.....


I'm glad I did this because I didn't really want a construction version Mark 3 and a die Cast Mark 3 in my HOA which is less then 2 feet from the Construction Bay.


I just wish more members were interested in this kind of stuff because I enjoy discussing the process and the more people that discuss something the more you can learn about the process.

I talk to Stephen on the phone a lot during this build and we brain stormed and I don't think I would have done it with out his help.
 
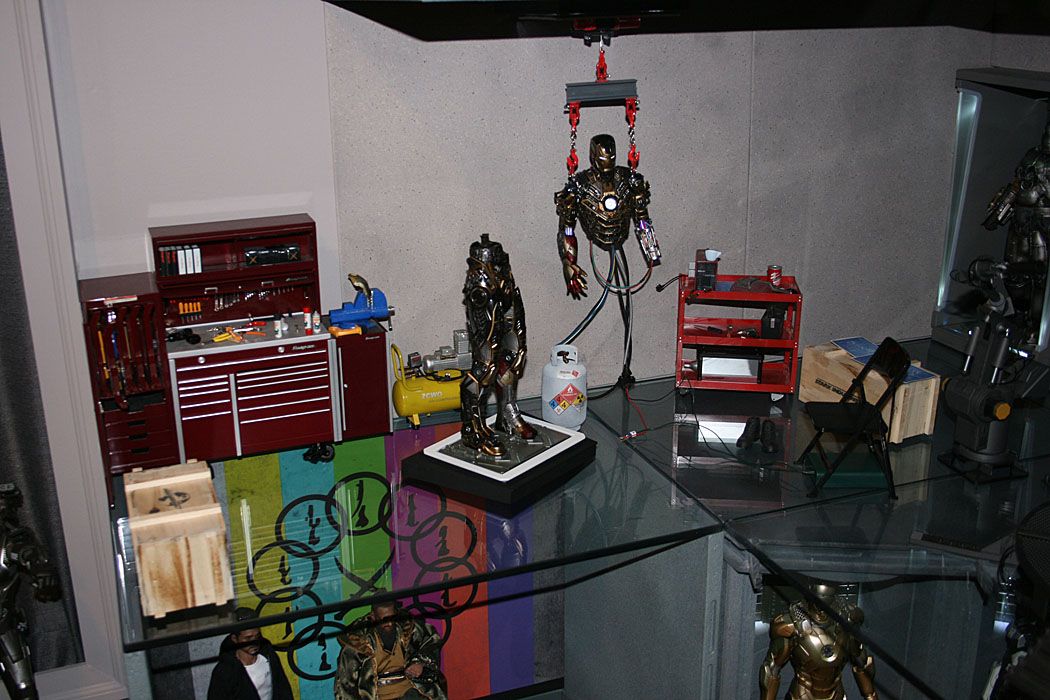
I got the placement of all the parts worked out for the final set up


It looks a lot better in person.

Now I just need to build the control panel which will double as a power supply for everything and then I can add the LEDs and wires to the bottom half


I’m extremely happy about the look of the Mark 42 parts that I added to Bones.

 
I got the placement of all the parts worked out for the final set up


The fiber optic internal glow really makes for a neat for a neat look! It be great if more releases could incorporate it, and while were dreaming a non battery way to power it all
 
Back
Top