You are using an out of date browser. It may not display this or other websites correctly.
You should upgrade or use an alternative browser.
You should upgrade or use an alternative browser.
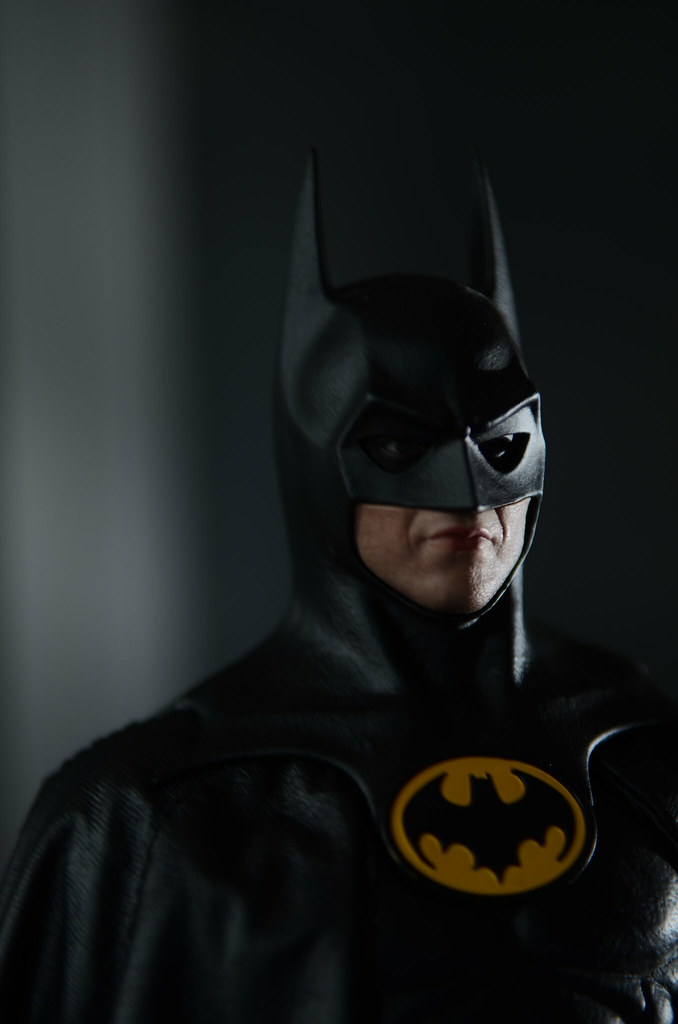
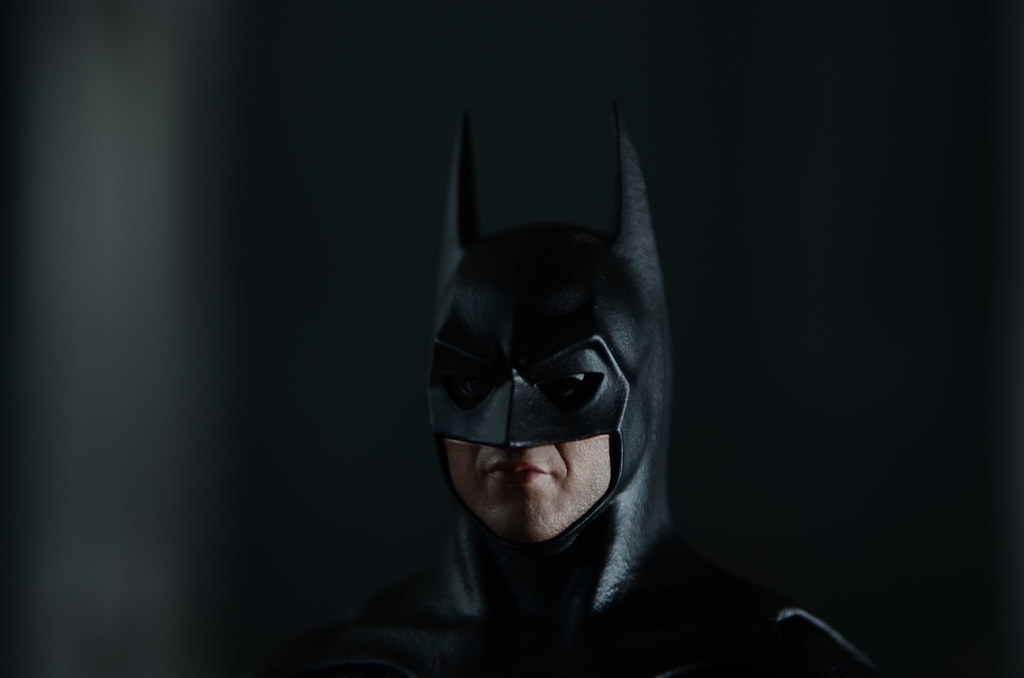
Hot Toys DX09 - BATMAN - Batman (Michael Keaton) - Specs & Pics
- Thread starter MaulFan
- Start date

Help Support Collector Freaks Forum:
This site may earn a commission from merchant affiliate
links, including eBay, Amazon, and others.
kgrhoad
Super Freak
It is available - but very pricey. Don't imagine hot toys will be touching this one anytime soon!
If anyone is interested...
Custom 1/6 Scale 1989 Batcomputer Diorama
Price is US$1800 per set
Features:
• Twelve (12) Lighted Computer Monitor Screens (220V AC Powered)
• Computer Chair with Faux Leather Upholstery
• Two (2) Desktop Machines
• Three (3) Moveable Industrial Equipment
• Base Flooring with Grill Design
• Two Sided Cave Wall
• Diorama Size is Approximately 24.5x24.5x17.5in.
DarkMagic
Super Freak
Wow that is pricey. It looks good, but for that much I'd expect at least as much accuracy with the Monitor console as the Kenner Batcave Command Center version.
Jesus H! Great diorama. At first I only saw this page and saw the price mentioned - $1800??! My first thought was 'oh typical, ''because he's BATMAN'' right?'. I then go back a page and see the pics and I'm like '.......yeak OK, then maybe' 
edit - after reading other reactions - 'but yeah still pricey'

edit - after reading other reactions - 'but yeah still pricey'

JawZ270589
Freaked Out
- Joined
- Feb 2, 2013
- Messages
- 130
- Reaction score
- 5
franpincho
lol@$300
What an excellent job!
Personally, I'd have the EB Batman in there somehow as well. I know it's not as iconic as the TDK suit, but personally I think it is.
Amazing picture, still. Really outstanding!
JawZ270589
Freaked Out
- Joined
- Feb 2, 2013
- Messages
- 130
- Reaction score
- 5
Thanks dude..
One more from Batman 1989:

One more from Batman 1989:

Gotta agree with Fiend. HT's cape is just fine. Cut the wire out and it's rather good.

photo storage

photo hosting
Have not found the page on how its done, any help?
Damn, everytime I see photos of this guy, I wanna kick myself for selling him and the Jack Joker to help pay some bills. This is such a great figure.
Jokes & Bats
Super Freak
Have not found the page on how its done, any help?
Here ya go
Some fellow board members have requested a tutorial on how to fold the cape so I've taken a few pictures to try and show how I approach it. Hope they help.
Step 1. is to completely remove the cape from the figure and flatten it out.

Uploaded with ImageShack.us
Step 2. is to start folding the cape from the bottom edge. Carefully pinch the edges togther.

Uploaded with ImageShack.us
Here you can see how the left hand side is folded whereas the right hand side is not - just for comparison.

Uploaded with ImageShack.us
Step 3. is to watch out for any of these weird folds - they will ruin the look of the cape so try your best to get rid of them.

Uploaded with ImageShack.us
One you have folded the whole thing, it should look like this:

Uploaded with ImageShack.us
Step 4. is to place the cape on the figure. It will stick out and look messy at first.

Uploaded with ImageShack.us
Step 5. is to repeat the folding process but this time gently pull down as you fold. This should help make the cape look smooth.

Uploaded with ImageShack.us
Step 6. is to put his head on. This will keep the cape in place around his neck. The cape will still be sticking out at this point.

Uploaded with ImageShack.us
Step 7. is to carefully fold the back of the cape over itself to remove some of the bulk - it also reduces how much of the cape sticks out by his arms. This part is tricky and can be time consuming. I find a lot of patience helps.

Uploaded with ImageShack.us
Step 8. is to apply pressure to the front 'corners' of the cape - I press them into the stand to make the cape smooth and straight. The cape then stays in place as it has gripped onto the stand.

Uploaded with ImageShack.us
Here you can see one side is done and the other is not.

Uploaded with ImageShack.us
Then repeat for the other side.

Uploaded with ImageShack.us
It takes a lot of time to get it right. Chances are you will ave to keep futzing and altering small bits of it every time you walk past it and notice something out of place. I have found that simply leaving it and letting gravity pull it down also helps. Hope that was useful for everyone.
Jokes & Bats
Super Freak
You took the wire out from one of the posts above…
Aye. The same method applies to futz it - it's just easier and quicker without the wire.
I was never able to manage it. Eventually bought a custom one.
franpincho
lol@$300
I was going to get a custom one from Tony until he mentioned the price. I know the guy does great and all, but just hell no.
Sidious-66
Super Freak
Similar threads
- Replies
- 510
- Views
- 41K
- Replies
- 6
- Views
- 406
- Replies
- 25
- Views
- 3K
- Replies
- 202
- Views
- 11K
Latest posts
-
-
-
-
-
1:6 Mad Max needed his Interceptor...that crazy idea became reality
- Latest: James Treekiller


