Endoskull Roll Call...

Collector Freaks Forum

Help Support Collector Freaks Forum:

This site may earn a commission from merchant affiliate links, including eBay, Amazon, and others.
I haven't read all 200+ pages, but was this Endo already added to the list?

https://www.propbay.com/original/sw...nator-2-judgment-day-1991-crew-promo-472.html

978d1321151237-sws-gift-t-800-endo-skull-comp-1b.jpg


979d1321151237-sws-gift-t-800-endo-skull-comp-2.jpg
 
Anybody really really familar with the HCG endo skulls?

I bought this skull (version 1 with the sound effect and eyes lit up for a few seconds) from someone and noticed this at the bottom
"In memory of Stan Winston"

20160616_165358.jpg


Does someone know if HCG has done this to some of their skulls or perhaps it was the seller who did it?

Stan Winston died in 2008 and I don't recall HCG releasing their version 1 Endo skulls in 2008 or after that.
 
Here's another skull. Terminator Genisys skull from Legacy Effects. Size is twice lifesize. According to the story only 2 were made, one for Arnold and one for ??

legacy_skull01.jpg


legacy_skull02.jpg


legacy_skull03.jpg


legacy_skull04.jpg
 

Attachments

  • legacy_skull01.jpg
    legacy_skull01.jpg
    264.8 KB · Views: 215
And if people are looking for more pics of the golden HCG Endo, I have it and can take some pics in time.... See bottom row.

DSC08765_web3.jpg
 
Best things I ever did to my 2009 Sideshow Endoskull were removing that awful weathering and modding the eyes.
Small, easy and cheap mods - but they made a huge difference I think. :)

image.jpg

image.jpg
 
How did you do that to the eyes freak?


1) I removed the ugly/inaccurate red lenses.

2) I then filled the eye with putty, to make the iris smaller/more focused.
I used a straw to make sure there was a nice round 'tunnel' going down to the LED.

3) After the putty had dried, I painted it black.

4) Then I cut two round pieces of plastic, with a fine mesh pattern in them, to fit the entire hole. And glued them in place.

5) I purchased and installed some clear self-adhesive lenses (epoxy domes) from China.
https://www.ebay.com/itm/3018834450...49&var=600694758498&ssPageName=STRK:MEBIDX:IT

They have the exact diameter of the original lenses (12 milimeters) and they have the same curve as the eyeball.
 
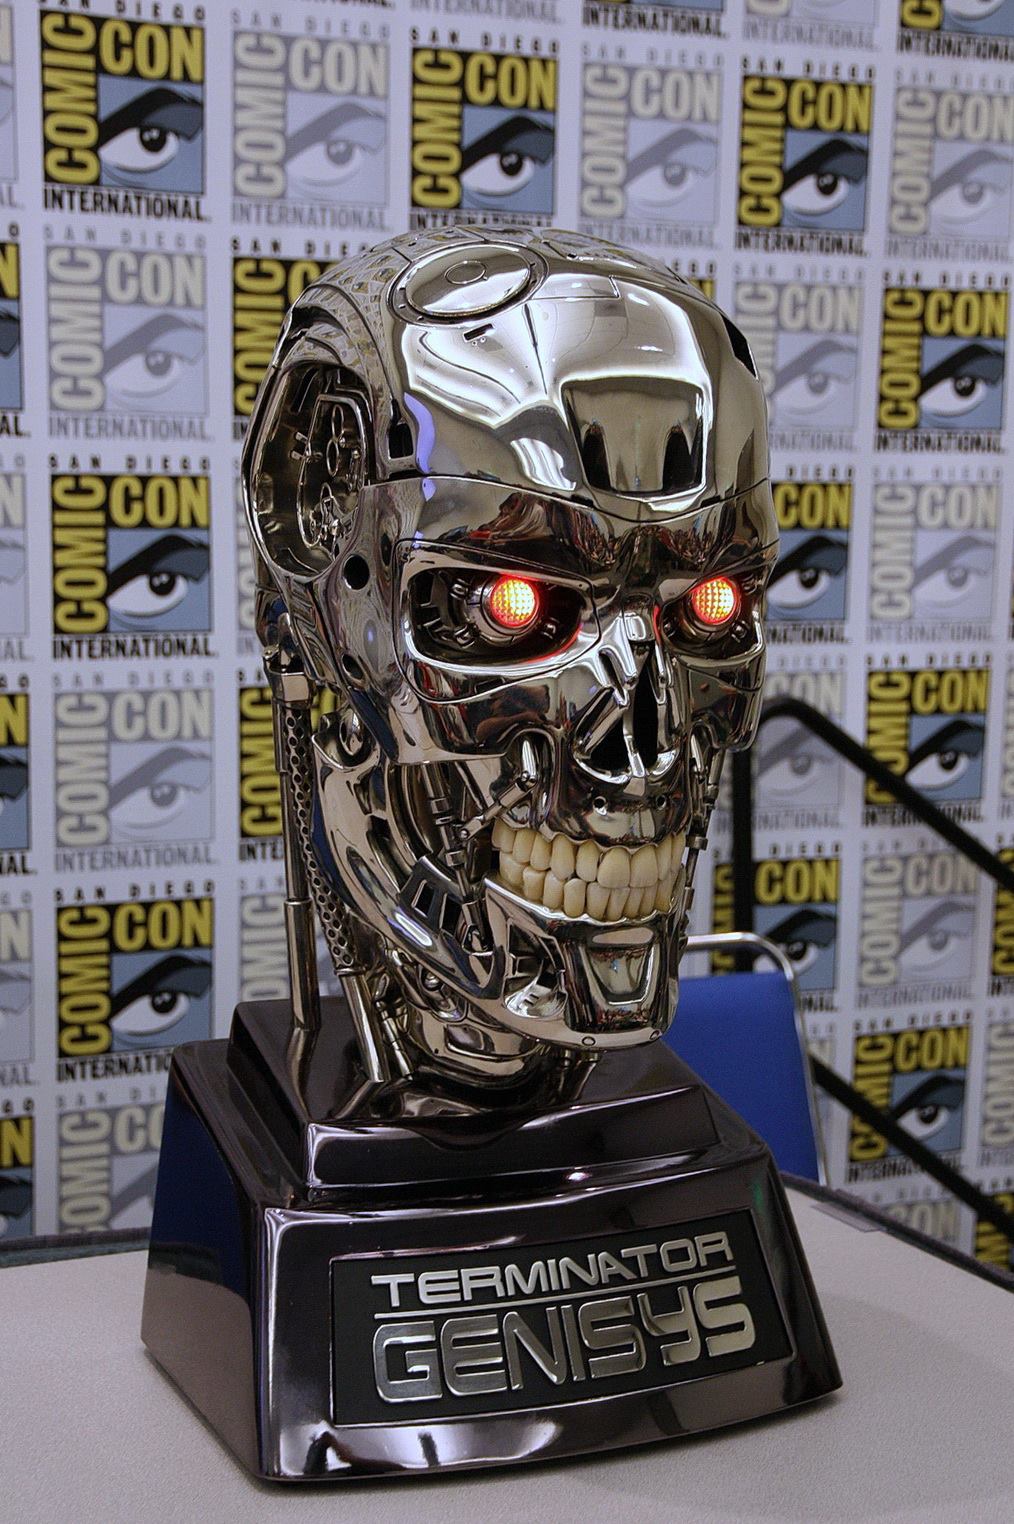
Almost 10 years after I've purchased the 1:1 T-800 SS bust (clean version) and inspired by some mods on this forum, I've finally decided to do something about the eyes. The first mod I did just after I bought it was using a dummy battery in order to tone down the bright LED's but the drunk looking T-800 was still annoying me.

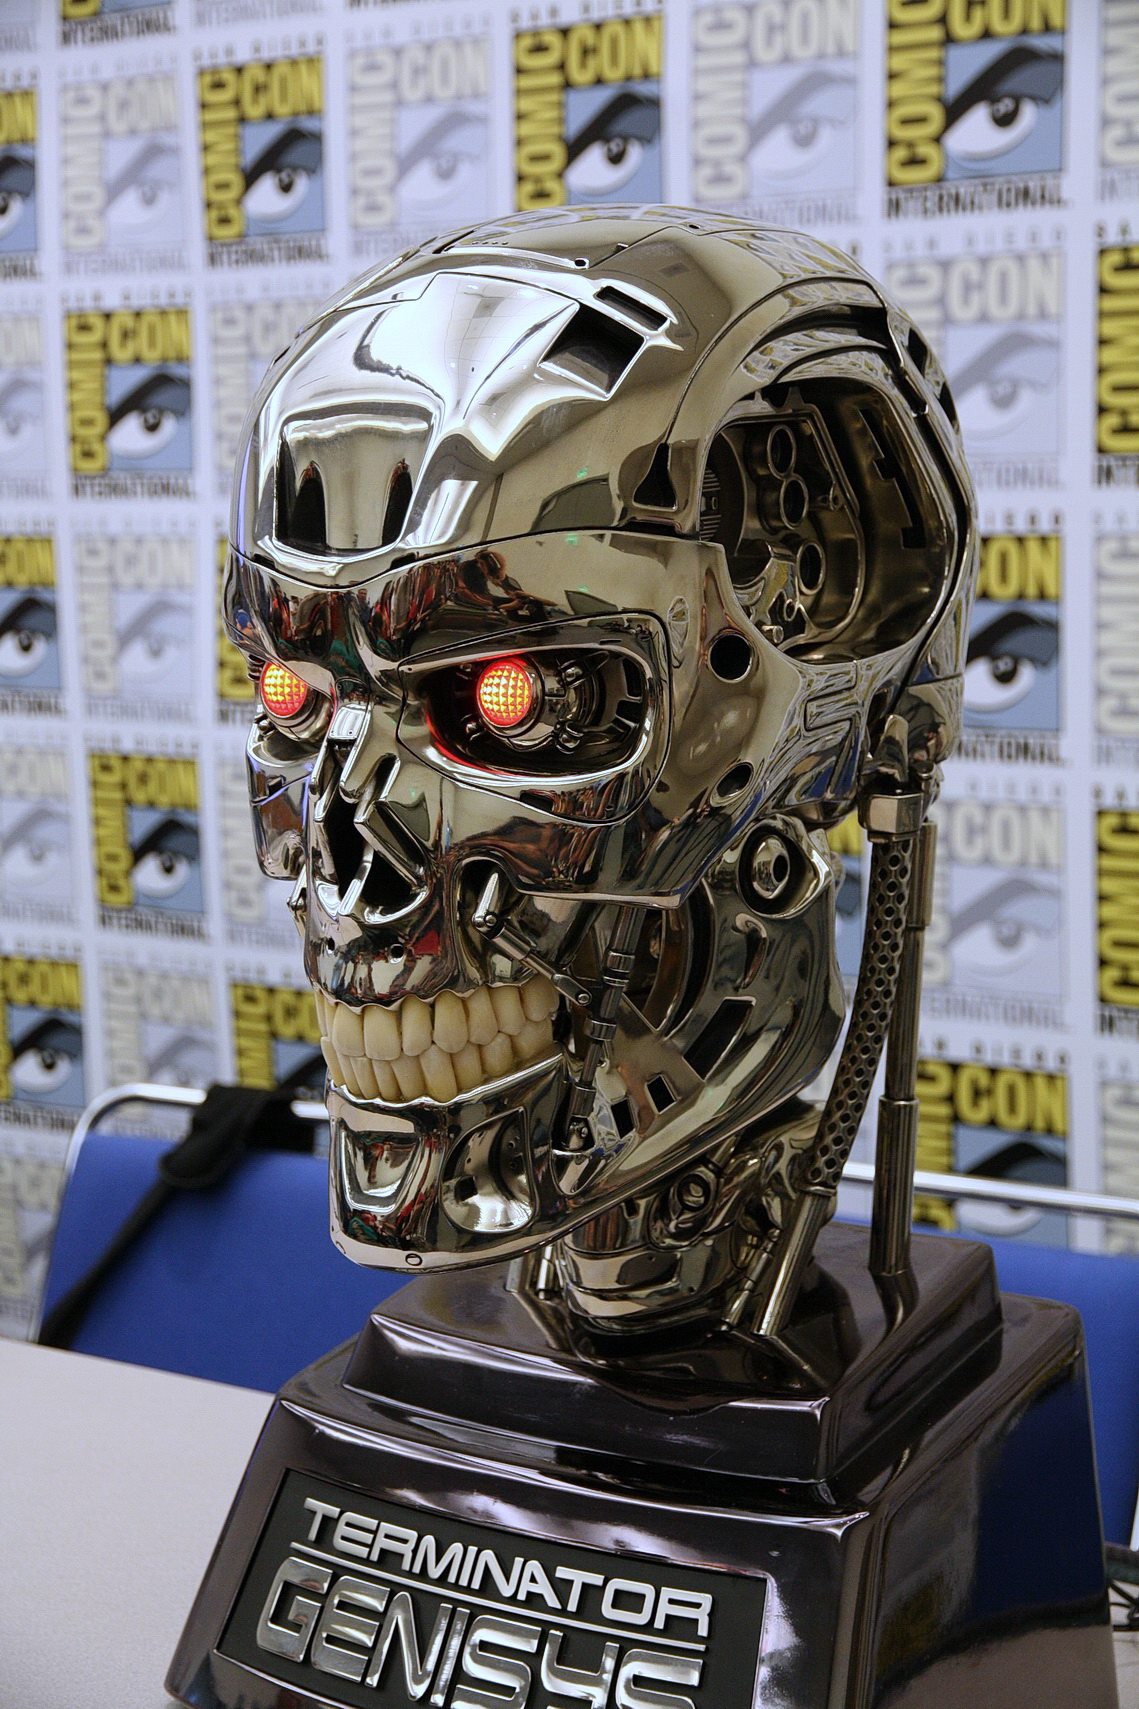
First of all the eyes weren't looking in the same direction, so it looks cross eyed. The troubled eye is also more outwards than the other one. The 4 parts which are supposed to keep the eye in place were not all in the correct position. It looks like the complete eye was turned 180 degrees. I am planning to change the lenses and have clear ones. I probably want to create an iris behind the lens as well to finish it off.

I've put the skull on a thick pillow first and started surgery...

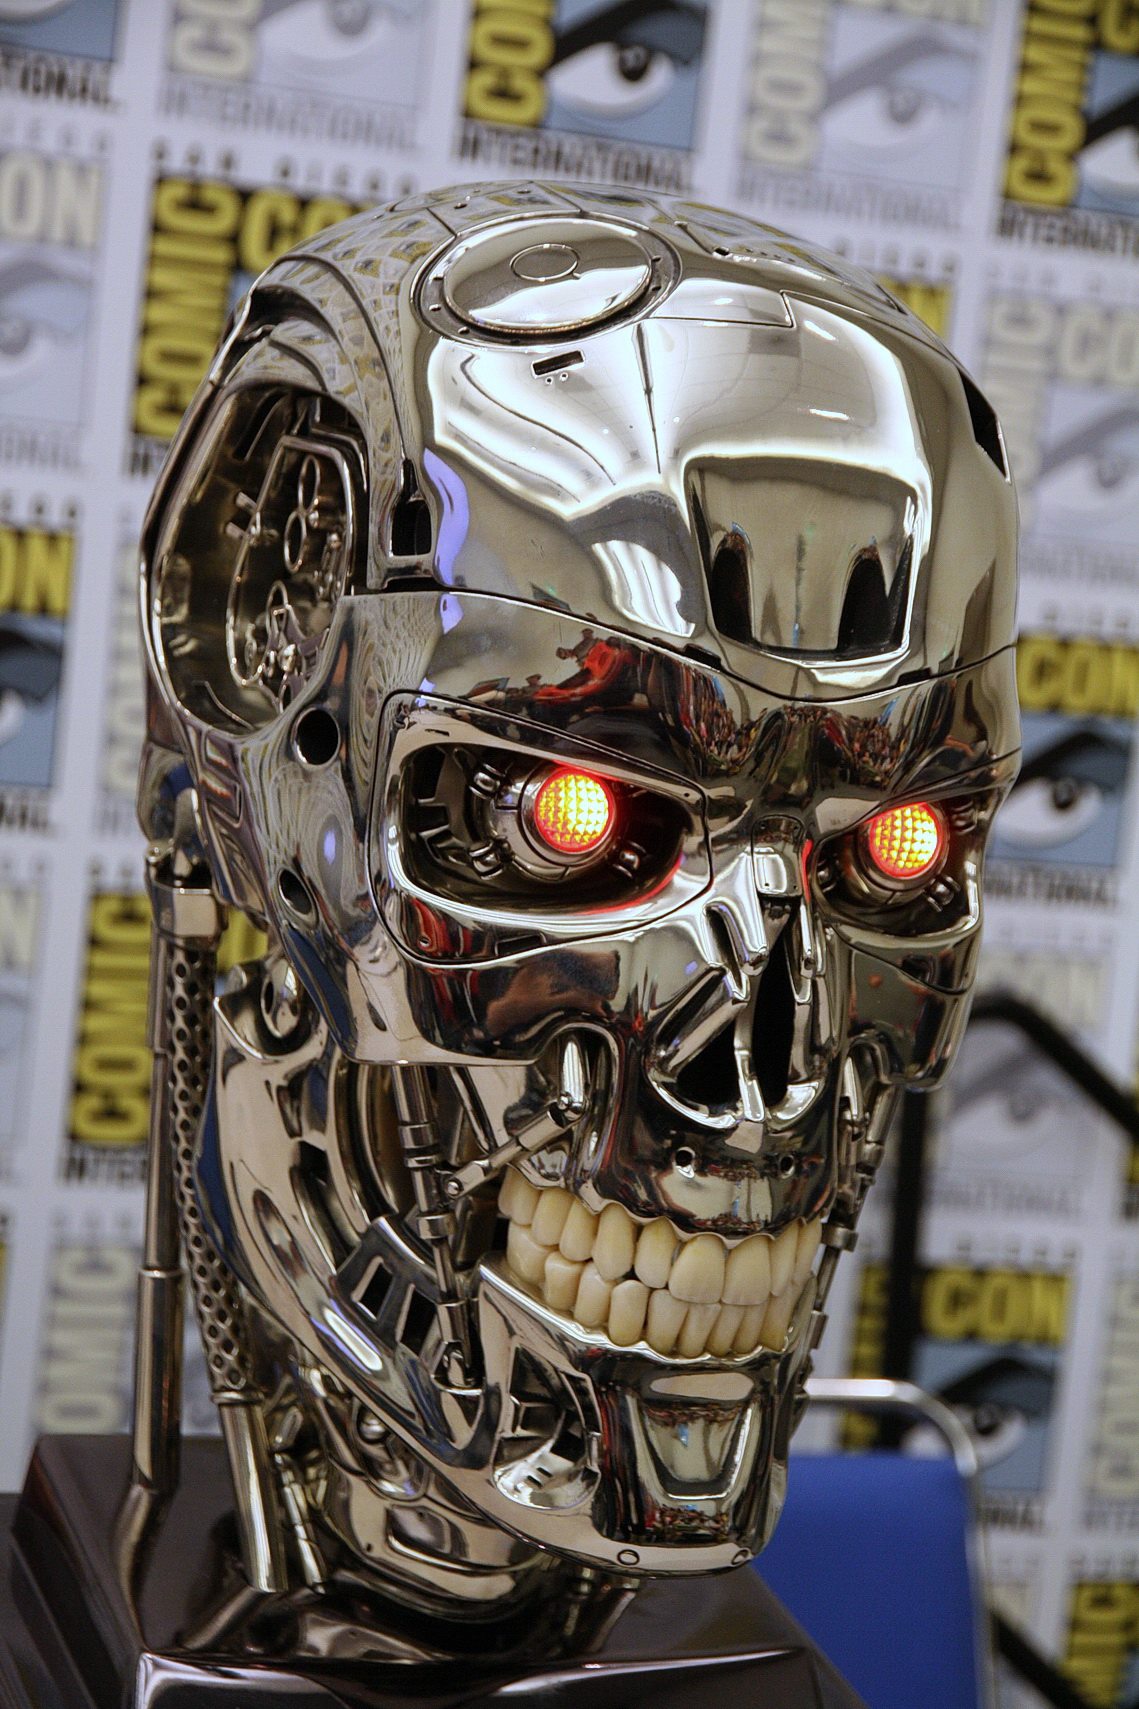
Popping off the red lenses was quite easy just by using a hobby knife. The "good" eye has it's LED popping out more than the other one. I can't push it back unfortunately. The LED bulb or it's wiring seems to be glued/stuck to the eyeball. I want both eyes/LED to be levelled so they exactly look the same.

IMG_3337.jpg

Next I got a large flat screwdriver, covered it with duct tape, put some masking tape over the eye socket for protection and carefully managed to free the wonky eyeball from its socket. I also took out the 4 parts in order to put them back in the correct position (one of them got broken, hopefully it can be fixed with glue).

I am still in the process of getting the wonky eye in the same position as the other one by removing material behind it so it can be put further backwards.
I didn't manage to get the eyeball fully out as the LED is stuck in the eyeball and I don't want to cut off the wiring as yet. I first want to try fixing it without risking the wires disappearing into the skull...(the horror!)

I still need to do some work on the LED on the "good eye". Hopefully I don't need to break it off as well...

In the mean time I've coated the teeth with some varnish to give them a more realistic look. I've also darkened the gaps so they look like separate teeth in stead of one piece of plastic...this still needs some work though.

IMG_3334.jpg

More pictures from the process will follow soon.
 
Thanks for welcoming me guys!

I've been registered to this forum ages ago but never thought I had never posted anything before.
I have been active on terminatorfiles.net some while ago (just before and after I've purchesed this bust actually).

Some more pictures of the mod:

IMG_3346.jpg

IMG_3350.jpg
 
I've just took some shots of the eye with the original red lens with a washer behind it to mimic the iris (I am still awaiting the clear lenses to arrive).

The original lens and a similar sized washer
IMG_3351.jpg

Left: without the washer; Right: with the washer
IMG_3355.jpg

Looks quite good I guess
DSC06177.jpg
 
I am still experimenting with the red lenses. I've managed to get the look of both eyes exactly the same. I've used some grey "blue-tag" to fill up the area around the LED's. I've used regular glue to give the lenses a hazy look and I've put the washers behind them.

IMG_3389.jpg

I can even use all 3 batteries because the light has been dimmed quite a lot now ;)
 
Back
Top