Attn: Custom Artists!! Newbs, ask Questions here!

Collector Freaks Forum

Help Support Collector Freaks Forum:

This site may earn a commission from merchant affiliate links, including eBay, Amazon, and others.
Re: ATTENTION all Custom Artists!!

Great thread, DA!!!
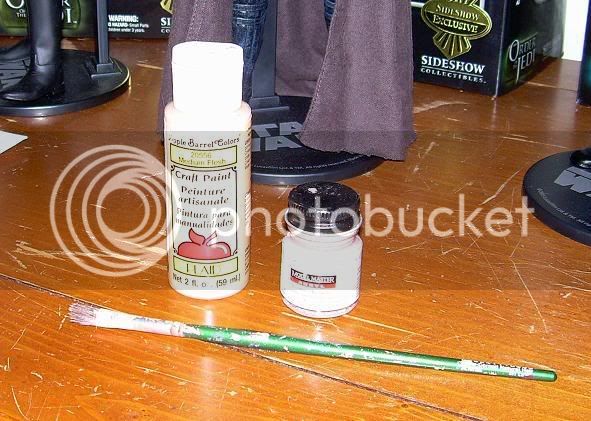
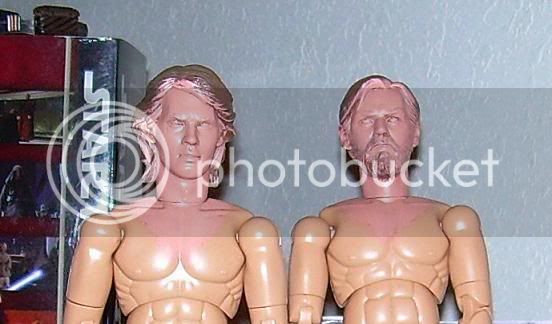
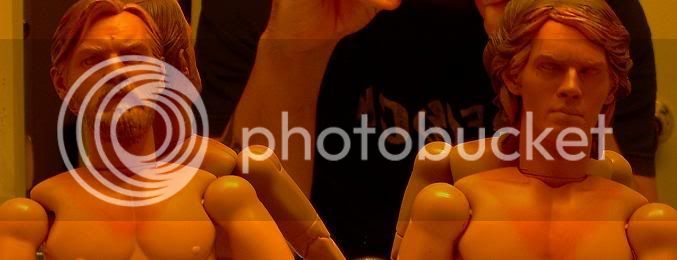
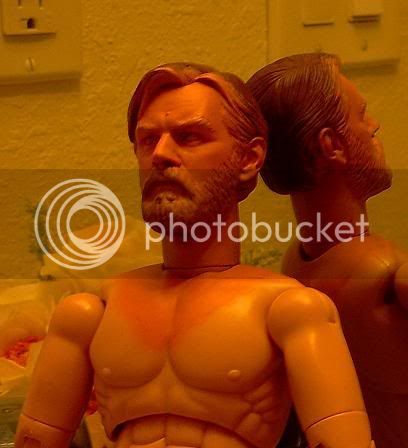
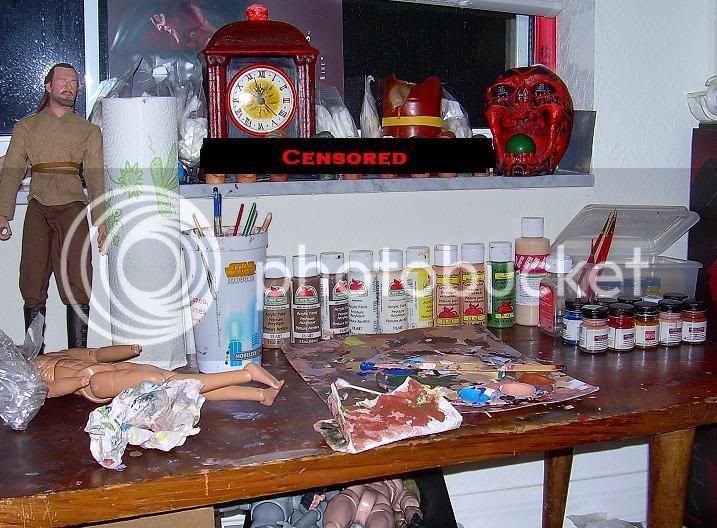
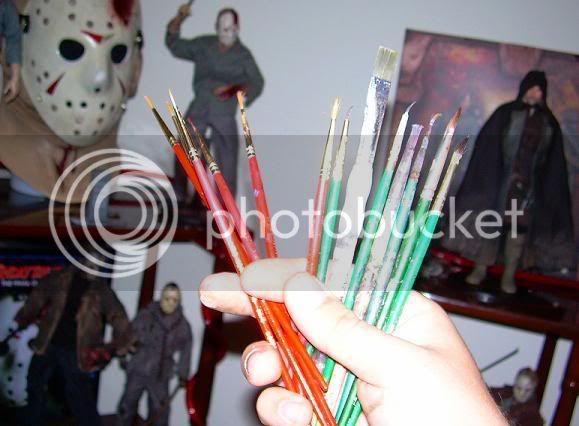
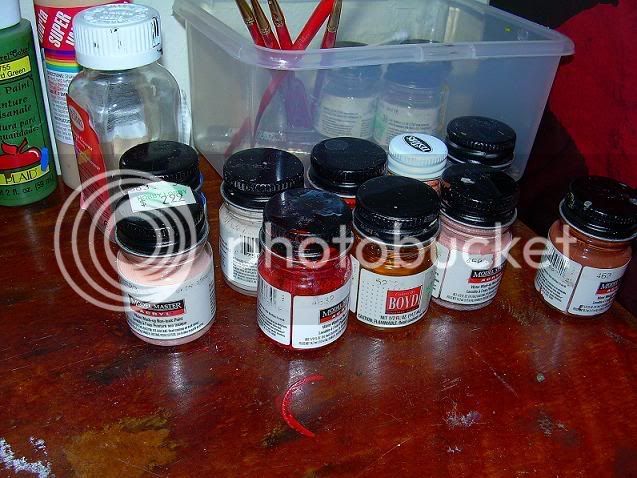
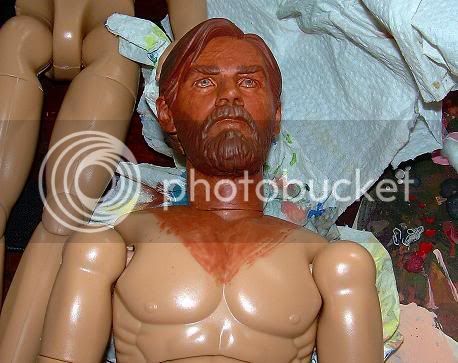
I am by no means to be confused with a painter/customizer. I have, however, been collecting 1:6 for 35+ years. In that time I have come to considere myself a fairly good kitbash/customizer. I enjoy creating characters that haven't been made yet [or made the way I like them] out of other figures, unis and bit parts. I rely on the experts to do any painting for me, unless its a pretty minor touchup or just an experiment to see how things will go. You'll see an example of this soon thanks to the DarkArtist himself. I have amassed over 2000 figures and have often thought of making them all customized soldiers, or Jedi, or Apes...but then I'd have nothing for the other genres. I am by no means the best, but I figure I've tried almost everything at least once and would be more than happy to help anyone who may need it.
 
Re: ATTENTION all Custom Artists!!

Buttmunch said:
I got a question. I am applying Super Sculpey to an Art S. Buck figure head and want to know what is the best way to harden it. I know it says bake it, but wouldn't that melt the plastic head? Any tips or tricks would be very welcome.

Pop the head first definitely. I did what you're trying to do to convert my Modern Duncan McLeod to a Napoleonic War Duncan McLeod (from the episode Band of Brothers). Worked perfectly. You'll only need to rehead the neck to pop it back on the body.
 
Re: ATTENTION all Custom Artists!!

I started a thread a few months ago called Custom Techniques & Tips but it appears to have gotten buried and now that this thread seems to have taken its place so I was wondering if Josh or Mikey could post a step-by-step tutorial of repainting a headsculpt with emphasis on painting the fleshtones on faces and how to apply wash techniques.
 
Re: ATTENTION all Custom Artists!!

I forgot to add. I use Model Master Acryl mostly. A few poly scale too. Rarely anything else. As for sculpting I use plumbers epoxy, whichh cures in about 5-10 minutes, that's both good and bad. I also recently got into casting parts, which has pretty exciting and a money saver to some degree as well.

I changed the name of my thread to better reflect it's contents...Although it's not showing up yet..
 
Re: ATTENTION all Custom Artists!!

Badism said:
Great thread, guys!

I'm a kit basher/customizer who wants to start painting as well. My question is how would I go about yellowing/ageing some of my Jason masks to make them look like the Jason goes to hell mask?


Thanks.

Nevermind. I used coffee. :chew
 
Re: ATTENTION all Custom Artists!!

Wow...a LOT has happened on this thread since I last logged in.... Yeah, Badism.. that works too... And a good wash can do the trick. You just mix up some brown with water and voila... paint that on and wipe with your fingers. Works everytime. As far as FVJ went... I did several washes of brown and black.
 
Re: ATTENTION all Custom Artists!!

Here is part one of my painting tutorial, using Obi-Wan as an example....

First off, prepare your work area. Don't do it on your lady's nice cabinet or kitchen table... as you are going to get paint and thinner or god forbid...blood everywhere. So pick a table that you are ok with damaging. I like to have paper towels handy, to control my paint on the brush, as well as to dry the paint off for drybrushing...

DSCN1344.jpg


Next, get your brushes... I like to use a large selection of them, ranging from multiple fine round tips to bigger round tips. I have a few medium flats, but I do not use them often. I end up using about 4 or 5 of these on most of my work. You just have to experiment and find the ones that work best for you. But for Drybrushing, the only ones that will work are round with fluffy feeling bristles...

DSCN1345.jpg


Make sure you have your paints.... I use Model Masters Acryl and Apple Barrel paints.. they just work for me with colors and consistency. Again, it all goes back to preference... which ones mesh well with your style.

DSCN1350.jpg


To start a paintjob, I usually mix some Burnt Sienna and a drop of water... It's always good to start with a dark shade "wash" to deepen the details and bring out all of the wrinkles and creases in the sculpt. With human characters, that would be Burnt Sienna. At least IMO. So I brush this all on the face and neck. You will get bubbles and water will fill any hole... including ears and eyes. What I do to fix this is to dry my brush thoroughly on the paper towel and go over the face again, and again, drying my brush with each cycle until I have this...

DSCN1348.jpg


Today I will continue this tutorial and show you how to complete the skin tone work. Stay Tuned..... :D
 
Re: ATTENTION all Custom Artists!!

decadentdave said:
Well Josh, we're still waiting...:tap

Sorry Dave...:monkey2

Been a busy couple of days... I should have some more up today actually... So keep an eye out. Once you guys see it all layed out... you will be surprised how utterly easy it really is...

This weekend will be all about hair and eyes... :cool:
 
Re: ATTENTION all Custom Artists!!

Cool to see your layout and work area bro!
(love that we all have paint everywhere!!!!:lol )

When your discourse is done, I will post some pics too. But until then, it's your show now Josh! Rock us with some serious techniques! :chew
 
Re: ATTENTION all Custom Artists!!

LOL! Thanks Les! Yeah, my workspace is literally "Paint Hell"! You should see it when it's not cleaned up!! :lol

Nice to know I'm not the only messy one...:cool:
 
Re: ATTENTION all Custom Artists!!

Ok Guys... PART 2

Ok, so the head has had sufficient time to dry... Now you can officially move on to phase 2 of the skin tone technique. You are basically just putting a slightly lighter layer of paint than the one you previously painted, giving the head a much more layered look in the end... much more like actual skin color than just a bland flat color scheme. :D

Ok, I take my larger round brush, my favorite for drybrushing.... and get it ready for action. I mix a warmer skin tone, almost a sunburnt color. Really red.

DSCN1363.jpg


You have several options here... you can either mix together red, yellow and brown or just go and get a pre-mixed warm tone. I recommend the latter. Myself, I use Warm Skin Tone from Model Masters (Acryl) and Medium Flesh by Apple Barrel. I mix these into something I think works for the "burnt look" and I begin drybrushing.

To drybrush, for those uninitiated with the technique... is to take your brush and put it into the paint mixture, and then remove the brush and immediately wipe off the paint with a paper towel. You dry it almost completely and start lightly hitting the sculpt. You will see that the paint shows up on the raised areas of the head and not deep into the cracks. It's in this way that we can still utilize the layers underneath the one you are painting to deepen the effect and make the sculpt pop. Sometimes you have to drush with a semi-dry brush if the sculpt needs it... dark paint, bad sculpt cast, etc. In this case you have to use the paint you have to fix the problem.

You will paint the entire face and neck of the figure until you are satisfied with the progress. It takes some getting used to, that much is sure... but once you know how to properly drybrush.... your work will be much better for it.

Ok, now that I have the second layer I can let the figures dry..... Stand them or sit them in a safe area where no damage or dirt can reach them and wait it out for a little while....

DSCN1354.jpg


DSCN1358.jpg


DSCN1361.jpg


Tune in later this week for the final skin tone lesson and this weekend for the hair/eyes torture... I mean instruction... :lol
 
Re: ATTENTION all Custom Artists!!

So Josh, is this some kind of real-time tutorial where we have to wait for the paint to dry before moving on to the next step? It's like watching a season of 24 where we have to wait a whole week for the next hour to find out what happens next.
 
Re: ATTENTION all Custom Artists!!

:lol

No Dave... actually those shots were taken on Monday... But I have been too busy with work and working out to have time to paint/take pictures... Been way too busy for anything this week. I work 10 hours a day and an hour away from home... so if I spend an hour in the gym afterwards... It leaves just a few hours at home... so I don't get much time during the week to work. :monkey2

Most of my painting is done on the weekend... but tomorrow should be a laid back day, not going to the gym tomorrow...
 
Re: ATTENTION all Custom Artists!!

Patience Grasshopper! :tap
For the lessons of the masters does not come easily within the whims of time constraints of the impatient! :lecture

As far as I am concerned, Dark Artist's lessons can take as long as they need, since he himself has spent over a year to learn what he has learned, half of which cannot be taught..no way!...some of the techniques are learned through the doing only.
Speaking for myself, I have over 40 good years of learned experience, that I am not sure at all how to "Show" how to do or use...patience is in order here!
Let the man show you when he can. At his leisure.

Take your time Josh, and shed no tears at the beggings of others! For we are the users and carriers of the painful methods, and we rush for no one! ART CANNOT BE RUSHED! :thwak

Favorite quote from the history of art... Pope Julius (To Michelangelo in the Sistine Chapel...often shouted...) "When will it be done?!?!?!" Michelangelo "When it is finished!"
Ta-Dow! Tell him Mick! Took dude four years!
:chew

Now, all that being said...hurry up Josh! :stick
:D
 
Re: ATTENTION all Custom Artists!!

Quick how to tip answer for a question in the Workspaces thread:

How does one sand Super Sculpey and/or Magic Sculpt?

I sand with sanding pads, mostly all by 3M. First I recommend all purpose 4" by 1" by 2 1/2". Then, when I have it shaped, or reduced to where I want it (and that pad has various grit sides to it) then I use a thin 3M fine (150 grit) sanding pad to smooth sand the area. Remember, first use coarser sanding to shape, then fine sand to smooth.

Just be careful with Super sculpey as it is brittler. Magic Sculpt is a better medium, as it is rock solid, sands well, and is better due to not having to be baked.

Sorry for the interlude, just thought the answer to this question belonged here, instead of the workspace thread.

Carry on! :D
 
Re: ATTENTION all Custom Artists!!

Figuremaster Les said:
Quick how to tip answer for a question in the Workspaces thread:

How does one sand Super Sculpey and/or Magic Sculpt?
I sand with sanding pads, mostly all by 3M. First I recommend all purpose 4" by 1" by 2 1/2". Then, when I have it shaped, or reduced to where I want it (and that pad has various grit sides to it) then I use a thin 3M fine (150 grit) sanding pad to smooth sand the area. Remember, first use coarser sanding to shape, then fine sand to smooth.
I dont do 1/6 customs, but I do sculpt, so I have some sculpey experience/tips.

other things I use frequently to sand SSculpey are Steel Wool (finest grade is my fav for finishing) and 3M scotch brite pads. You can also use 3M sanding block that are spongy and you can use/rinse with water to rejuvinate.

another tip for baking sculpey is a technique William Paquette uses which is posted over at StatueForum:
William Paquette said:
To start, you should ignore the directions as written on the package. You can get the clay to harden by baking for fifteen minutes per ¼ inch thickness, but it won’t be properly hardened.

Going under the assumption that what you will be baking is a full finished figure, anywhere from 6 to 15 inches tall, requires far more time in the oven than most people would assume.

I always bake the finished work for several hours. If the sculpt has some very thick areas that haven't been beefed up with foil or previously baked blocks of clay even longer.

This works for me-

225 degrees for three hours, turn the oven down to the minimum- 170 degrees on most ovens, bake for another three hours, shut the oven off and leave the sculpt to cool overnight.

You want a higher temp for initial baking to properly cure the clay, and you want the reduced temp over an extended period to allow the core of the mass to gradually cool which reduces the chance of cracking.

A poorly baked sculpt will be weak and prone to breaking and chipping. Sometimes when I bake in stages areas of the sculpt will get very dark. The darker the clay, the harder it is.
With the new Grey Sculpey firm, the changes in the color of the clay are more subtle, but it will still change. The same baking techniques still apply.

Also, the clay when hot or warm is always "rubbery". In fact heat is a great asset when cutting a sculpt into separate components. When I need to remove arms, like on this piece, I use a heat gun to warm the areas. The sculpey softens, and I use an exacto to make the cuts. If you've assembled a vinyl garage kit, the technique is similar to heating vinyl before cutting the parts. In the future I will try and find the time to post a thread just on separating and keying a figure.

also, dont forget you can use a heat gun, if you have one, to harden super sculpey at your work place. I use mine to lock in detail Im worried about messing up while I still have more work to do.
 
Re: ATTENTION all Custom Artists!!

DarkArtist81 said:


Hey Josh, is that my Obi-Wan in these pics? I'm assumuing it is as you said the pics would appear in this thread. Looks like he's coming along nicely. :chew
 
Back
Top