Accurizing your SSC 1/6 Raiders Indy

Collector Freaks Forum

Help Support Collector Freaks Forum:

This site may earn a commission from merchant affiliate links, including eBay, Amazon, and others.
Indy's "Travel Hat" according to Spielberg was always supposed to be gray. So the hat he's wearing at the end of Raiders with the suit is gray, not his normal brown one.

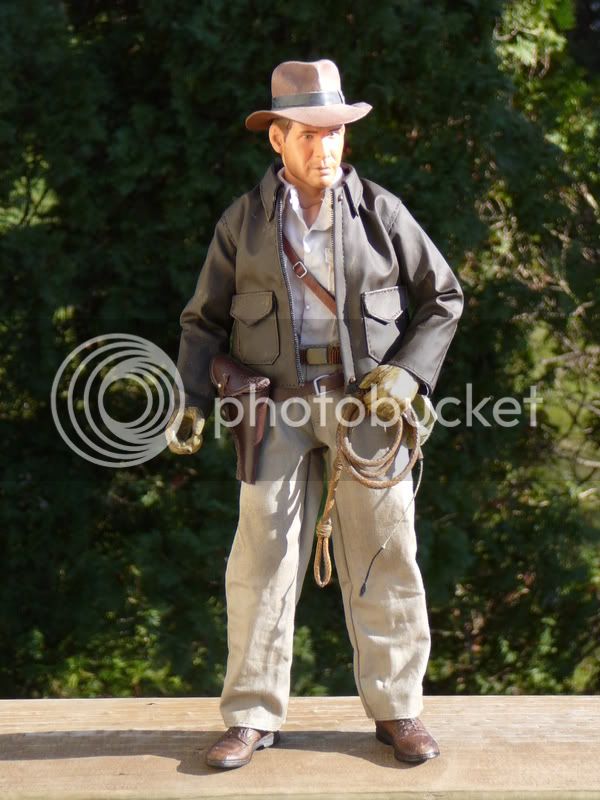
As far as the SS Indy's gun holster goes.....It's a little bit to big. It actually looks more like the holster he wore in TOD, LC and KOTCS.....The Raiders holster was the same shape only a lot smaller.
 
I just got mine today as well and made a few changes. The hat was painted the proper color, the shirt was dyed for more of a grey look to it, the face was touched up and more stubble added. I also added Shawn's Custom Indy figs whip, since the coiled version of mine doesn't fit, and I think it looks better. I'll weather it with some fuller's earth next, and fix the jacket straps and the metal belt keeper. Great figure on it's own but a little custom work makes it truely Indy.
watermark.php

GREAT work! :rock 
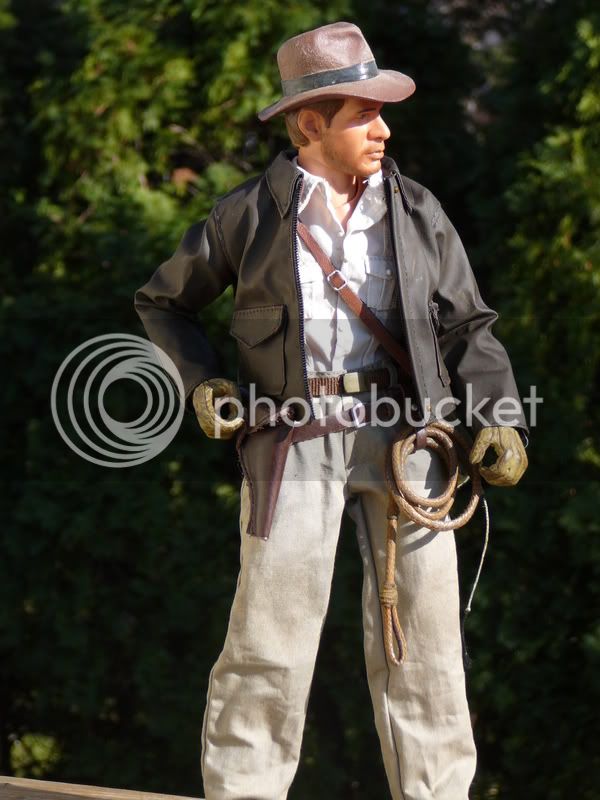
I am doing much the same to mine... but also removing the storm flap buttons. They bug the ever-lovin' crap out of me.
 
One thing I'm adding to my Indy and something I've had for a while are 1:6th replicas of his maps, books and other items. Will show pics tomorrow.
 
I'm curious if you take them off if they'll leave markings in the pleather or bad glue stains. Let me know, 'cause I want to remove mine too.

That's the exact same reason I haven't touched mine.

I'll let you guys know, because I'm definitely removing them once my other figures arrive. I don't care... they are just so wrong and gotta go. Worst case, I will simply weather over and around any markings or stains that may result in removing those god awful things.

The PF is another story. We may be stuck accepting them on that one. :(

While you're working on it, I hope you figure out a way to make the jacket collar "flaps" smaller. I haven't snipped the thread holding them down yet 'cause I'm afraid they'll stick out like Dumbo ears.
 
Good news on the storm flaps! I just pulled mine right off using just my fingers... and they only left tiny little holes (which already look better than the damn "button" things). :rock
 
Here's a pic:

jacket_01.jpg


Like everything, the flash makes it look worse than it actually is. Trust me, the holes are minute and not nearly as noticiable as the buttons themselves. A little added weathering will definitely do the trick.
 
You have to take another shot of yours in daylight so I can see how the shirt dye worked. That's another thing I'd like to do. Yours looks great BTW.

Here's a couple quick shots in the daylight. Definately makes the changes I did last night stand out more. You can see that the shirt isn't bleach white as it came, it's got the grey color it should. Just be real careful not to over dye the shirt. It literally took less than 30 seconds to get it the right color.

P1030063.jpg


P1030064.jpg
 
Back
Top