1/6th Scale Sideshow Boba Fett Figure

Collector Freaks Forum

Help Support Collector Freaks Forum:

This site may earn a commission from merchant affiliate links, including eBay, Amazon, and others.
So after seeing the deconstructed Fett, couldn't you just unscrew the back plate pull the vest tight and screw the screws through the vest to hold it tighter?

I'm nervous switching out the hands on my figs for fear of breaking one. Seeing what you guys do just scares the heck out of me :)

Awesome though!
 
Those green plastic blobs you see are pegs fromt he armor plates on the front, the go through the plastic backing and then are melted flat to hold the plates in place.

Why not just use an exacto knife and cut away the clear plastic leaving only small circles where it is glued to the blobs?
 
Its kinda cool to see two different methods already out to tighten that look.
 
WOW, Billy Ray! He looks UMPTEEN TIMES better now! And bonus points for using the term "Shrinky Dink."

- MJ
 
Very impressive Billy. :goodpost: thanks for taking the time to post your findings...I think this will help many of us out with our own Fetts. :hi5:
 
Why not cut a circular pattern in the plastic around the glued points and put the vest back on? :dunno

What about using a very small pair of scissors or an X-acto knife to cut away most of the plastic sheet? Just leave a little around each 'rivet?'

- MJ

Why not just use an exacto knife and cut away the clear plastic leaving only small circles where it is glued to the blobs?

Great minds think alike. :lol
 
Why not just use an exacto knife and cut away the clear plastic leaving only small circles where it is glued to the blobs?

Might very well work, but I'm not 100% sure it's just that clear plastic backing causing the blockiness.
 
After seeing Billy Ray's pics, I'm wondering if that plastic insert behind the vest was something that was supposed to be heat treated in production and somehow was skipped. After shrinking that part down, he looks perfect.
 
Perfection Billy Ray!!! I hoped the fix would be that easy, and the water treated braids also look 10x better.
 
So after seeing the deconstructed Fett, couldn't you just unscrew the back plate pull the vest tight and screw the screws through the vest to hold it tighter?

I think it would probably just rip the vest material.

I did cinch up the bottom portion of the vest as much as I could when I reassembled him. Unfortunately, there isn't a whole lot of velcro to work with. What might also work is placing some more velcro on the vest so as to be able to fasten it tighter.
 
After seeing Billy Ray's pics, I'm wondering if that plastic insert behind the vest was something that was supposed to be heat treated in production and somehow was skipped. After shrinking that part down, he looks perfect.

I was thinking the same thing - in a controlled process, that shouldn't have been a big deal - and the results (as so effectively illustrated by Billy Ray's efforts) are night and day!

Great job, Billy Ray!
 
What about using a very small pair of scissors or an X-acto knife to cut away most of the plastic sheet? Just leave a little around each 'rivet?'

- MJ

I haven't used xacto for something like this, but would it be feasible to cut through the plastic without worrying about cutting through the vest?

I'll wait and let others do the grunt work, so someone like myself (aka completely useless with things like this) can see what works best.

But if it turns out the plastic is the culprit, I'll probably just use scissors to cut out some of the material, like in this very professional diagram:

yZe46.jpg
 
Like I said, be very careful if you try the hot water thing. My intention was never to shrink the plastic backing, just bend the bottom ab plate. Too much heat might ruin things, I was just lucky.
 
I haven't used xacto for something like this, but would it be feasible to cut through the plastic without worrying about cutting through the vest?

I'll wait and let others do the grunt work, so someone like myself (aka completely useless with things like this) can see what works best.

But if it turns out the plastic is the culprit, I'll probably just use scissors to cut out some of the material, like in this very professional diagram:

yZe46.jpg

I tend to agree with you cokebabies. I'd be very cautious using an exacto, scissors might be a better option. I'd be too afraid of cutting the vest with an exacto.
 
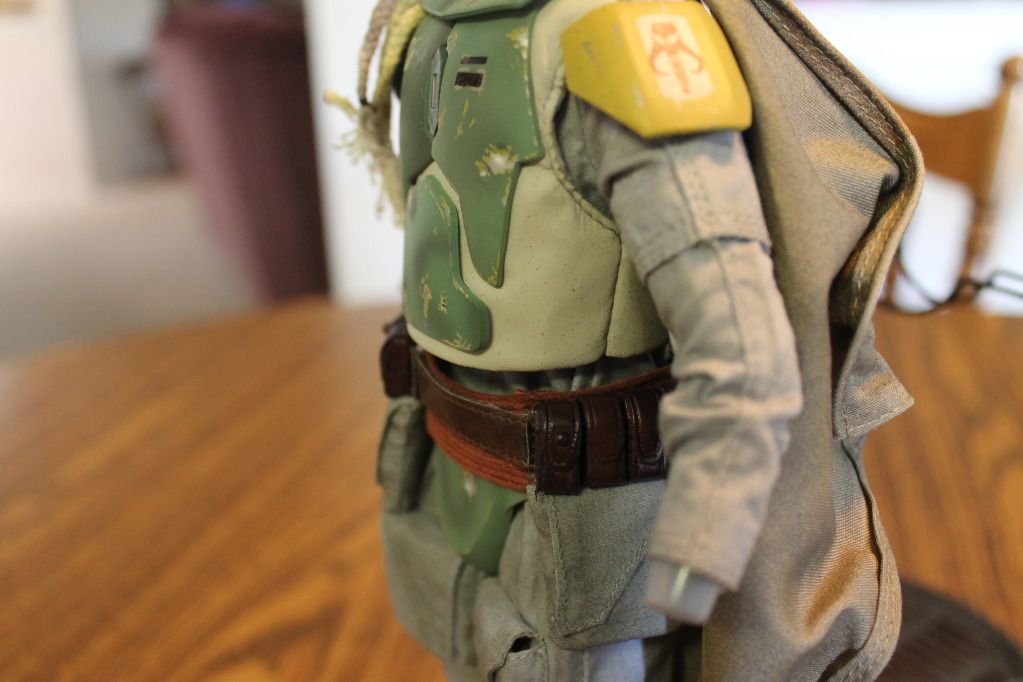
Now here's what I did...

I didn't really have any intention of messing with him, but since I had him taken apart, I figured I would see what I could do with some hot water...

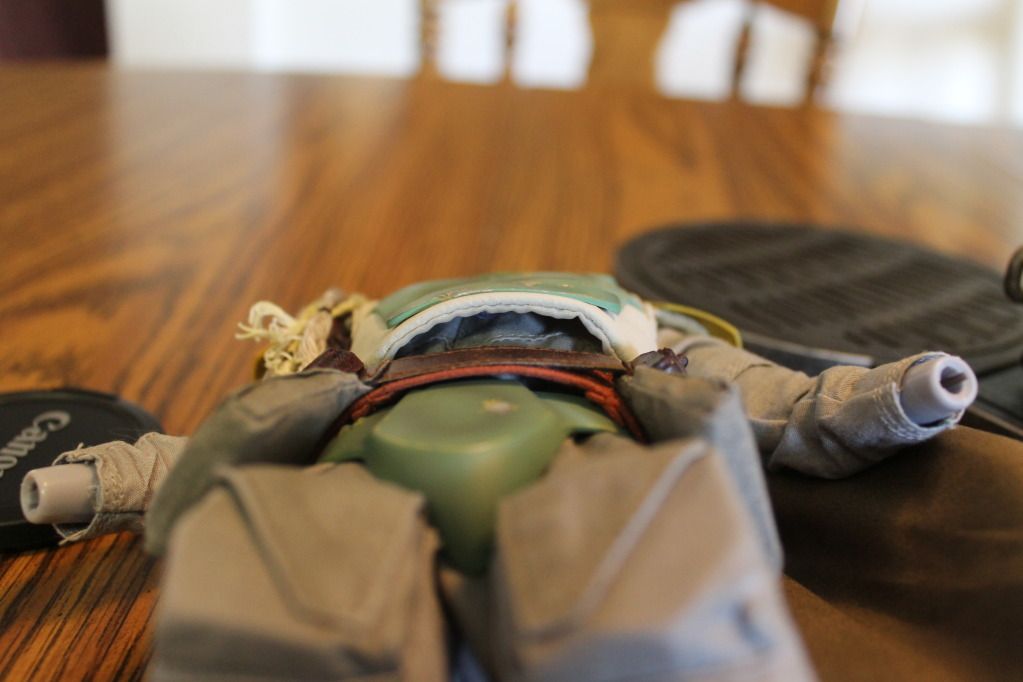
If you choose to try this, 
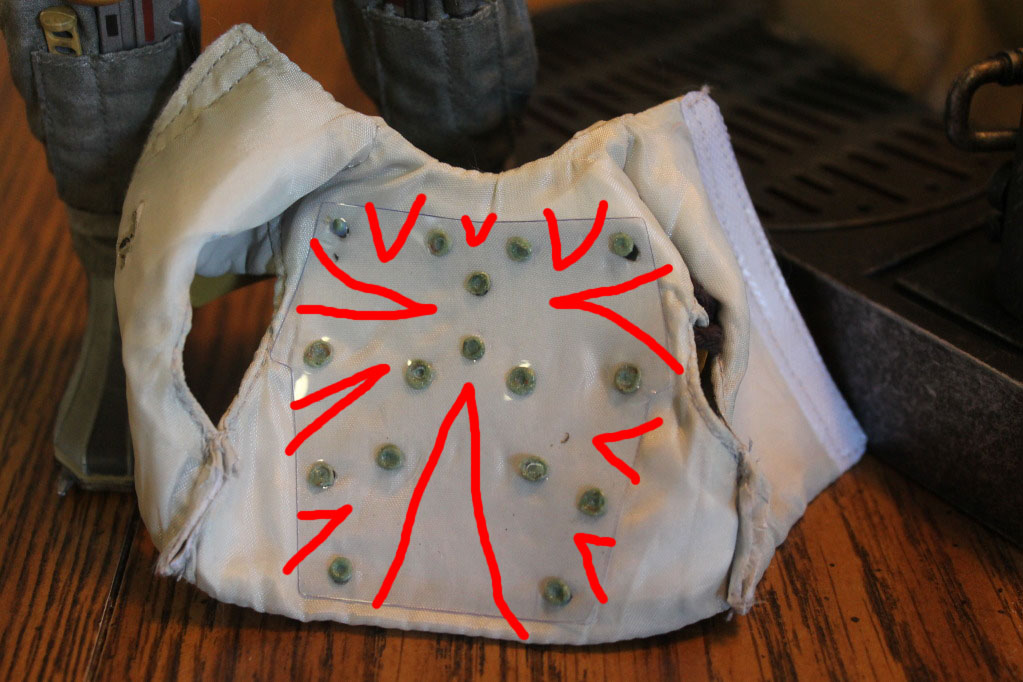
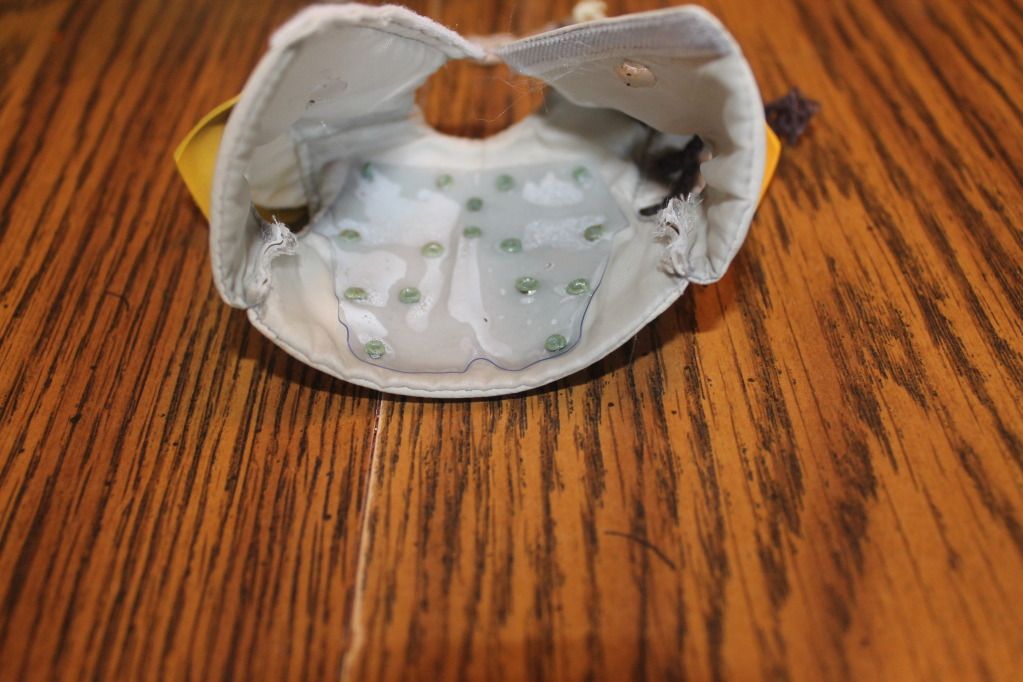
proceed at your own risk! I heated up some water in the microwave just shy of boiling, about 3 minutes on high, pretty hot but not boiling. Dipped just the bottom of the vest in for about 20 sec or so and bent the bottom plate to my liking. Here's the thing though, the clear plastic backing acted almost like a shrinky dink and kind of got a little warped as you can see below. Not really a big deal to me, it's hidden and still functional but, once again, proceed at you own risk If the water had been hotter, or I left it in longer, this may have proven disastorous!

IMG_0804.jpg


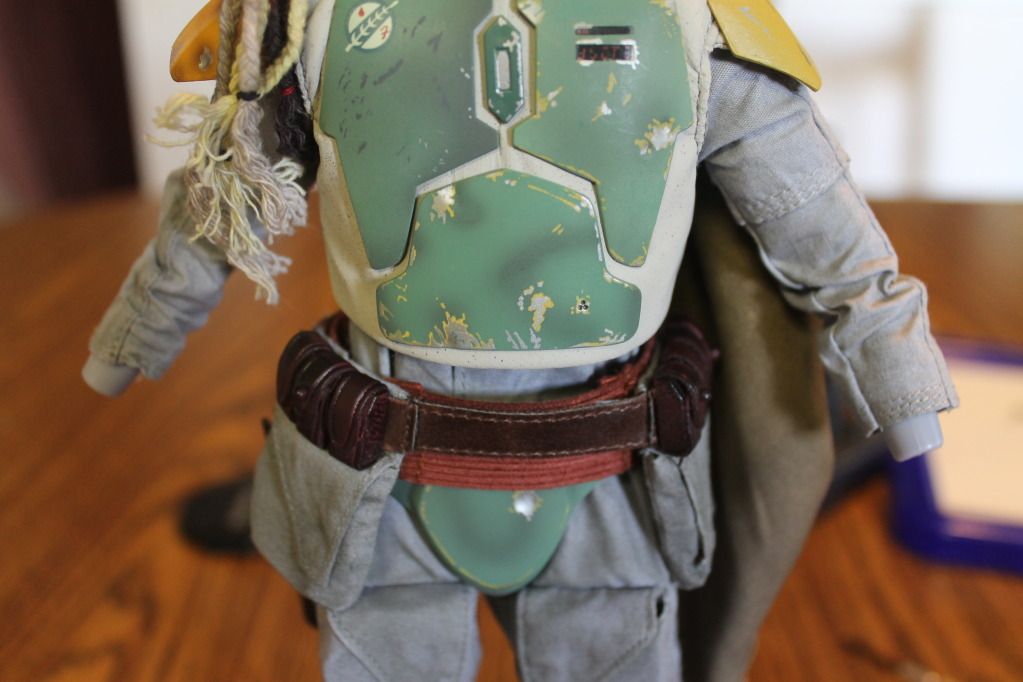
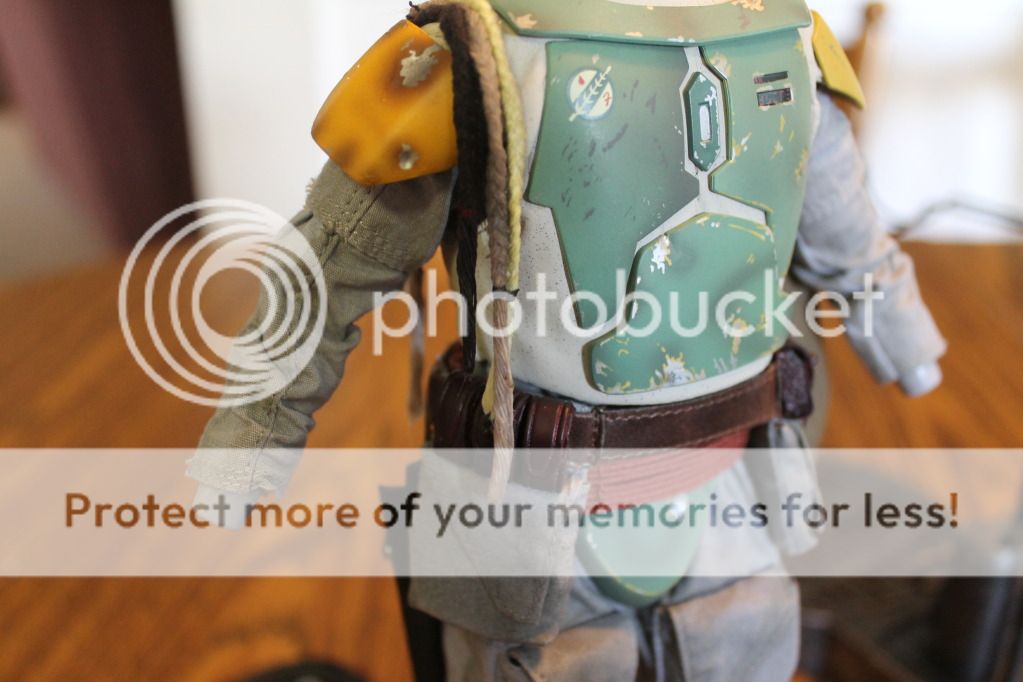
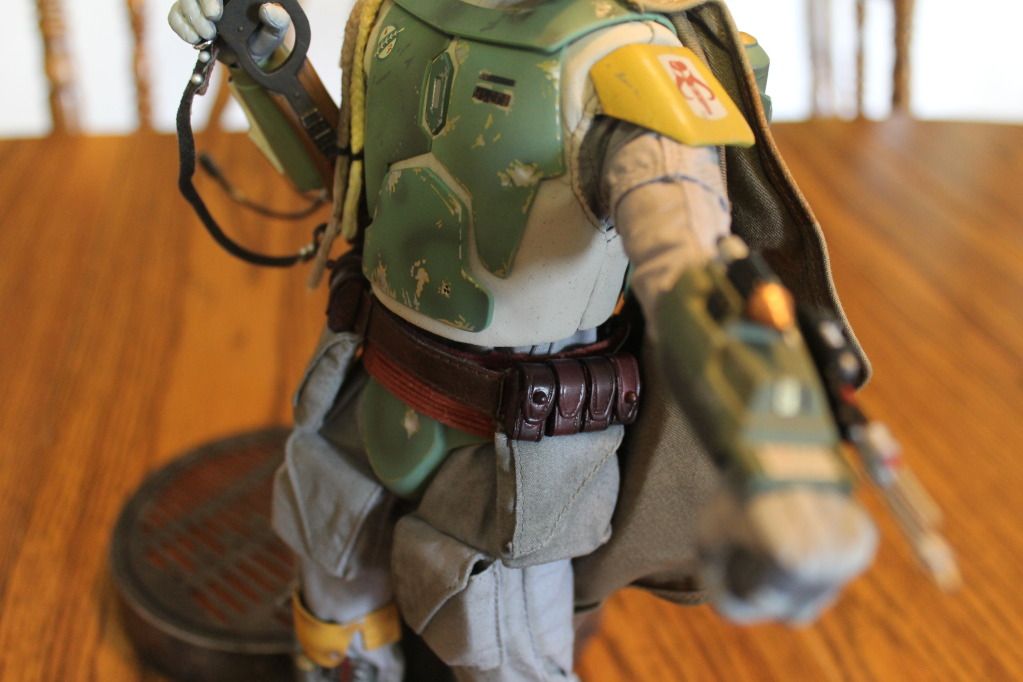
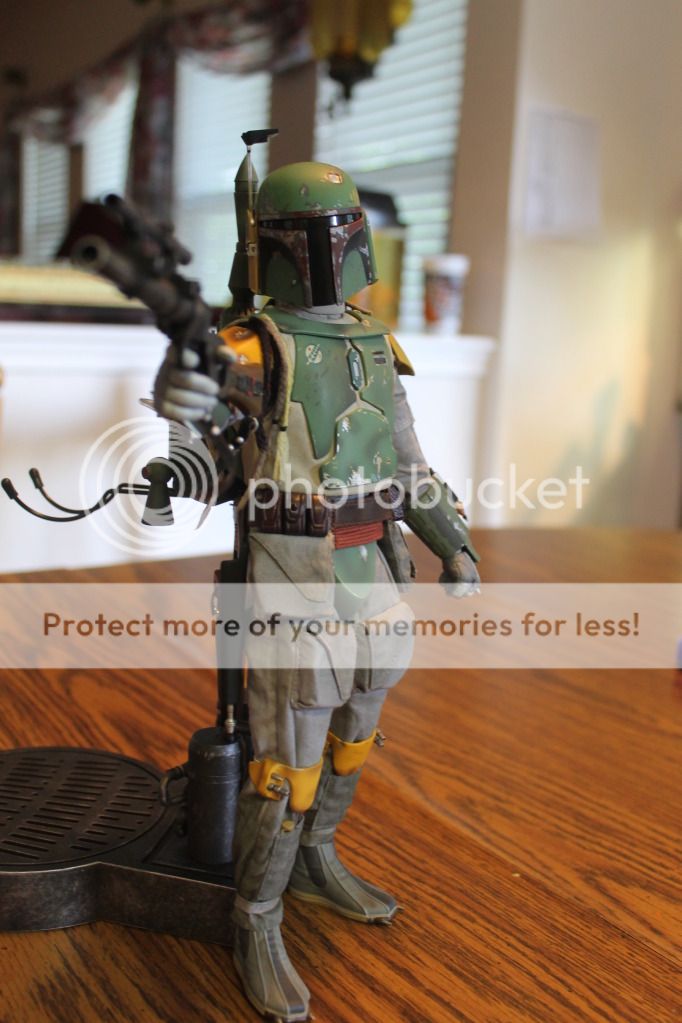
Anyway, with some curvature in the ab plate, I decided to put him all back together after letting things cool and dry and this is the result:

IMG_0806.jpg


IMG_0807.jpg


IMG_0808.jpg


IMG_0809.jpg


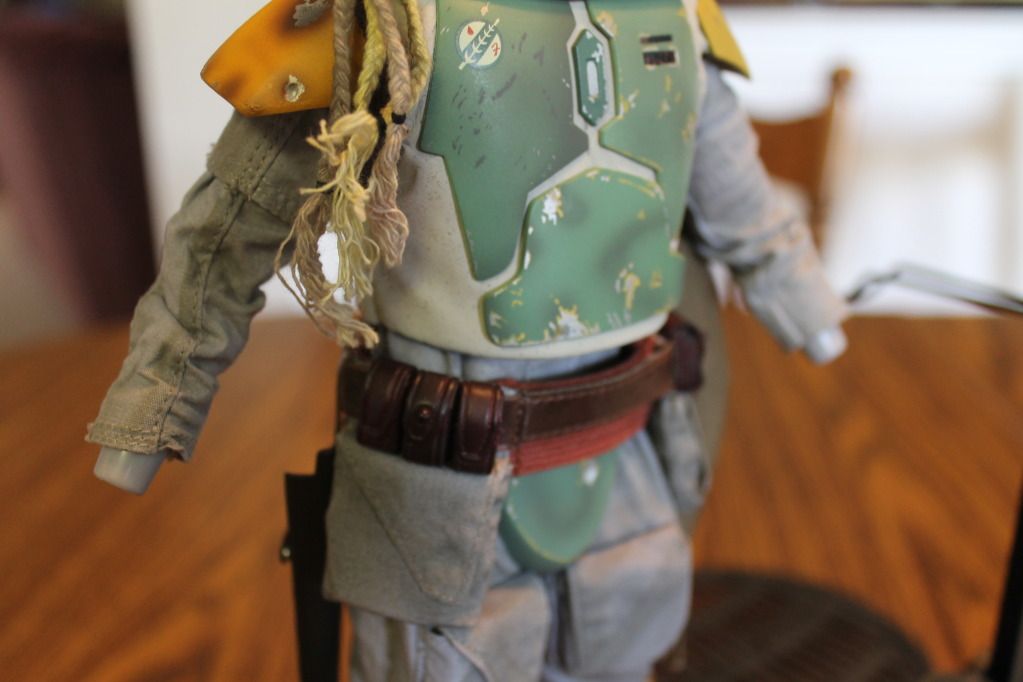
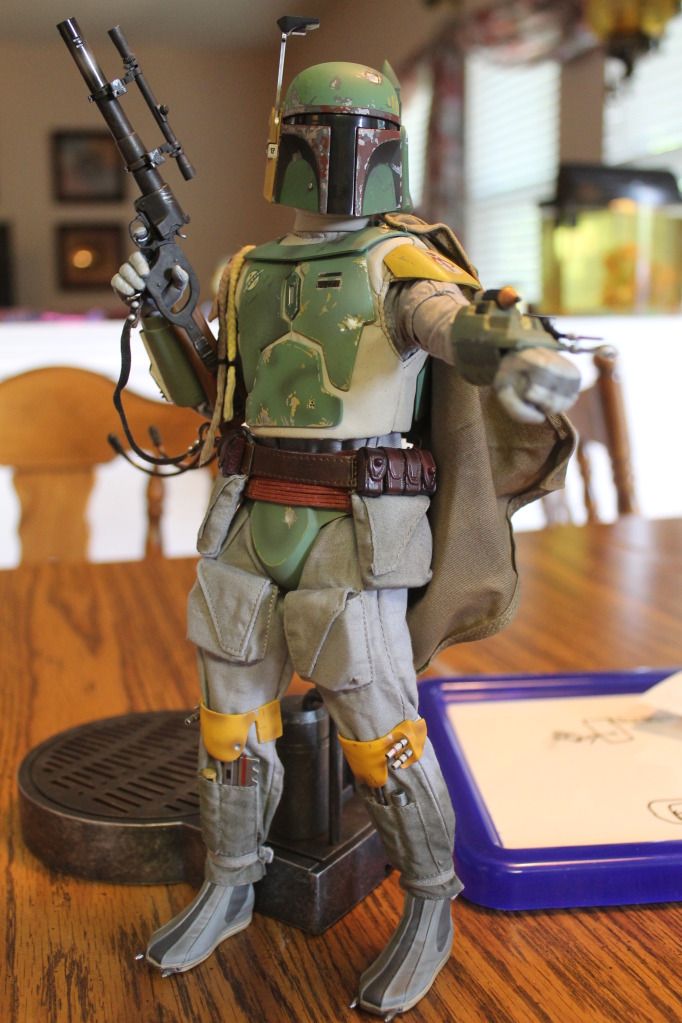
Since I had the water out, I went ahead and water treated the Wookiee scalps as well. They are still wet in these pics:

IMG_0810.jpg


And here he is, all put back together:

IMG_0813.jpg


IMG_0814.jpg


IMG_0817.jpg


IMG_0818.jpg


Honestly this seems to be the easiest solution with great results. Since I'm not into sewing, this is the method I am going with. I love how he looks after you did the mod.
 
Sometimes I wonder if Sideshow sits there thinking "these guys are going to complain about something anyway, so we might as well give them something they can complain about, then fix on their own."

- MJ
 
Back
Top