Hopefully sometime this year.
Yeah, that turned out to be a complete lie. Things haven't exactly been working in my favor... it's kinda always half a step forward and three steps backwards with this project. Been working on the project some more to perfect things and try to find ways to start actually producing them. With the advance in 3D printing technology and near perfect quality that requires almost no work on the prints themselves other than priming and painting becoming more affordable, this route is preferred over getting prints made and then mold and cast those in the traditional way. More on that later.
This however means that the models has to be made print ready and this is what I've been working on for a while now. Most of the work is easy enough, just aligning surfaces so everything ends up creating a solid model, but some means I have to go down and manipulate the models on the polygon level (the points that make up the model geometry) and that is a bit trickier and I've had to learn new techniques and sometimes had to ask for help.
Basically, the parts I'm working on right now are the face masks - ANH, ESB, and the Truly Symmetrical version - fitting them all with grills and tusks. For the most part much of that work was done already, but some of the models or some parts of the models had inverted surfaces, so I had to go in and align things correctly and fixing excessive geometry and simplify things, as some of the previous work I did added extra unnecessary connection lines in the geometry. Still have a lot to do on that account. Though you can't see it in the picture there is a lot of cleanup still needed on the grill models, and I'll probably tweak the position and angle of the tusks as well, trying to get it as screen accurate as possible.
This is the line-up so far:

, on Flickr
Here's a glimpse of the Truly Symmetrical face mask in a more close-up view with tusks and grills attached. Though it could be cool to keep it clean, so ESB configuration is possible, I am not working on that - maybe some day.

, on Flickr
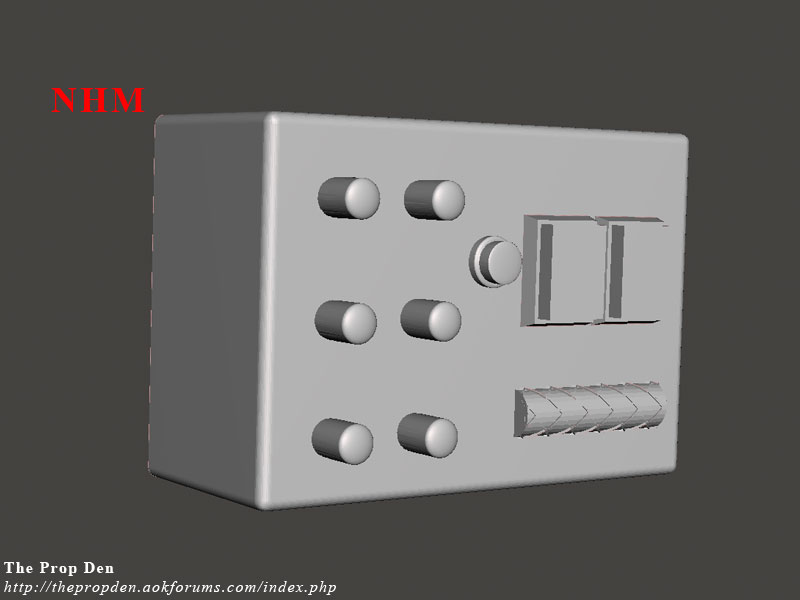
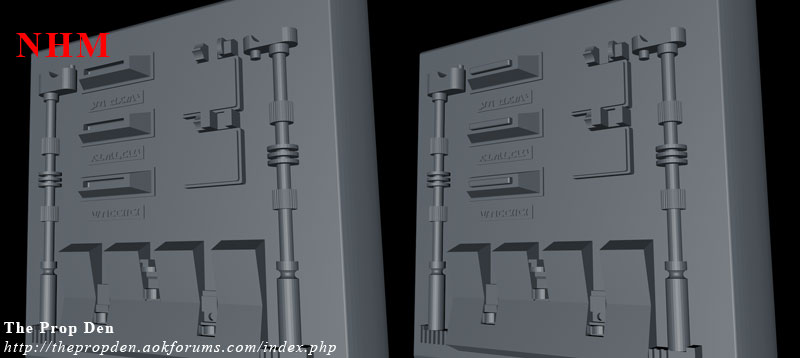
Next up is the ESB belt box. I'm not entirely done with it at this point as I would like to try and get the lines on the hose part more accurate (a mistake I made when I had them made originally to ask for them to be made farther apart than accurate - a decision I regret now, but I was afraid it might look weird once printed to go fully accurate. Unsure whether I can achieve it myself)
The first picture shows the box already in a state of rework. In the earlier version the edges of the box were sharp with no curve, but I always wanted to incorporate the curve to the edges and was helped by Paul Carson on how to achieve it, so thanks mate. But all the rest of the details on the box are still the earlier version.
, on Flickr
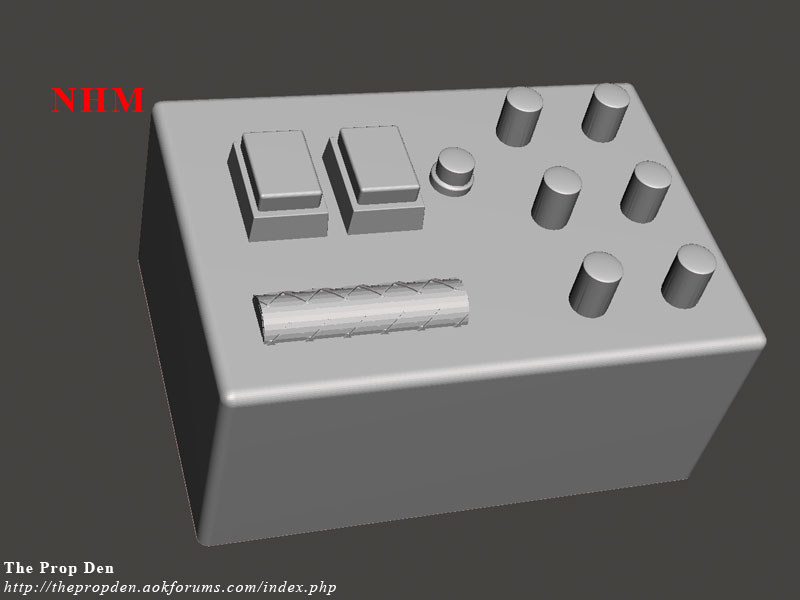
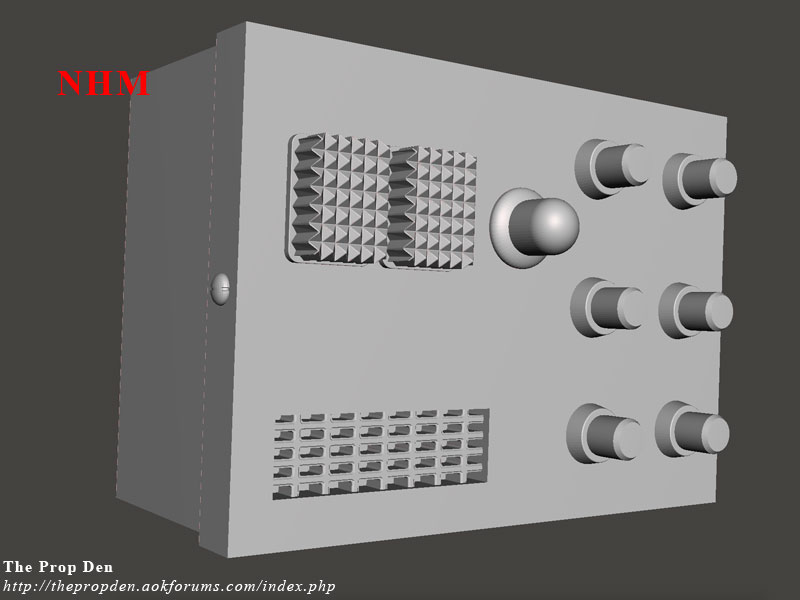
In comparison I reworked the green lights and the red light and the tops of the metal studs to make them more accurate. I am not done with the tweaks yet, but I'm fairly satisfied with the outcome so far. Of course, because I'm an idiot I didn't work on the same box, so sorry if that is confusing.
, on Flickr
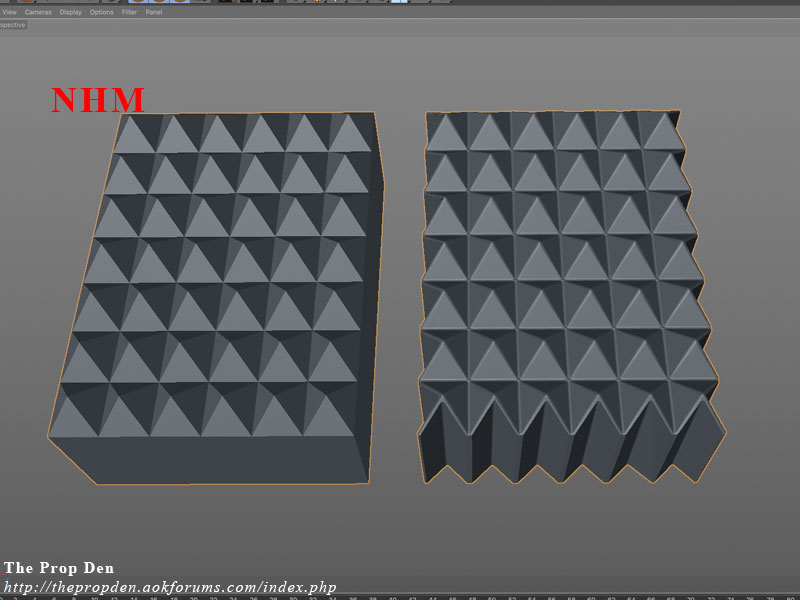
Then I went on to the ANH belt boxes, in order to take a break from the "at what I thought at the time as being hard work" ESB boxes... to the "OH MY EFFING GOD I'M OUT OF MY MIND THIS IS DIFFICULT" type of work the green lights turned out to be. Those alone was a whole days worth of work. Mainly because I suck and am a complete newbie in regards to this kind of 3D modeling... but man oh man... I DO NOT envy 3D modelers and I bow down to their patience and skills. But... I'm kinda pleased with the result. Is it perfect? NO! Was it needed and will it actually be worthwhile in such a small scale print... hmm... tough question, but in my mind the answer would have to be yes. Frankly, my mindset has always to go über accurate, even if it won't even show up in the print, so I'm still debating with myself whether I should even put knurling on the metal studs or not. I'm aiming towards: absolutely. Will I be able to do it? At this point: unknown. Skill not learned yet.
, on Flickr
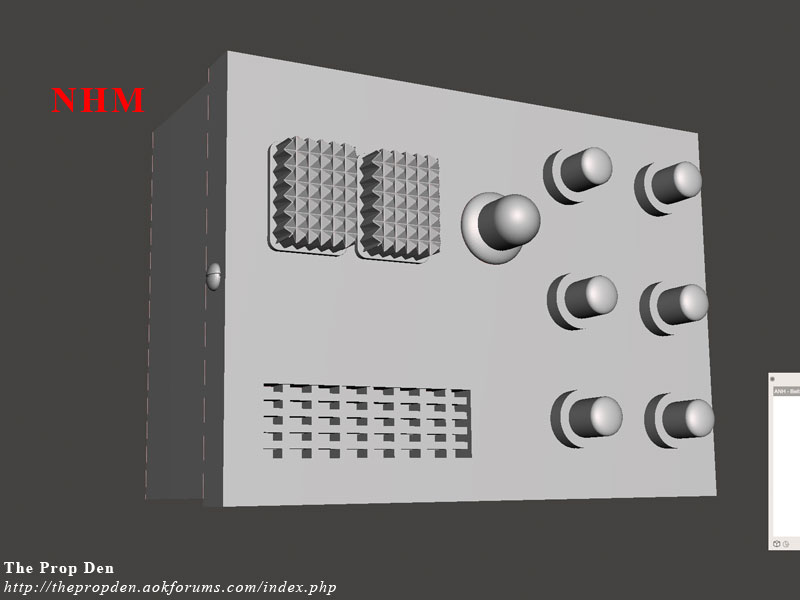
And here are the green lights on the belt box. Everything else is all earlier version - much of it all the way back from the Eric Chan days at the early days of the 3D project, with rework by Jesse McClear who's the guy who has helped me greatly with this project. Thanks man.
, on Flickr
Lastly, taking a stab at fixing some inaccuracies on the ESB chest box that I may have caused when it was being remade by Jesse and trying to incorporate some things that were pointed out to me after it was made that I really had no clue about, such as the sticking out light covers on the coin slots and when it was pointed out that the red and blue light covers might be too large. I made them a little smaller and more rectangular - they were more square before. Reworked the spacing between them and the greeblies above and between the lights. Will probably have to make the lights stick out more from the box, as they are currently pretty flat compared to the reference. I think it turned out looking okay.
, on Flickr
Let me know what you think and if you spot something that could need a fix, please let me know. I can't go super accurate, as I'm not skilled enough. Down the line I hope to scan all original parts or cast from original parts for these as well.
")


 , on Flickr
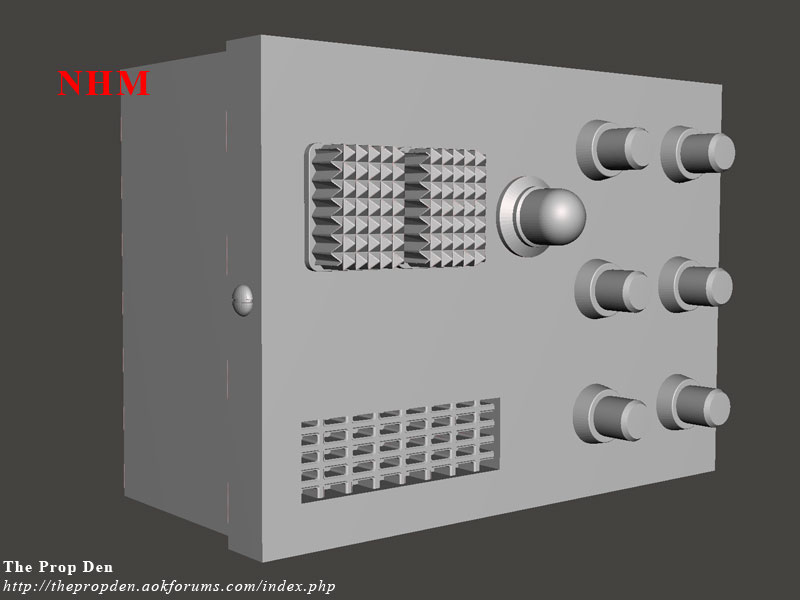 , on Flickr
 , on Flickr
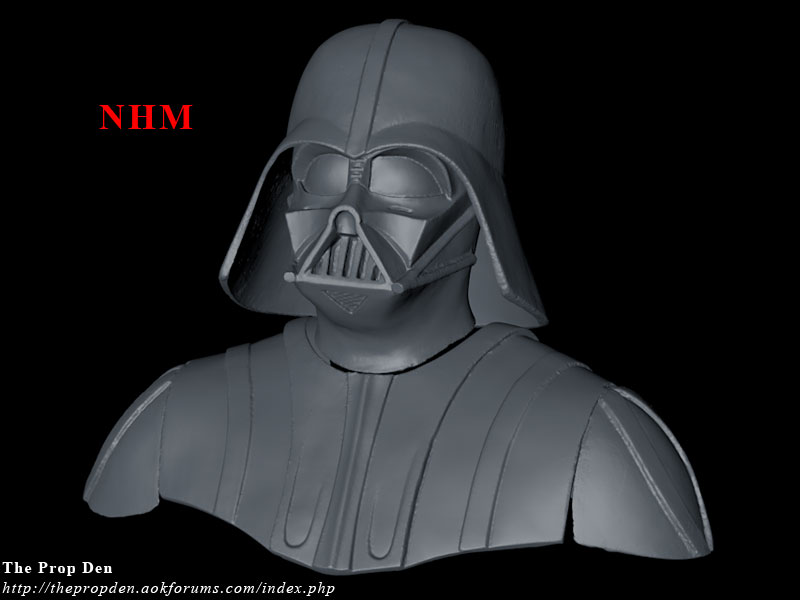 , on Flickr
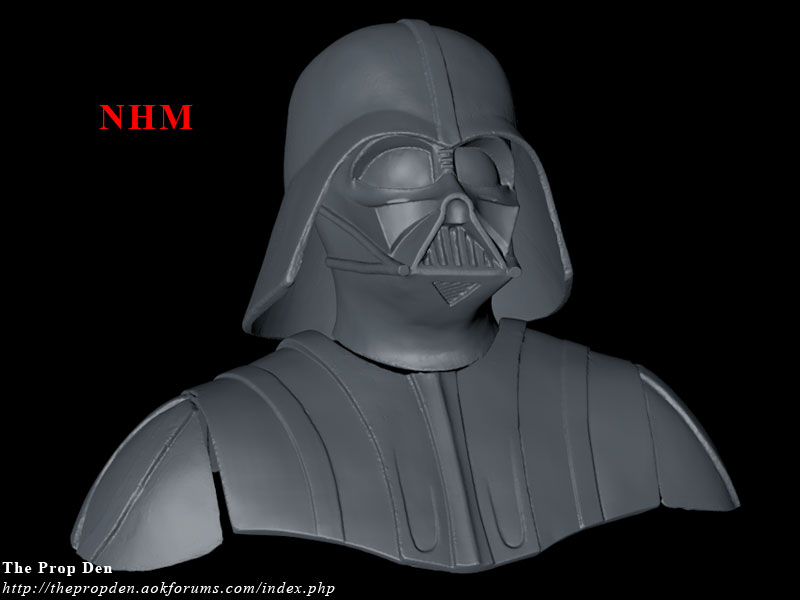 , on Flickr
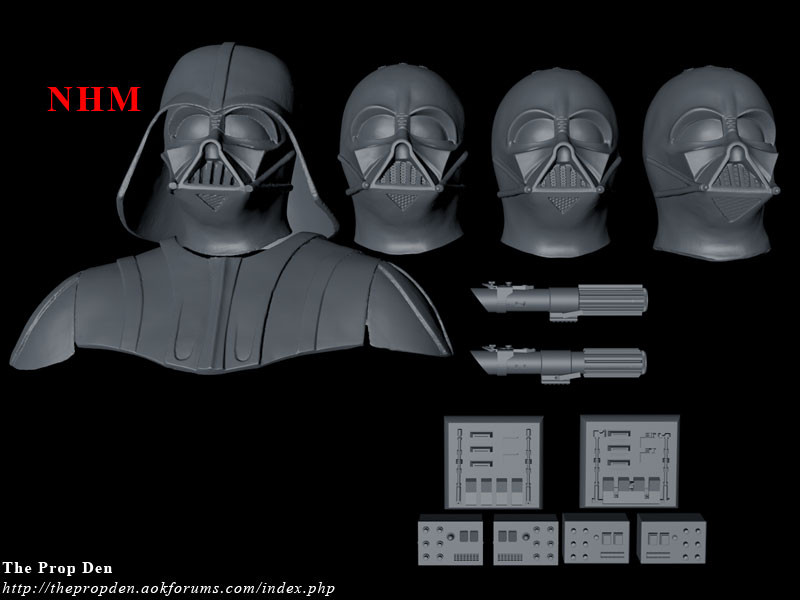 , on Flickr
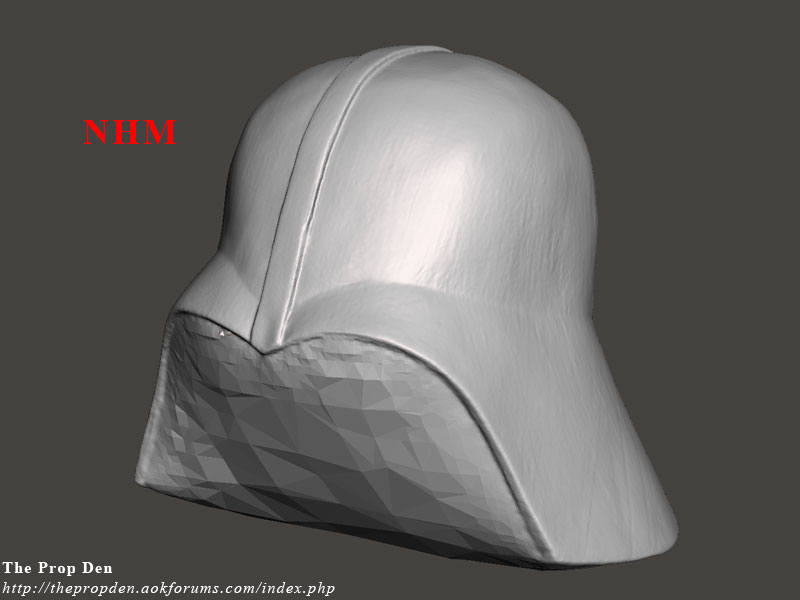 , on Flickr
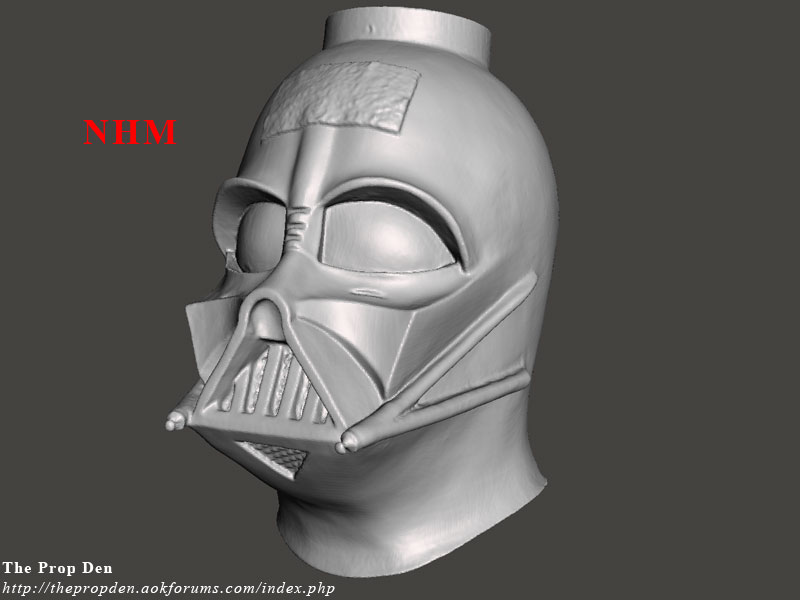 , on Flickr
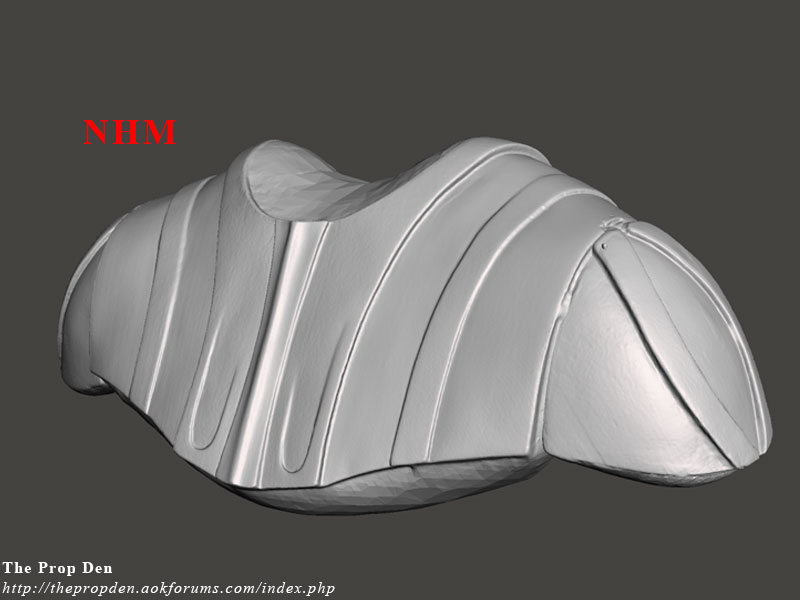 , on Flickr
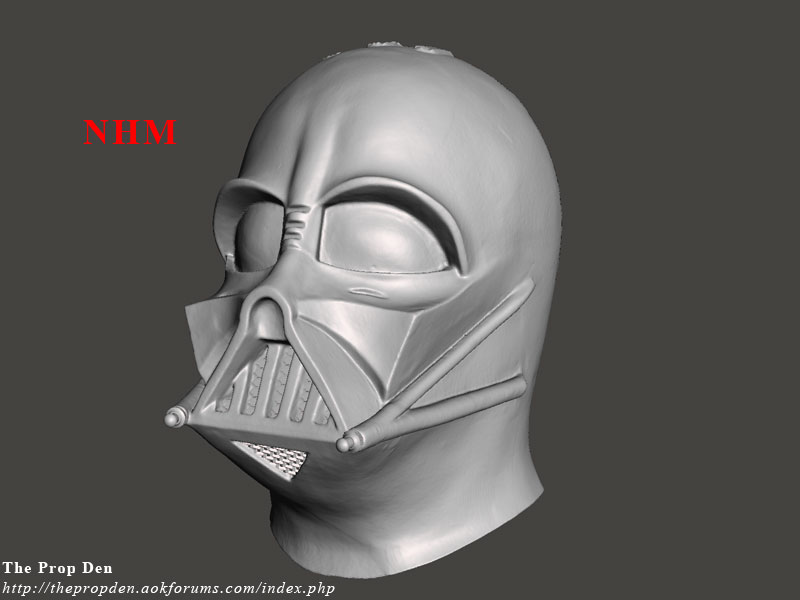 , on Flickr