adegregorio
Super Freak
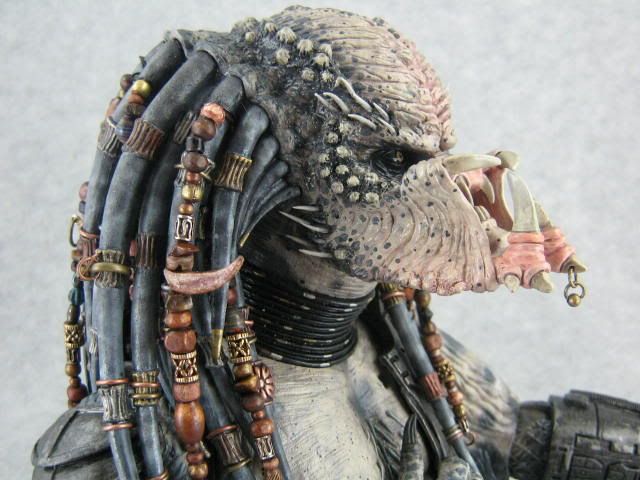
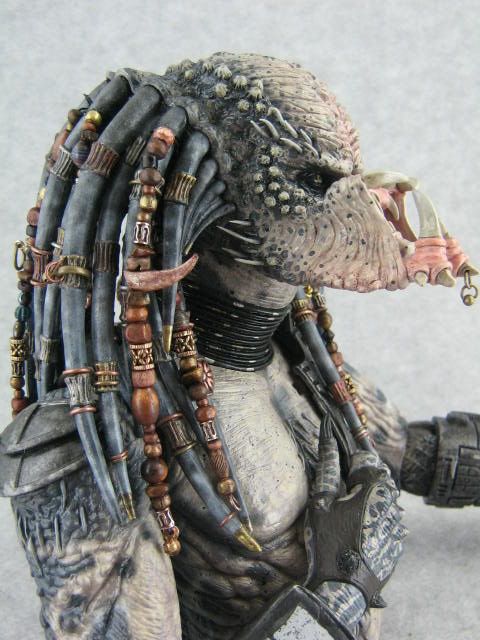
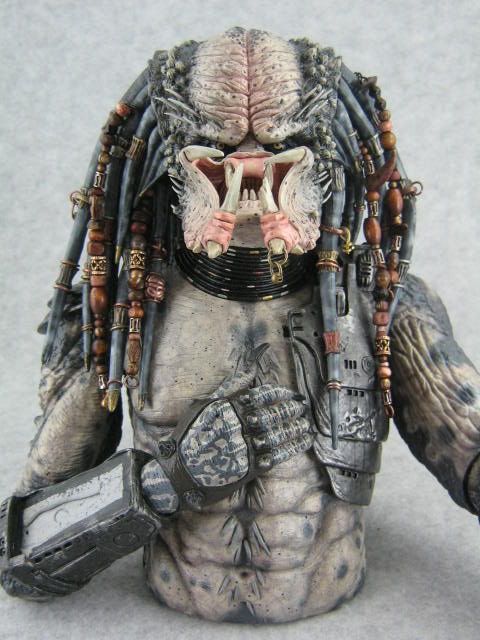
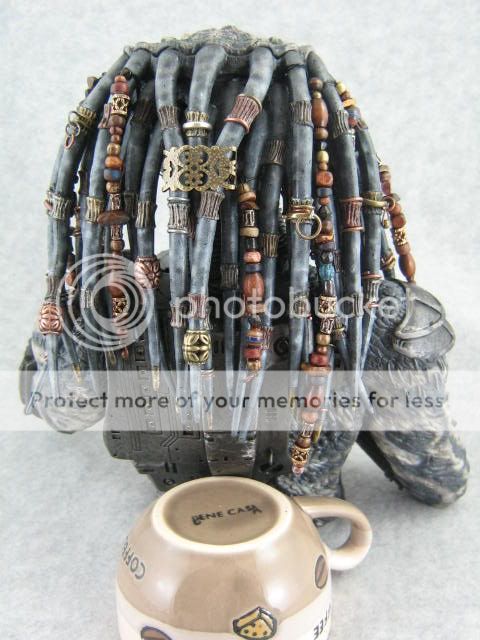
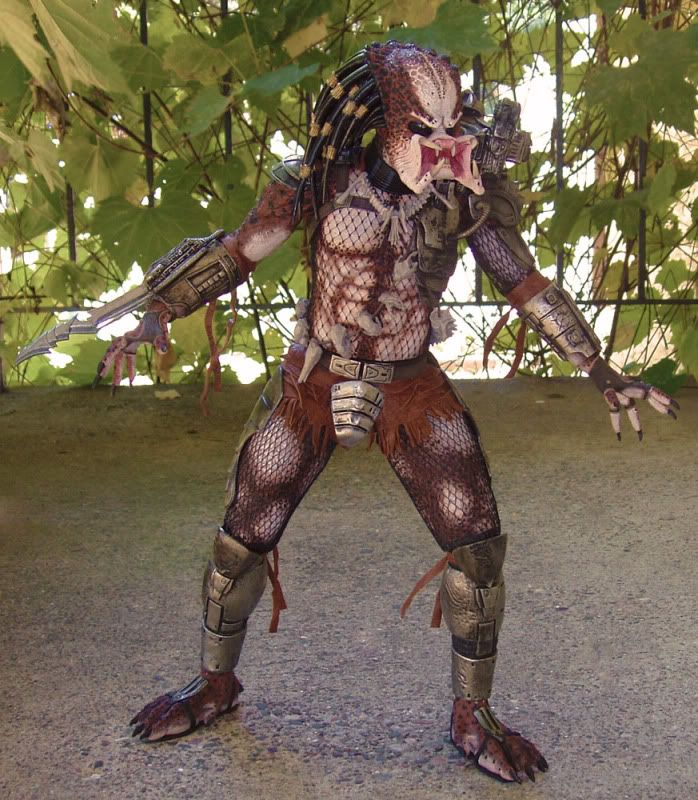
Well heres the dreads done with all the bead work. It took a while to place them and fit them in the right places, taking them on and of the head...but overall I'm very happy with how these turned out.
When I was sculpting the added features on the face, I knew that would make or break the look of the Elder...the beads were the same way.
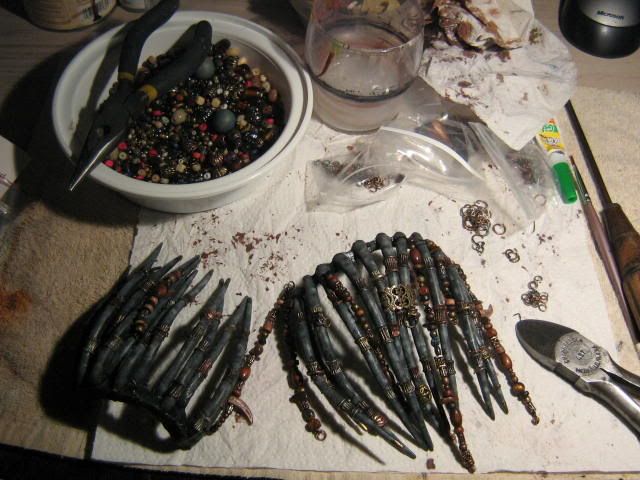
More pics coming up...")
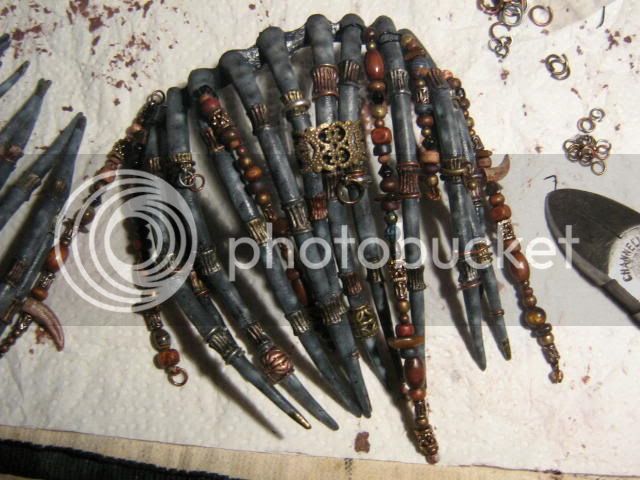
When I was sculpting the added features on the face, I knew that would make or break the look of the Elder...the beads were the same way.
More pics coming up...