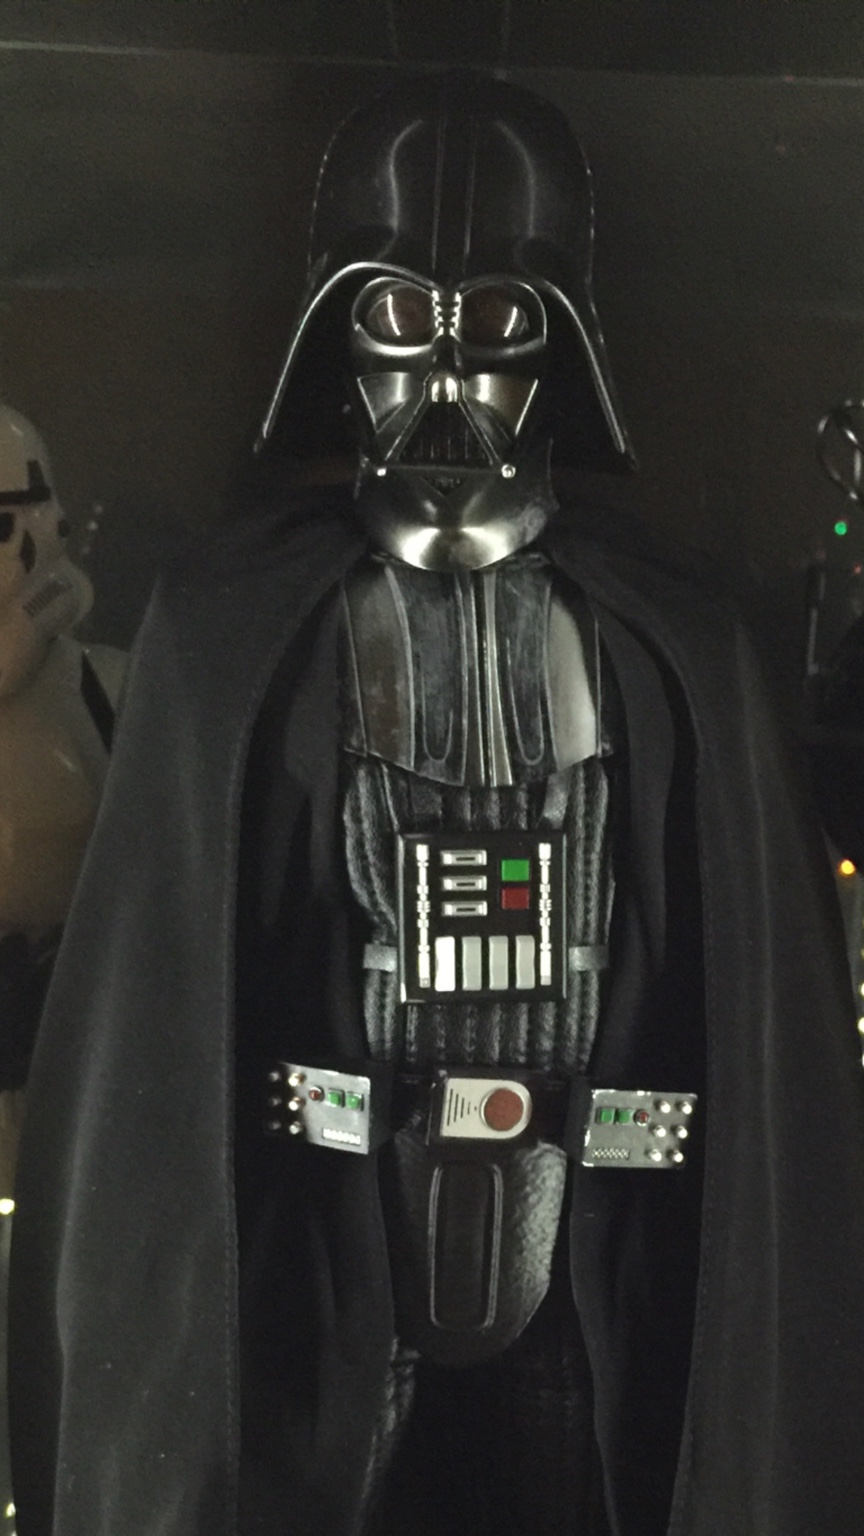
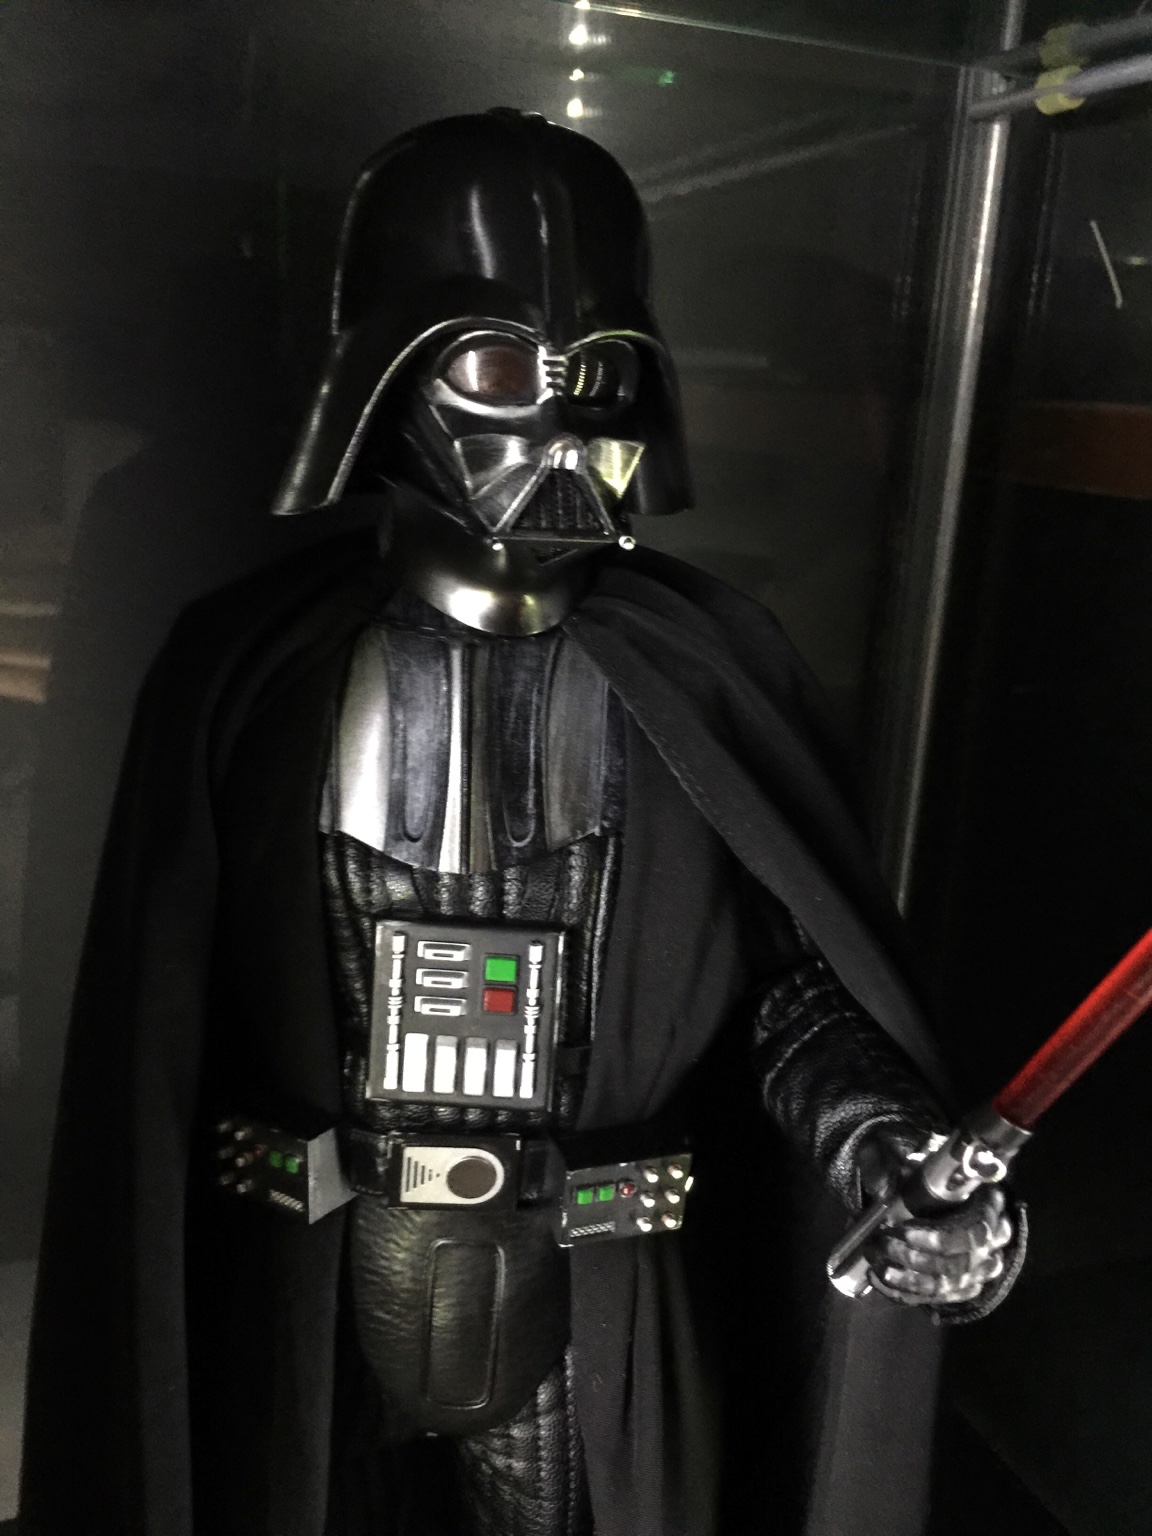
VIDEO TUTORIALS: All Hot Toys Darth Vader Modifications step-by-step

Collector Freaks Forum

Help Support Collector Freaks Forum:

This site may earn a commission from merchant affiliate links, including eBay, Amazon, and others.
I know this has been stated before, but as we try out these customizations, we should try to use Jazz's direct links whenever possible and practical. We want to keep this crazy OCD guy around as long as possible! I mean at least as long as it takes for the asylum staff to get him back into his straight jacket...
 
I know this has been stated before, but as we try out these customizations, we should try to use Jazz's direct links whenever possible and practical. We want to keep this crazy OCD guy around as long as possible! I mean at least as long as it takes for the asylum staff to get him back into his straight jacket...

[emoji28][emoji23][emoji23] thanks man
 
Finished the physical helmet mods yesterday and just waiting on my hobby shop to open tomorrow to grab the c-kit. Belt boxes and chest have also been weathered lightly. I made a few small mistakes with the figure so far but all things considered once everything's futzed right I'd be hard pressed to notice the issues. Also
Matted out the hands which helped a lot.

Here's where I'm at so far:

3f678fc08e1da484e007de44ab9478e4.png


8d4bebefa52171e488859122c4d654d2.jpg
 
Very nice Zack. Try moving the chest box, belt and cod piece up higher so everything closer together.
 
Got it! Will post pics once the face is painted up. Also moved the lightsaber hook and rivets closer to the belt box.
 
Jazz, just watched the 1st and 3rd video; awesome stuff. Def subscribing to your YouTube channel and plan on doing a few things to RO Vader you've done here. Btw, how do you like cordless dremel? Battling back and forth between that and 4000 as I have the one with only two speeds, but have a 4000 at work that I use and love.
 
Jazz, just watched the 1st and 3rd video; awesome stuff. Def subscribing to your YouTube channel and plan on doing a few things to RO Vader you've done here. Btw, how do you like cordless dremel? Battling back and forth between that and 4000 as I have the one with only two speeds, but have a 4000 at work that I use and love.

I am very happy with my cordless dremel. Plenty of RPM and torque and I never run out of juice with the two batteries that come with the kit. The freedom that it allows is perfect. Wouldn't want Anything else
 
Outstanding service to the community Jazz :rock

I thought I wanted to keep my figure stock, as I'm a 'stock' guy. But the results are phenomenal and your clear, step-by-step guide is like having a personal mentor in the room. I'm coming around to the idea that I won't be losing a stock figure, I'll be gaining an outstanding custom and picking up some new skills in the process.

Thanks mate, love your work :duff
 
Hi Jazz, seeing that you have already altered a new version of the IV Vader did you happen to check to see if the electronics were updated? I know the first release had issues of the sound chip timing out. I'm wondering if maybe HT address this issue when they released the 2nd wave? Thanks for any info.
 
Warning to those who are not as talented as Jazz: attempted the nose mod - went super slow - was doing good, then went a tad high and penetrated his upper cheek.

It's not bad, but recommendations on what I could use to 'patch' a super small hole?

Pic:

DSCN0978.JPG

For myself, all the other head mods are pretty easy, but that nose mod is not for the faint of heart. LOL.
 
Ouch! You got balls, Matt. Good effort.

Likely some kind of putty will fill that easily and then a little black (or gunmetal) over it -- since you were likely going to repaint as well. Jazz should know the right putty to use.
 
Thanks, guys! yeah, wasn't too worried about it, as I know you all would have recommendations.

And let me tell ya, you would have thought I was trying to drill into a grenade.......LOL Thanks. Yeah, this mod takes some sacks

For those that attempt this: knowing what I know now from doing it. Make a 'bullseye' mark as to where the drill is going and do not deviate. Slow and steady. I just got over-confident in the end!
 
Last edited:
Thanks for sharing Matt! Yes, that should be an easy fix, but as a relative newb I know my heart would've sank a bit knowing I'd gone too far with the drill. Silver lining is that you'll have learned another new handy skill, how to patch plastic. Keep going you ballsy dude you!
 
Thanks for sharing Matt! Yes, that should be an easy fix, but as a relative newb I know my heart would've sank a bit knowing I'd gone too far with the drill. Silver lining is that you'll have learned another new handy skill, how to patch plastic. Keep going you ballsy dude you!

Thanks, I kept reminding myself in ANH, he's battle damaged.......lol

Yeah, it was a bummer, but no regrets. Already ordered the fix for it........

Separate note: I've liked the upper body size for this Vader, but always felt the thighs were a tad small - ended up putting an old SSC suit, and just trimmed it down for the thigh areas - gives it just that little extra bulk in the legs that makes me eyes says 'that's Vader!'
 
Quick question Jazz. Maybe I didn't catch it but did u seal the paint apps on the armor and chest and belt boxes or just leave as is? If u did seal the paint what did u use? Thanks.
 
Back
Top