- Joined
- Apr 9, 2007
- Messages
- 5,340
- Reaction score
- 4,480
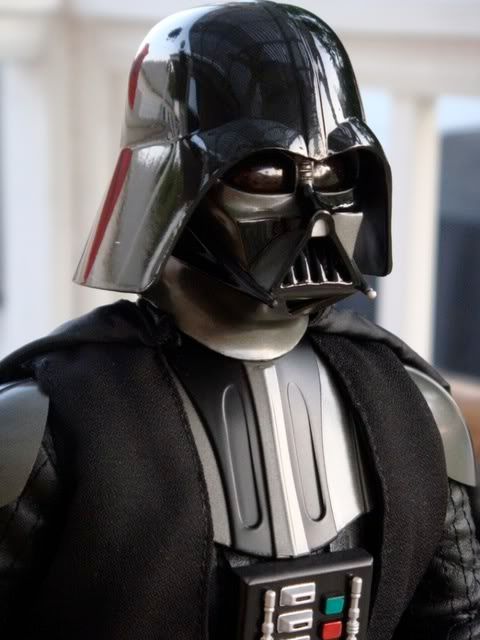
For those of you who have modded your Vader helmet, what is the concensus on the positioning peg in the helmet? Are we sanding/cutting it completely out, or are we leaving some of it standing?
If any of you/most of you/all of you are leaving any part of the peg in place, are you still using it to position the helmet, or is the re-positioning such that the peg no longer goes in it's hole?
Also, do you think superglue is overkill? Would some hot-glue do the trick?
Thanks!
If any of you/most of you/all of you are leaving any part of the peg in place, are you still using it to position the helmet, or is the re-positioning such that the peg no longer goes in it's hole?
Also, do you think superglue is overkill? Would some hot-glue do the trick?
Thanks!


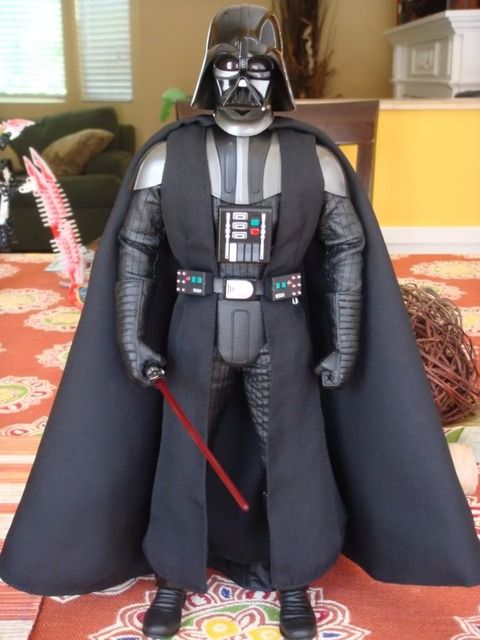
 I bent the pegs in both boots the first time, I then had to straighten them out with a screwdriver and once I got them on I realized I put them on the wrong legs!!!! The third time I finally got it, but I won't be taking them off anytime in the near future.