Official Hot Toys Pirates of the Caribbean Jack Sparrow DX06 Spec + Pics

Collector Freaks Forum

Help Support Collector Freaks Forum:

This site may earn a commission from merchant affiliate links, including eBay, Amazon, and others.
I got Jack posed at the wheel glancing at his Compass, will post some pics tomorrow.

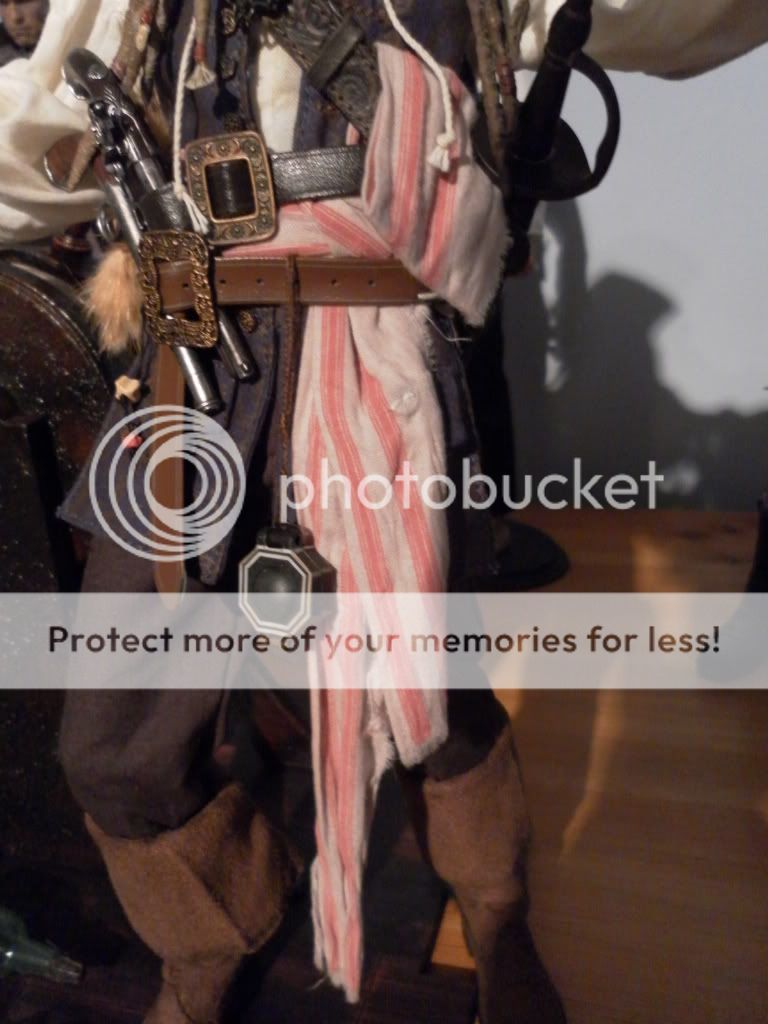
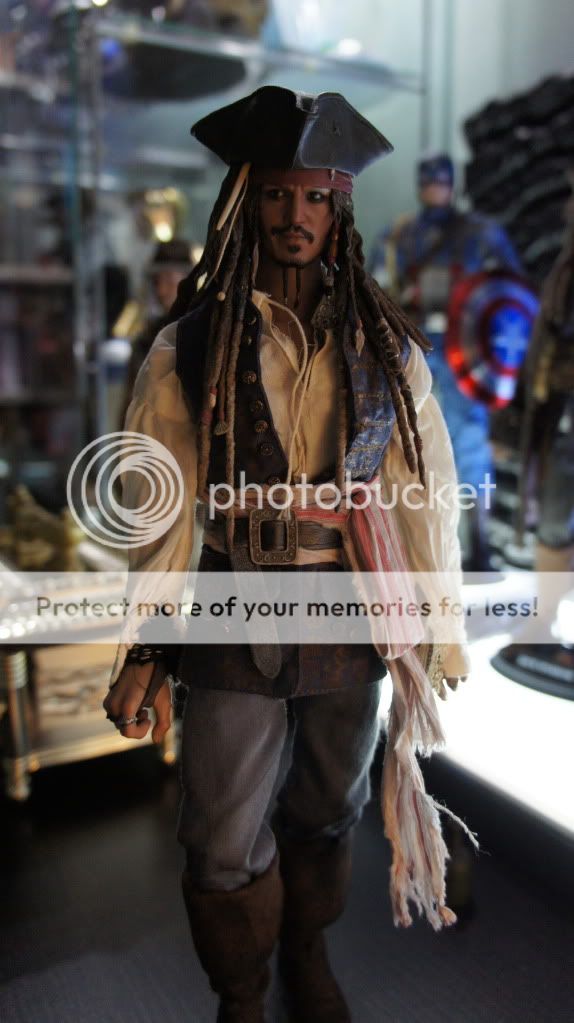
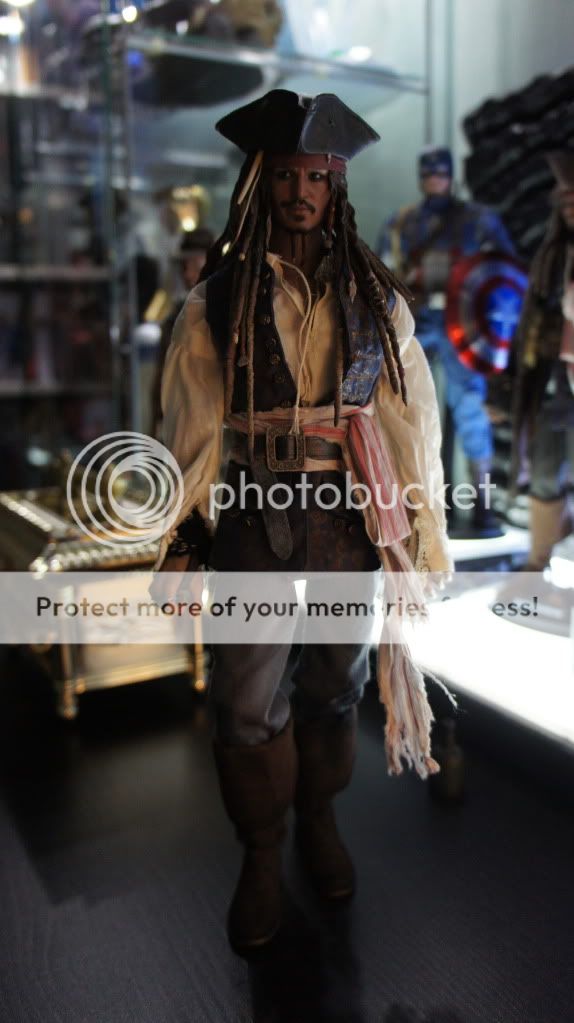
I think this figure has claimed the Number 1 spot of my 1/6 collection...

file.php


:lol
 
i bought a couple of pieces off him last year on p.o. took forever to send them, and just before he did got a similar email saying the boxes were heavier then expected and an extra 20 euros was needed , told him it was his mistake and would pay half just to get it over with.......would not use him again, most consistantly good guy i have dealt with is guiboi 11(might have spelled his name wrong) always marks things low value well wrapped plus good communication

I've use Guiboi too he's top boy!
 
probably
i think it is also extremly complicated to sculpt a smiling face of him
with pers even more
but i get no jack sparrow impression with the smirk face

heres a posing idea with the serious face ;-)
 
I'm not sure what those tutorial's tell you to do, but, I have my own method I worked out long ago on the original Jack's and am happy to share if anyone needs, I don't care so much if the wrapping and tying or whatever is accurrate so much as how much of the sash shows from under his belts and and how the parts hang and fold, I get it to look how it does in the movies, at least to me it does.

Yeah, I would definitely like to hear your method. This is the video I watched -
[ame]https://www.youtube.com/watch?v=NB-WA0IWh9o[/ame]

After watching that, I quickly did this, which I know is wrong so Im gonna do it again later:thud: -

Ta da!
SAM_4076.jpg

SAM_4080.jpg


I just found this video, which I think is better -
[ame]https://www.youtube.com/watch?v=E6eunHmC-tQ[/ame]
 
I would use that second video, it's essentially what I do but I only use the belts to keep it in place and his method is more effective, you will have to play around though because the HT sash is long and following the vid exact may not get the result you want. I mentioned to maglor, I put a couple coins into the folds of the flap that goes over the belts an scabbard to keep it down since my method takes the magenta away as an option to achieve this effect.
 
I would use that second video, it's essentially what I do but I only use the belts to keep it in place and his method is more effective, you will have to play around though because the HT sash is long and following the vid exact may not get the result you want. I mentioned to maglor, I put a couple coins into the folds of the flap that goes over the belts an scabbard to keep it down since my method takes the magenta away as an option to achieve this effect.

Definitely gonna do this.

And I'm gonna try the method in that video.

Also, I plan to modify the sash to be thinner. Is that a bad idea?
 
So I started weathering this guy a little. I frayed and futzed his wrap and began to darken his boots and pants. Also I lightened his belt a bit. Wetting dow his shirt really helps..

A couple of WIP dark iPhone pics..
DSC05809.jpg
DSC05810.jpg
 
Love the weathering of the sash and belt! What did you use to fray the sash? Sandpaper??

Yeah mate, sandpaper and scalpel. The threads are pretty tiny so it looks good when you pull at the strands. Also wetting it with a tinted wash helps. Twist it and let it dry. This puts a lot of tiny creases in the fabric. I just dry brushed the belt.
 
Man, that sash looks fantastic! :clap

Hope I can get it like that. Did you narrow it at all, or is it just weathered?


Also, why only one belt? WHere's the other one?
 
Look good rory, one comment I have, I personally would mangle up the little flap part as well, the way I see it, the dangling part gets beat up in action, and to me, the flap would be subject to the same wear and tear and it just looks a bit too nice in contrast to the rest that's exposed.
 
Back
Top