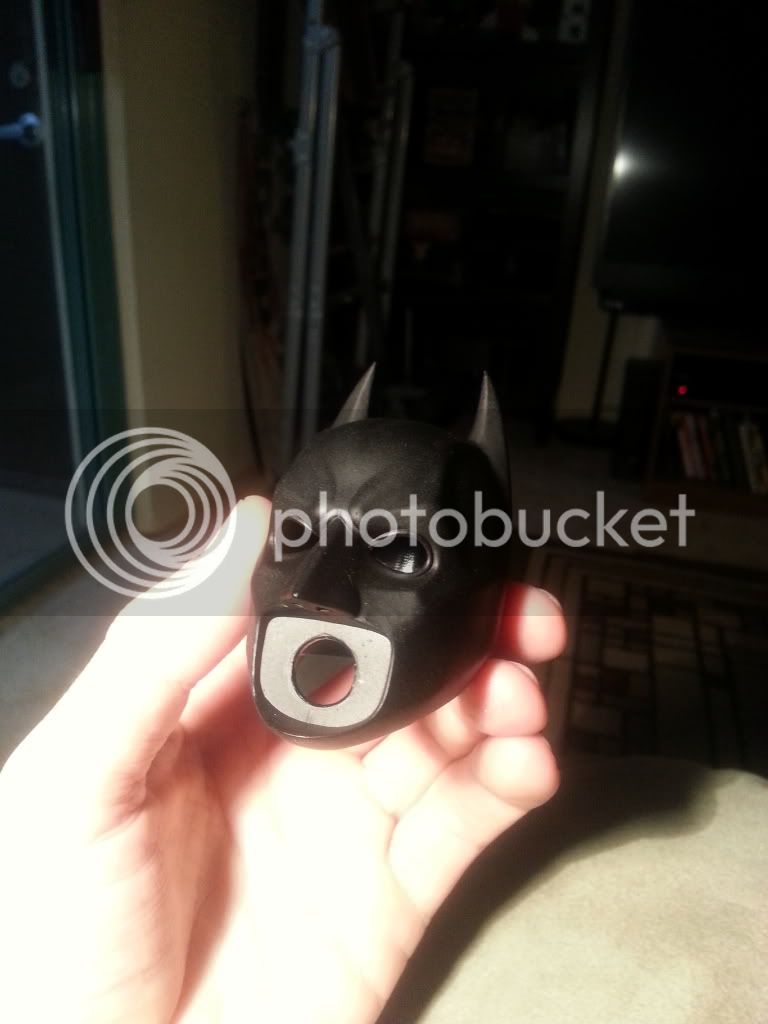
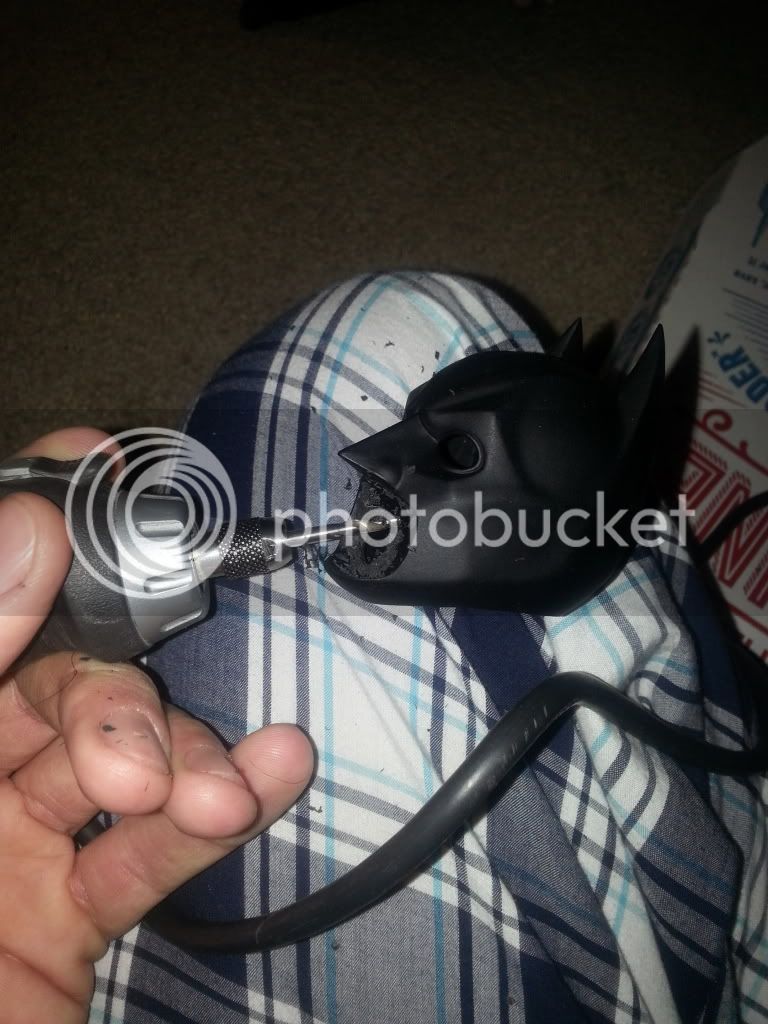
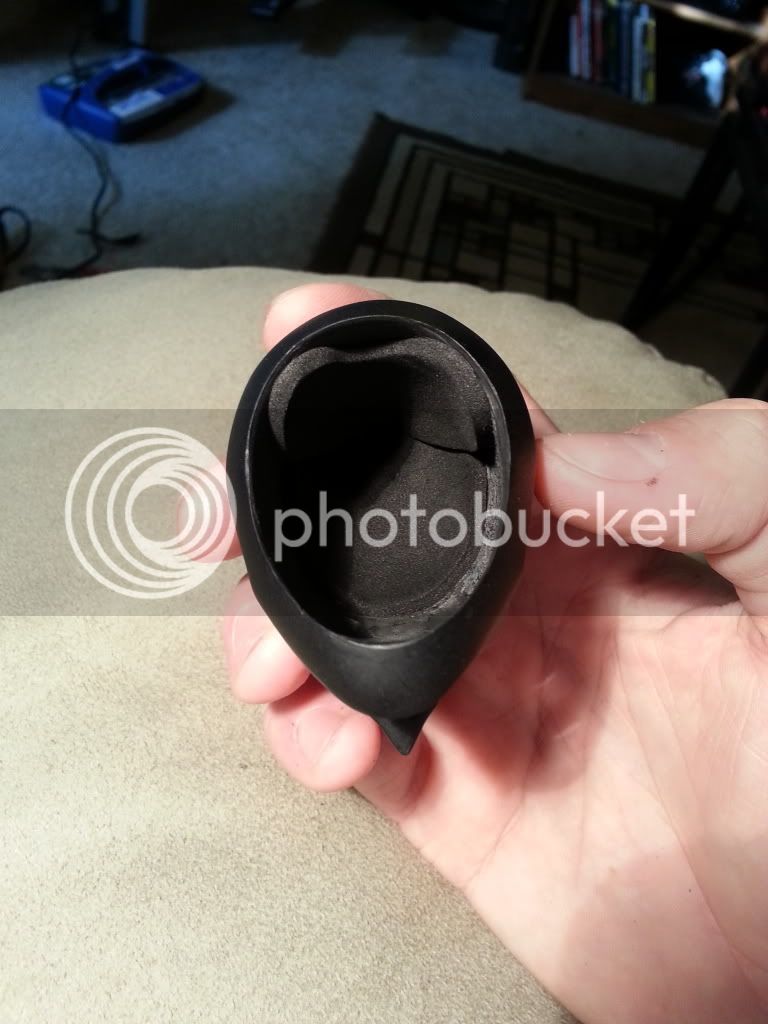
Hello yet again fellow gangsters! I got some cool packages from evilbay as well as lforigno- I was a little upset because I couldn't get ahold of an exclusive edition, and the empty cowl is one of my must haves- so I did something about it. Let's go on another journey shall we?
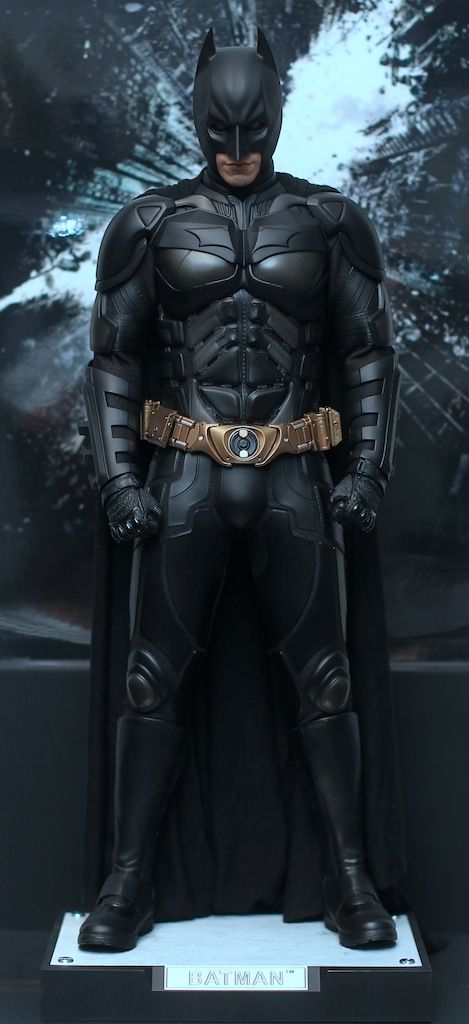
First up, here is my lforigno cape, big props to the big L for super fast shipping, and an awesome cape- MUCH better than the stock hot toys...
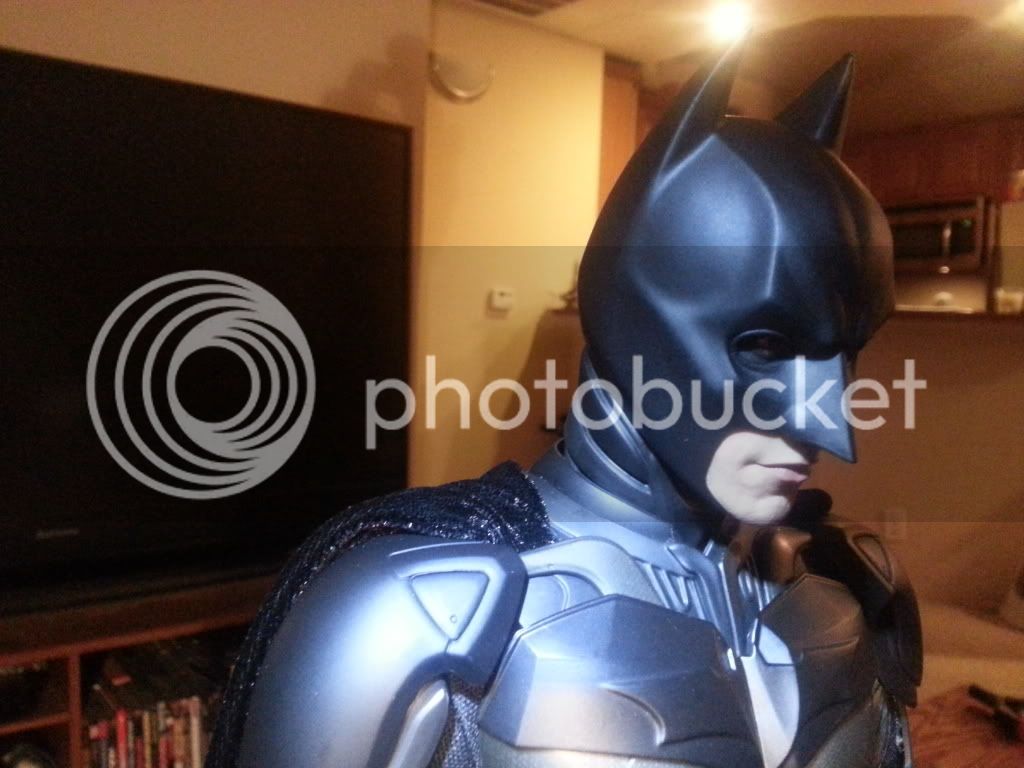
Drapes beautifully, has a nice velvety sheen, and I have seen the real deal costume at the Warner Bros. Museum- this is pretty dead nuts on!
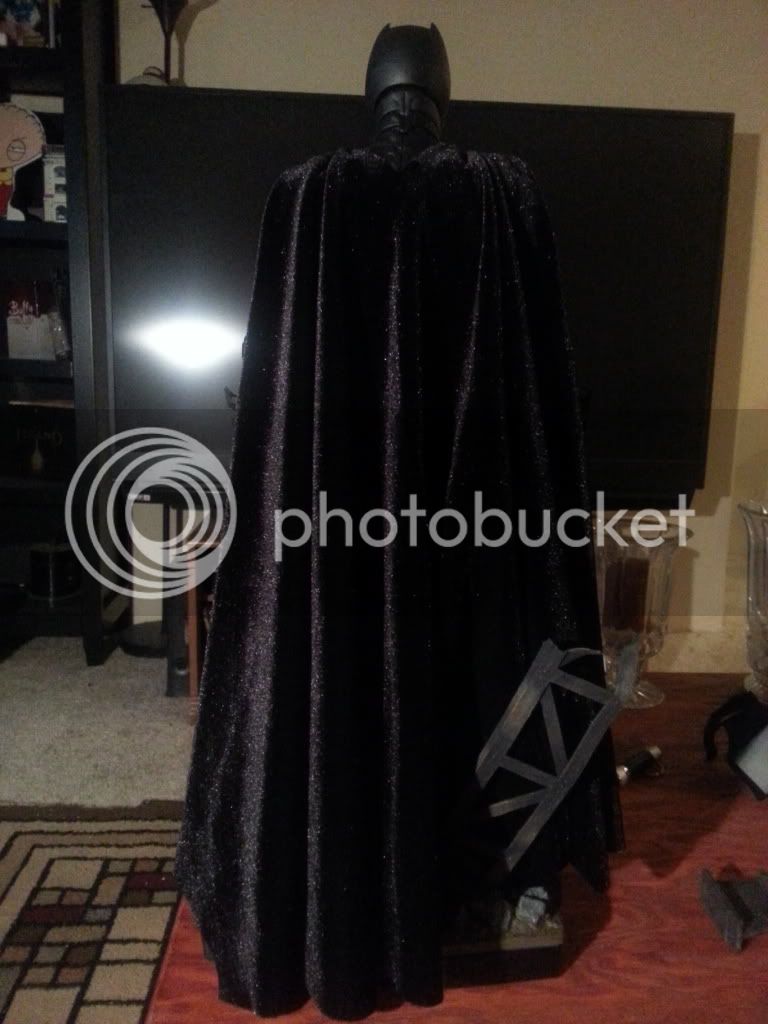
Only small gripe is that I wish it had some finish stitching, at least around the neck line for added protection, but I am a happy camper. I know how we all like stitching things...
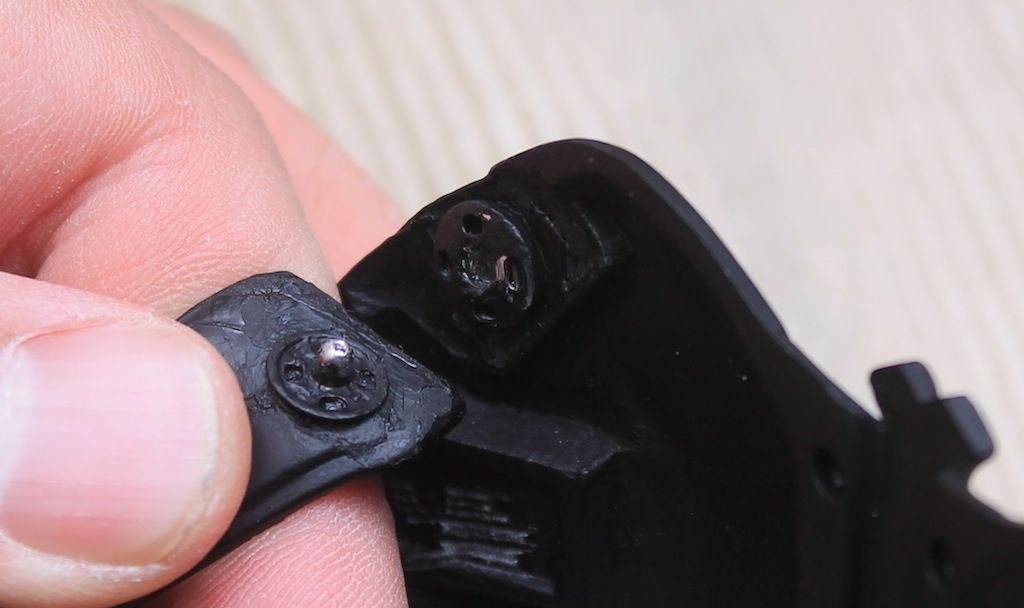
I wrapped electrical tape around the 'clip area, and stuffed it in. (That's what she said)
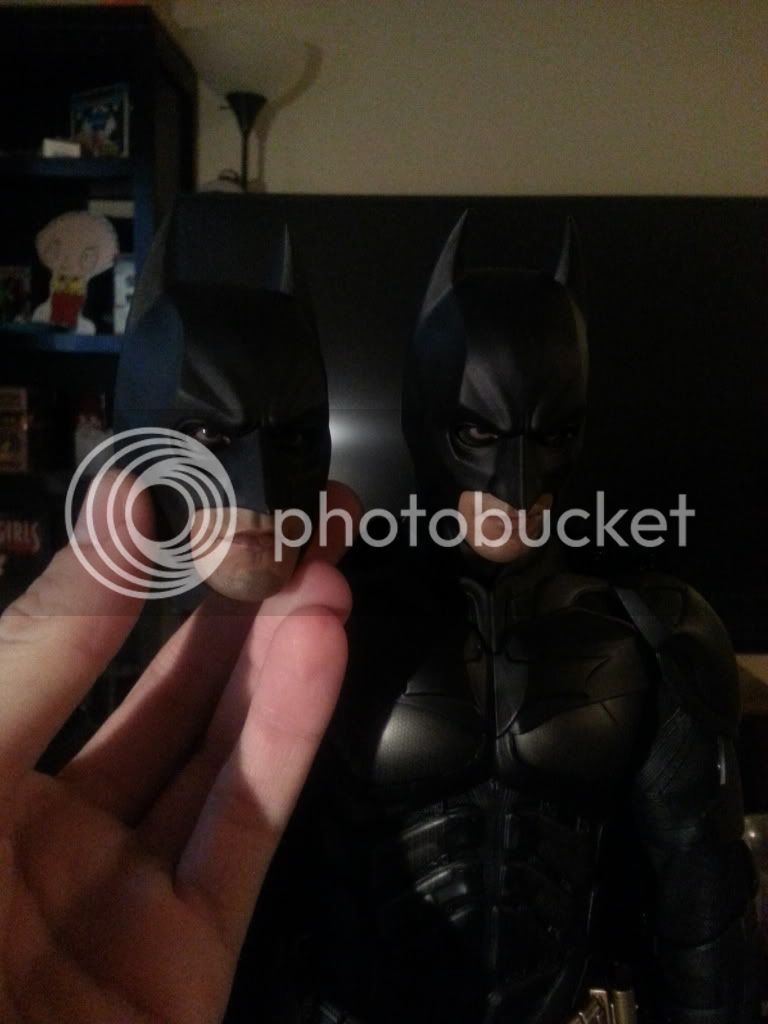
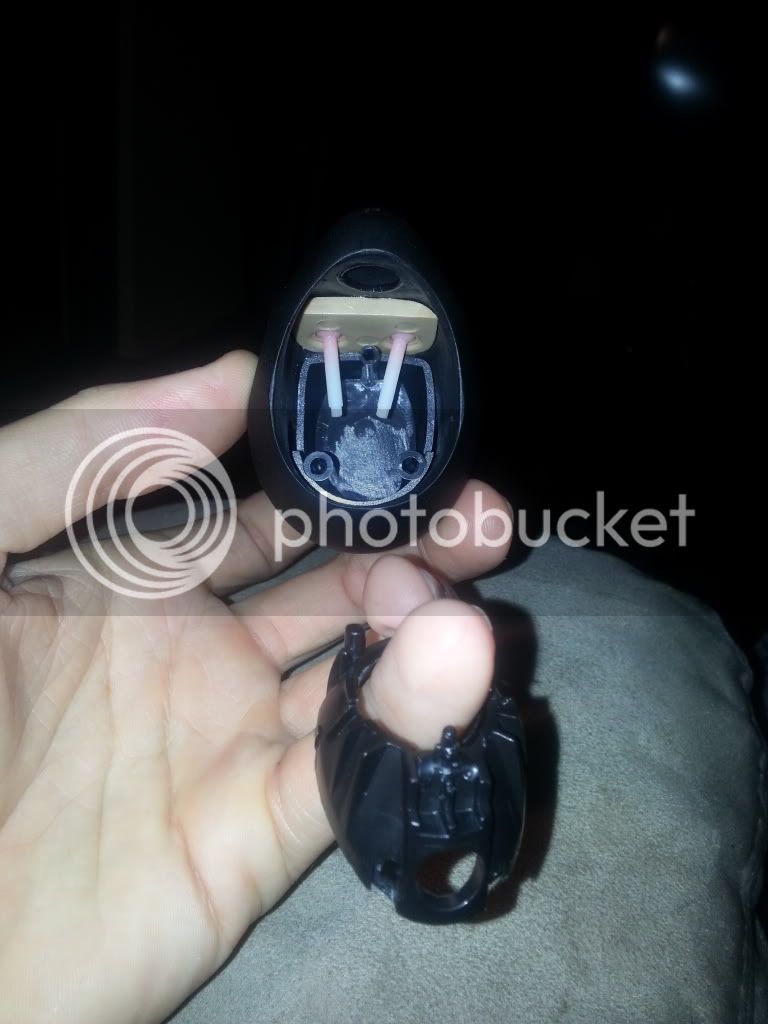
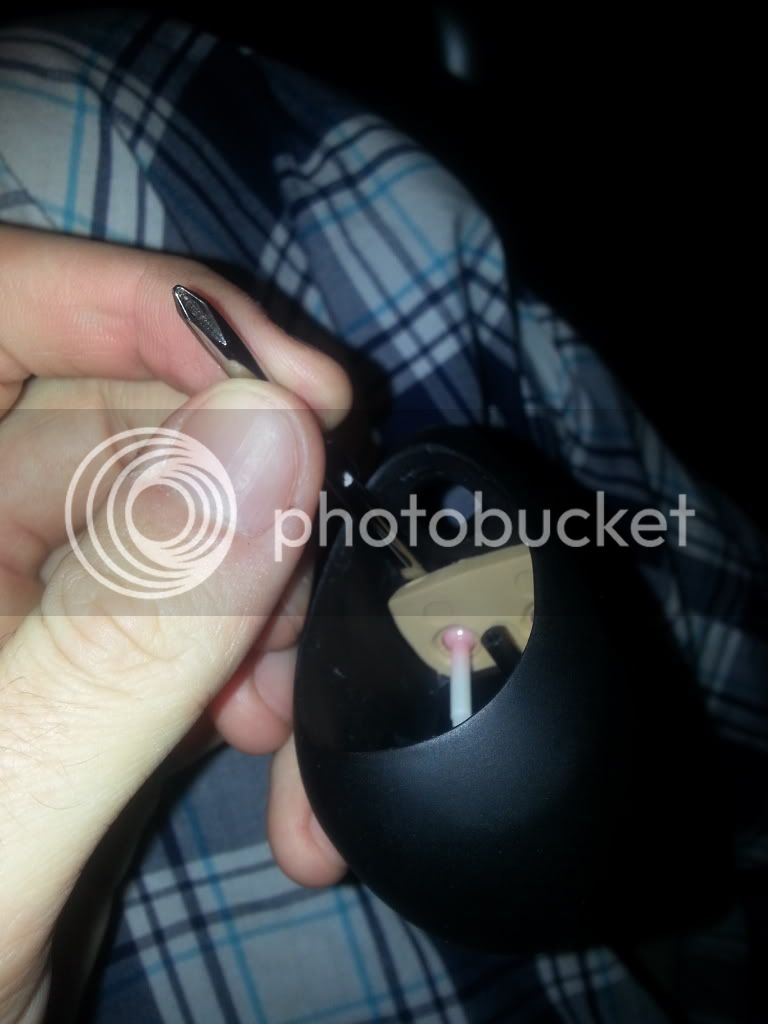
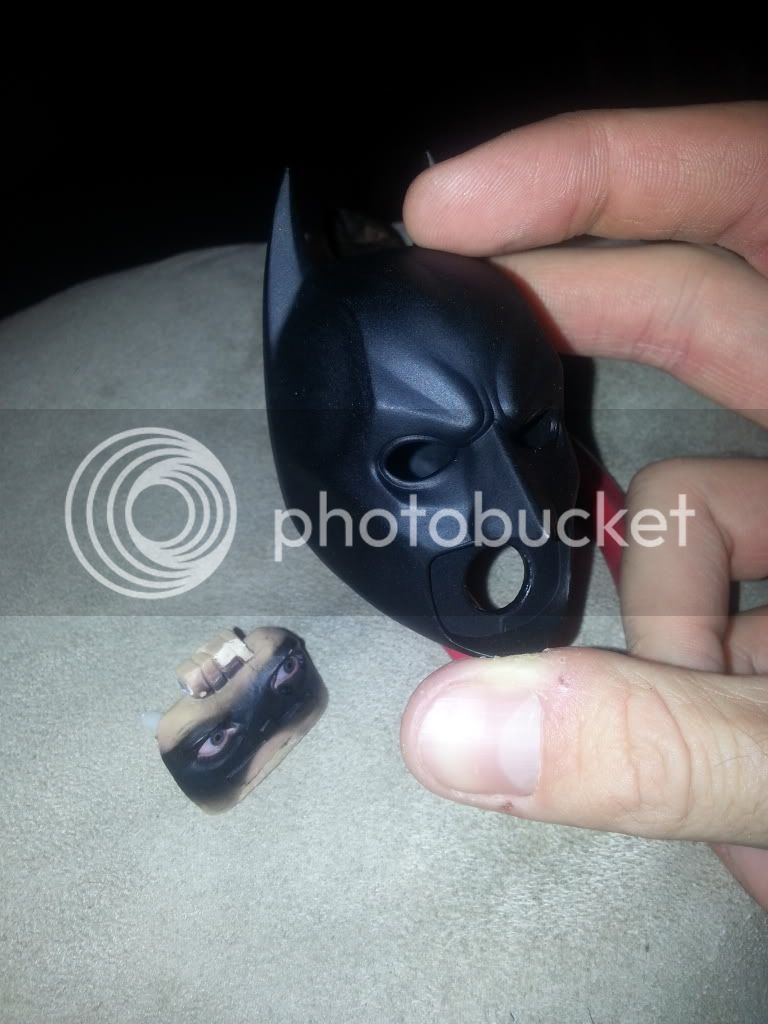
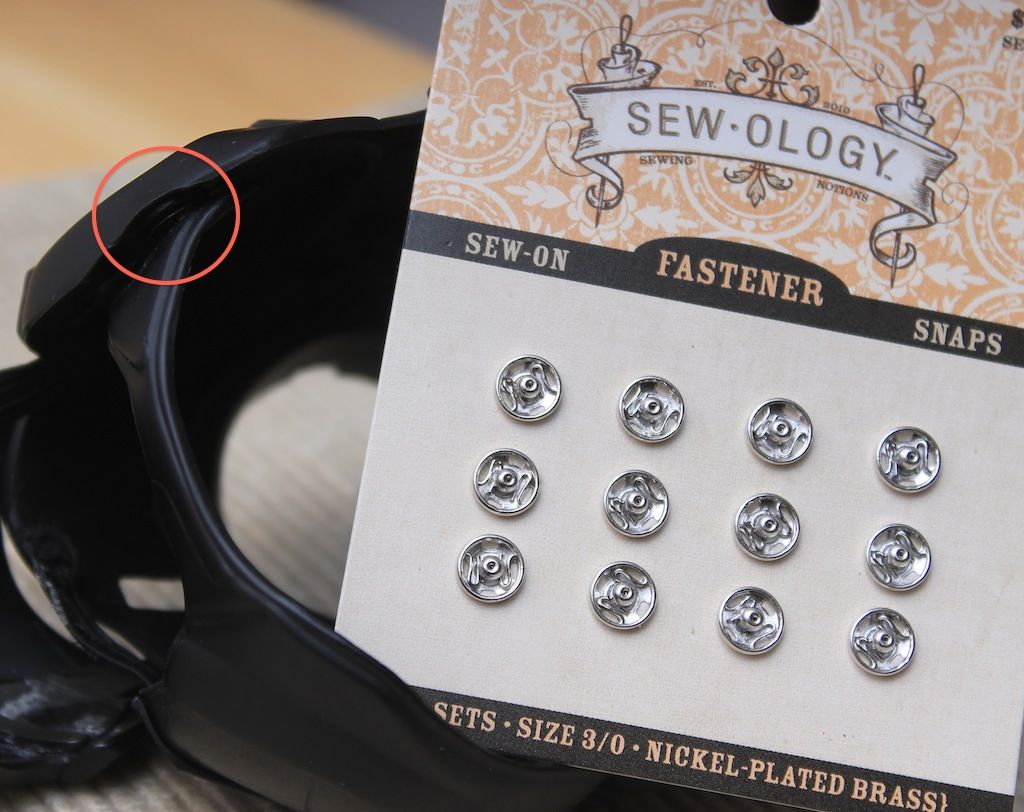
- up next, project empty cowl. Stay tuned...
Patrick-
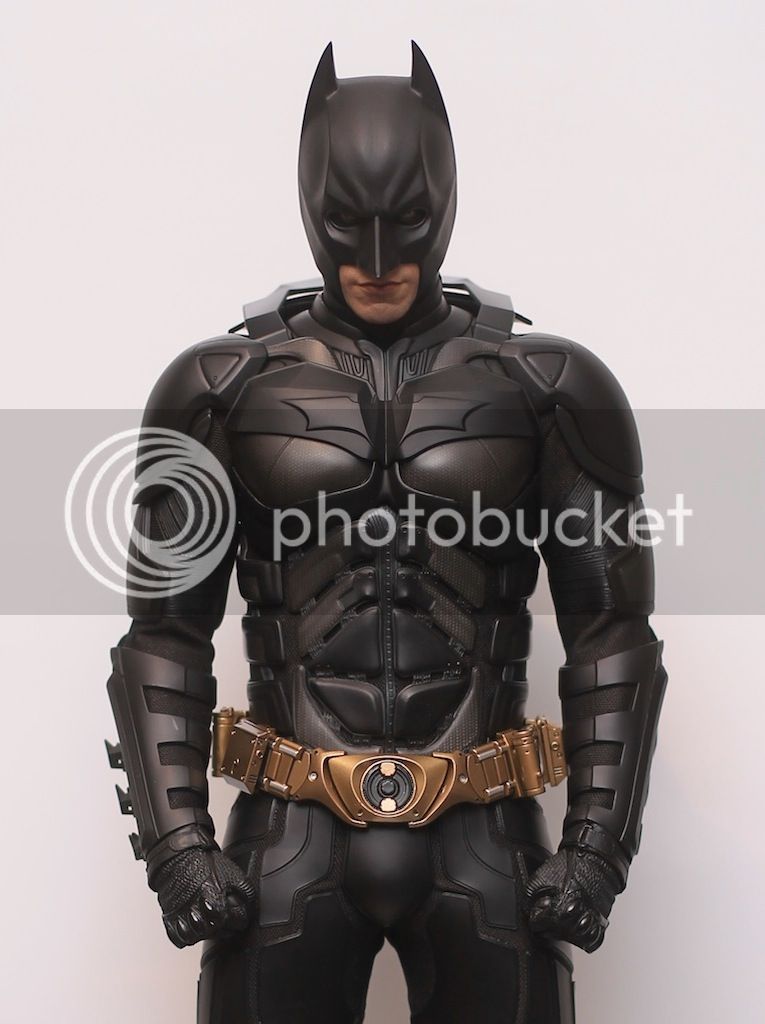
First up, here is my lforigno cape, big props to the big L for super fast shipping, and an awesome cape- MUCH better than the stock hot toys...
Drapes beautifully, has a nice velvety sheen, and I have seen the real deal costume at the Warner Bros. Museum- this is pretty dead nuts on!
Only small gripe is that I wish it had some finish stitching, at least around the neck line for added protection, but I am a happy camper. I know how we all like stitching things...
I wrapped electrical tape around the 'clip area, and stuffed it in. (That's what she said)
- up next, project empty cowl. Stay tuned...
Patrick-