Hot Toys Darth Vader : tips , tricks and any other mods

Collector Freaks Forum

Help Support Collector Freaks Forum:

This site may earn a commission from merchant affiliate links, including eBay, Amazon, and others.
That looks fantastic zackg:clap...i have one of those titanium domes on the way to upgrade my own custom..

Thanks! Speaking of which, which dome are you using now? SS deluxe? I was looking at one of your older posts with the kaiyodo mask and kaiyodo gloves (freaking genius) and the dome looked great. I believe it was a post from early 2015?
0d5a113a6cd4b3d4abb442494db491c6.png


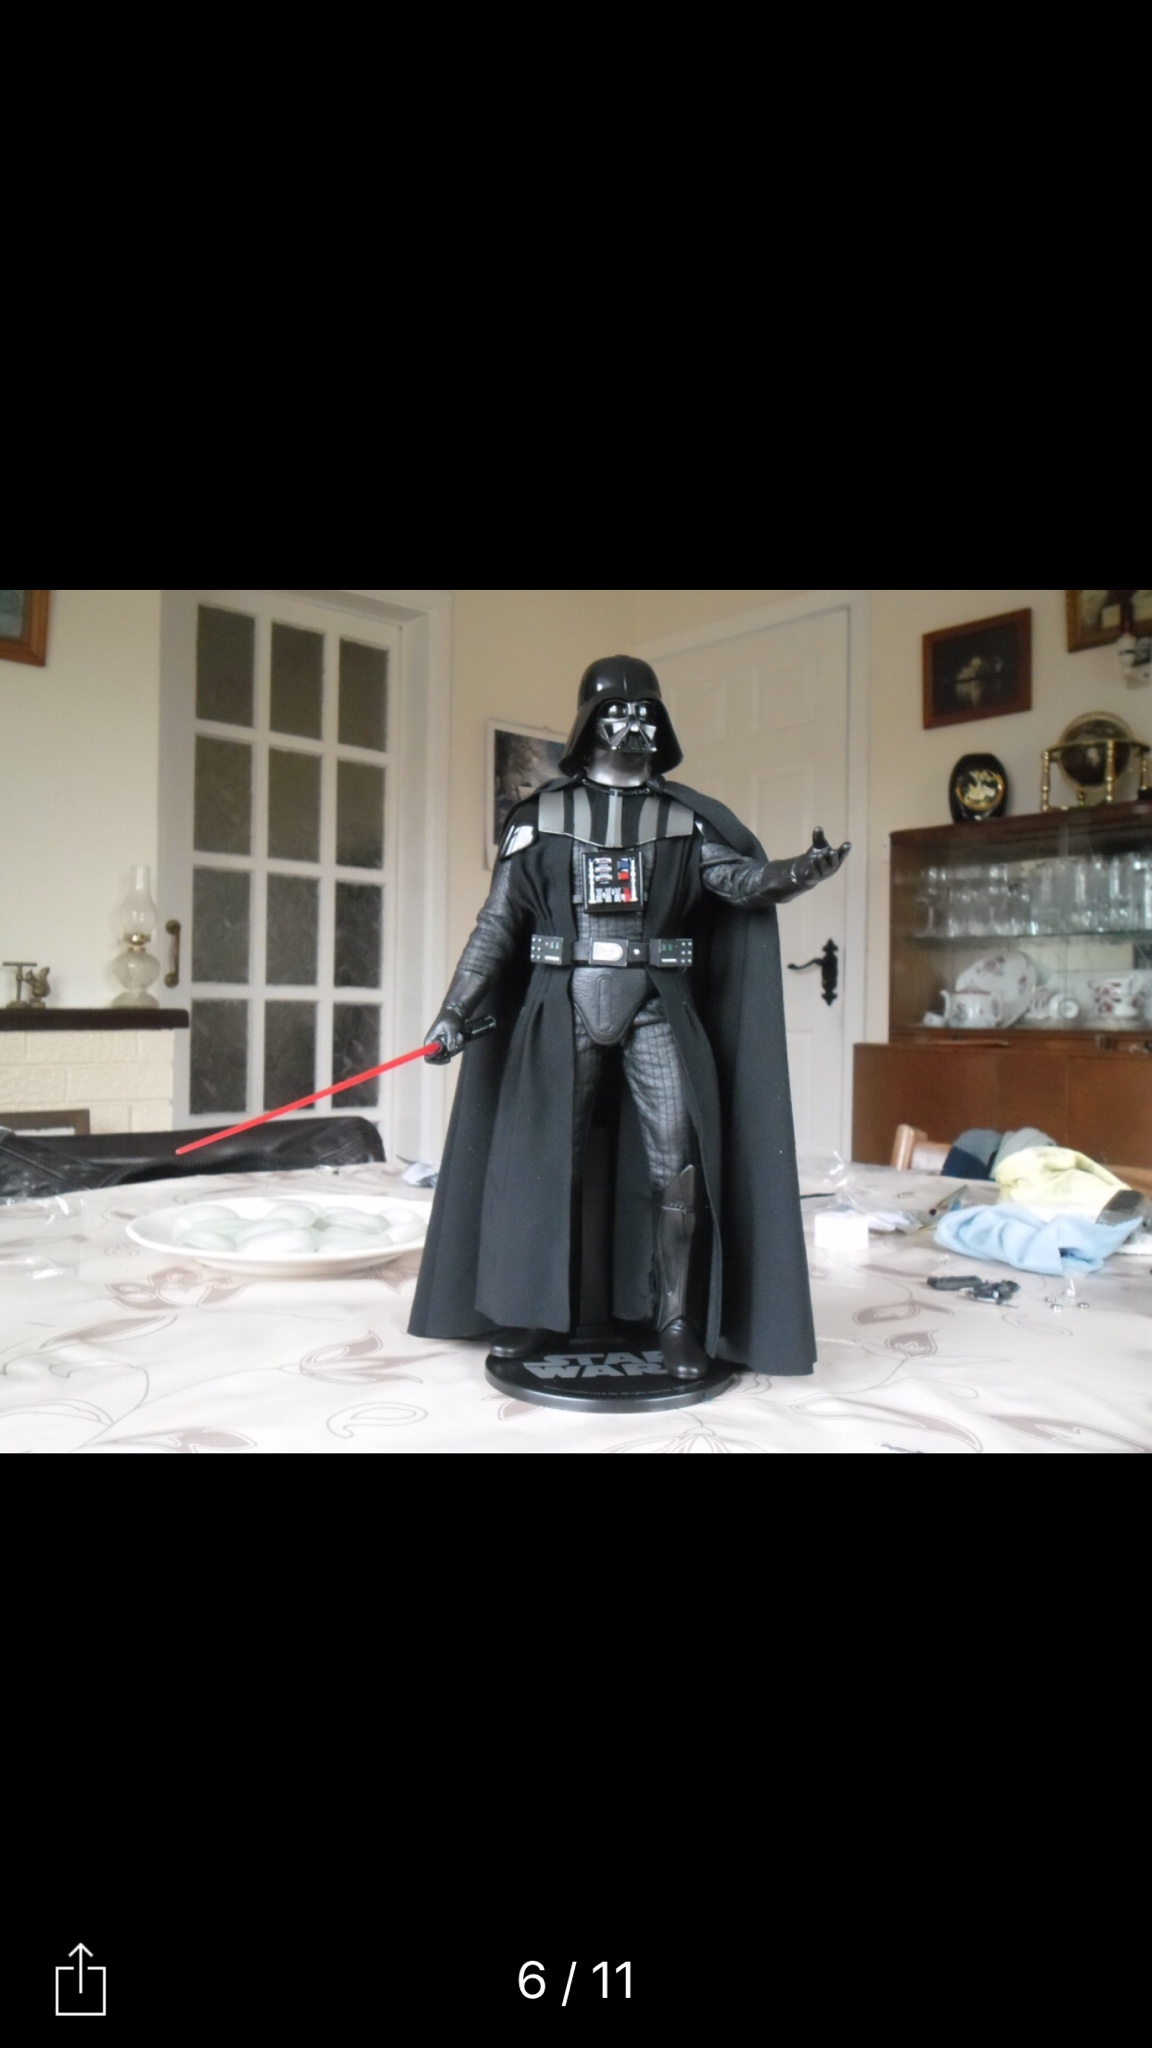
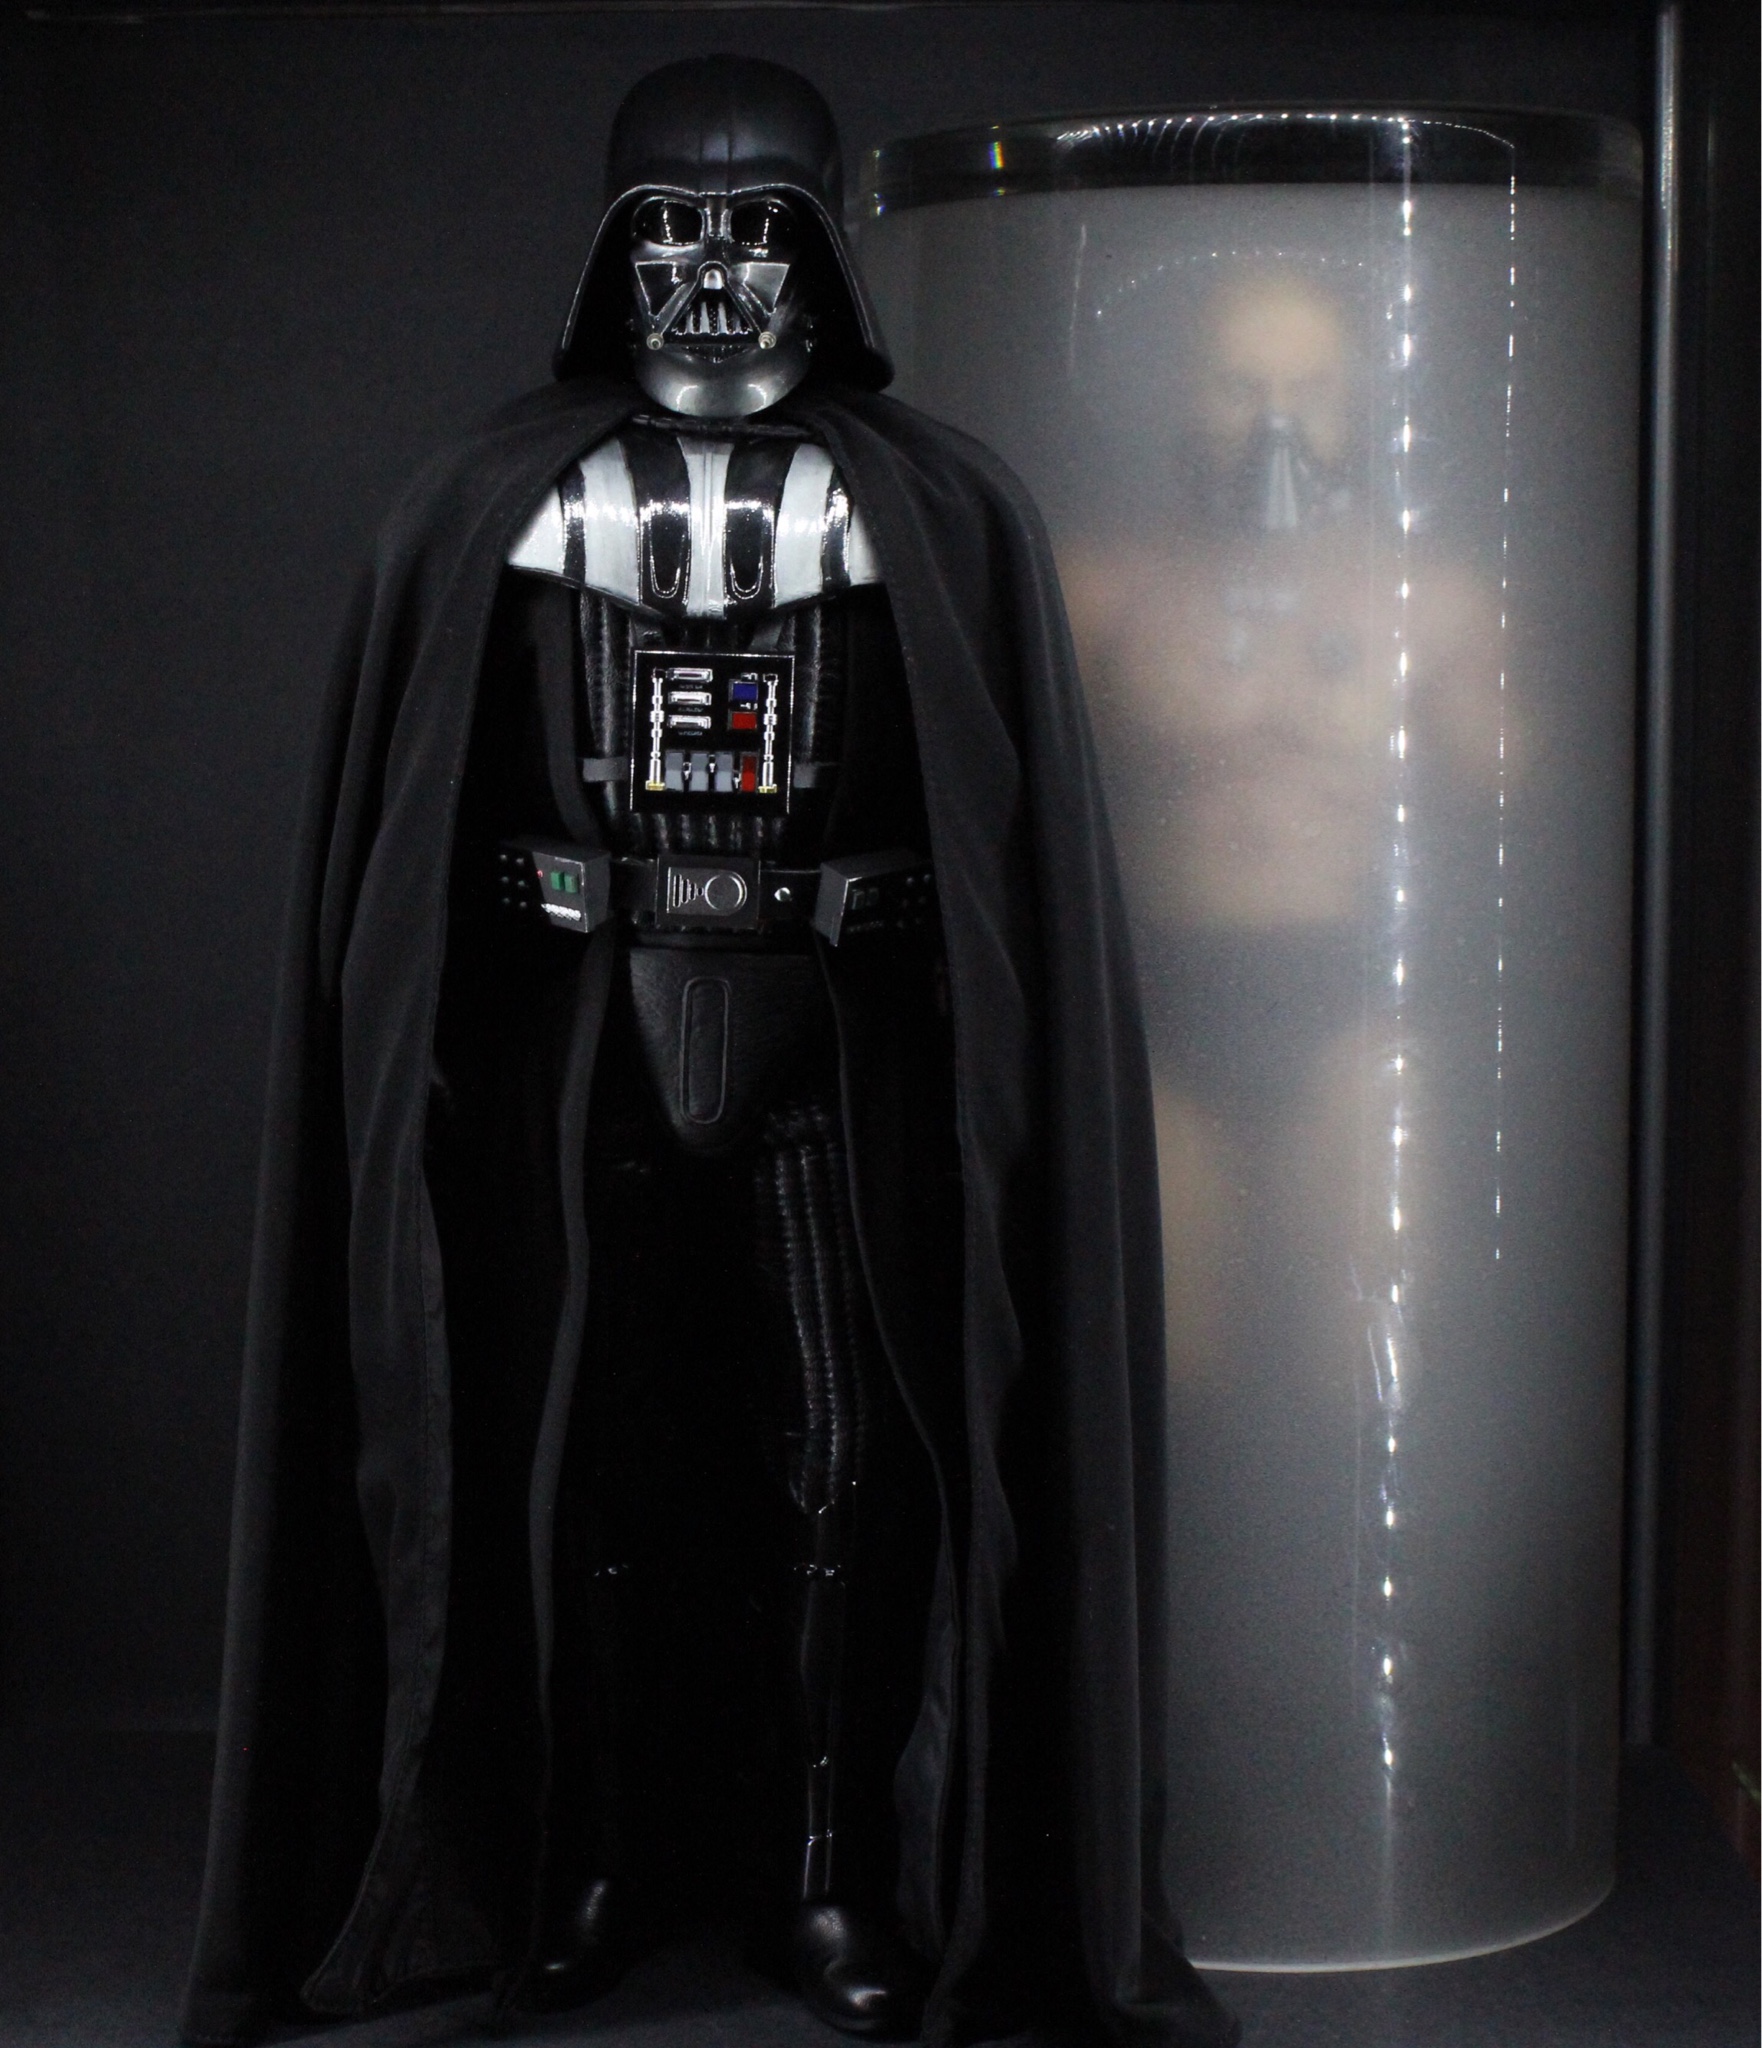
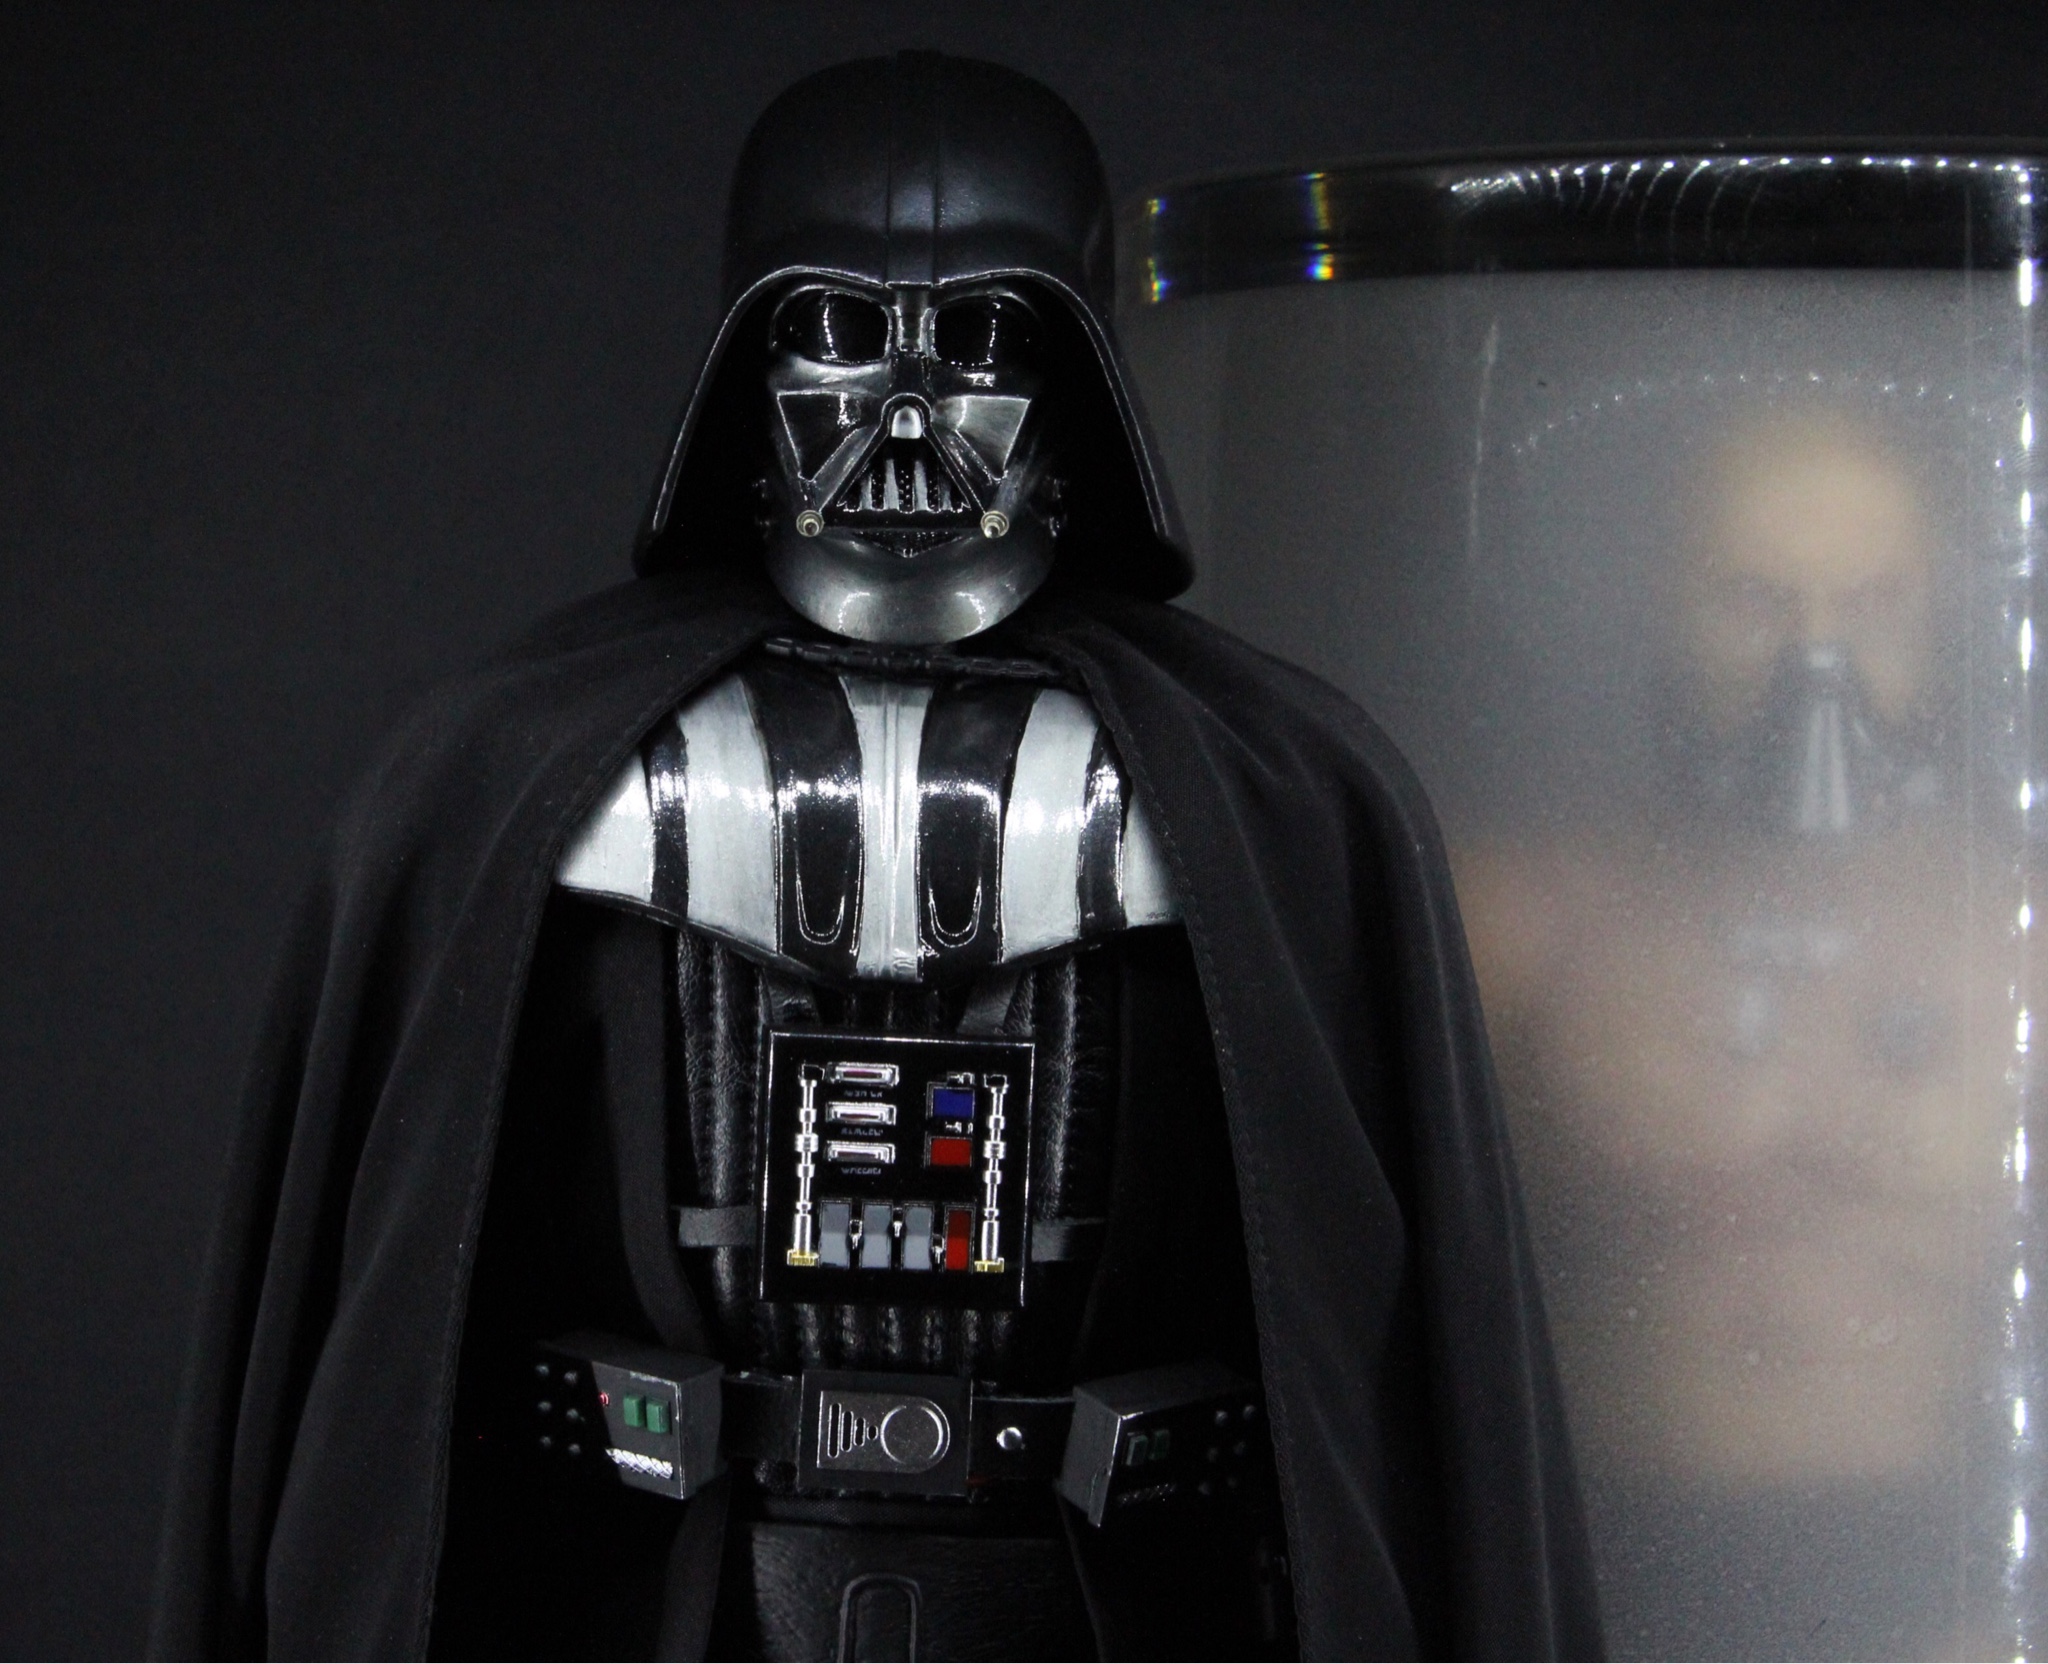
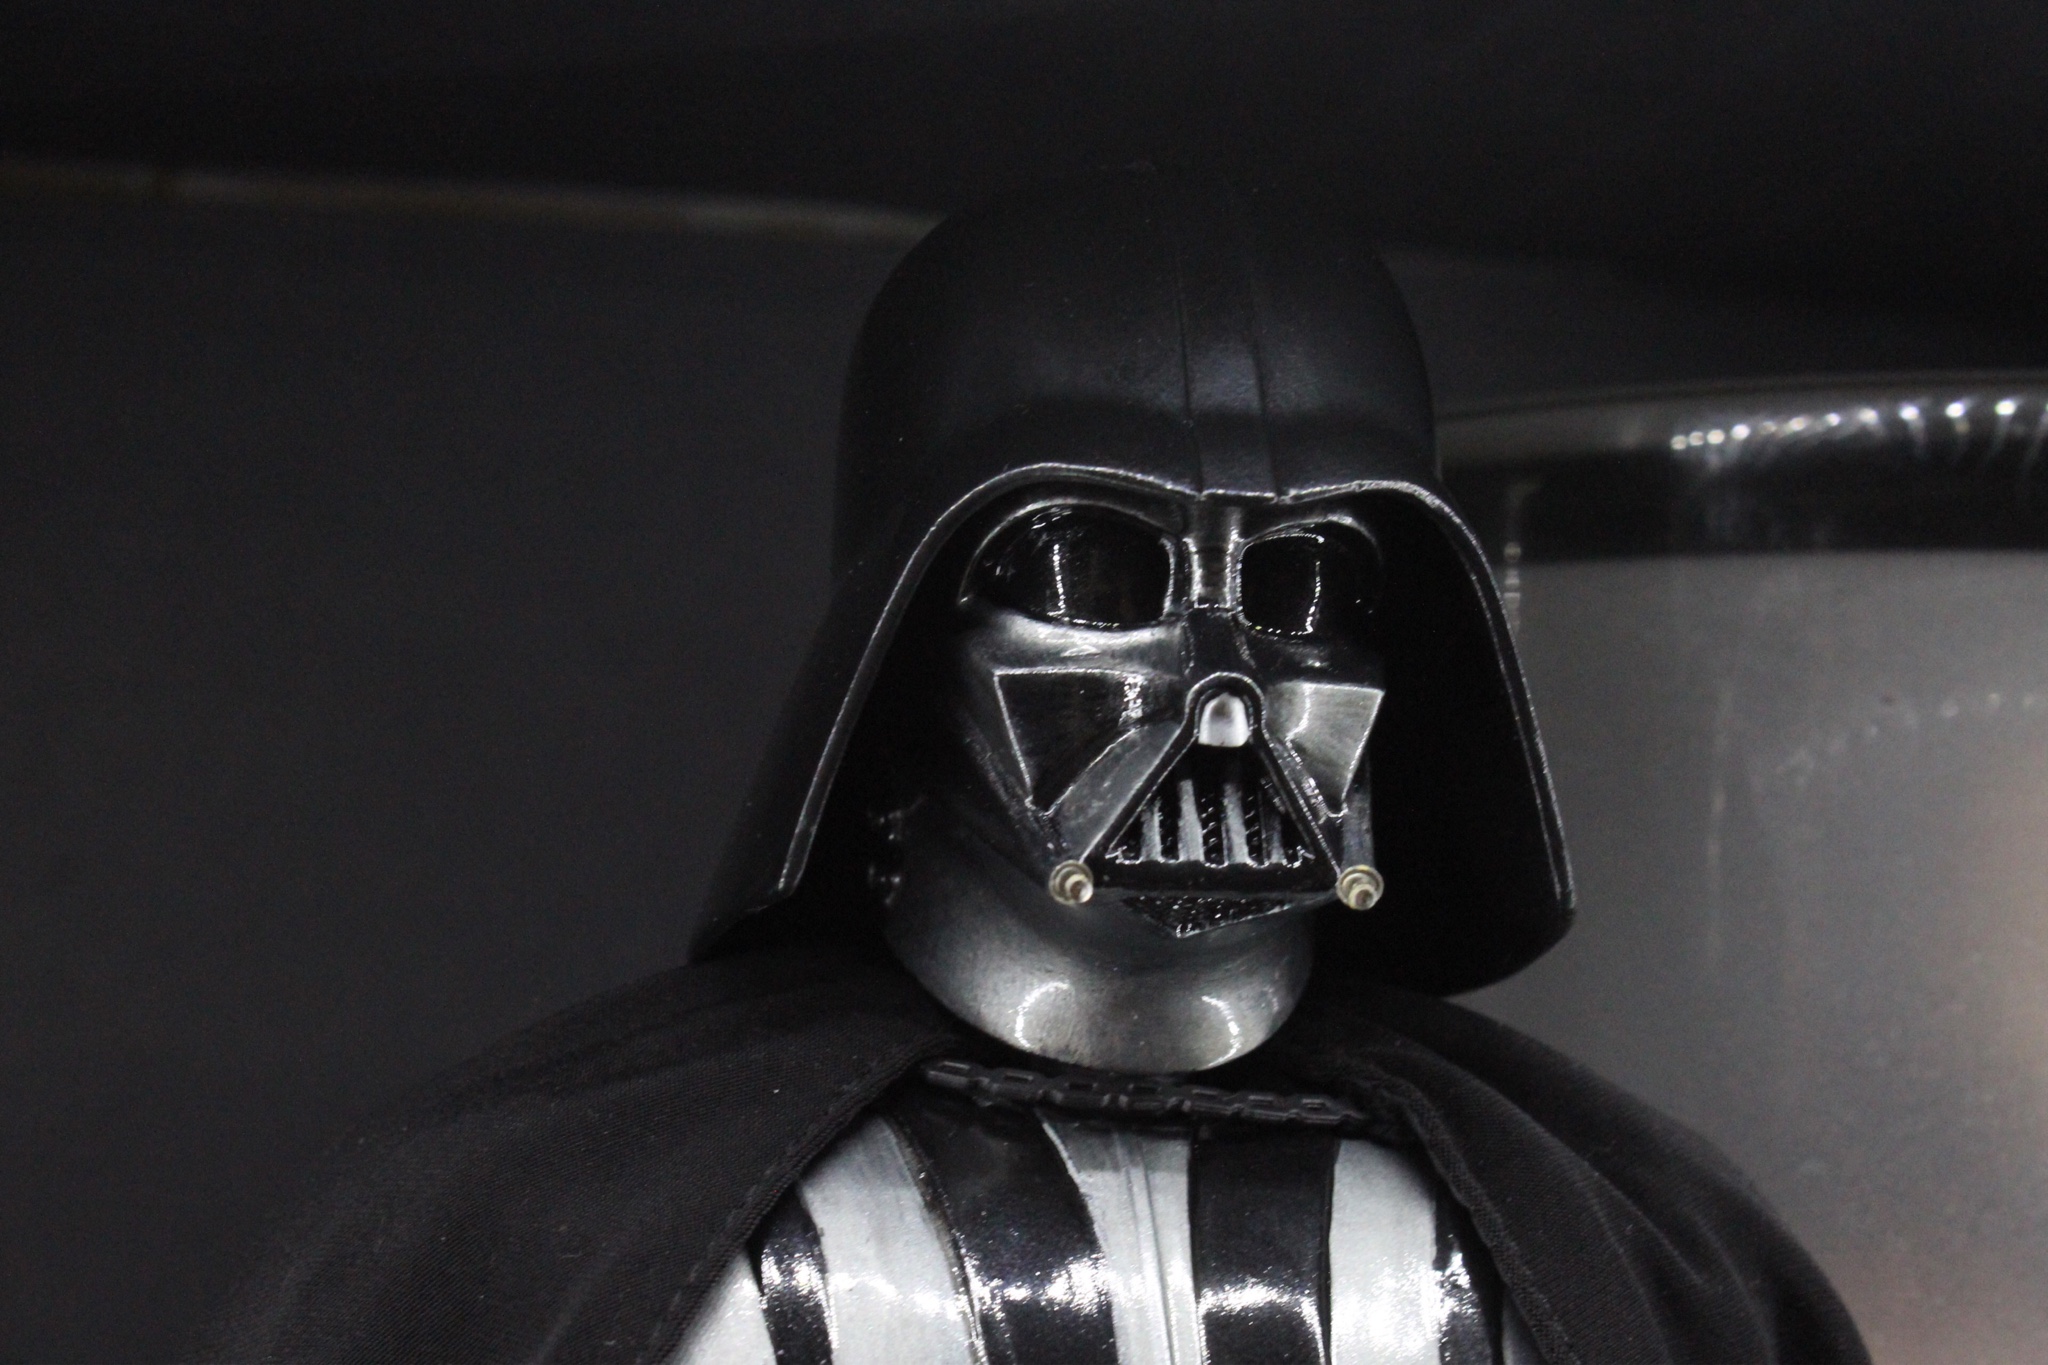
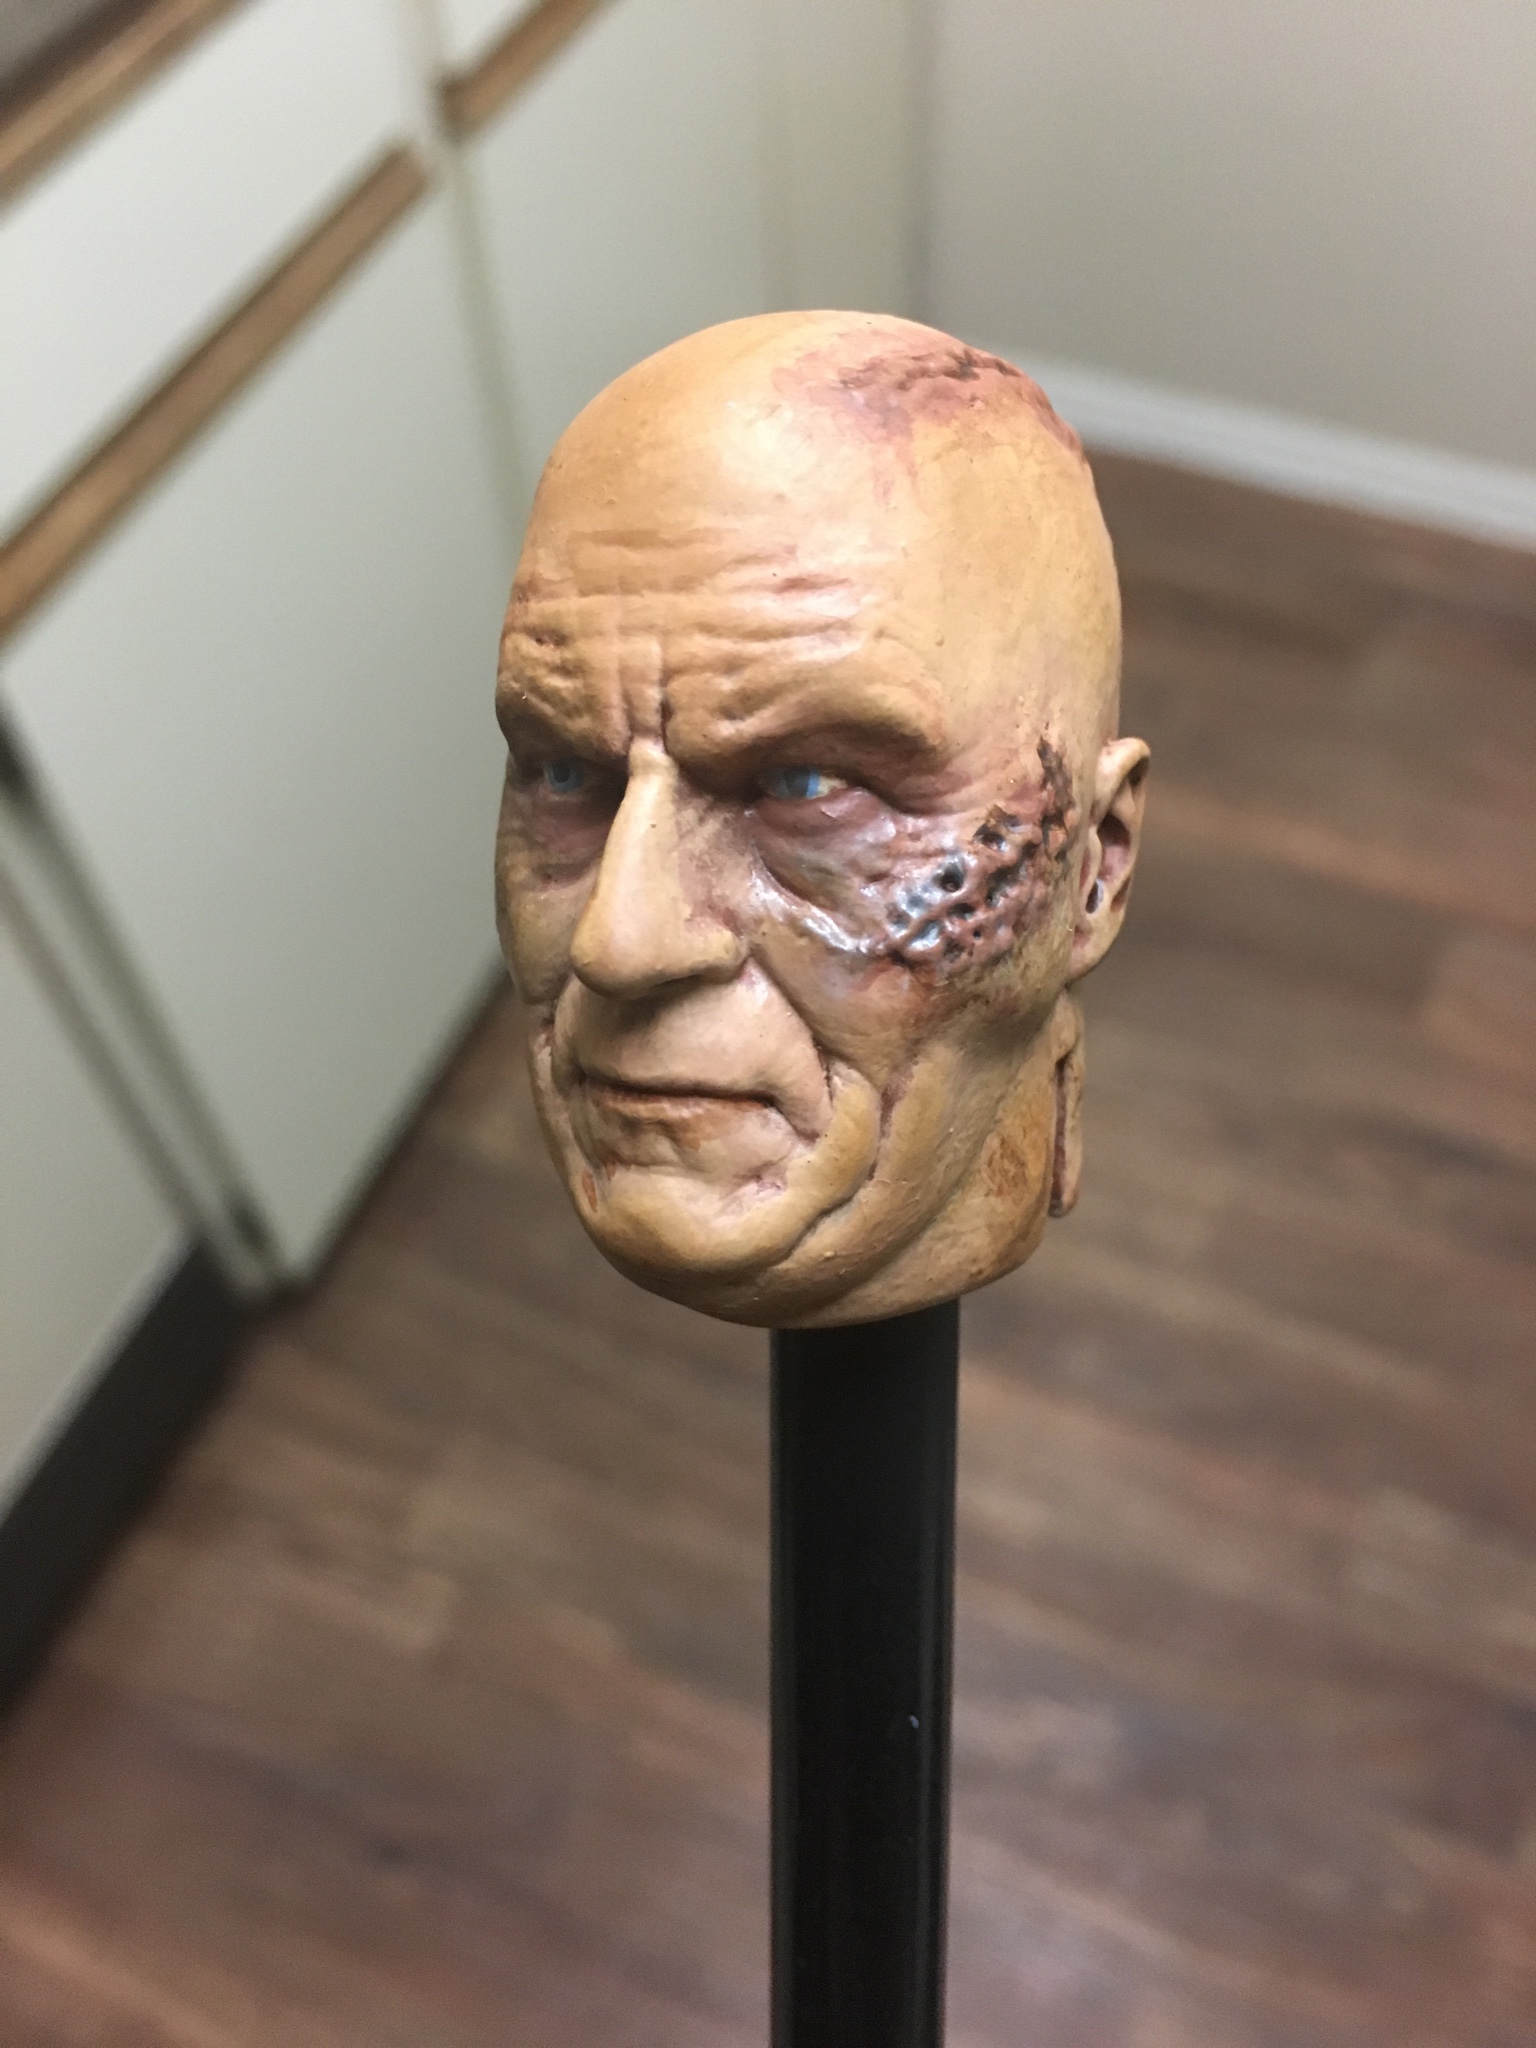
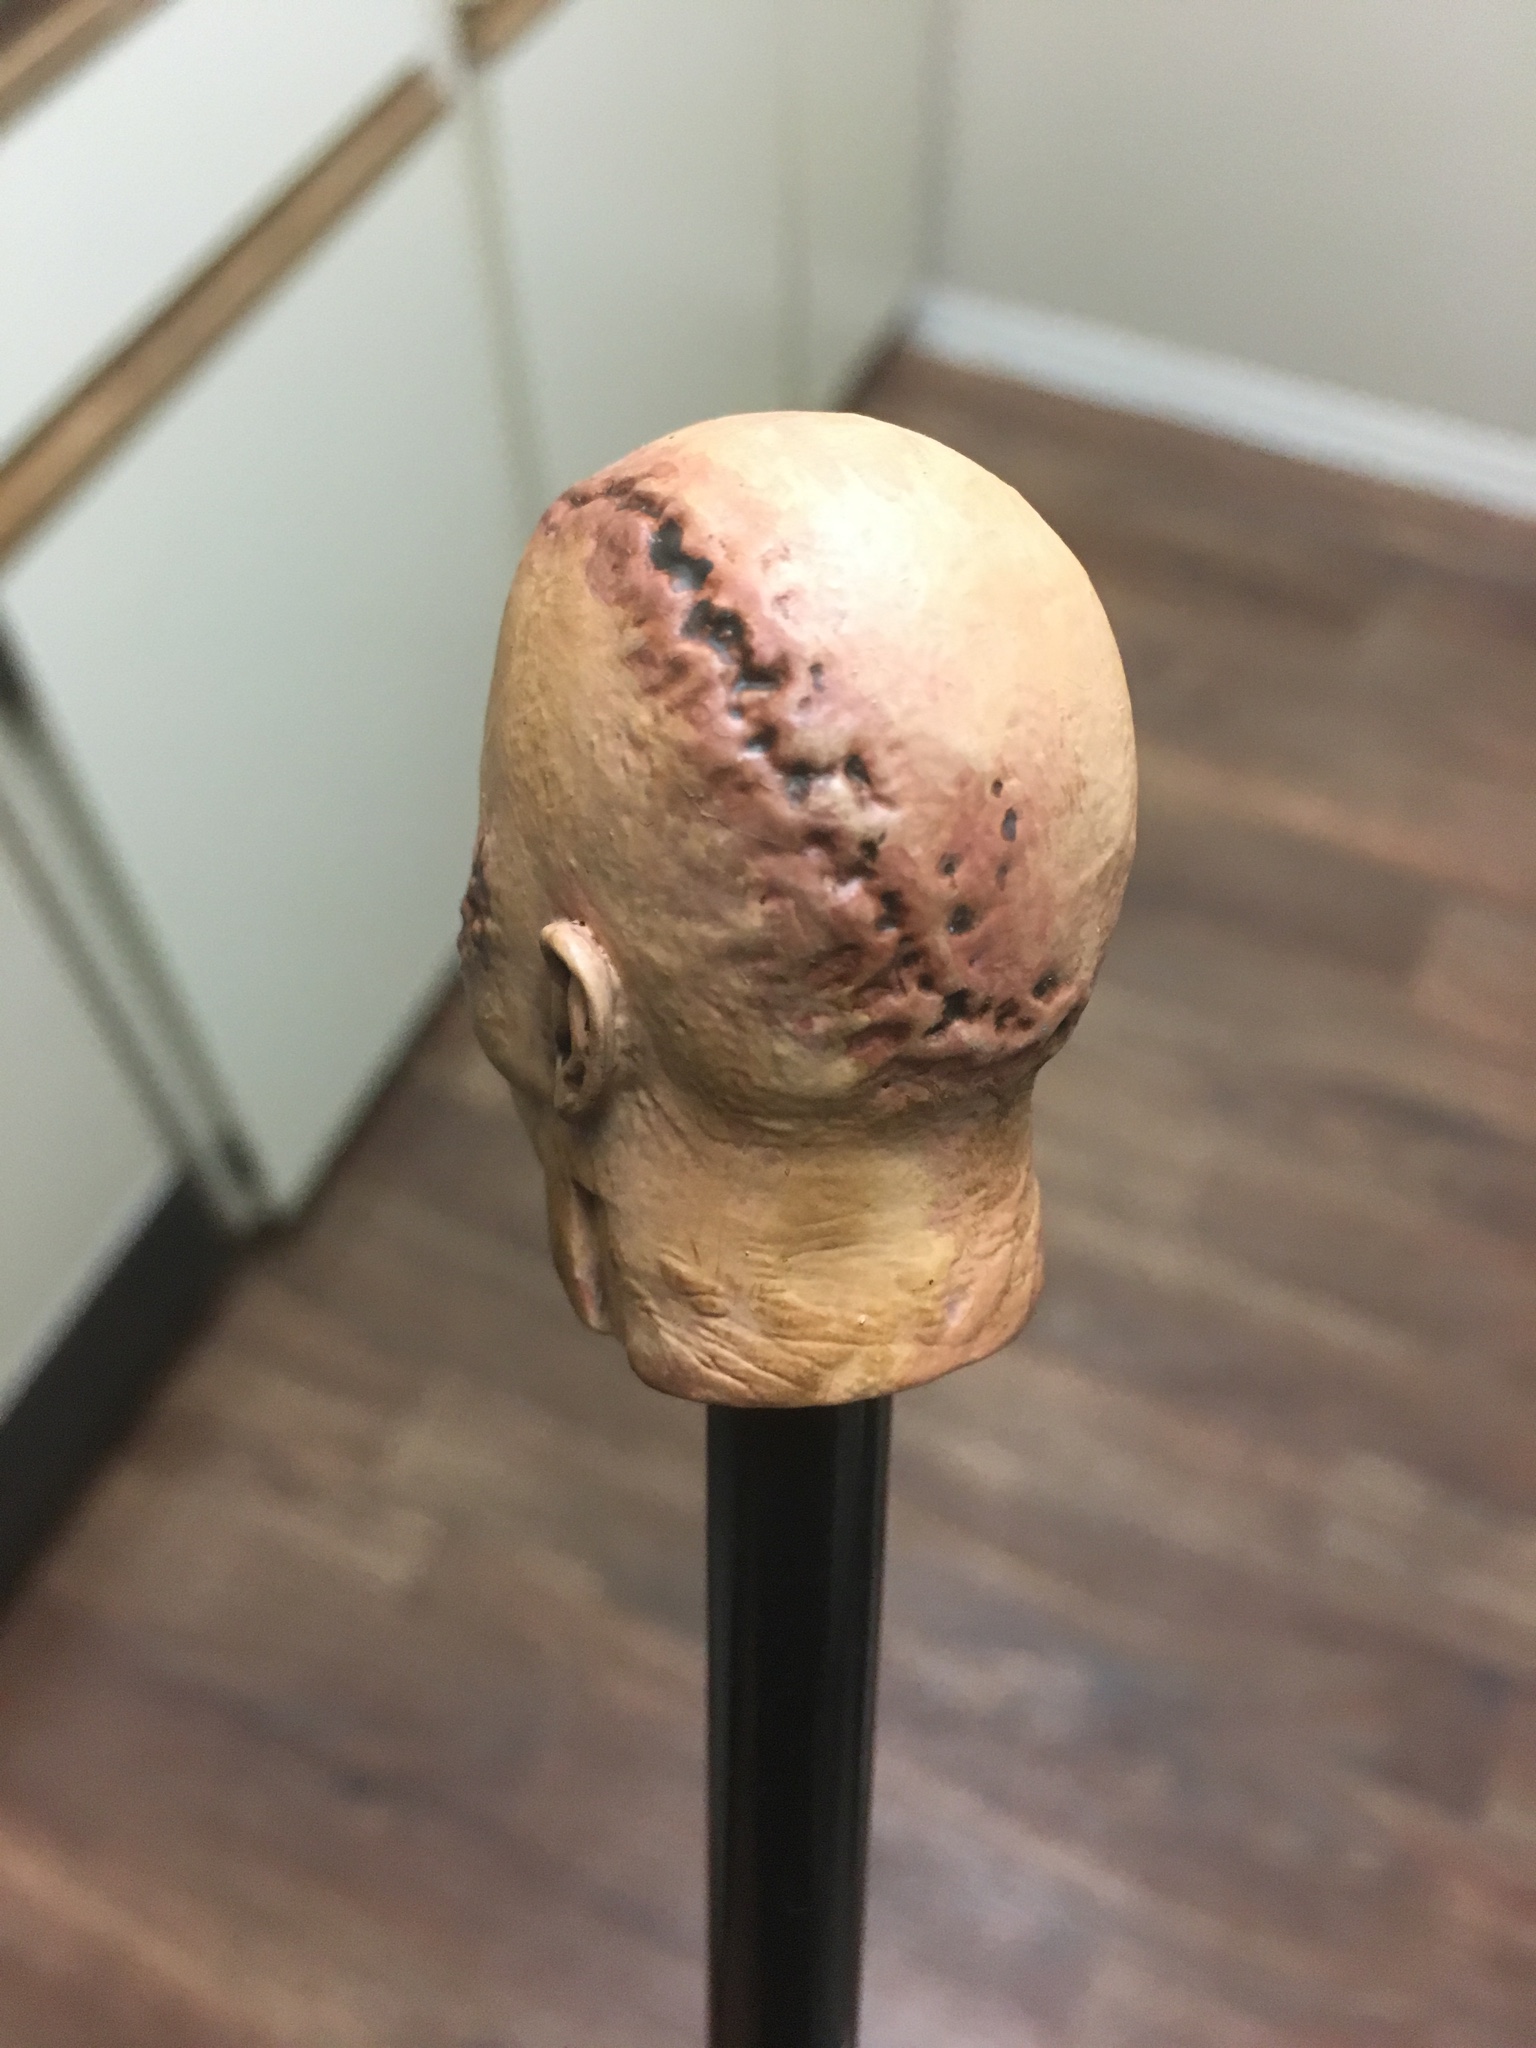
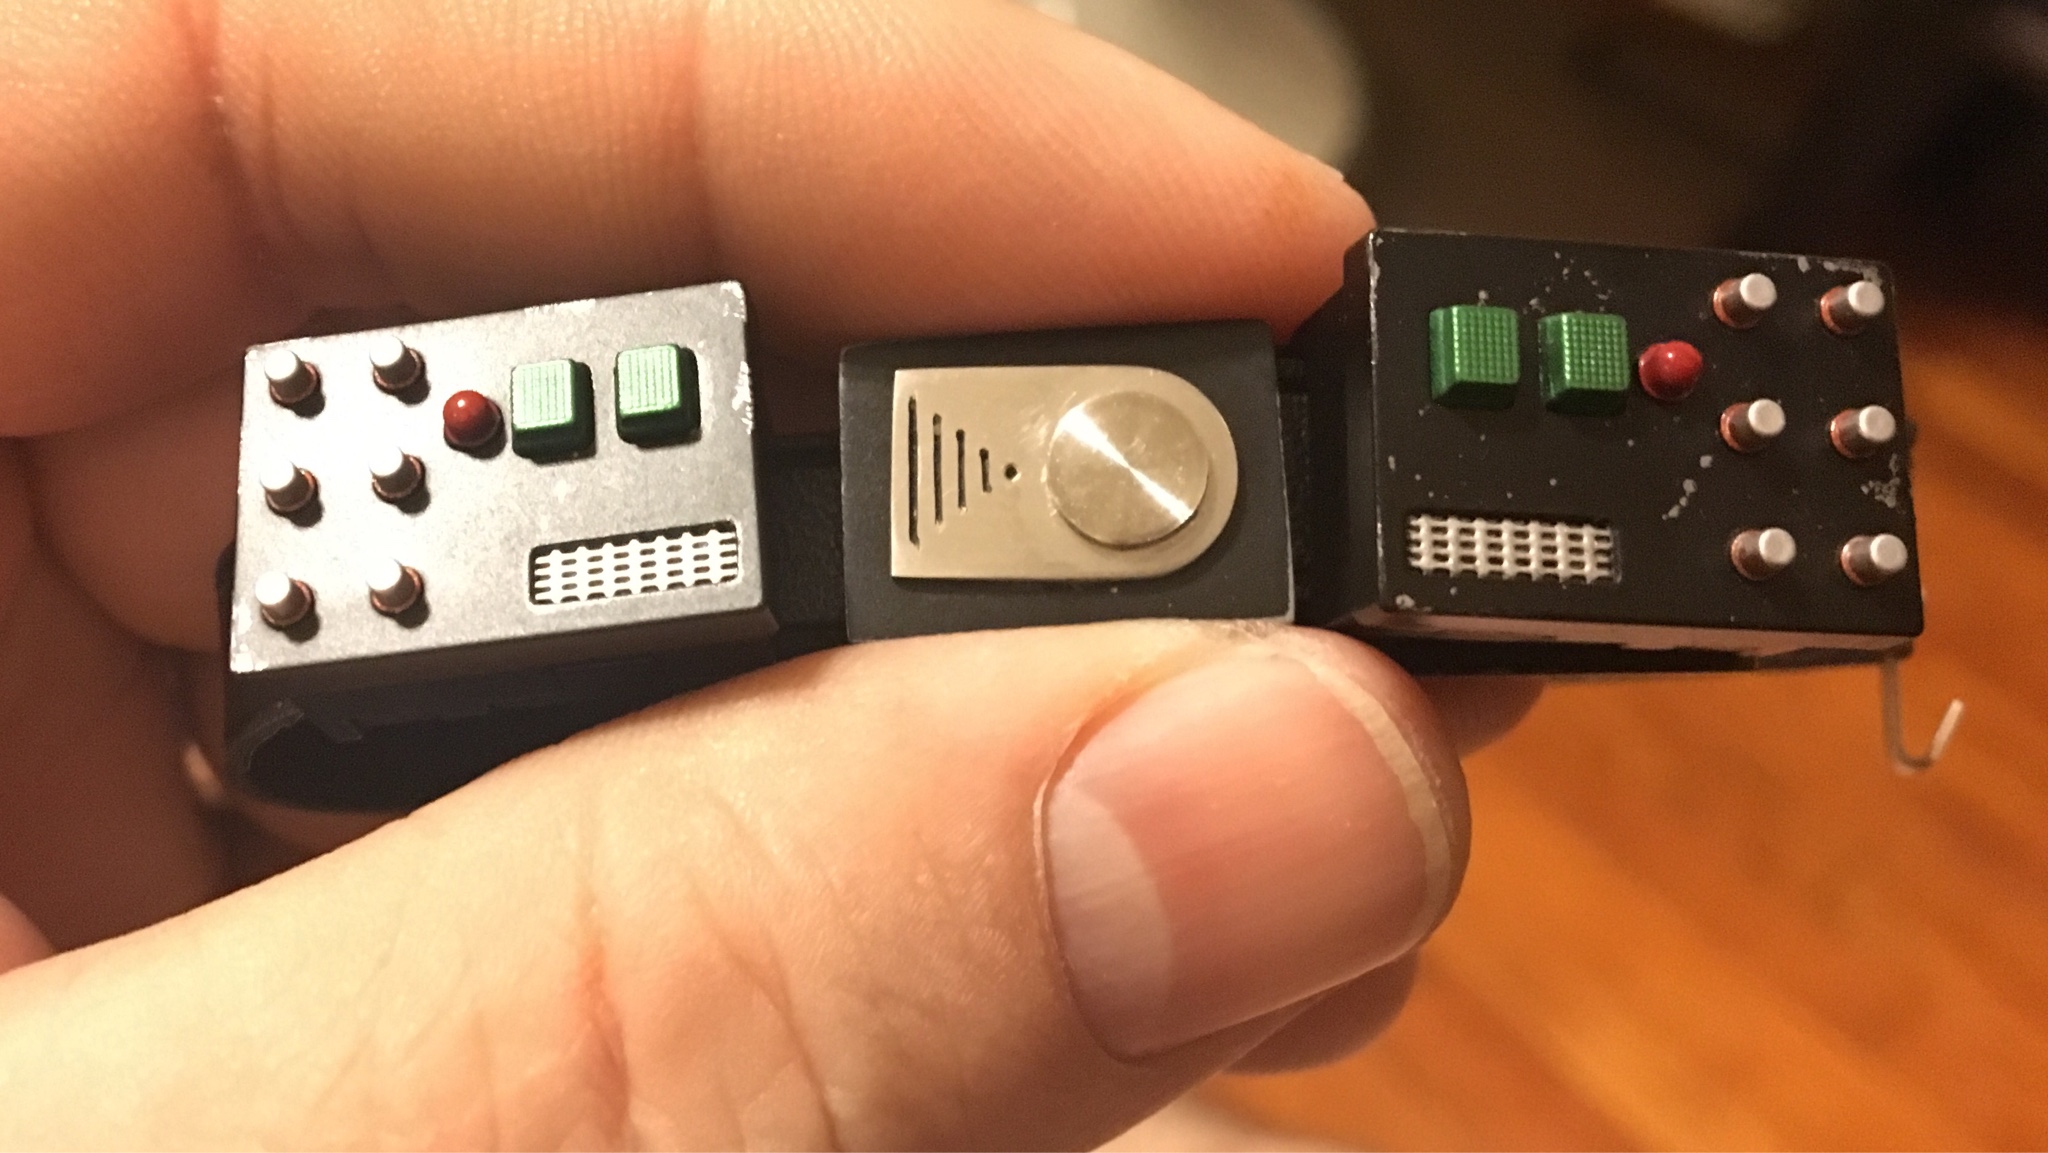
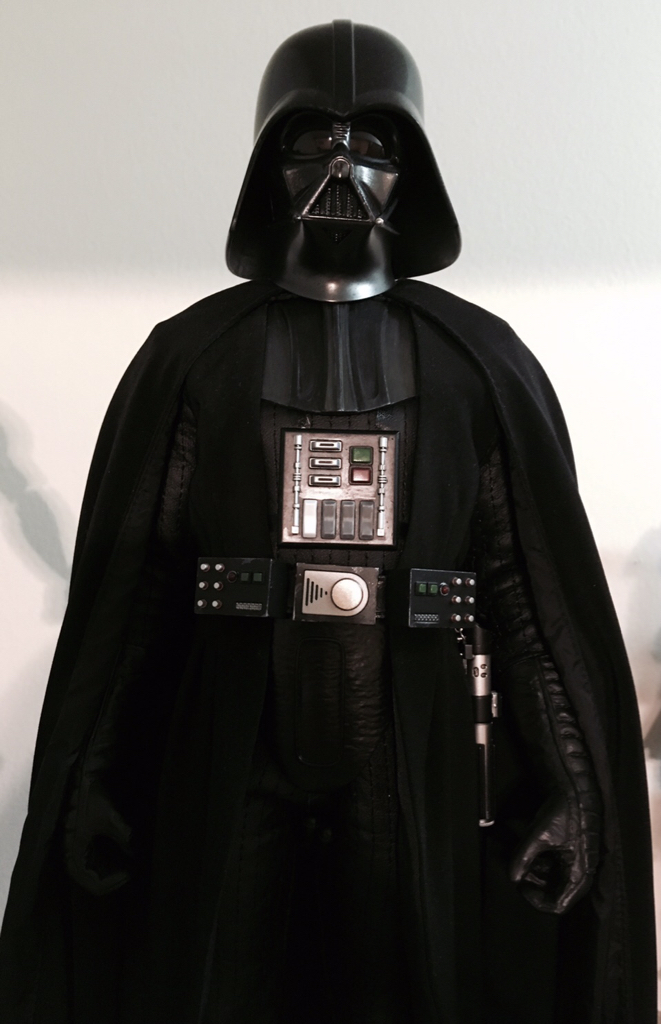
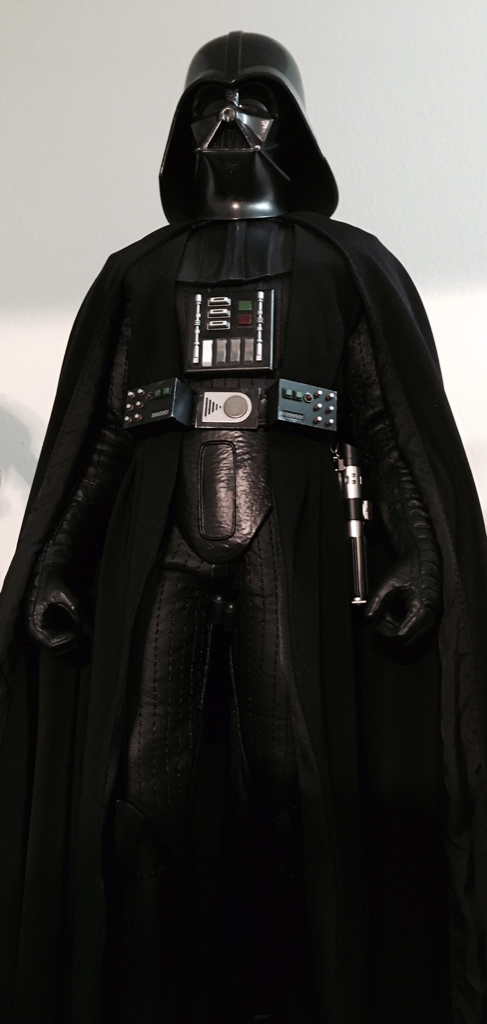
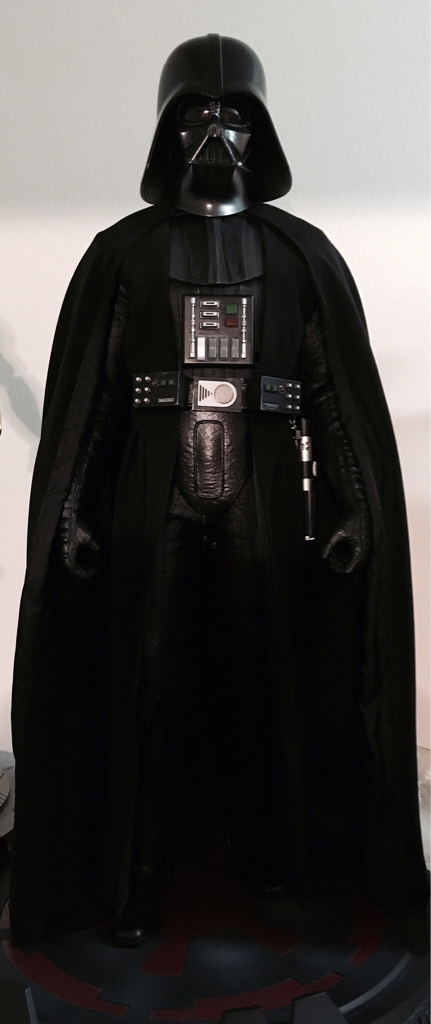
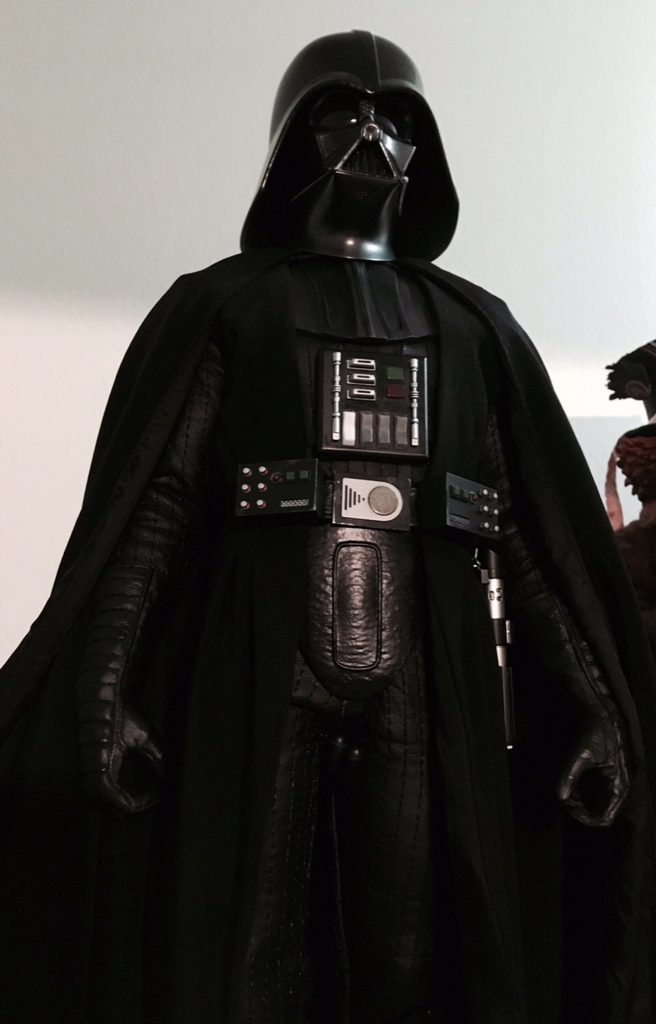
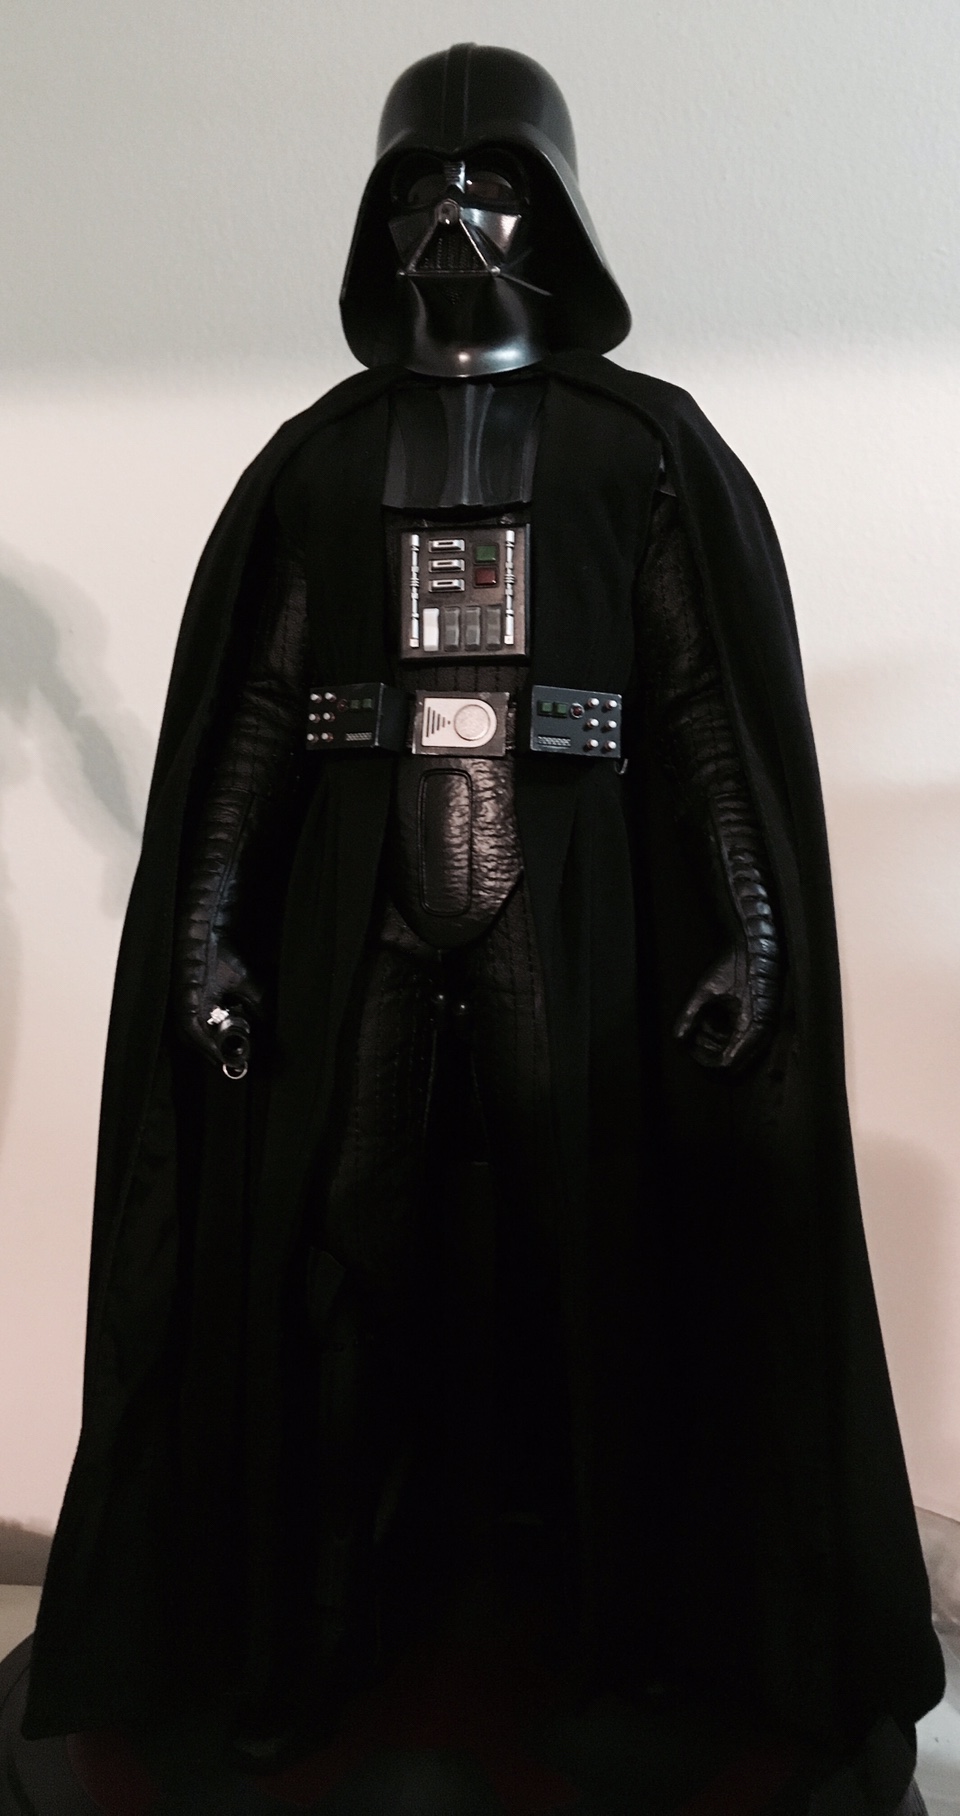
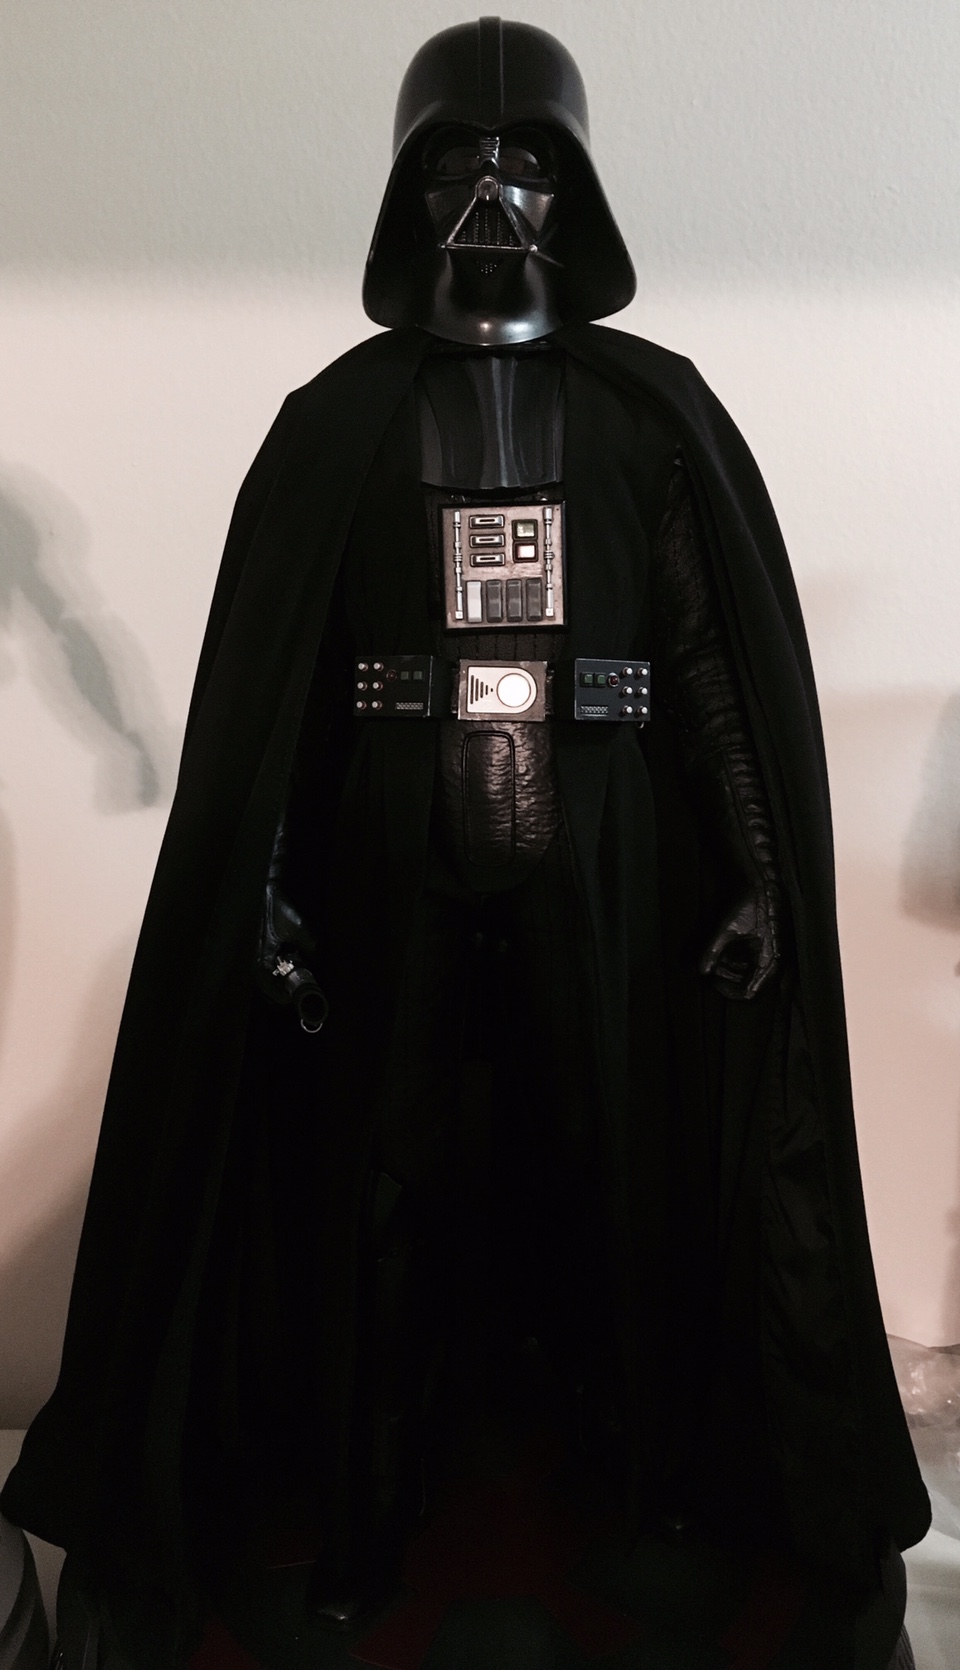
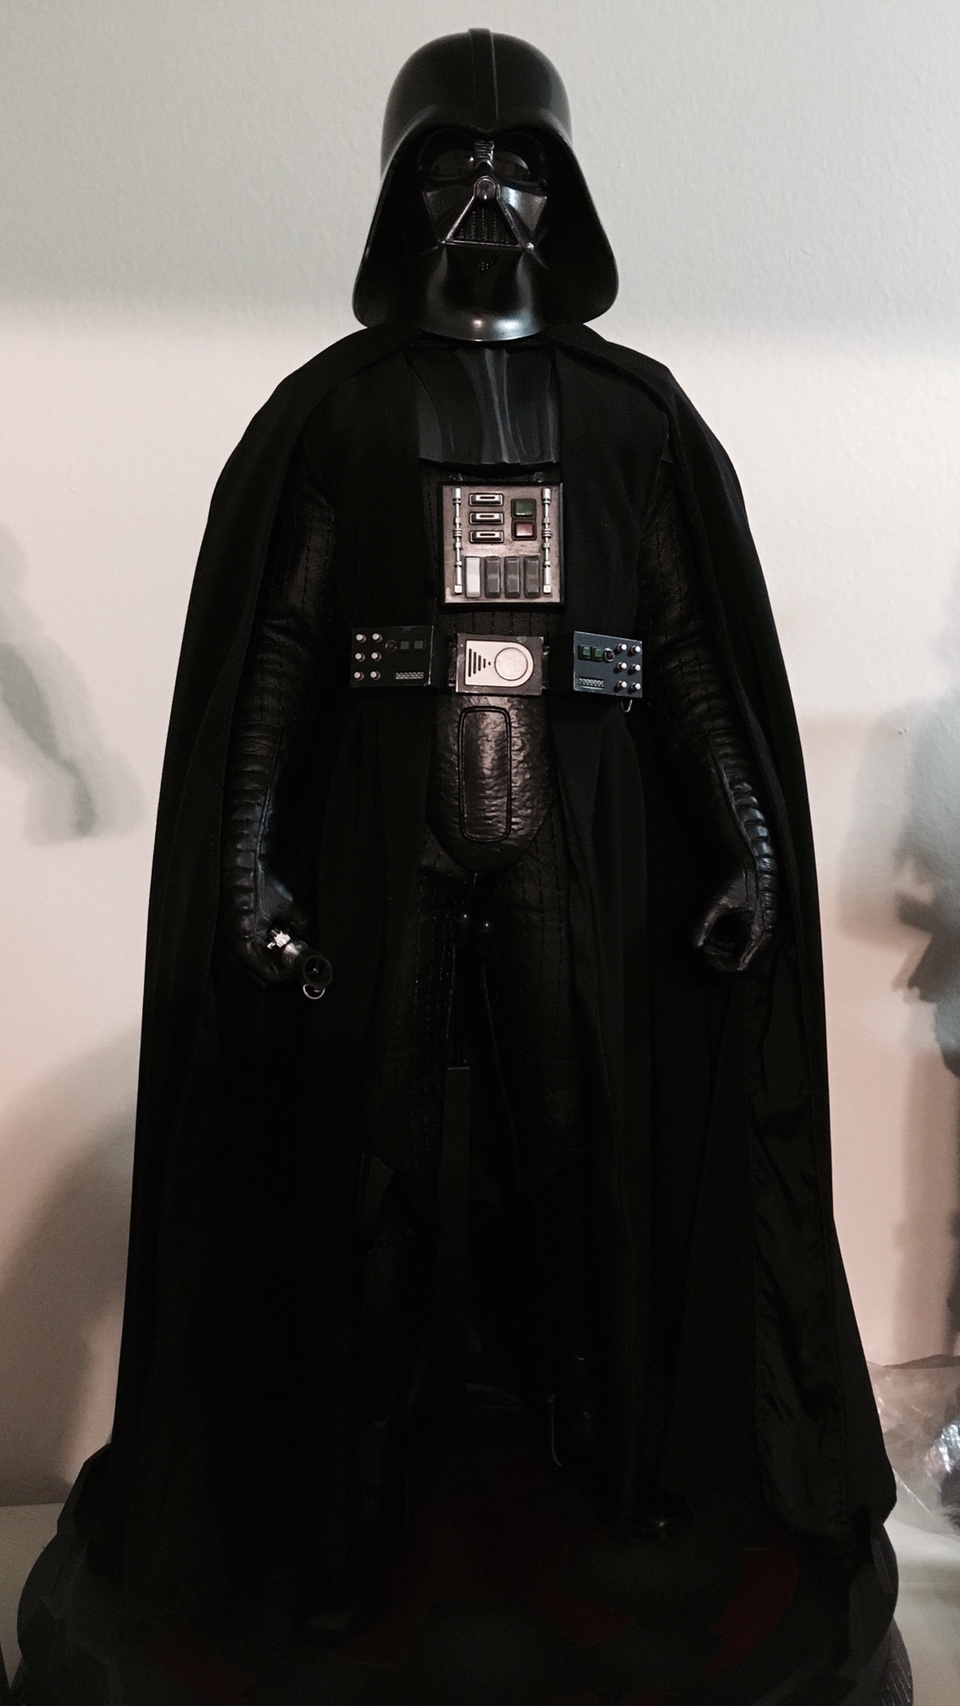
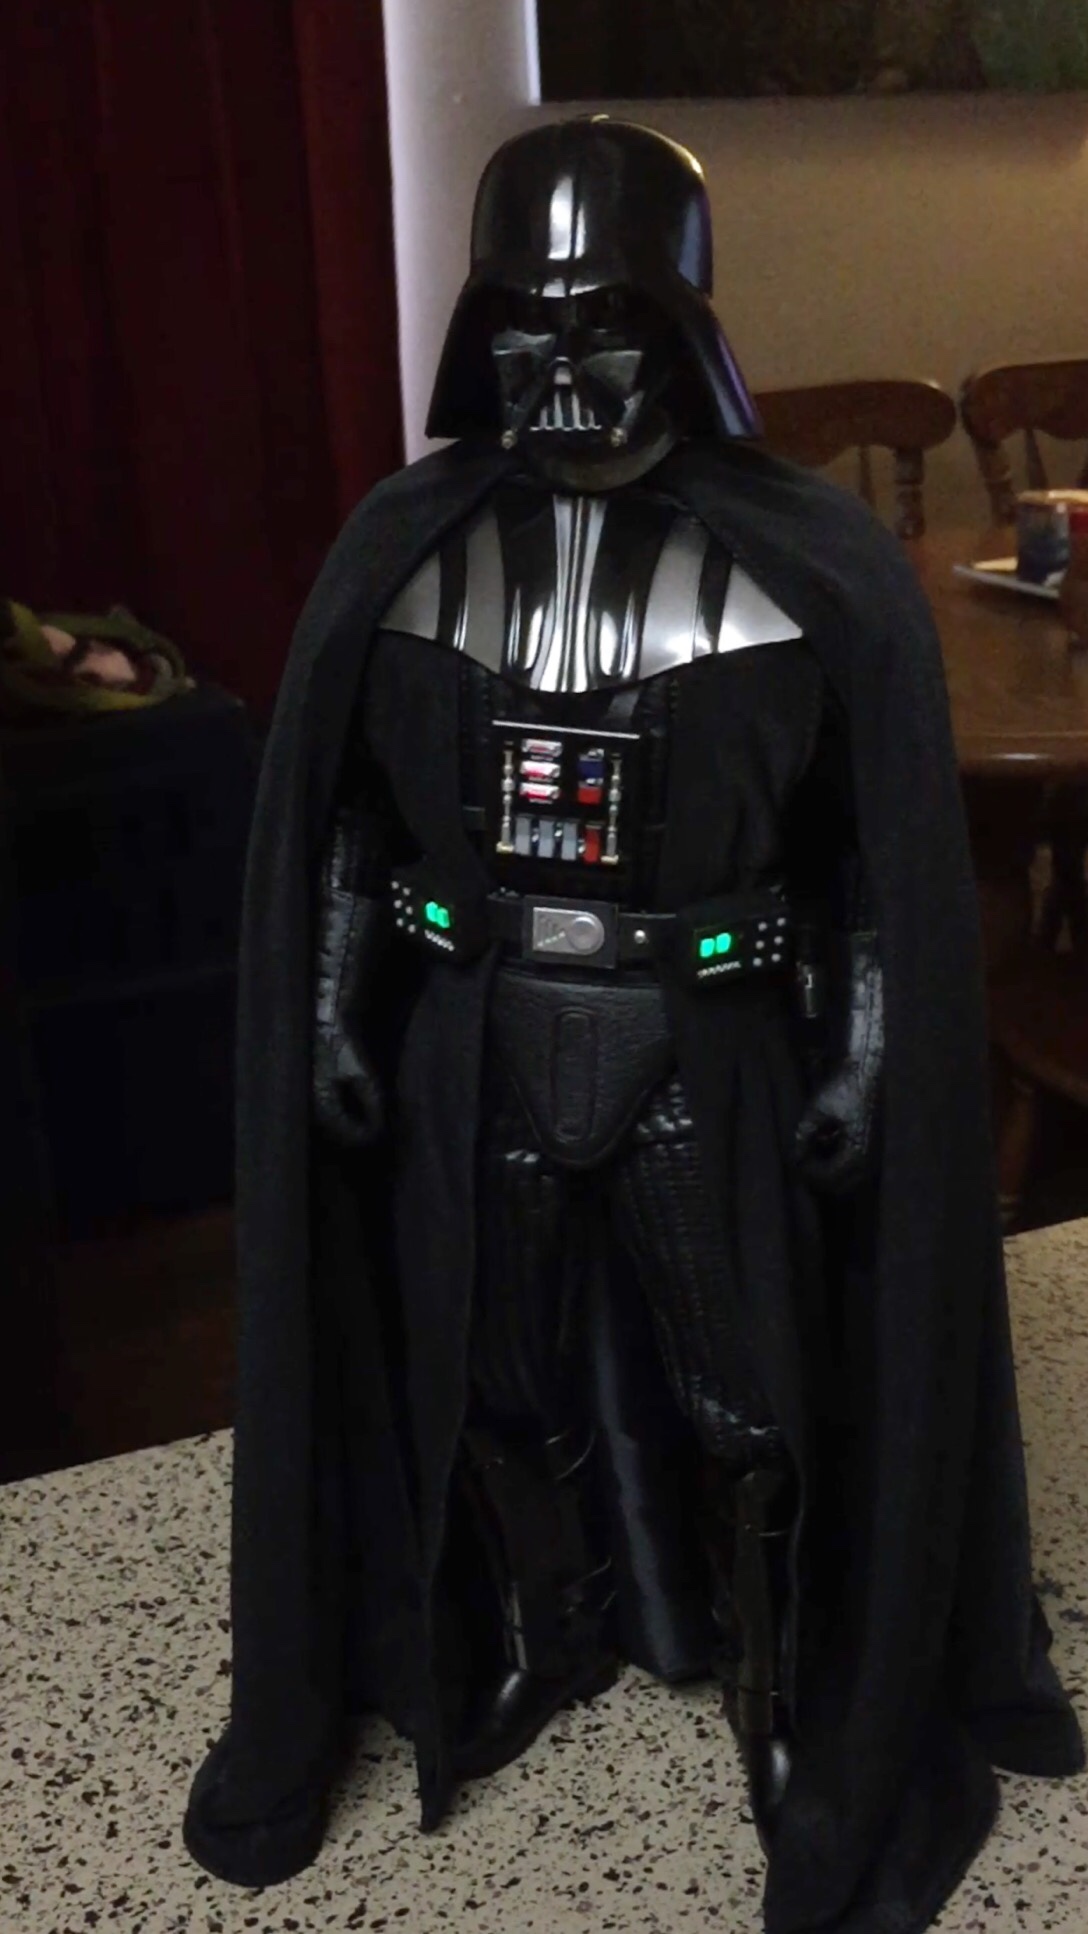
Here's a few shots of mine out of the cabinet
21c55476eb0c7bde2278617037c3553e.jpg


582a557c820736374579a17f85408589.jpg


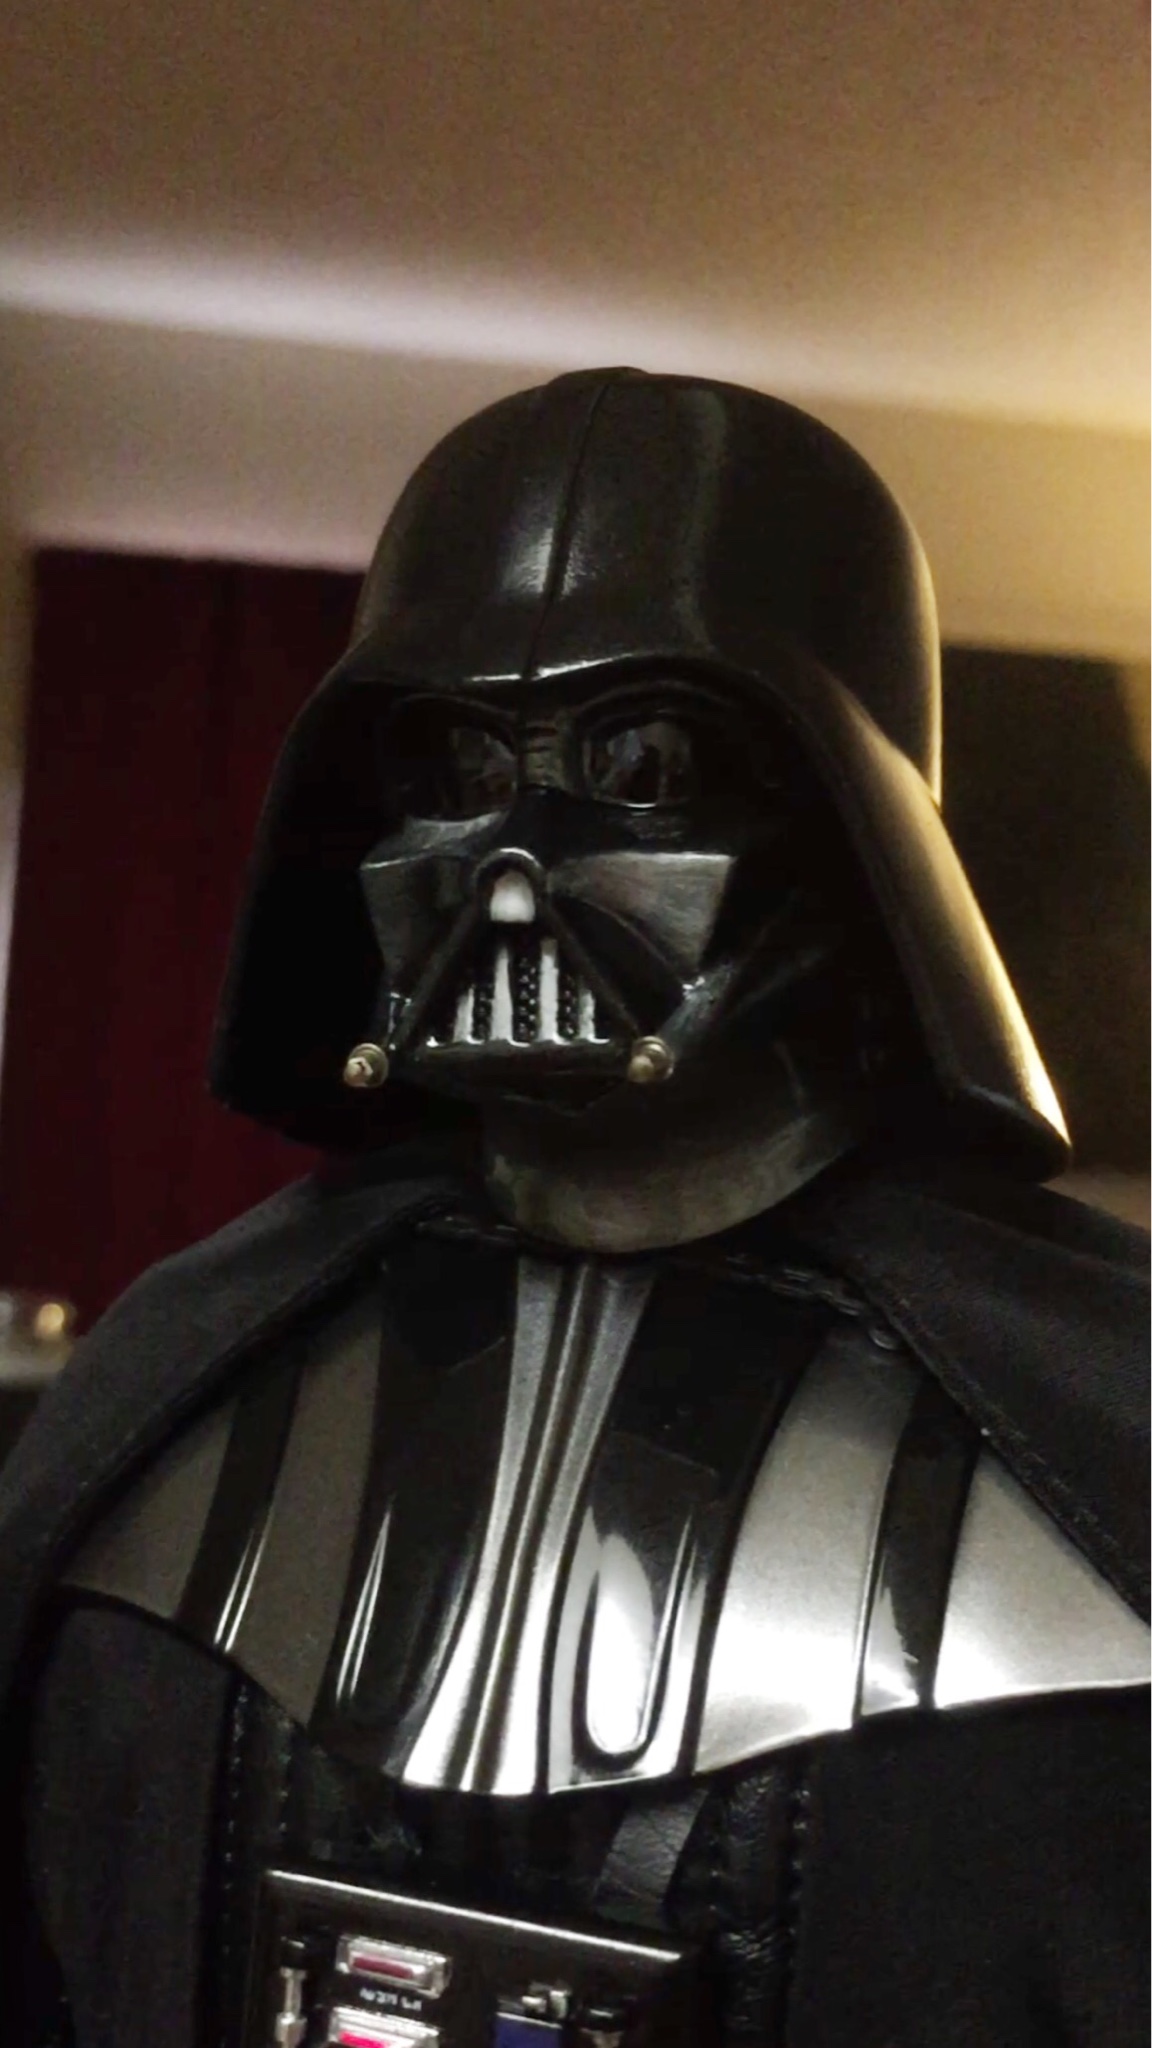
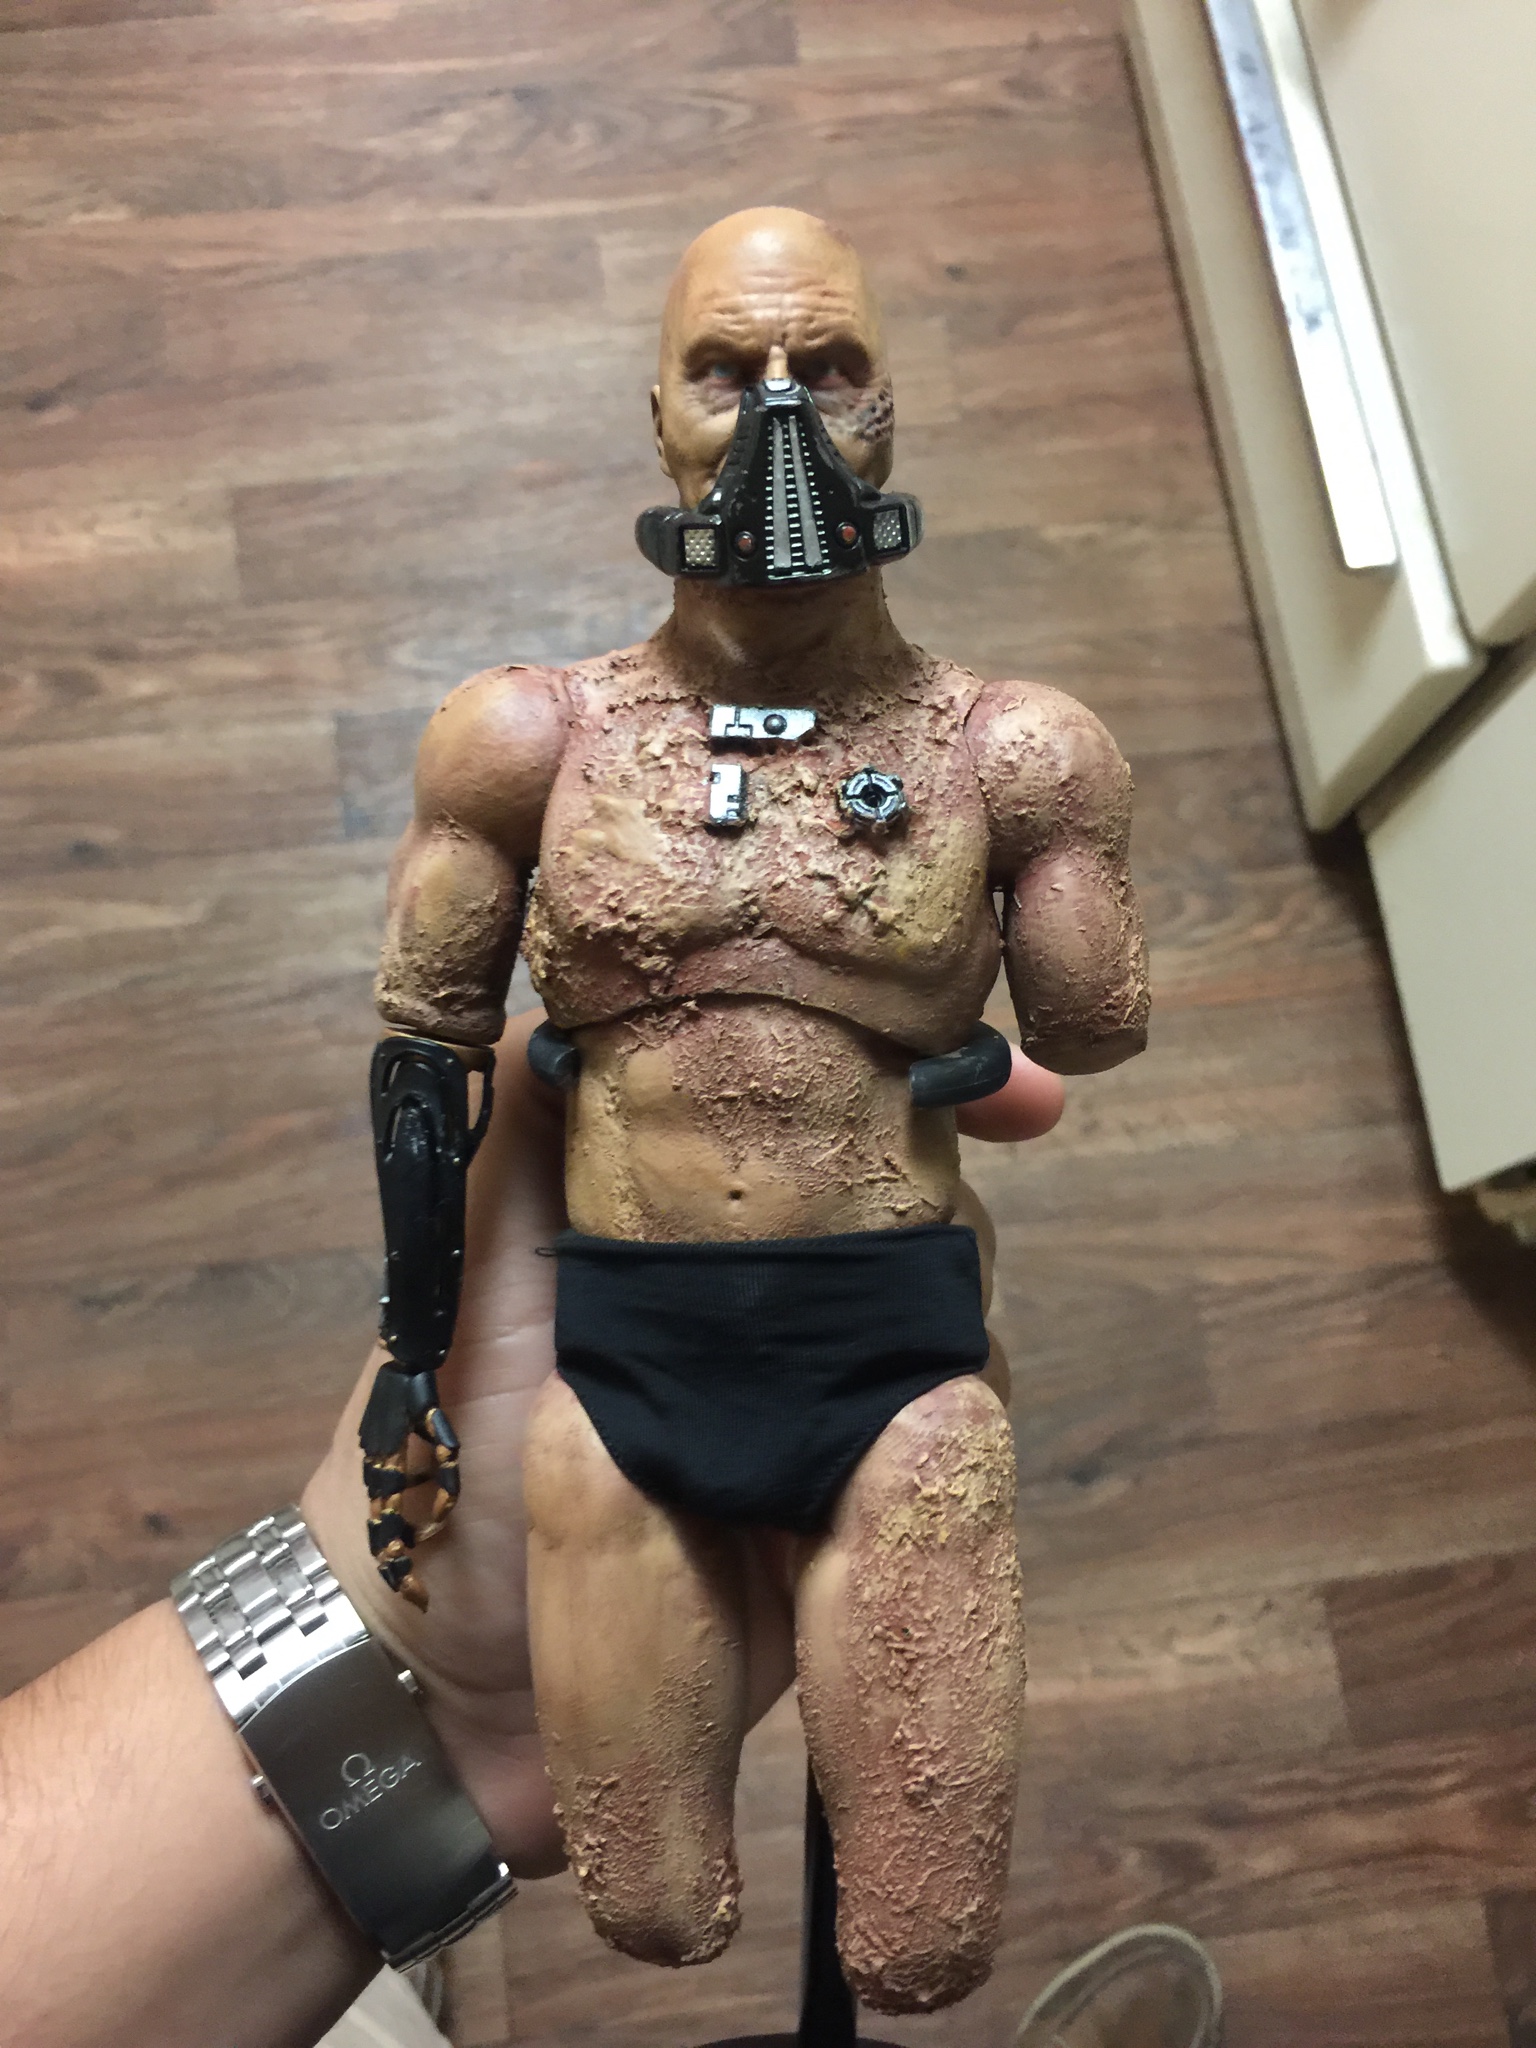
When you get your dome, there's an inner hat you'll need to unscrew and then I'd recommend using a dremel to file down the screw post. I then glued a magnet in the dome around the top of the forehead and have a magnet floating in the kaiyodo helmet to keep it at a proper level.
 
Is that a darth malgus in the bacta tank to simulate vader from rogue one scene? It looks awesome, we need some details on how you made this. What all you used etc!

Thanks! It's actually a Vader head sculpt attached to a ganghood muscular body with some sculpt and details added and a magnet installed to remove the mechanical arm from the sideshow anakin. I had to dremel down the muscle sleeve on the gangood and attach the Vader head using epoxy.

I'm actually going to be starting a Vader thread soon for my work! In the meantime, here's a pic of the Vader outside the tank.


28e6acb512f6bb98e2f4df9e7f683a41.jpg


And some detail work on the head repaint. In rogue one, at least to me his skin didn't seem as pasty as episode 6
1ec1bfca8b281cd8b069ff9c1dda2ccd.jpg


1628f11239c87f3b18f5b22790a7ee51.jpg


And my reference

b5ce6a1cbcdbff06f5e34b81da84bc77.png
 
Thanks guys! My wip pics are in my thread in the customs sub-forum called the Vader Project!
 
That looks solid. What was the colors used for the repaint?

Sanded armor. Mixed a little black with silver. Couple of thin coats over what are supposed to be the silver areas. Mixed same with matte medium transparent gel, slightly watered down (couple of coats). Then add more black to the mix, water it down some more and brush wash over the entirety of the armor.


Sent from my iPhone using Tapatalk
 
Looked over all the post in this thread and need some clarification.

Nose plug mod. I've seen some were able to remove it from the front using a scalpel? Is that the same as a hobby exacto knife? I'm nervous about damaging the side walls where the nose plug goes or is the glue attached at the bottom???

Lens: How do you remove the lenses safely? I want to paint the eyelids and this would be easier to do without the lenses in place.

Some detailed answers would help me out. I just bought some extra parts and want to "fix" vader with them.

THanks!!
 
The lenses aren't meant to be removed. It's all one sculpt. Removing would involve likely a loss of material that wouldn't look as clean when reinstalled.
 
Looked over all the post in this thread and need some clarification.

Nose plug mod. I've seen some were able to remove it from the front using a scalpel? Is that the same as a hobby exacto knife? I'm nervous about damaging the side walls where the nose plug goes or is the glue attached at the bottom???

Lens: How do you remove the lenses safely? I want to paint the eyelids and this would be easier to do without the lenses in place.

Some detailed answers would help me out. I just bought some extra parts and want to "fix" vader with them.

THanks!!

The amount of glue on the plug varies - you may get lucky. But yeah, you use an Exacto blade. Just go slow and carefully push the exacto into the gaps either side and eventually it will move.

You have to totally disassemble the helmet/facemask to remove lenses part. Crack dome off, then work at splitting facemask helmet into the two halves. Inside, the lense part is tacked on with superglue with a small tab. Once apart, it comes out somewhat easily.
 
Back
Top