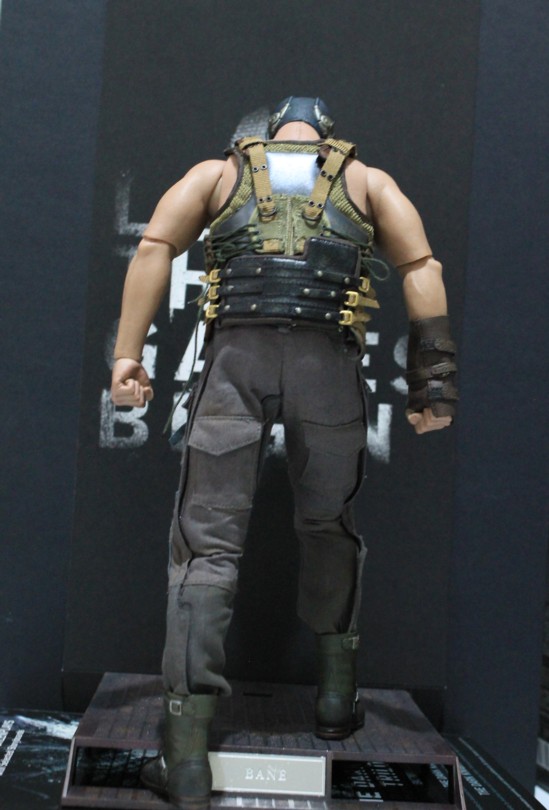
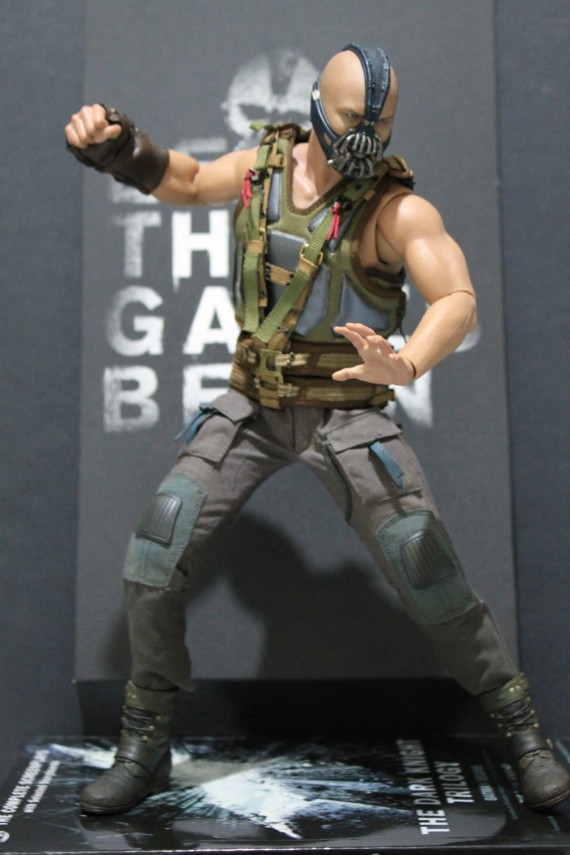
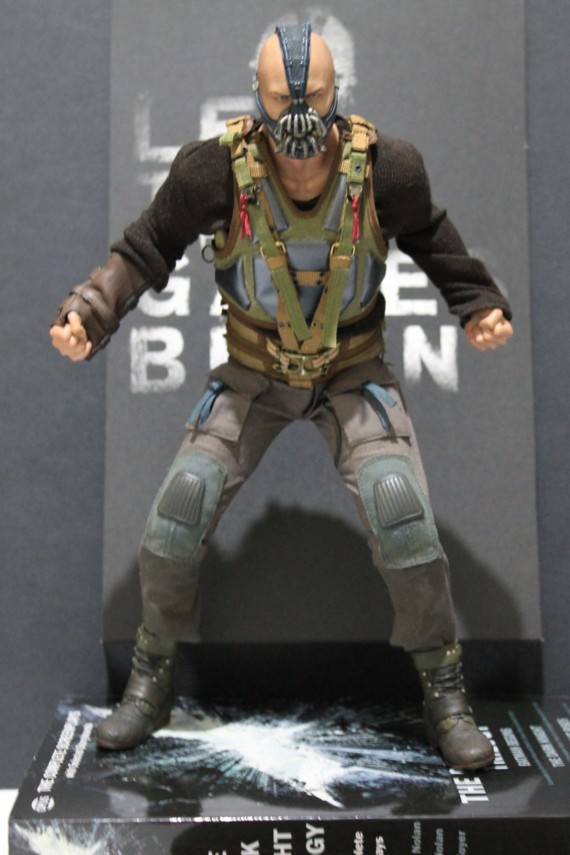
BANE - Show Your Customs / Modification / Customization
- Thread starter Mr. EcKo
- Start date


The originator Elvis! Thanks for all your hard work and willingness to help others!


Spoiler:
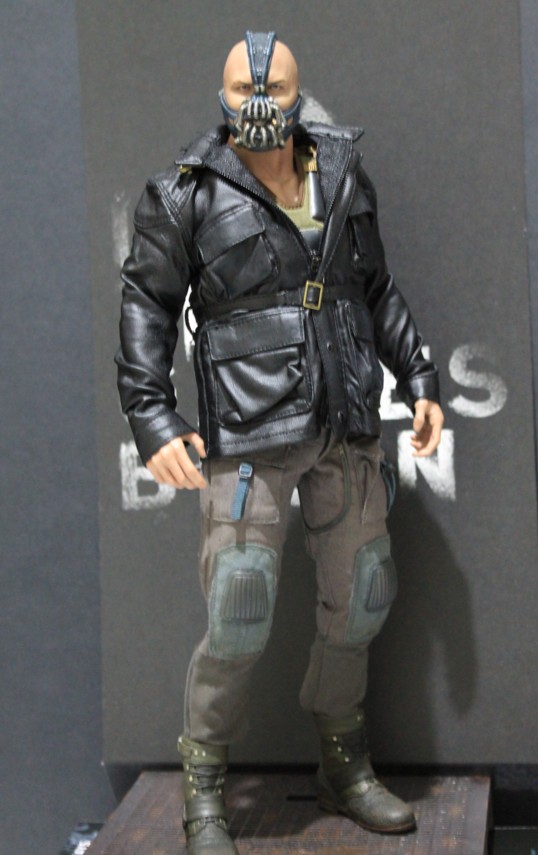
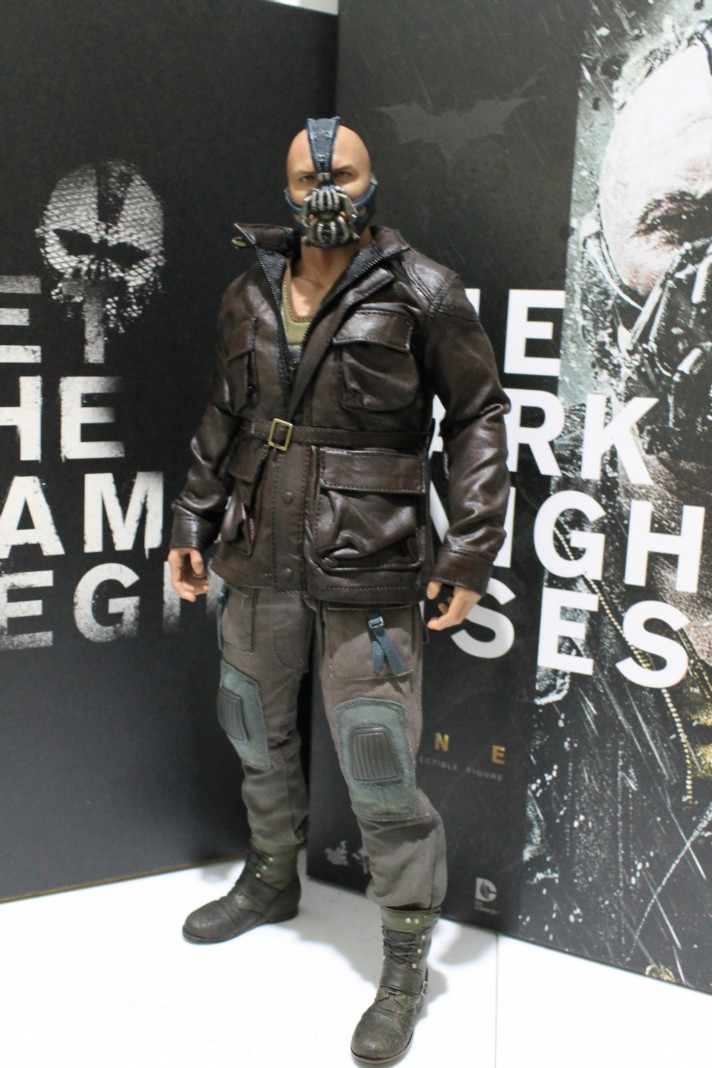
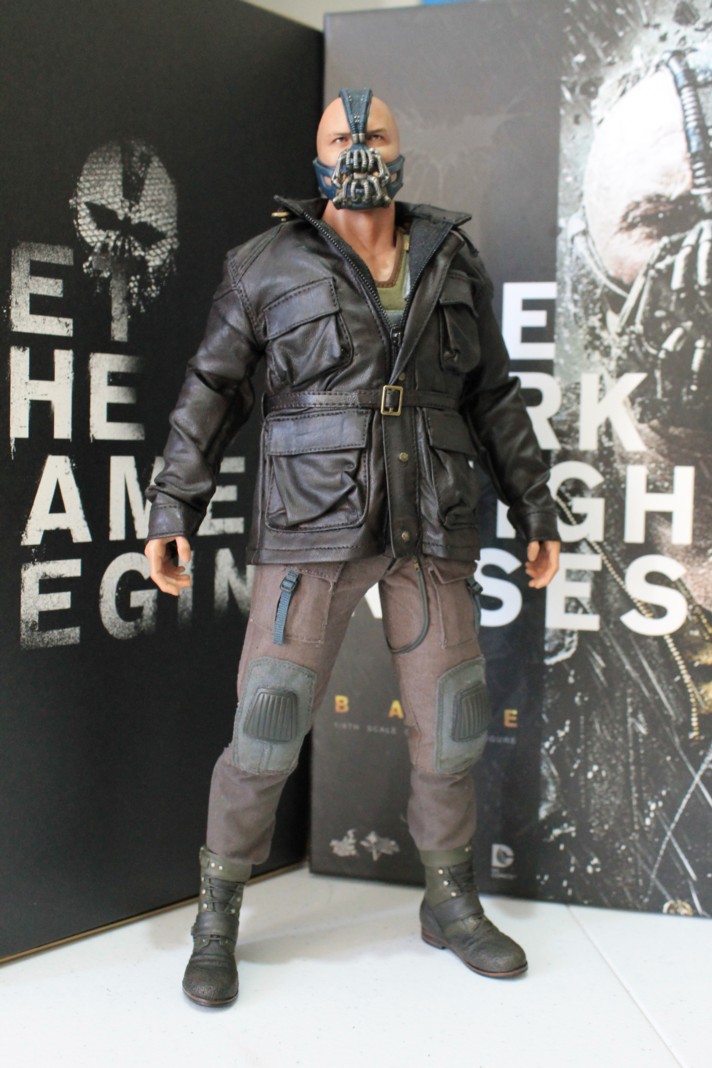
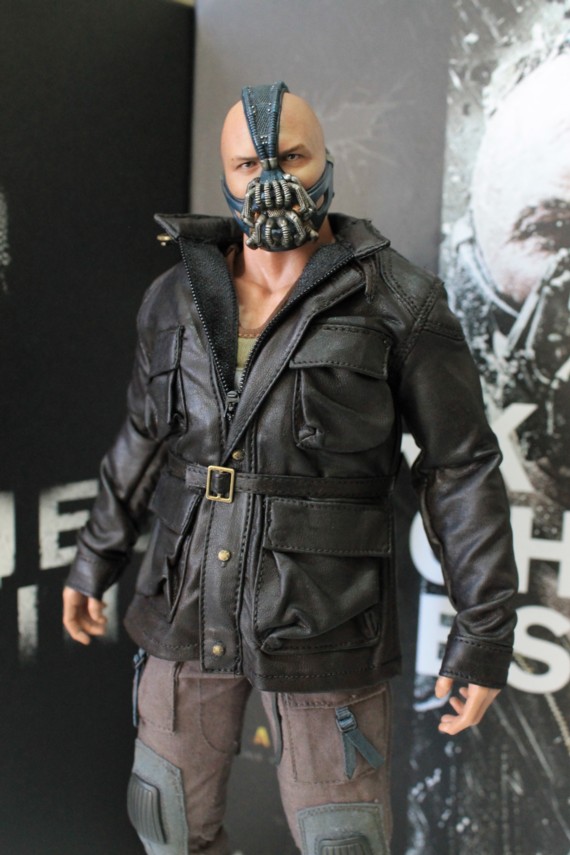
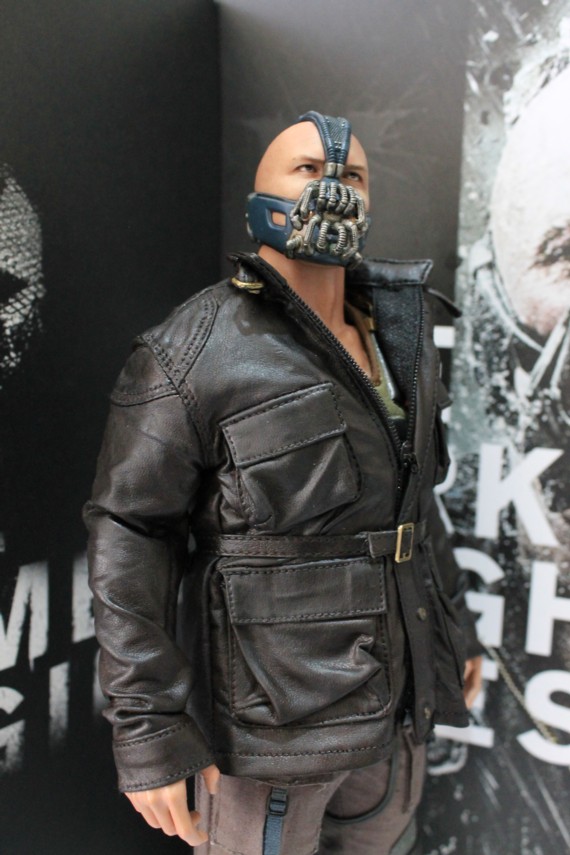
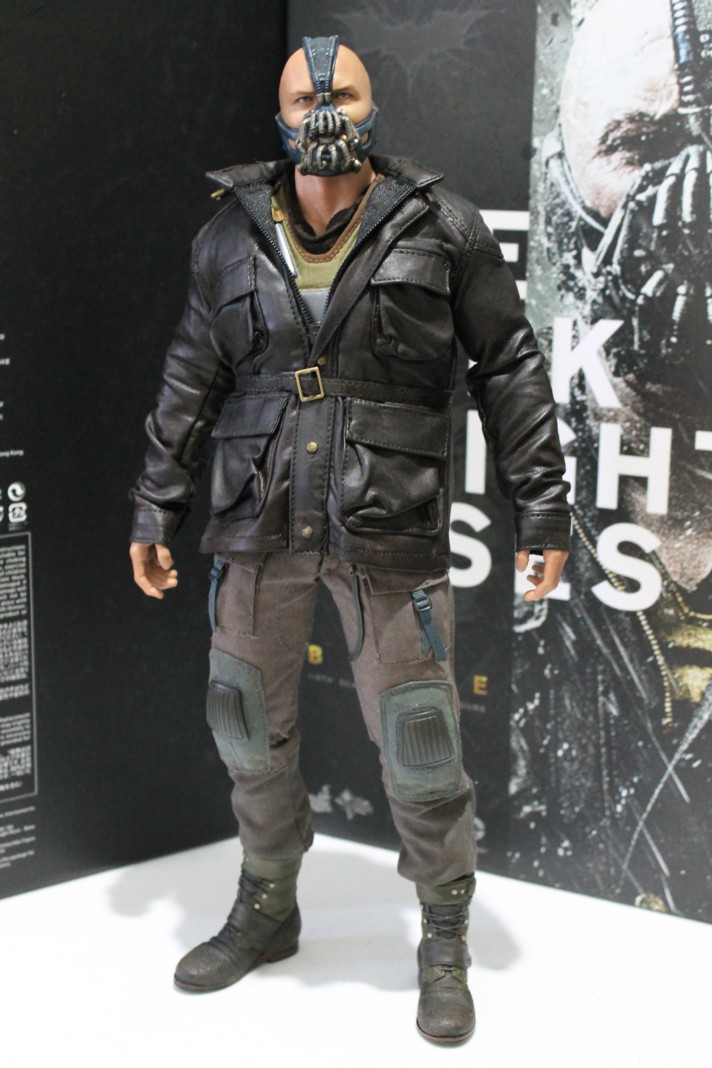
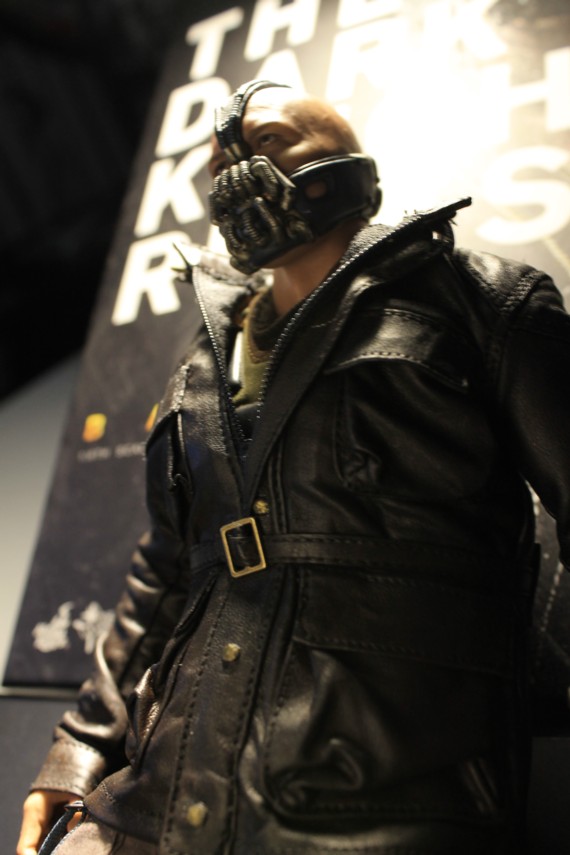
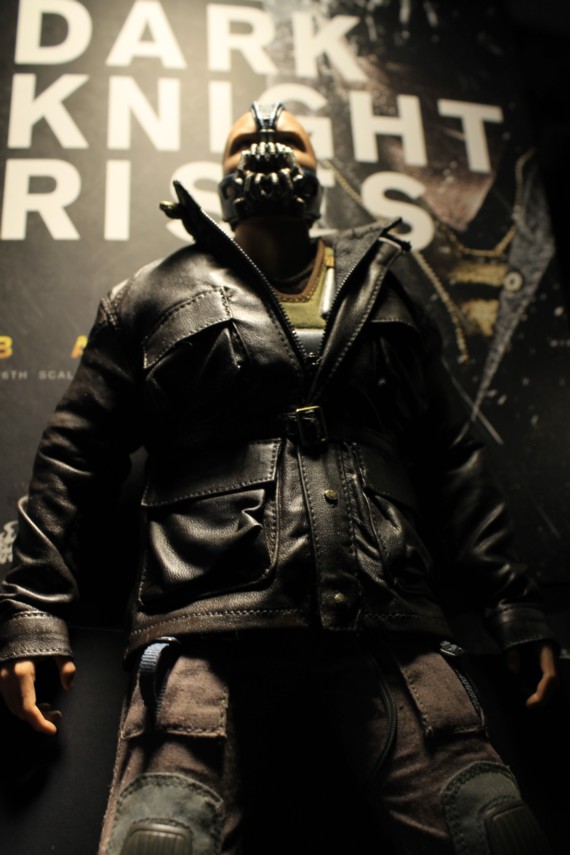
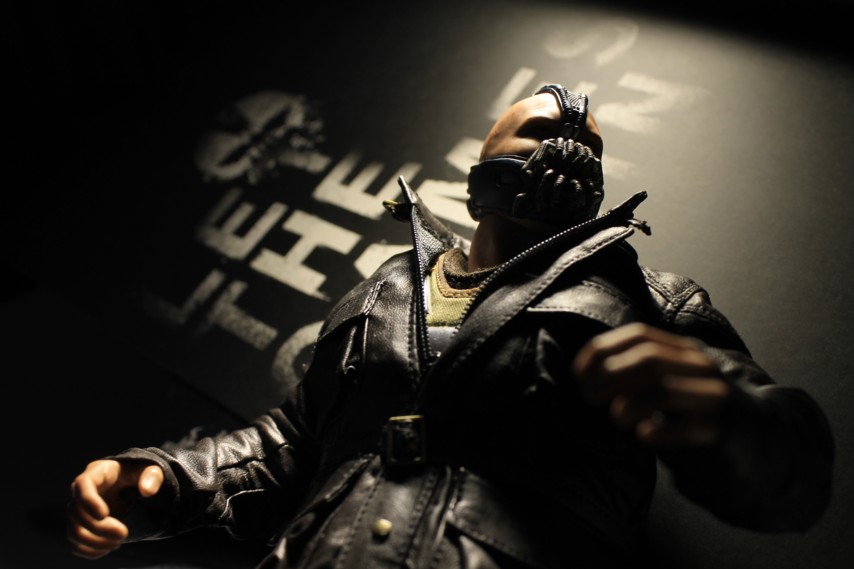
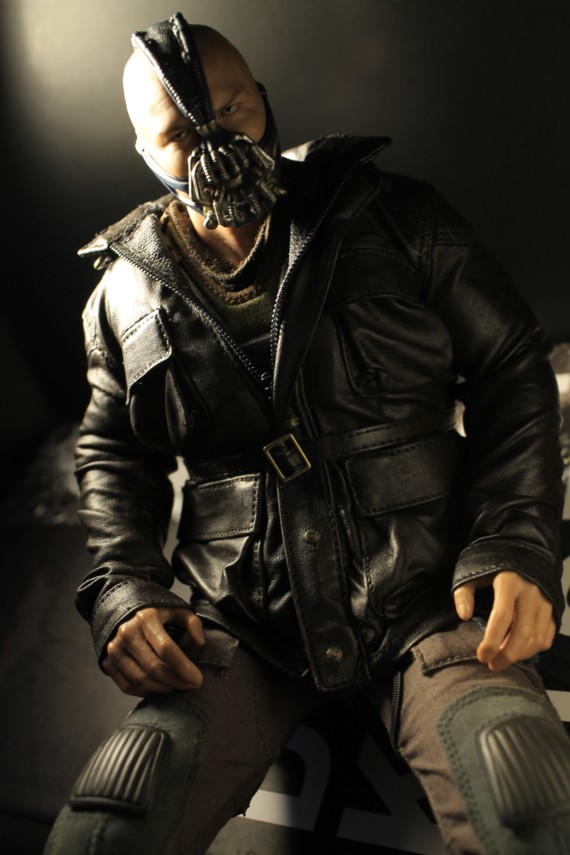
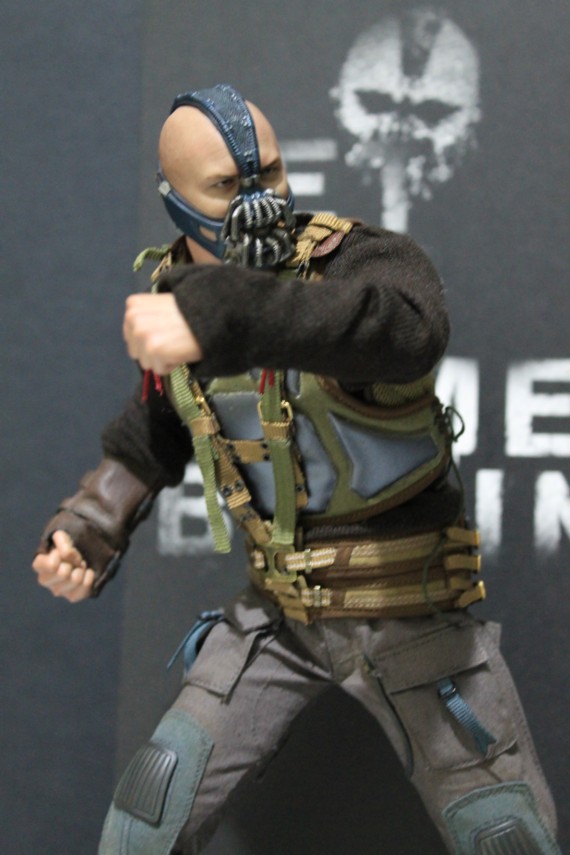
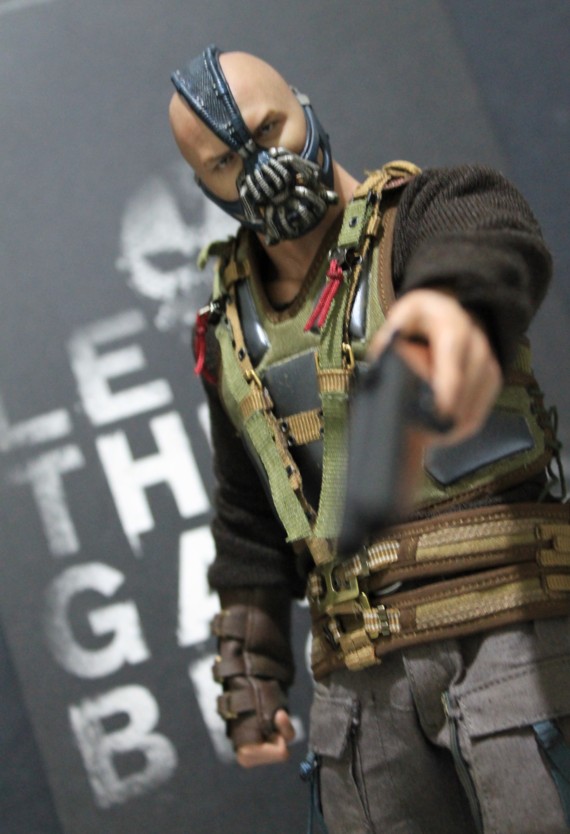
JACKET -
Mix the "Burnt Umber" and "Mars Black" for your main palette. You can use the "Burnt Umber" and apply a simple dry-brush as your base coat letting it dry before applying the mixed palette. Mix the main palette until it's really dark, almost like a milky dark brown bordering on black.
Before starting on the jacket, best thing to do is to let the brush absorb the paint by continuously mixing it as thoroughly as possible before applying it onto the jacket. Due to the quick-drying nature of acrylics, you'll obviously have to keep mixing new paint to get the same color you want. Mixing it and letting the brush absorb it for a while is the way to go. This is done by continuously smearing the brush onto the paint palette in circles (since you're constantly mixing). Doing this will allow you to apply small layers of paint on the jacket which is why it won't chip as easily. Slapping the paint onto the jacket straight from the tube will cause the reverse, and this will create the risk of having clumps of thick paint sticking onto the jacket and potentially chipping over time.
I'll tell you now that you'll find yourself mixing new paint even if you only finished painting 1/3 of the jacket, so don't feel like you're using it up too quickly or your palette is drying too fast, as it's definitely a slow and patient process.
If you feel the need to even out certain areas or paint into the seams, you can mix a TINY bit of water into your palette. You don't need a tray or a bucket for this, just dip it under a tap/faucet of running water and that's all you'll really need until the water dries out per usage.
Of course, just like with the dry-brushing, you'll have to let the water drain a bit from the brush (so it's not soaking). You can do this by simply smearing the water on some piece of paper to let the excess water drain out from the brush. Once it reaches the point where there's no excess water spilling from the brush, you can start mixing it back on the paint palette you have for the jacket. By using this technique you'll be able to cover some of the seams and tight areas of the jacket very easily as you're simply applying a small spread of thin layered paint.
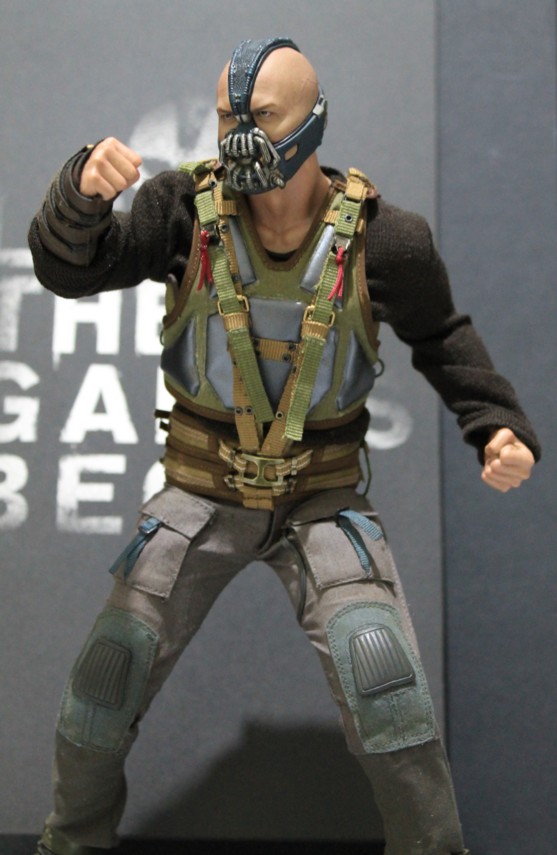
BUTTONS -
Mix "Mars Black" and "Gold" as your main paint palette. Mix until you get a milky gold (for a worn look) or until you're satisfied. For added effect, lightly smear buttons with a drop of superglue (this will result in a textured surface). Carefully dry-brush the main surface of the buttons with your main palette.
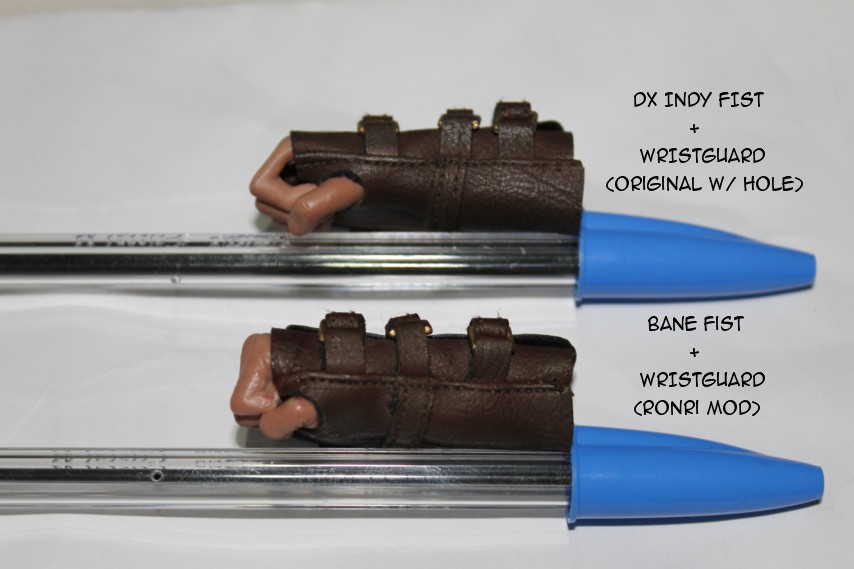
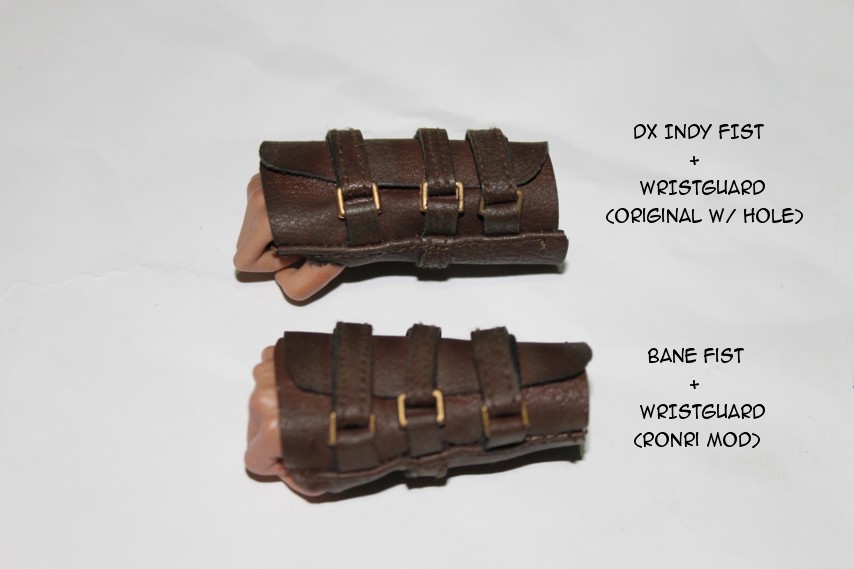
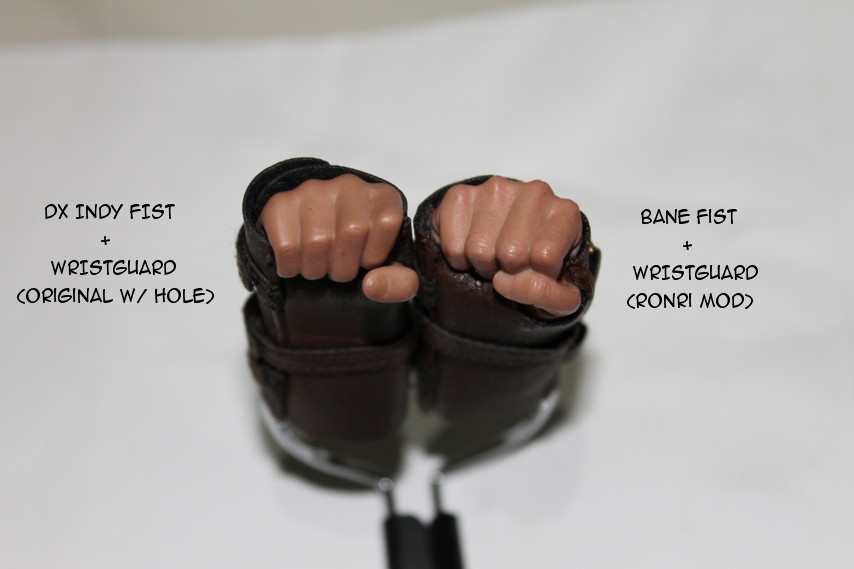
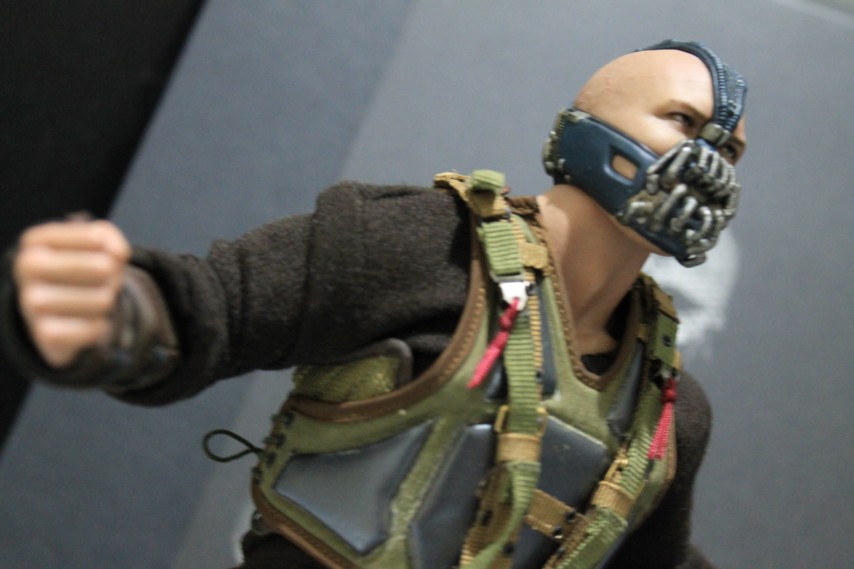
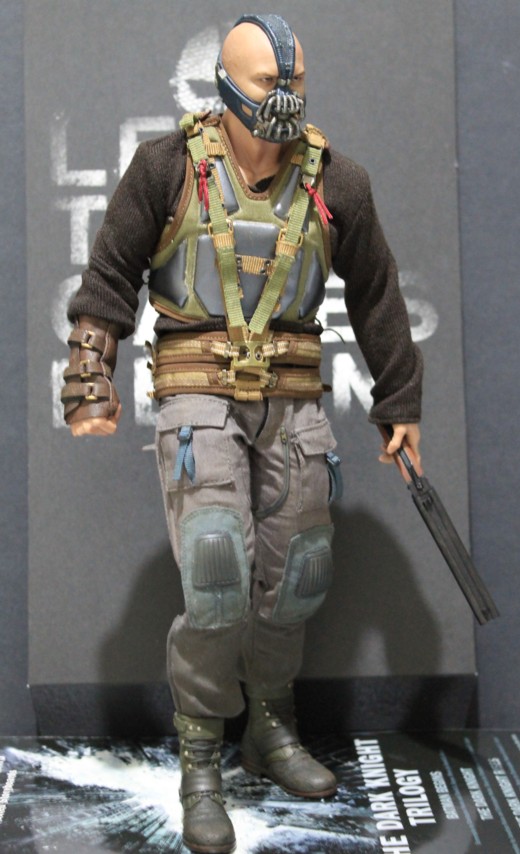
GLOVED FIST -
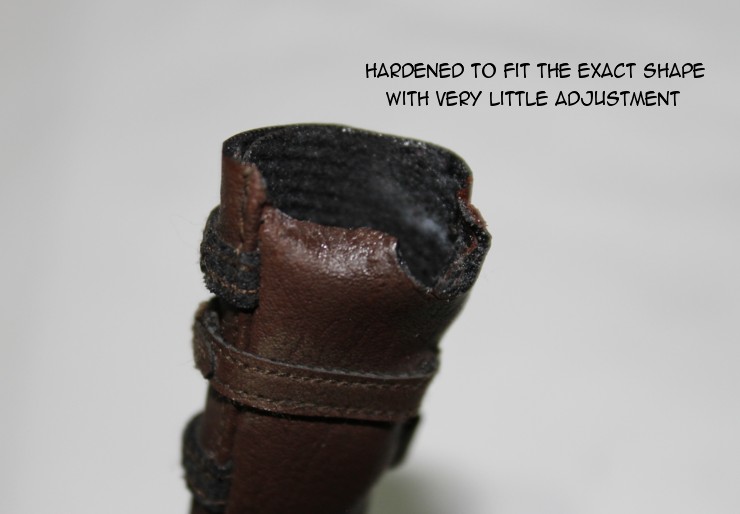
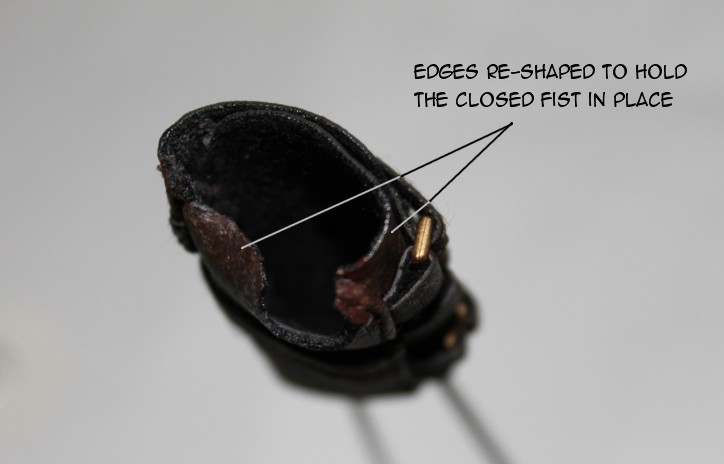
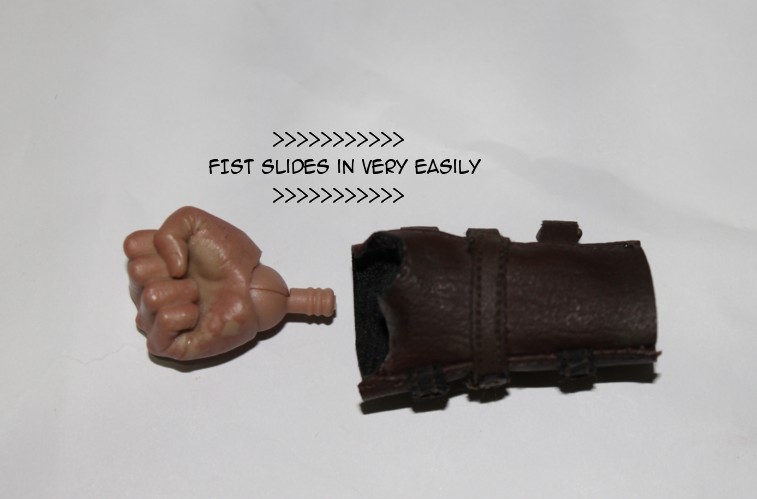
Using a spare closed fist from Bane, I fit his hand into a spare glove (the one without a hole), then using the gloved Indy fist as a guide/reference, I cut out the excess parts. Used some fair amount of superglue to manipulate the shape of the wristguard's edges. Since the superglue dries fast and hardens the fabric, you'll have to be careful and sure in how you position the edges before application. Manipulate the edges using the superglue in the shape of the fist from the inside portion of the glove and voila!
The fist is held by the hardened edges nice and tight, no spills on the outer surface of the glove. For a simple mod it doesn't look too bad. Not only does it fake the look quite well, you also get to keep the details on Bane's hand (not to mention it looks more bulky than the glove's fit on the DX Indy fist).

 Awesome stuff ronri
I could only find one advance arm but it'll still work to show how it's done.
Open the torso from the side. Easily peels off but still handle with care. You don't wanna rip the body.

Pull the torso muscle off. Comes off like a shell.

Unscrew the back of the body. You'll need a phillips screwdriver. There's three screws that need to be removed.

Should look like this with the back piece removed. Remove the arms.

Here's where the real modding begins. As you can see, the advanced arms have a bigger round peg. That peg needs to be either sanded or cut to the size of the muscle arms to fit back into the muscle body's inner socket.

Once you get them in place, just close it back up. They're a little tricky and might fall out. It's simple to get it shut again though.

Put the torso muscle back on and glue it shut. Don't add too much glue. Just in case you wanna undo the whole mod.
Here's the finished body with the arms.

Hope this helps.
")
Enter your email address to join: