


- Joined
- Dec 31, 2009
- Messages
- 15,215
- Reaction score
- 157
Looking for a little feedback. Does the shirt look too big?
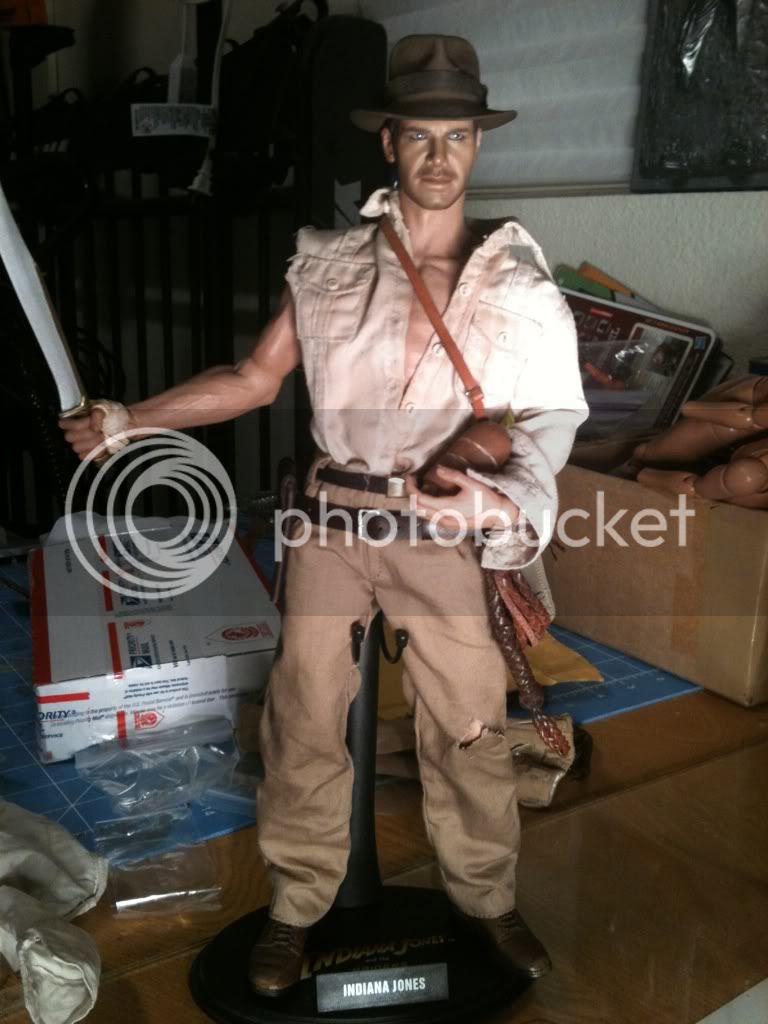
Yes, I found that if you actually slice a section out of the left hand side of the shirt it hangs more like the movie version. It's easy to make a clean cut with a scalpel and glue it back together (sounds weird but it works perfectly). If you look at this pic you can see where I cut through the pocket. Glue flaps and stitching down first, also if you put a little super/crazy glue on the fabric it seals the seam, matte varnish does the same thing, so you can avoid fraying.
Last edited:


")
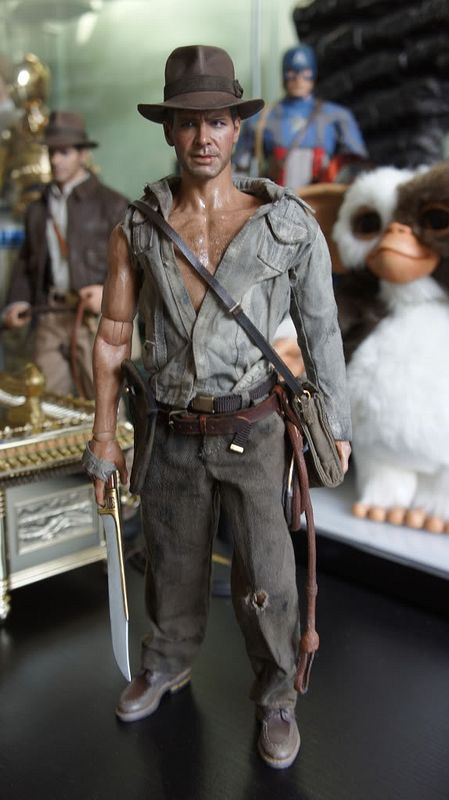
 To be honest what I have into the TOD Indy isn't all that much. I had the extra body from swapping out my HT Indy with an Enzio body. I added a shirt, pants, gun belt and shoes that I had in my parts bin and picked up an extra head, hat, bag and web belt from TA. So I put in less than 100 since I decided to do the project.