BoricuaHec01
Freaked Out
Mine came in today, such a beautiful figure!


I don't know if i would trust him to be in a detolf without stand support. I remember my old chrome cop being rather tipsy compared to other die cast hot toys. It still irks me that HT still haven't created specialized support stands for their die cast figures. I don't want to come in my room some day and find them fallen over or worse.
Stoney's stands look nice, but they don't look very supportive for a hevay die cast figure. Does he make a specialized version for die cast?

Just bought this stand off ebay. What do you think?
This stand looks awesome!Just bought this stand off ebay. What do you think? View attachment 671184
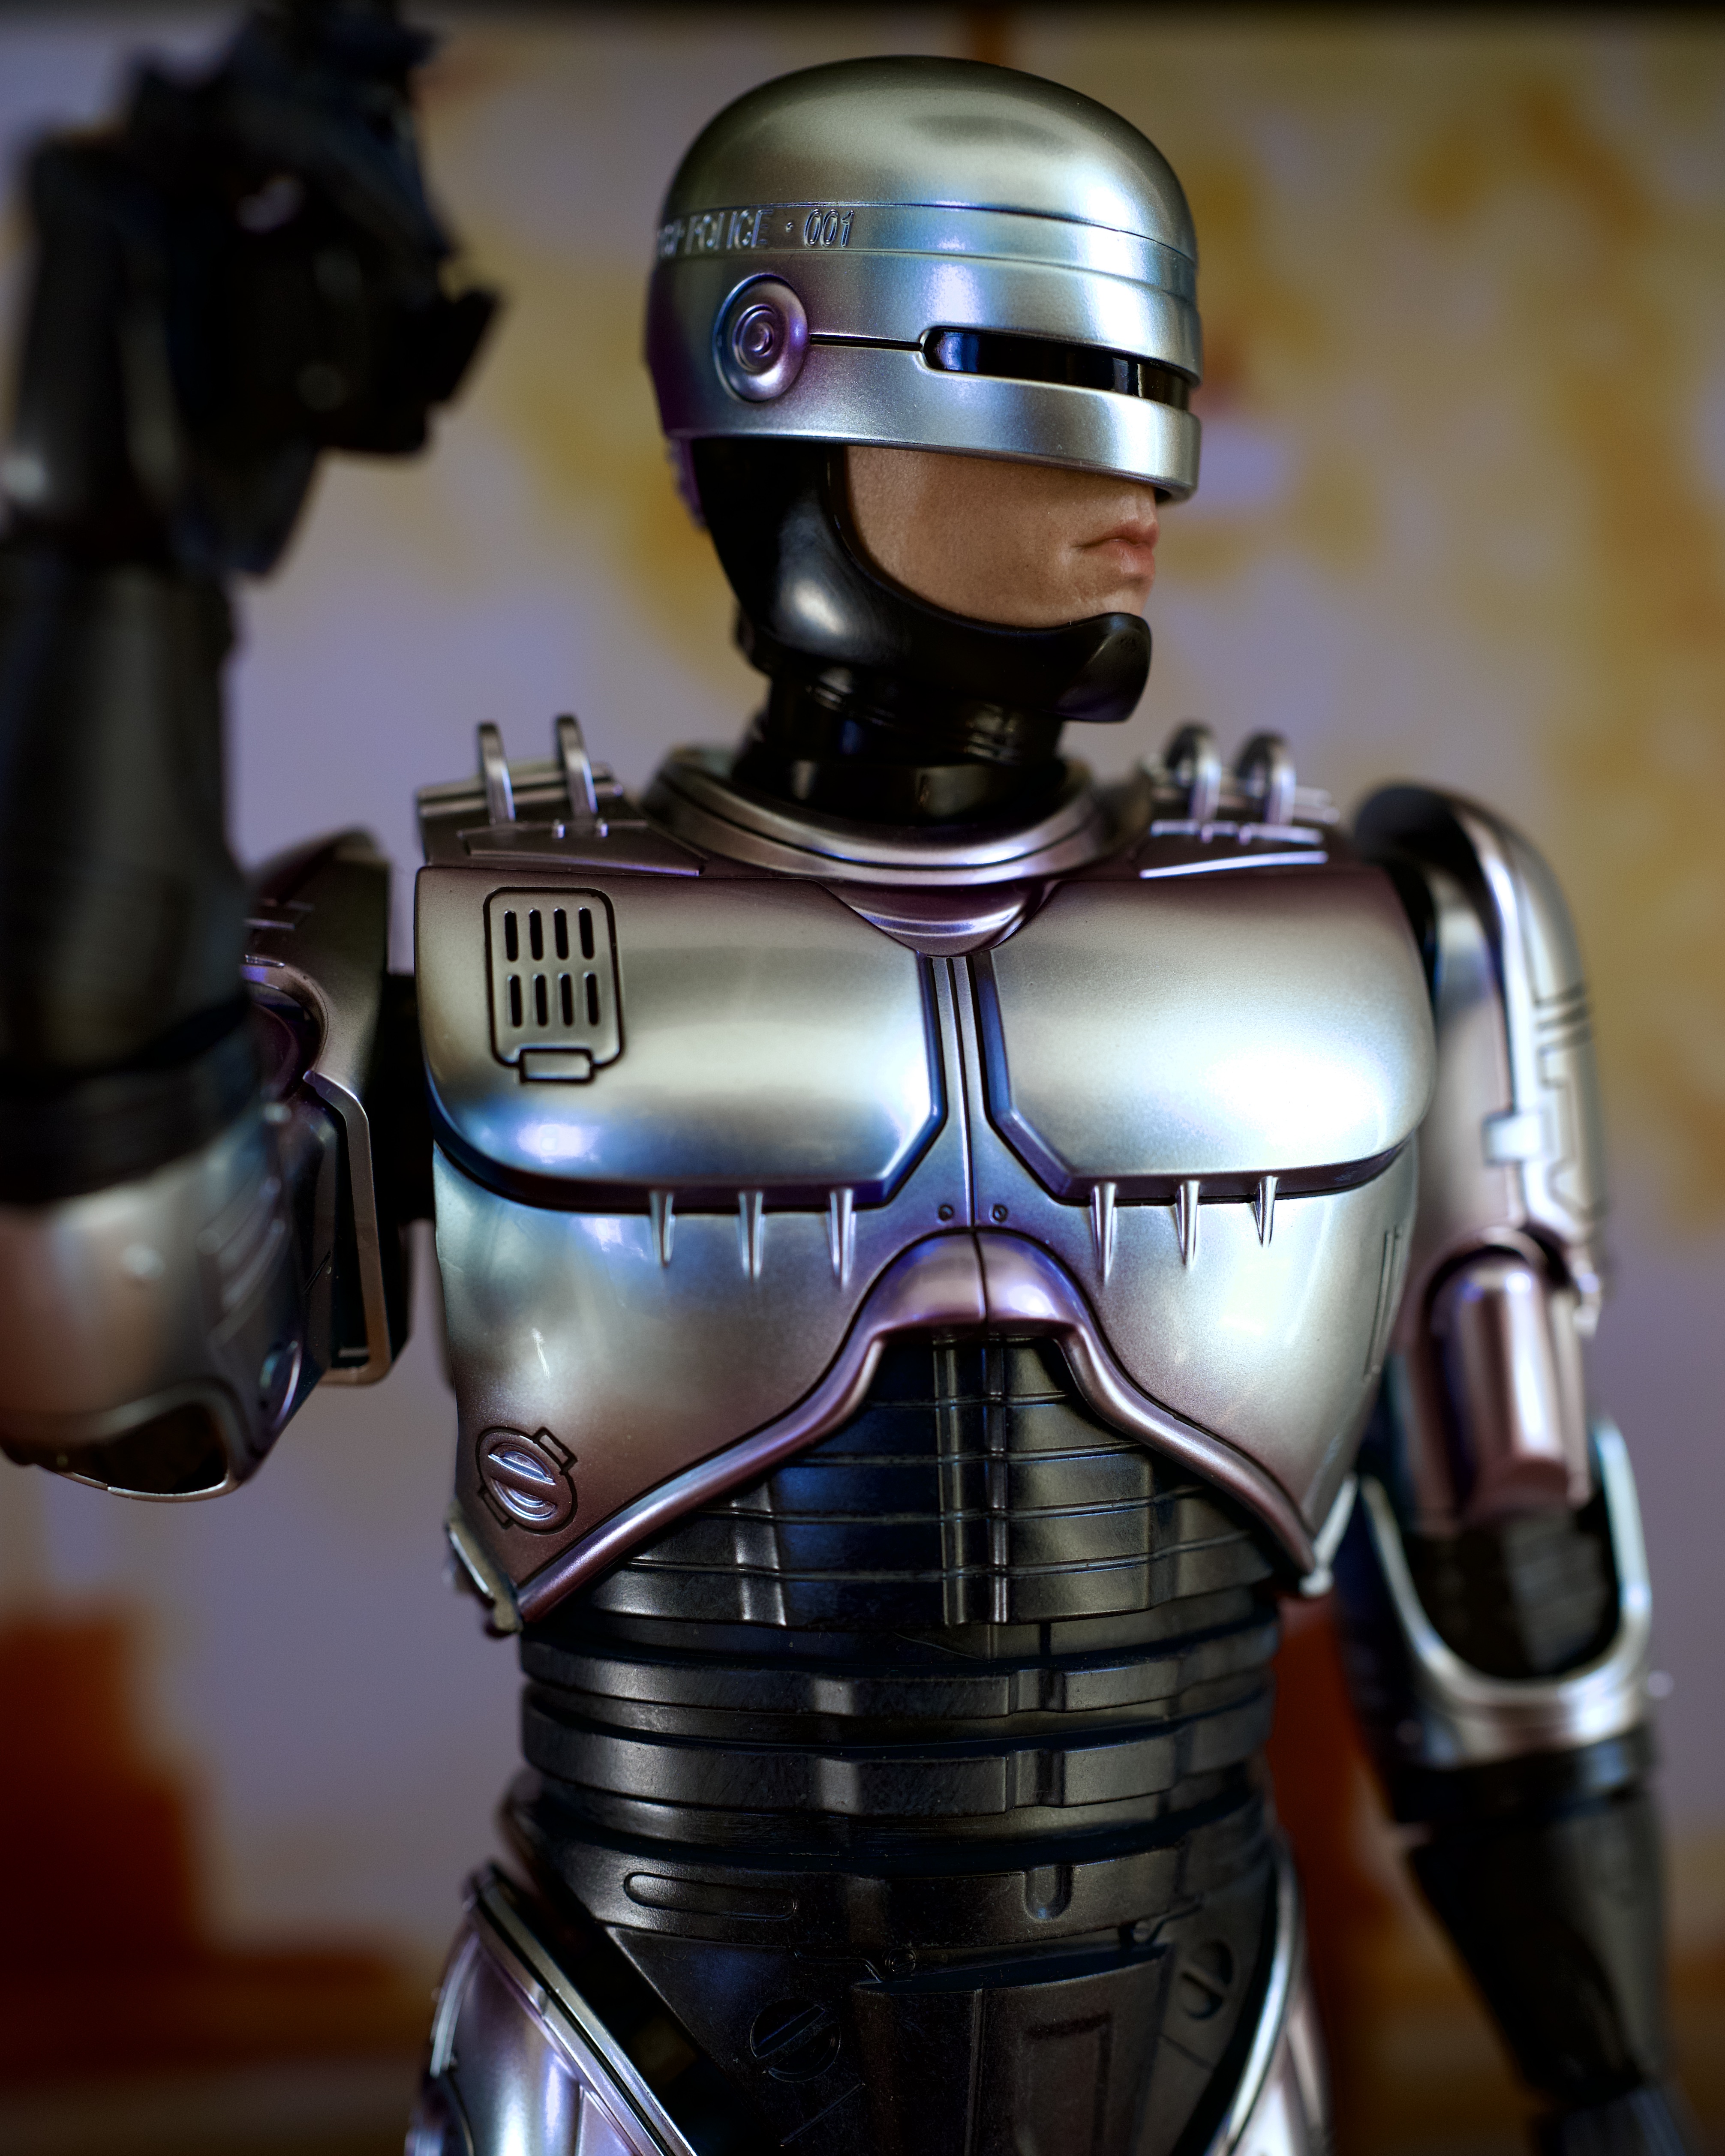
I think you nailed the color - looks good!I have finished painting it…it’s hard to determine what is the exact colour from 1st Robocop film as it alters with different scenes.
Used silver, Blue, Purple and even green.

Thanks, some scenes it looks alright but to other clips it is way off .I think you nailed the color - looks good!
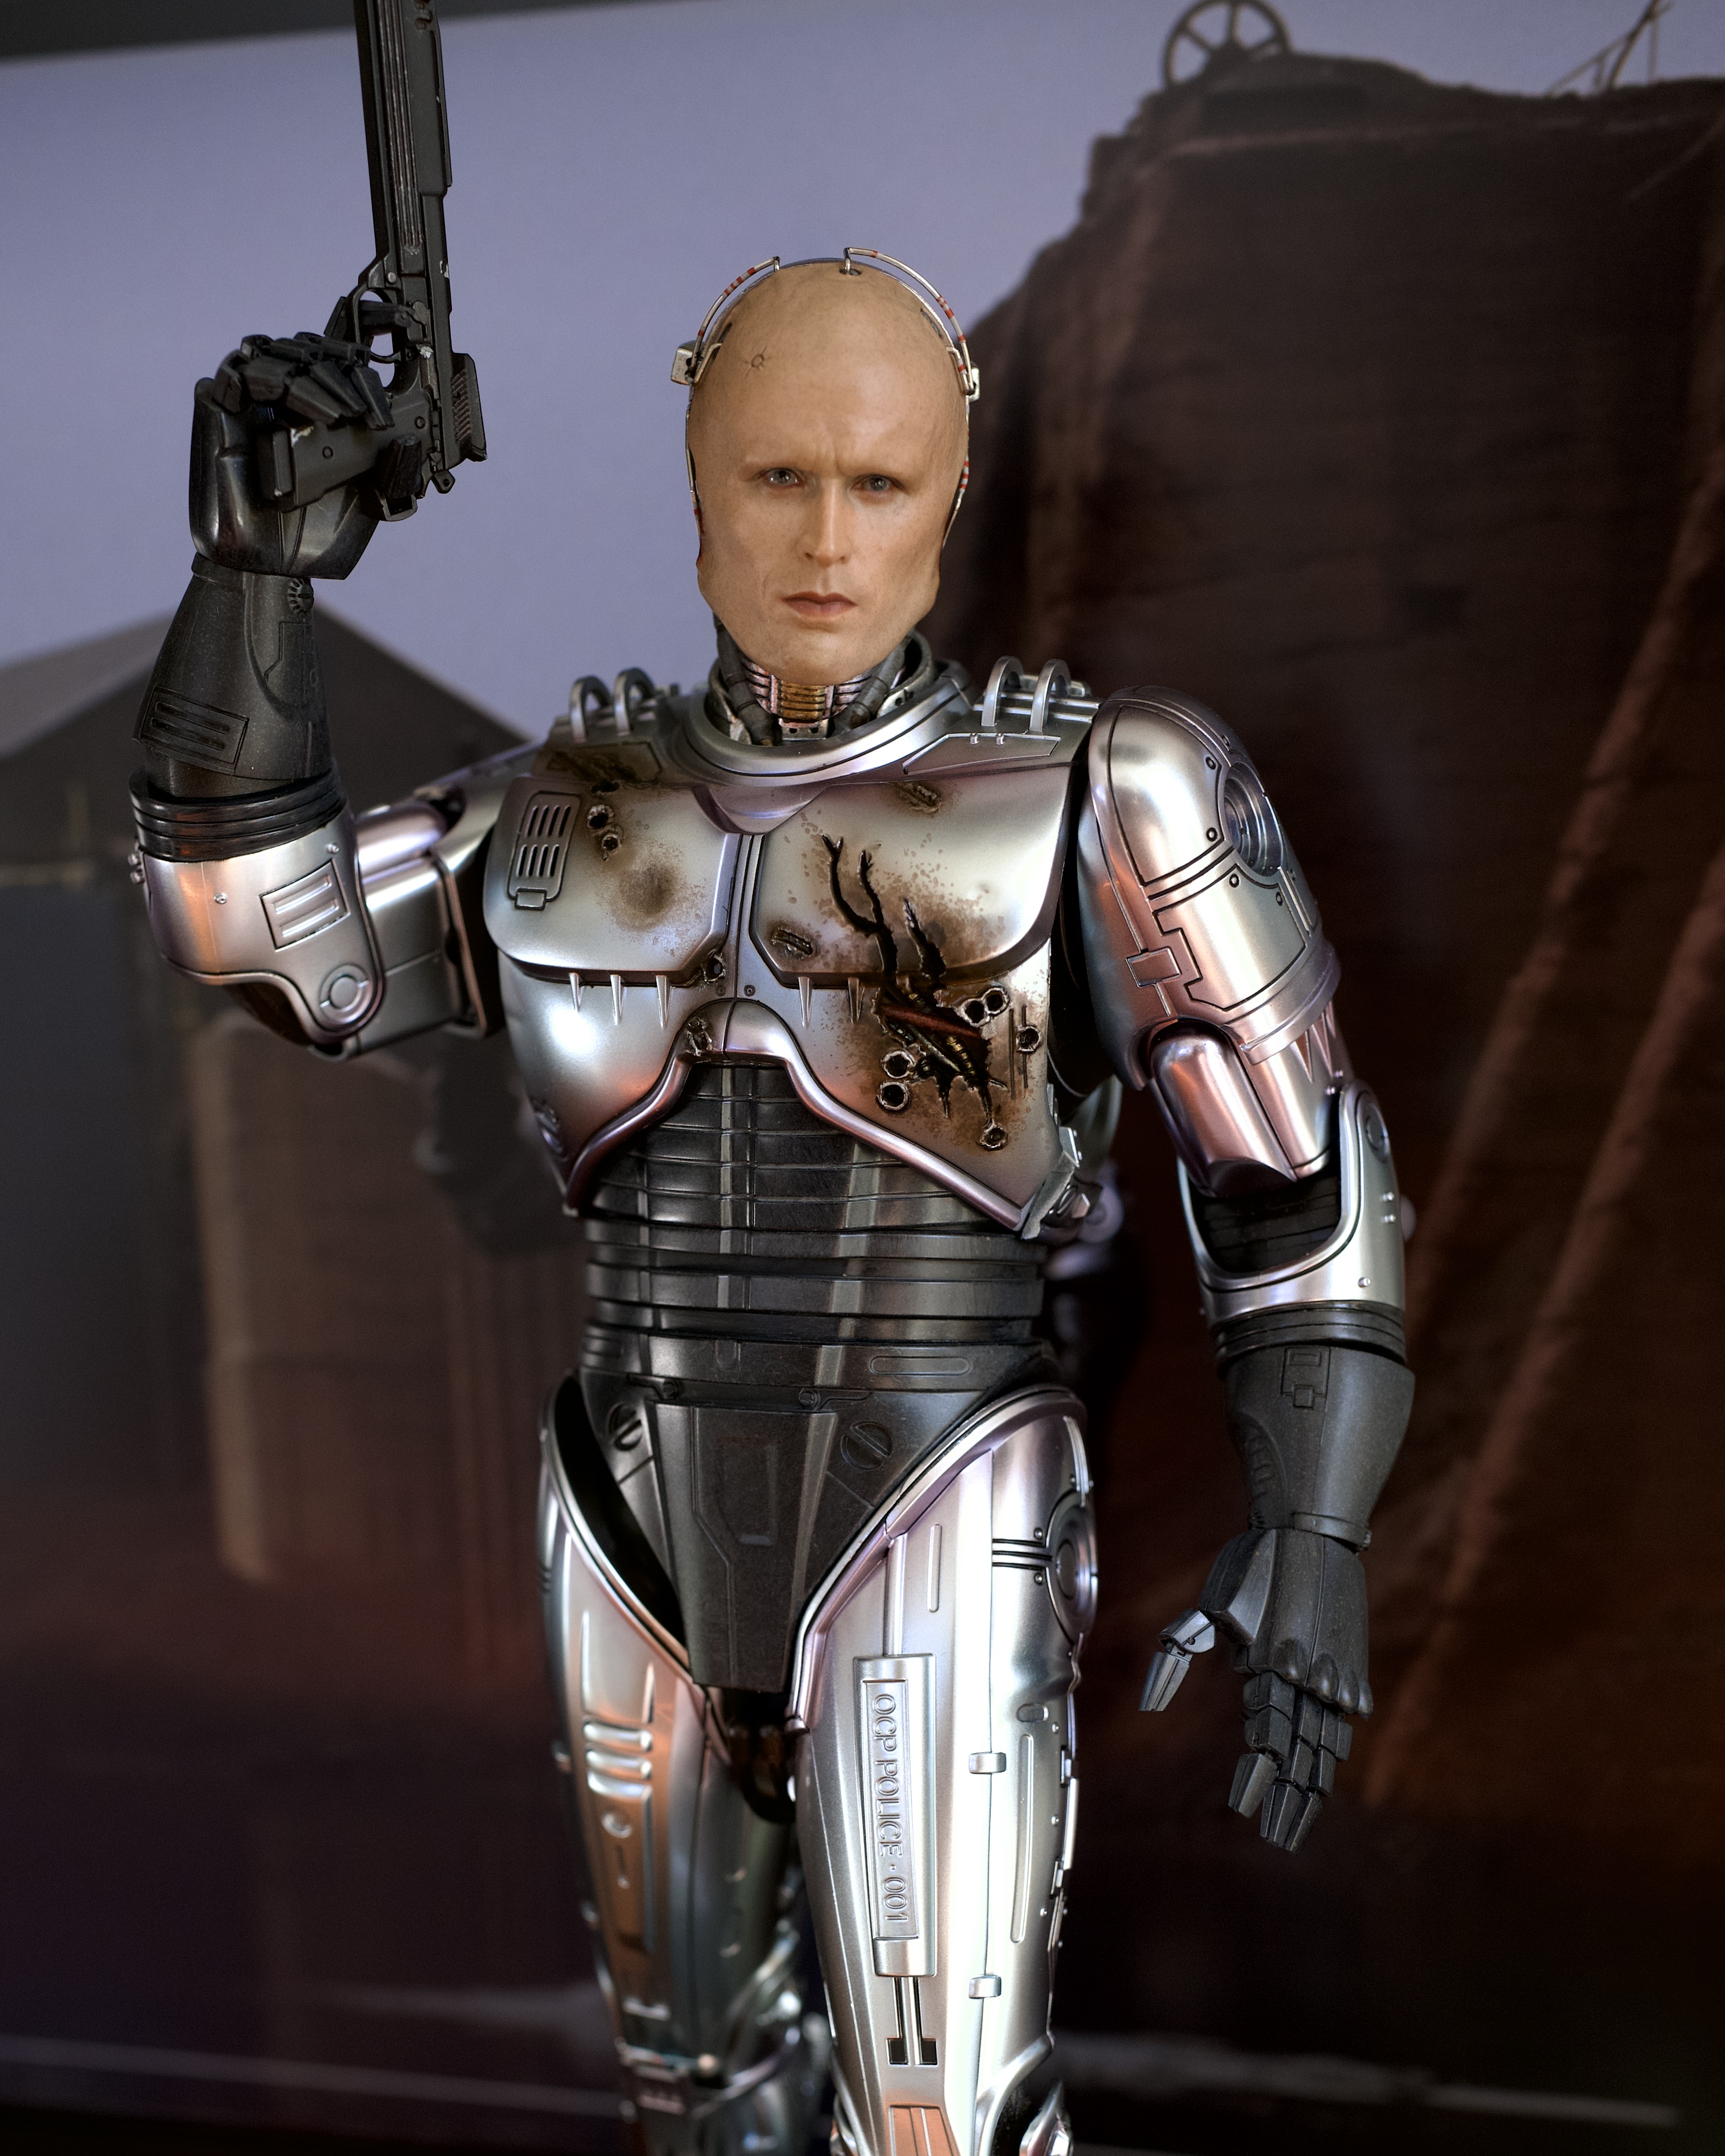
got my new robocop and combined this with the previous battle damaged figure to create my ideal representation of the character. The high gloss black just isnt working for me anymore.
torso, unmaksed head and hands- battle damaged robo
armor- new Diecast Robo 3
Ive also modded the inner joint of the arms to sit deeper in the sockets, improving the proportions. The structure and integrity of the joint is in tact as well.
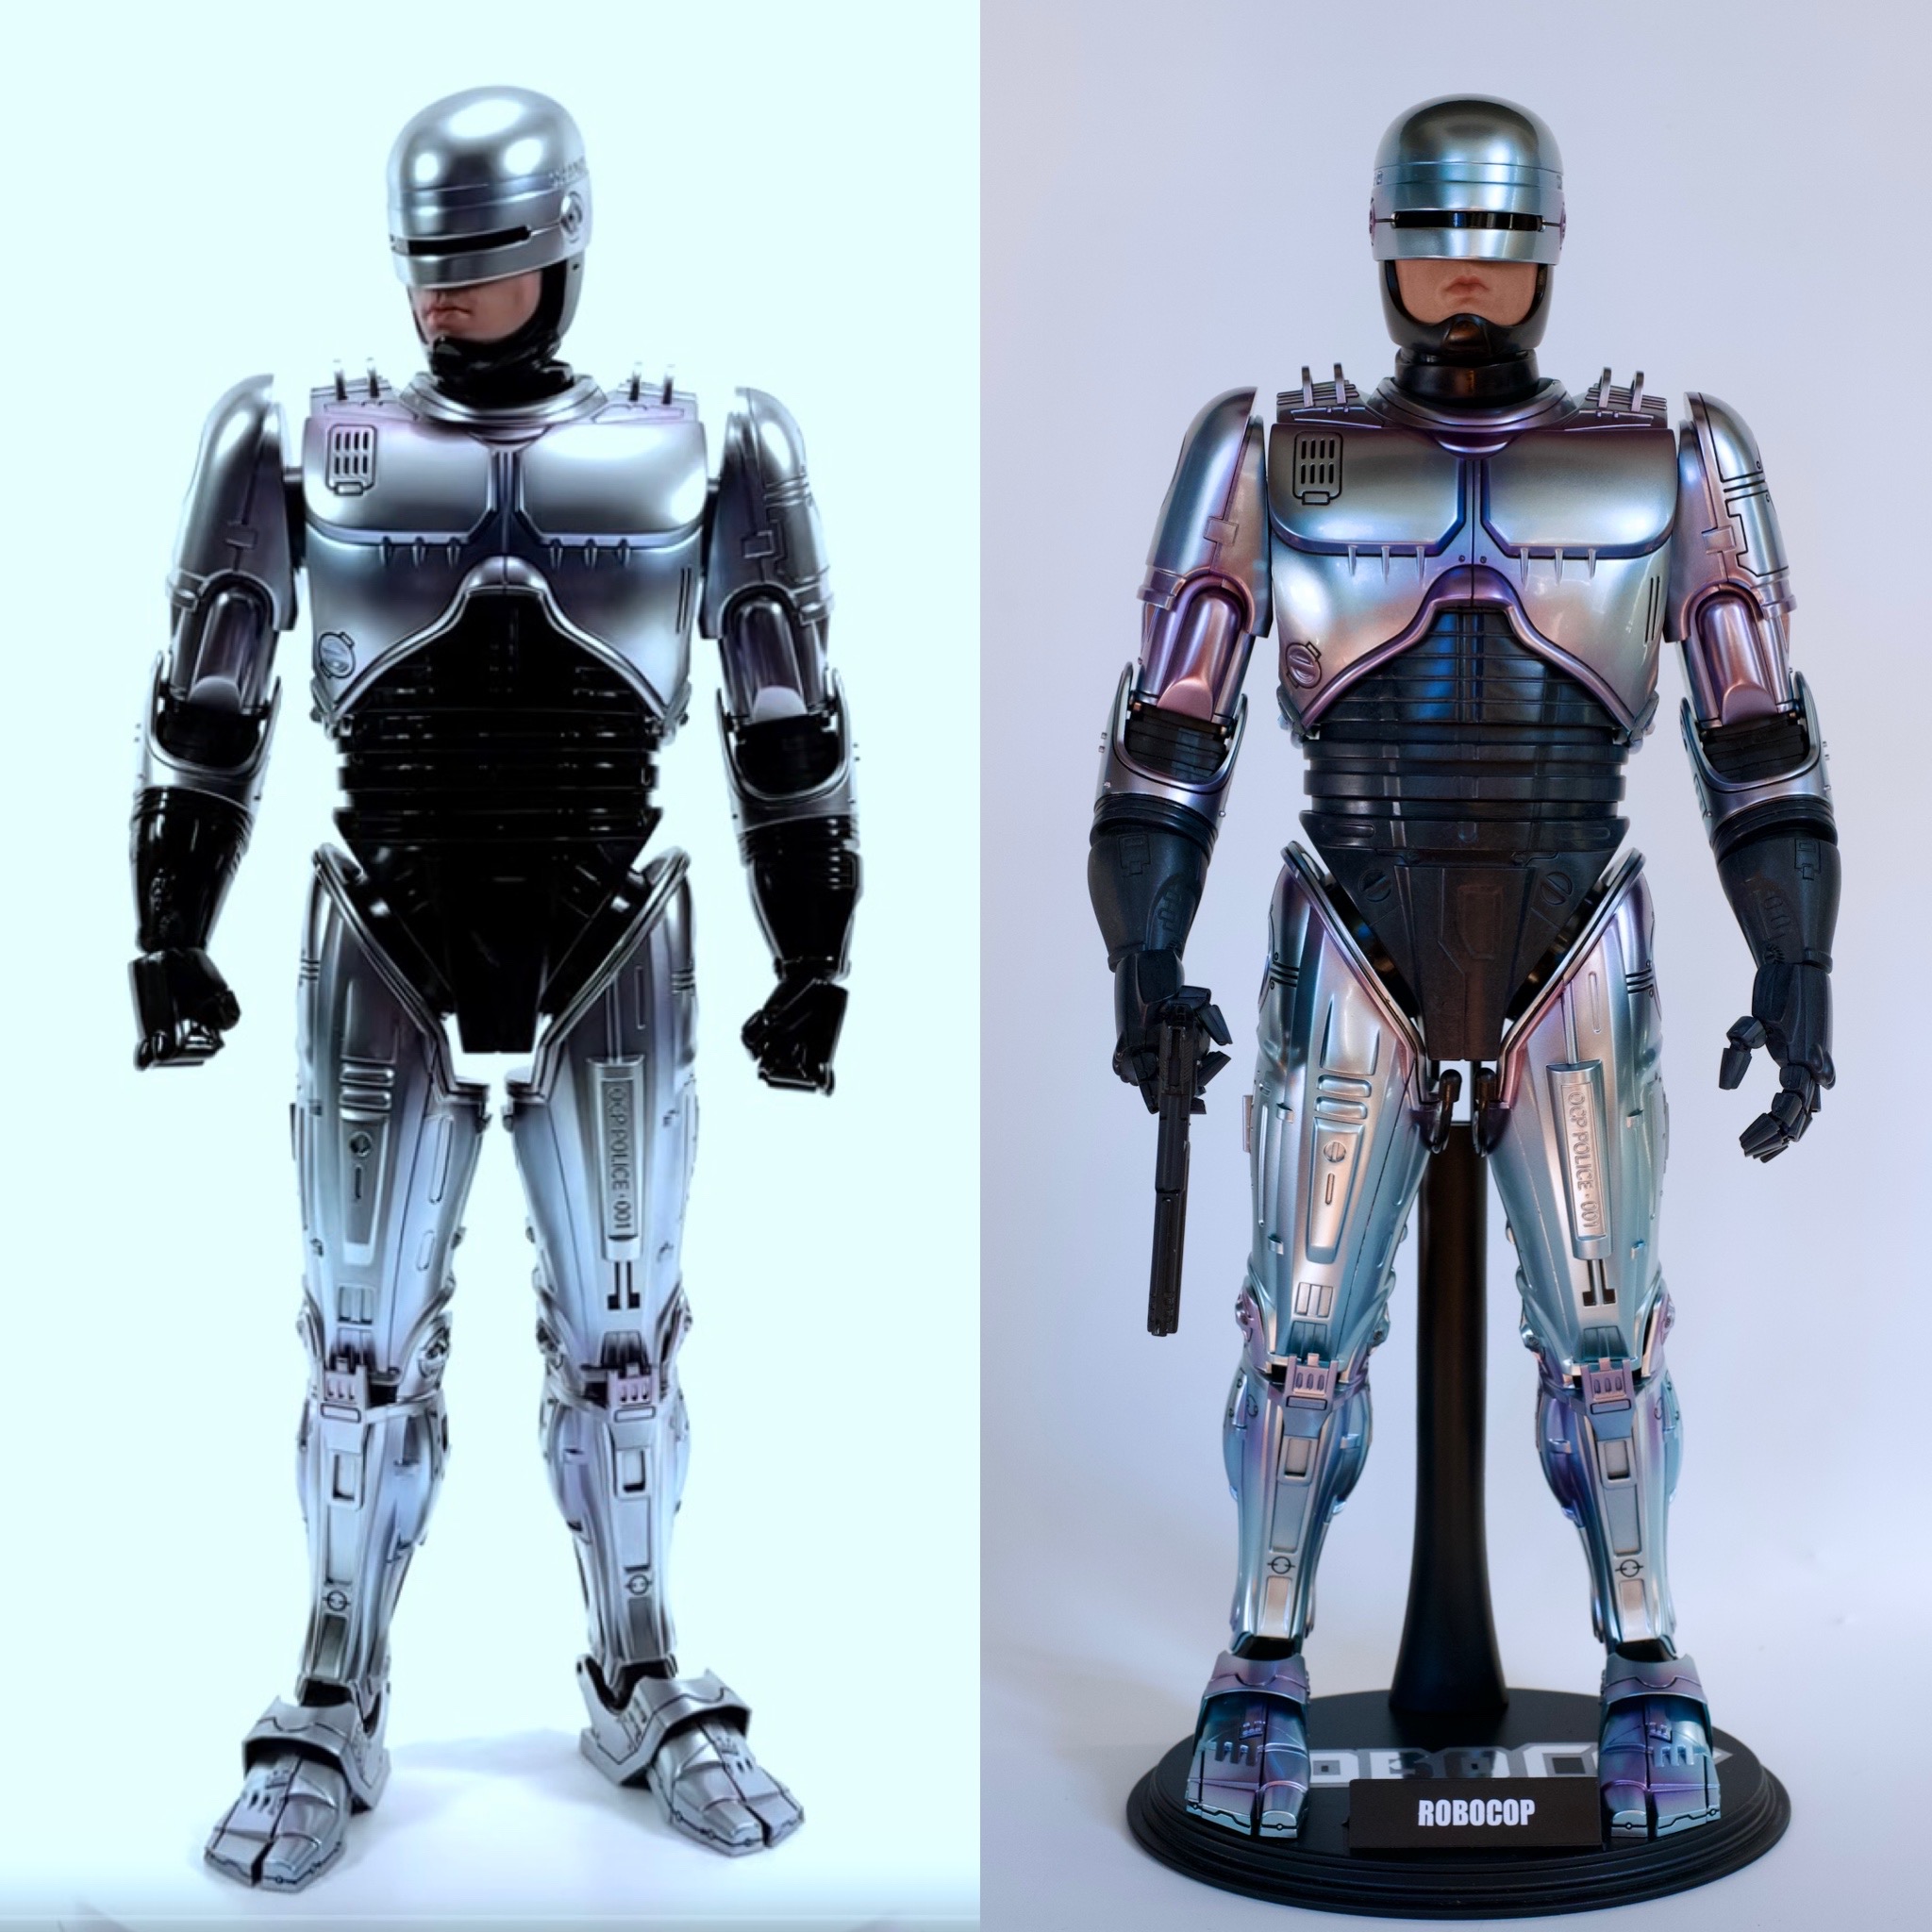
In addition, I sanded the black rubber neck band and chin strap with 2000 grit sandpaper, to get a satin sheen to the black parts.
here is a before / after


Fascinating. Great job on this and super appreciative of the progress pics. The gaps are a pickle, huh.Decided to open this guy up so I could separate pieces and do a refinish on the black parts, and maybe shorten the gap in those shoulders to chest.
First popped off the arms. Then removed the back panel cover seen below, by gently prying it upwards with a plastic tool to keep from scuffing the paint.
View attachment 671741
You can see below there are several small glued spots that hold that plate to the torso. Just takes some gentle prying to separate them.
View attachment 671721
Then I removed the four visible screws on the remaining silver back plate to detach the entire back cover.
View attachment 671722
Here it is with that back cover removed entirely.
View attachment 671724
Decided to pop off that battery cover to see what was going on under their, since there's no voice/sound function on this rerelease, and see that Hot Toys simply glued a heavy magnet inside the cover to add "diecast" weight to the figure. It literally serves absolutely no other function.
View attachment 671725
To remove the black upper torso assembly, I had used an exacto to carefully break the glued seal between the rubber shoulder gasket cover and the hard plastic torso unit.
View attachment 671726
Then I removed the four remaining screws in the rear upper torso to separate the torso assembly. From here you can pretty much disassemble all the black torso parts for easier refinishing or to reach the shoulder and neck joints for repair or replacement if need be.
View attachment 671727
Looking at the joint assembly I couldn't see a way to modify the parts to allow the socket to slide deeper into the torso. Each part is molded in such a way that any dremelling or modification would compromise the part's movement or secure fit in the corresponding part. There are a ton of grooves and channel that assure those sockets stat secured into the housing around it. So I'm not sure I could fix that gap from within the torso.
View attachment 671730
To reattach the outmost silver back plate, I glued a small magnet onto the back of it. The magnet now attracts to the conveniently placed jumbo magnet Hot Toys glued onto the inside of that superfluous battery cover. It's like it was meant to be. Now I can easily get to all the screws again when doing more mods.
View attachment 671739
Once reassembled, no trace remains of the disassembly work, due to the careful breakdown, and Hot Toys original design. So now I can take it apart as much as I need for refinishing.
However, I still a haven't solved those overly large shoulder gaps. The only other option is to mod the ball connector in the arm itself. BUT, only two screws are reachable. There are two more screws in the upper corners that are carefully hidden under two small covers that cannot easily be removed without possibly damaging the paint around them. Hmmmm...
View attachment 671740


Enter your email address to join:


