IronMan81
Super Freak
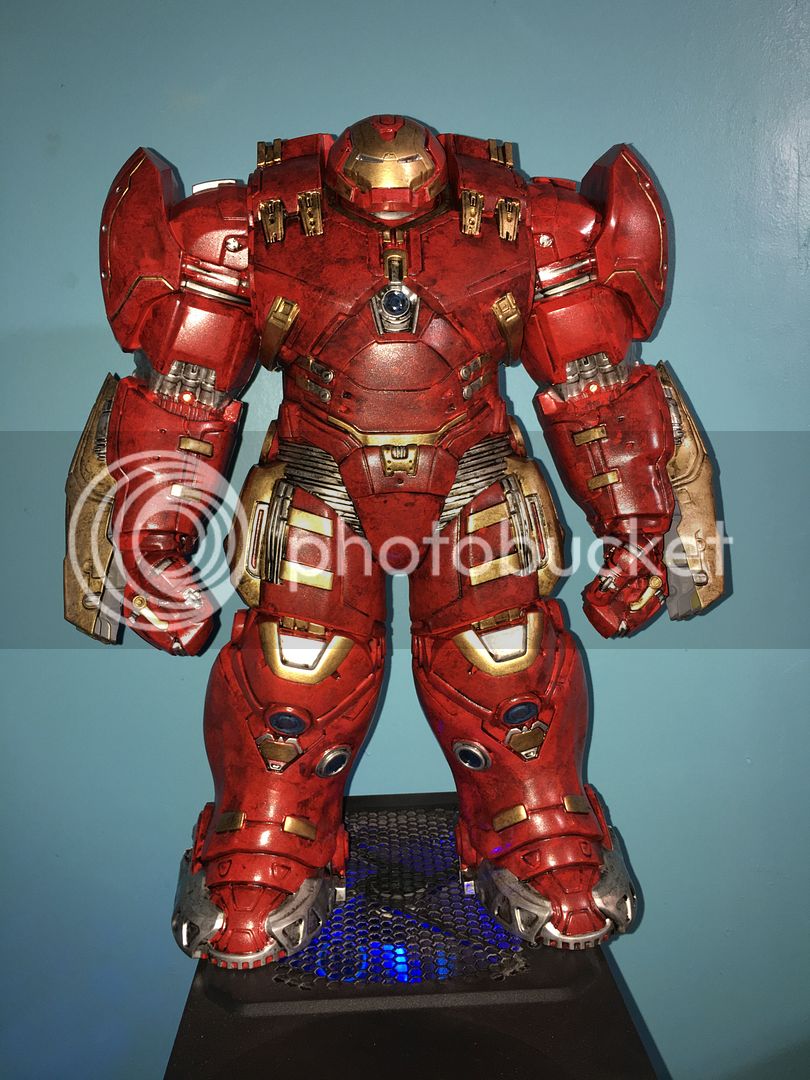
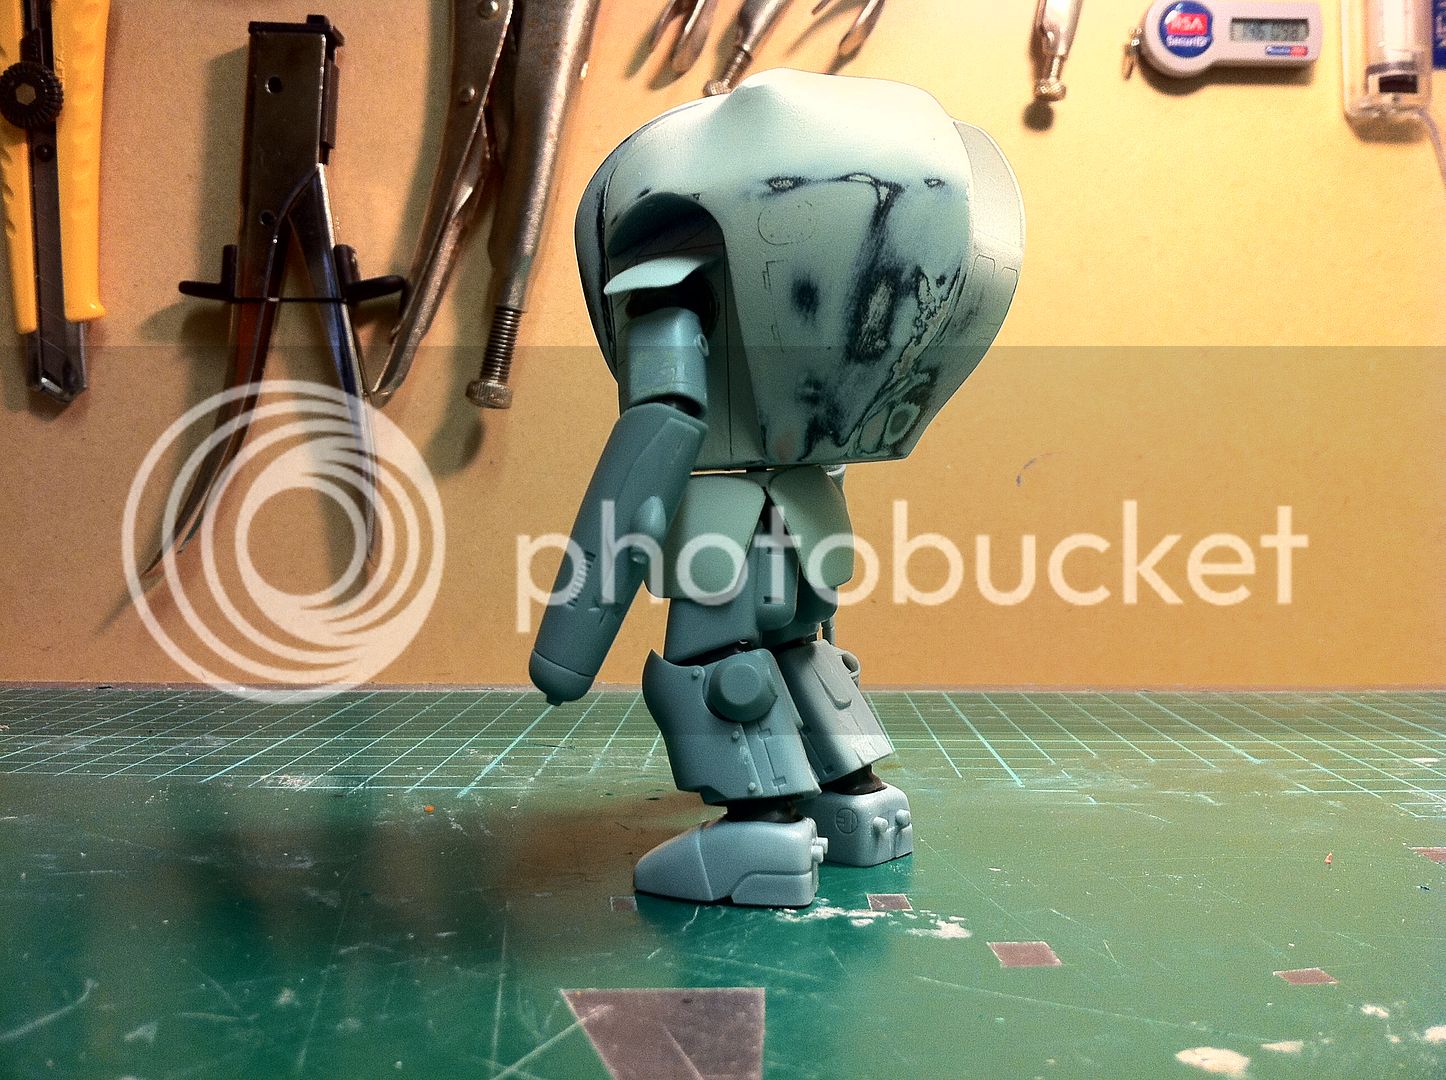
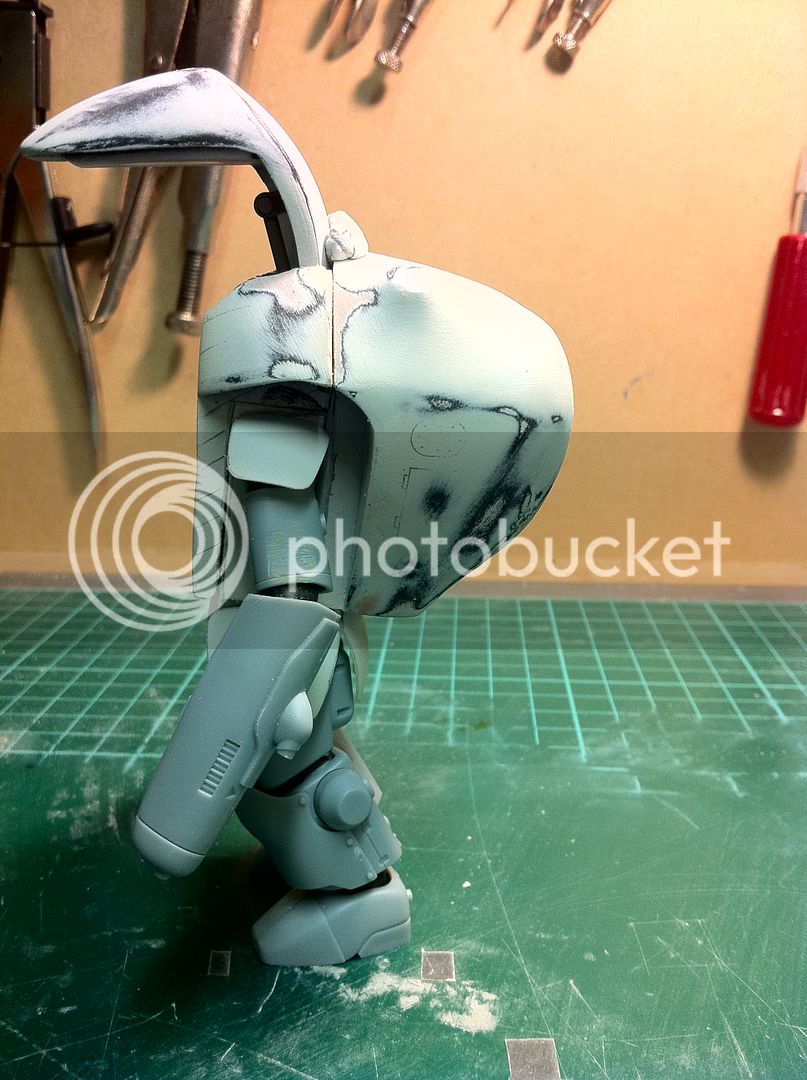
For the best battle damage, you want to think in layers. If the metal the suit is made from is a silver colour for ease of weathering(They always say it's a gold/titanium alloy, but lets say silver, just for the colour). Then, lets say they have a dark grey primer, just for contrast, before the red and gold is painted on the parts. So, you want to first paint on a shape of dark grey. Then, inside the outline of that, you can paint your silver. The effect is that something hit the armour, grazed off a large chunk of the gloss, then some red, then some primer, and impacted on the under metal itself, but the metal showing is smaller than the larger impact shape. You get an effect that hints at a few layers in the paint.
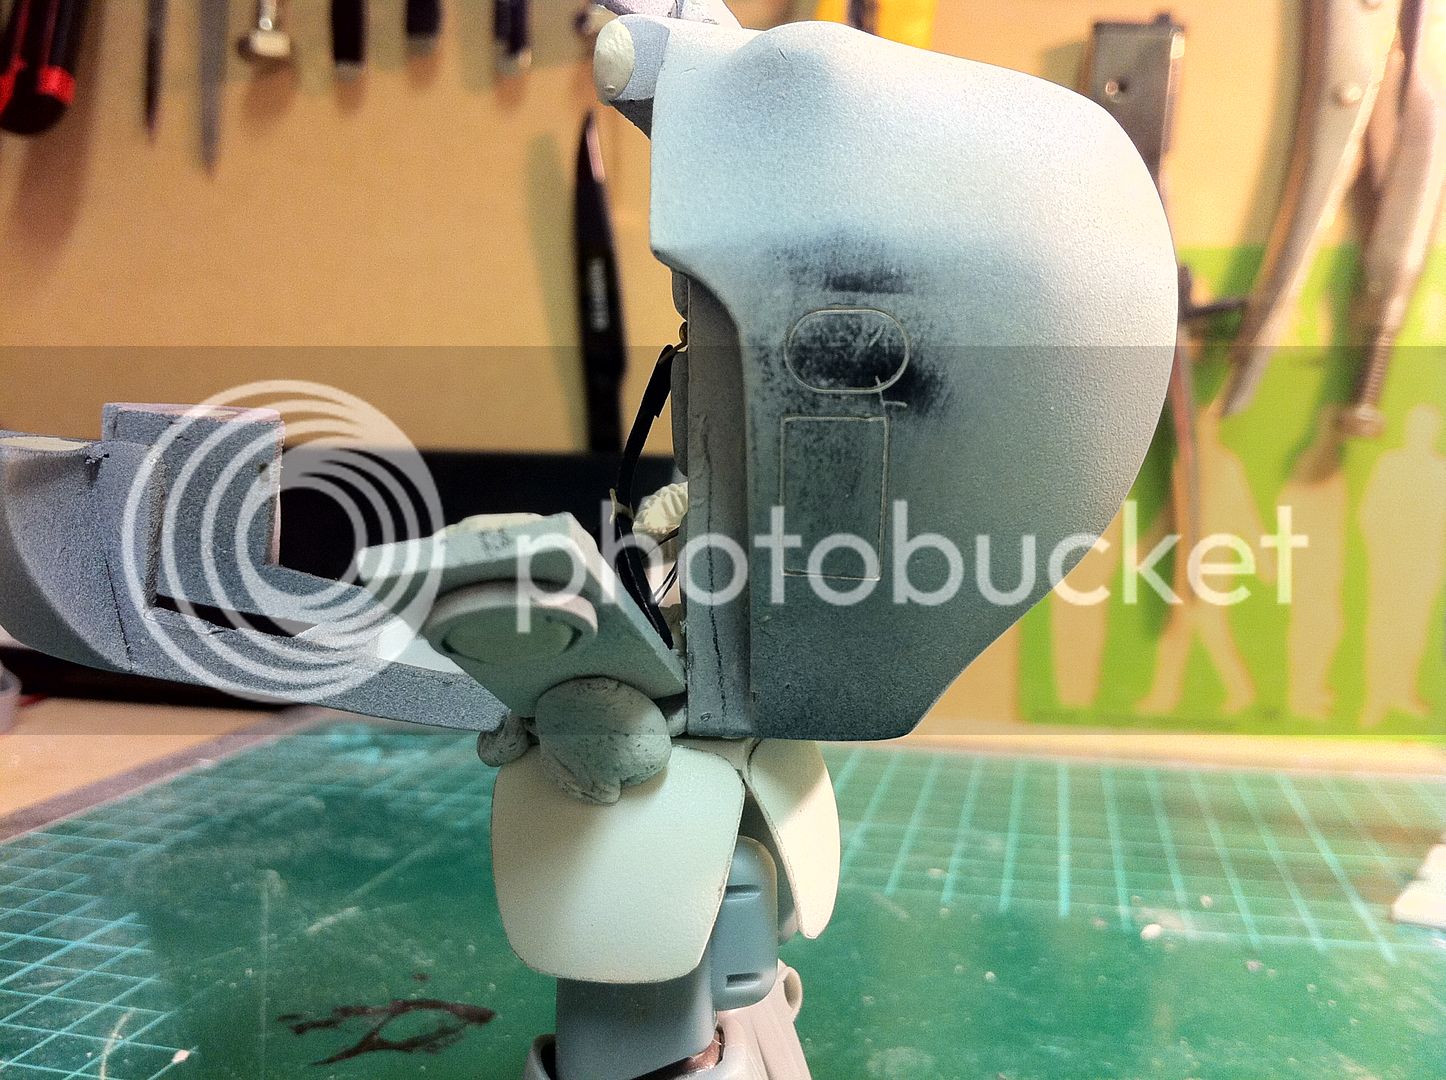
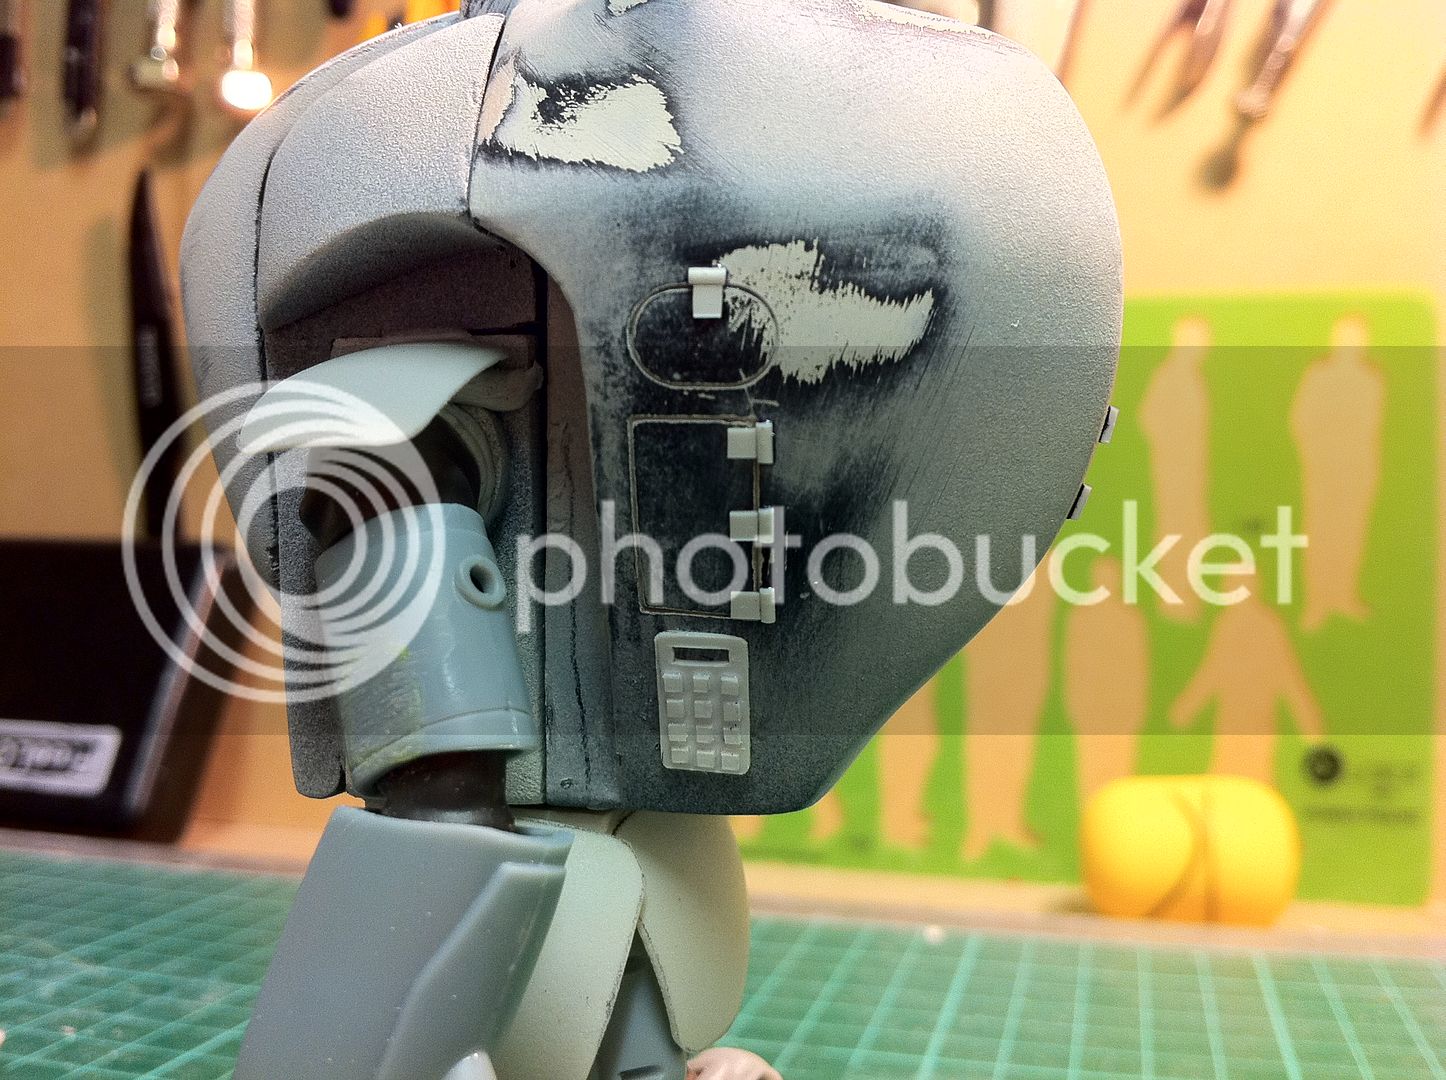
Hopefully you can see a similar effect here in these pics:
you've gone deep now, love it, great photos and I totally get what you're saying & your example looks fantastic but I think for this I'm just going to stick with the metal scratch effects, It's a look I'm happy with, but I'll be trying the Masking tape trick before I apply the clear coat to try and keep the effect looking realistic.