Chakaman
Super Freak
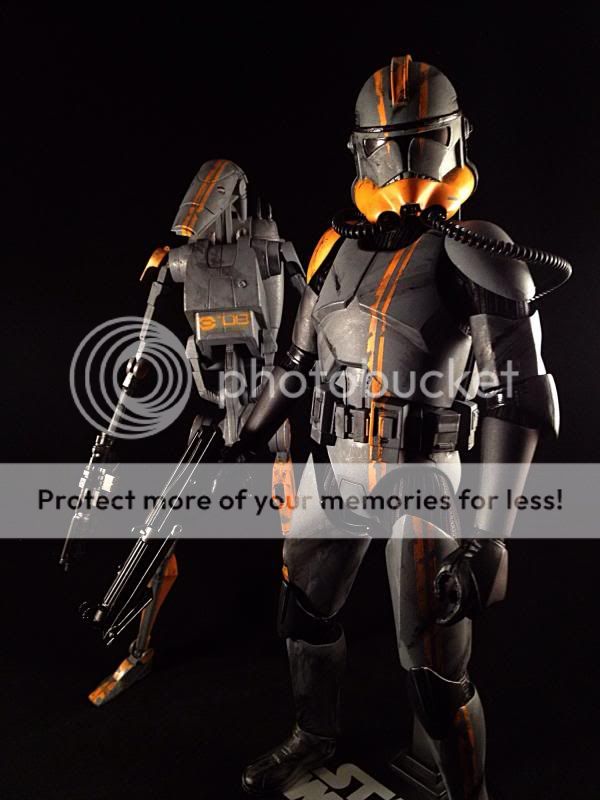
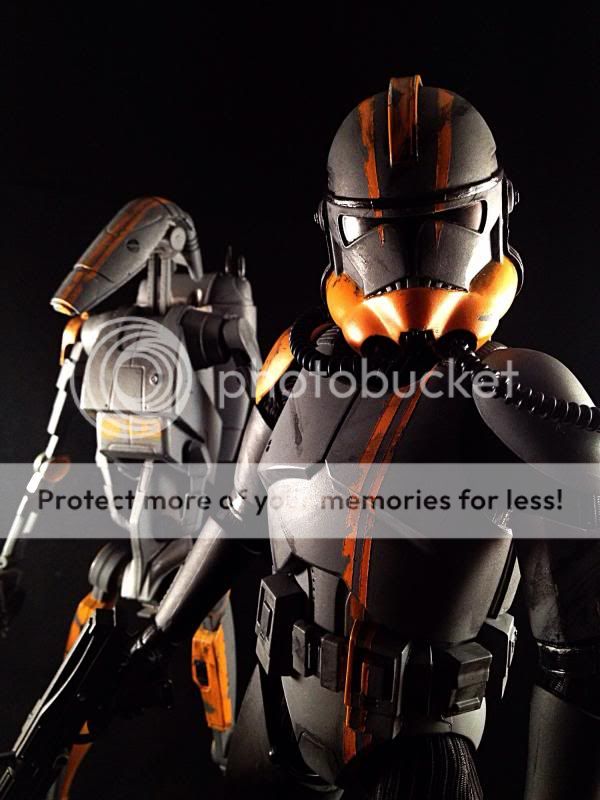
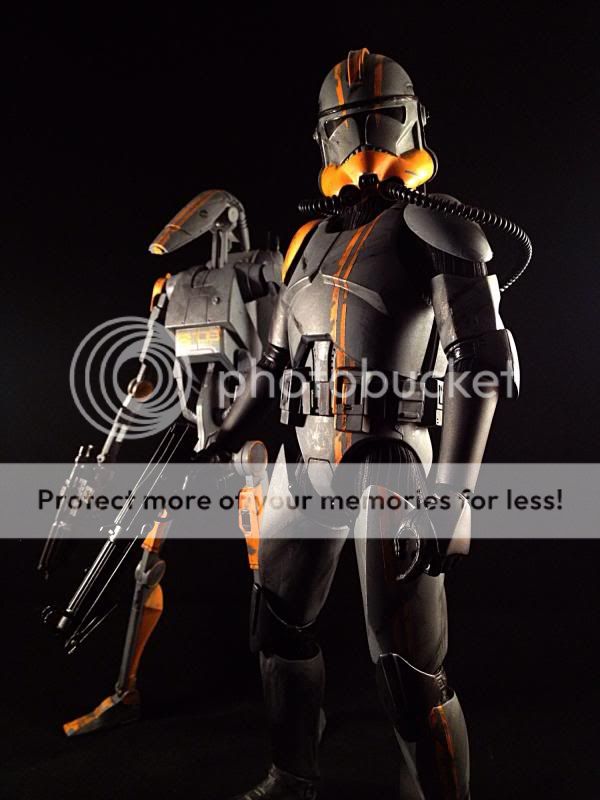
That looks really good. The orange really "pops". I like the weathering on him as well. Nice work, well done.


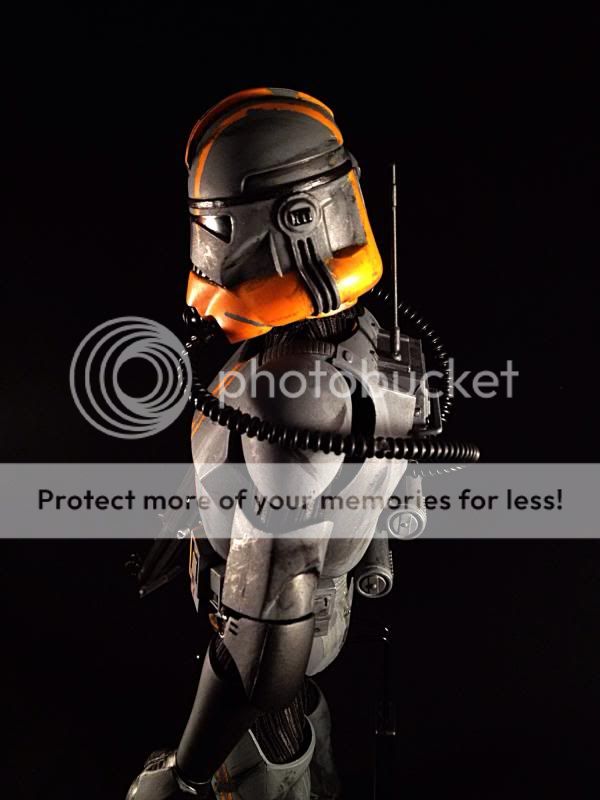
Actually, it makes a lot of sense. This is very similar to a technique I used when I used to build plastic models (over 20 years ago). I primarily used a dark gray wash combined with a little black enamel. Then I used what they called "dry brushing" to get the look.Thanks man. Yeah I just experimented. I always start with a razor blade. Ill take the edge of a razor blade against any sharp edges of armor and anywhere I would imagine there would be scuffs. After that I mix a little combo of metallic dark gray, enamel black and light gray. Definitely a very light amount on the brush at a time and sometimes with a bit of water and fill in all the cracks and spaces that would have dirt build-ups and then wipe with a paper towel. It's a trial and error process. I still need a lot of work to really get it down but i have been able to get some cool effect like if you look on his rib cage there's sort of that odd shaped dirt ring. Or if you drop a dot of black and take a thinner brush and just sort of dot the armor and the swipe out sort of like blaster burn marks if that makes sense? Sorry this was a long response man haha!
Actually, it makes a lot of sense. This is very similar to a technique I used when I used to build plastic models (over 20 years ago). I primarily used a dark gray wash combined with a little black enamel. Then I used what they called "dry brushing" to get the look.
I built a Falcon back in the 90s that had a few convinced that is was a movie prop. Unfortunately, it met its demise about 3 house moves ago.
If you don't like the way the paint came out, do you remove it and start again? If so, how do you remove the paint?

")
The bomb squad trooper is the bomb, very nice custom.
That looks really good. The orange really "pops". I like the weathering on him as well. Nice work, well done.

Nooooooooooooooo! I would have LOVED to see that Falcon!
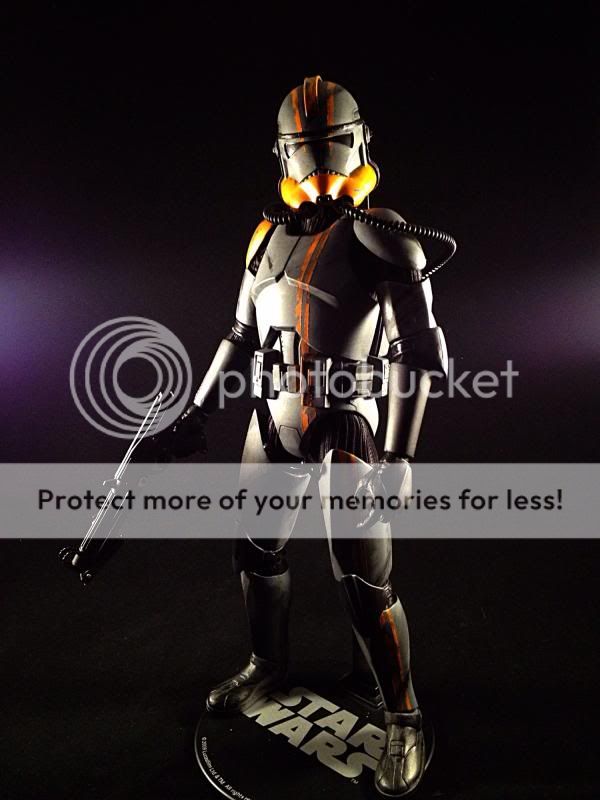
I thought dry brushing was painting without using water? What IS dry brushing? I think maybe I just assumed that without ever actually knowing, haha! The main paint yeah, just a little alcohol usually works pretty good. My first one i tried to be slick by using acetone and started melting some of the pieces haha fortunately i didn't melt them bad enough that they weren't usable. Usually if I don't like what I did I just wipe it off completely with the paper towel. The acrylics dry pretty quick though so I guess for the big picture i would probably be smarter to matte seal the clean coat so i have a layer to protect the main pain job should i need to use a dab of alcohol on a swab to remove some wear marks i didn't like.
This is only my 3rd of 5 in. I definitely have a lot more learning to do. I think I might do a matte seal after the main body paint job is done before the weathering on this next one i'm working on
Any photos of that Falcon?

Wow.... That is awesome!!!
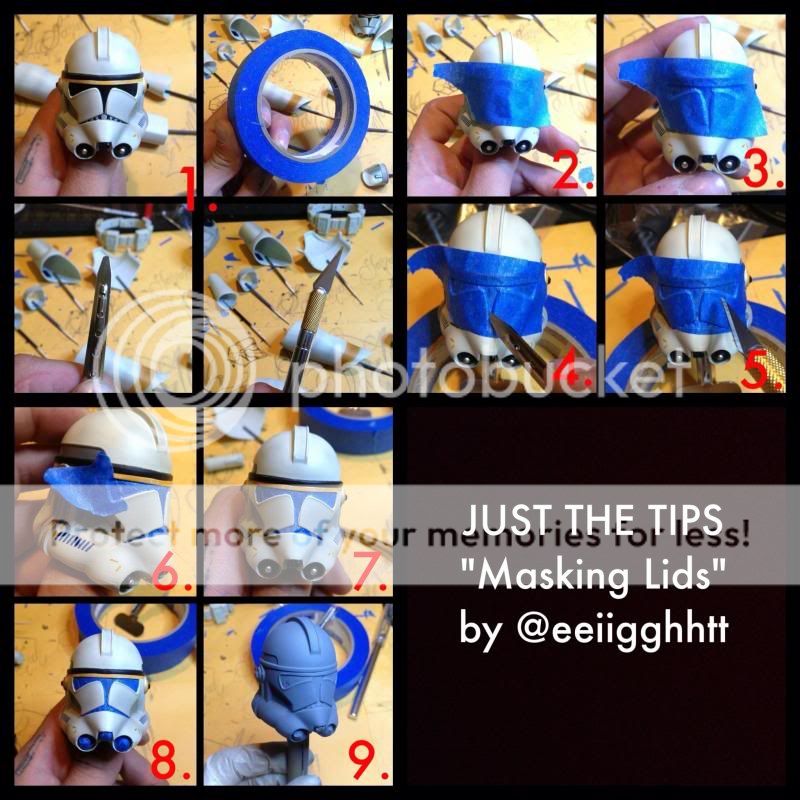
I'd like to see a step by step process of your creation/s.
Very nice work you have done there the colors are great.
I am going to work on modding a few phase 1 clones and am wondering did you strip the paint off the armor or did you just paint over it?
...speaking of air hoses.... where did you get those from?
Enter your email address to join:

