Alrighty, here's the process to shed those pounds off your Medi TDK Bat's man boobs. it's rather simple. Sorry for the bad pics, my digital camera was dead, so all I had was my trusty phone.
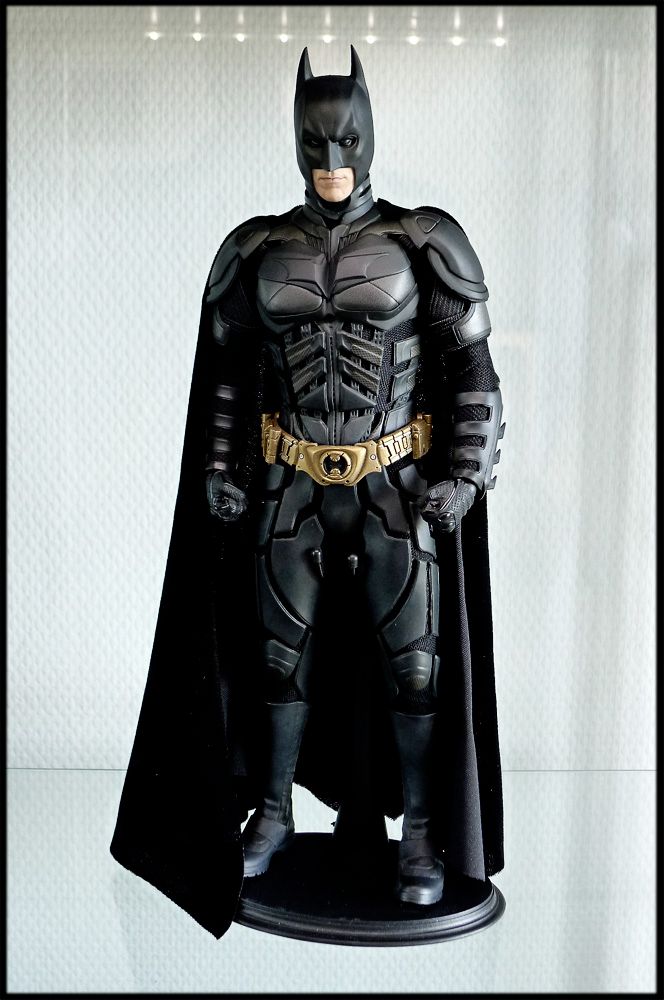
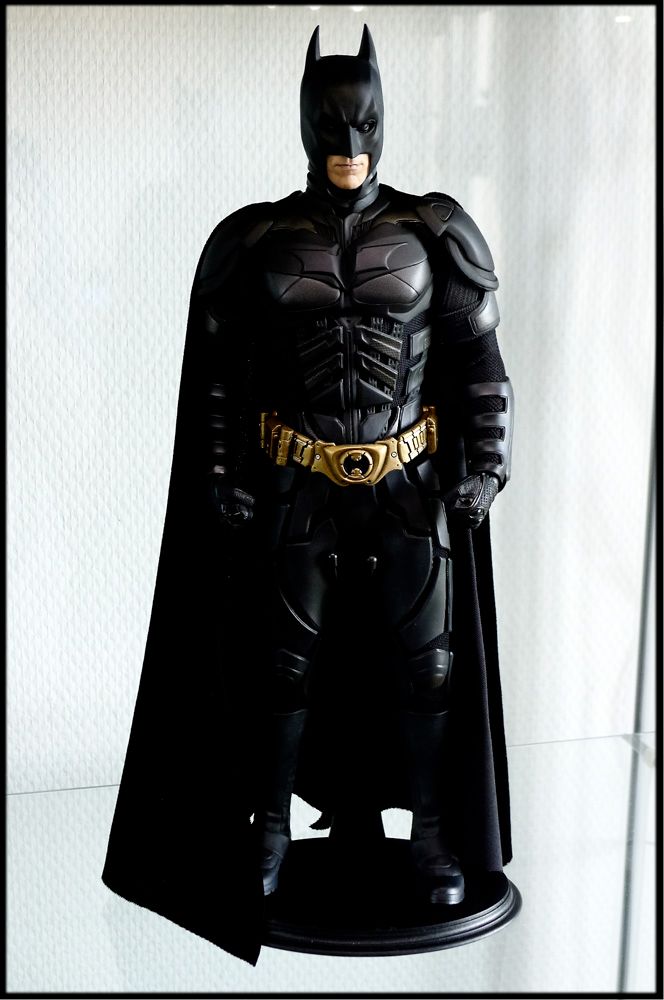
Again, kazukijun I hope you don't mind me using one of your pics. it had the best lighting to show what was needed.
Step 1: Use tweezers and/or a crafting knife (i used an exacto knife) to pull up and maybe have to cut away the glue holding down the chest plate at the bottom edge starting at one end where one arrow is all the way to the middle then go to the other side and do the same thing. be careful not to cut at the suit. the chest plate kind of ripped very little at the middle so be careful when you get there! Also, do not remove the entire chest plate, leave it connected at the carbon fiber pieces on the collar area.
Step 2:The circled areas and the plugs are what push the chest plate out so much. So here you cut all the circled areas as well as the plugs attached to the chest plate. The chest plate is rather soft, so be careful not to cut through it while cutting. Also, disregard the bottom right arrow, you don't have to cut there
This is how it should look when you're done cutting (I hadn't cut the plugs off yet):
Step 3: Now time for gluing it down. I would press it down a couple times to make sure you have a good idea of where you need to glue it down before actually glue it. You have to pull and press to make sure you can get it as flat at possible b/c it's used to being roundish haha.
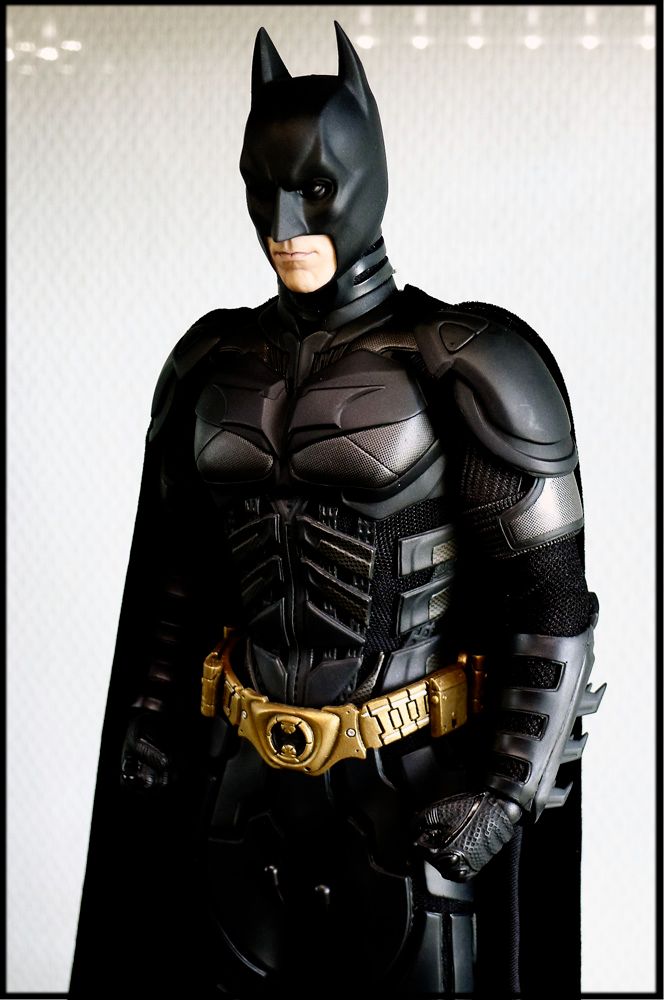
For mine, the bottom edge corners of the chest plate touched the top corner of the side body armor pieces as well as the edge by the armpit/shoulder area like this:
And your end result should be something like this:
I hope this makes sense. if not, just ask, and I'll try my best to answer


 To scary!

 Jazzinc Dioramas 1/6 Ultimate Catwoman (Batman Returns, 1992)
