Ikea Granas Coffee Table become awesome Display Case

Collector Freaks Forum

Help Support Collector Freaks Forum:

This site may earn a commission from merchant affiliate links, including eBay, Amazon, and others.
Just a poster fitting and a teaser on what this will look like, still lots to do yet
c5a8aed73824426b3d64ae913eee9e06.jpg

:blissy :rotfl :blissy

Dude, this is....absolutely incredible! :clap:clap::yess:
 
A quick substitute: an aquarium turned upside down. A good shop will be able to custom make one for you if need be - and since it's not holding water it can be made with much thinner glass, saving you big bucks.

And with regards to another post about viewing angle... Put it up on a cabinet of whatever height you want/need. Wasn't there already a picture of this in the thread?
 
It always makes me feel good coming in this thread and seeing the works of art everyone are making! Good stuff fellas! :rock

Here's a little update to where my Granas is at right now. Still some more things I want to be adding namely a giant wookie named Chewbacca! But its left to the fate of the 1/6 gods! Hope you dig my latest! Cheers GRANAS brotherhood! :duff

 
Looks great. Personally, I'd remove the LED light bars and re-light with individual 5mm and 3mm LEDs to create more dramatic shadow detail to better resemble the movie set.
 
Here's a link to the specific eBay auction I bought my recent 5mm LEDs from. These are warm white which I'd recommend for a more classic look.

https://www.ebay.com/itm/350769015939?ssPageName=STRK:MEWNX:IT&_trksid=p3984.m1439.l2649

You can wire them using a 12v adapter, likely the one you're already using for existing LEDs. Otherwise you can buy another via Amazon. I quite like the LEDWholesalers ones - very good price ($15 or so) and great construction. The 30w one would be enough to run a boat-load of the LEDs.

The LEDs are pre-wired with resistors and can simply be connected in parallel to a wire led to the power adapter. Take a look at my office thread and you'll see some examples of setup/use as well as my method for creating a more spot-light look by encasing individual LEDs in heat shrink tubing.
 
Thanks for the info Pixel! :duff


I had a piece of wood cut to size. I then gave it four full can coats of textured sand color spray paint. Let it dry then dropped it in. It pulls off the effect beautifully!

Awesome thanks! :clap
 
Another great alternative for sand comes courtesy of Solo_Bones and his awesome dios. Elmer's Wood Filler Max. It's got very small grit and already a suitable color. You can apply it thin or vary the thickness, even make footprints or tire tracks in it.
 
So I thought I might help out some people with a little more of a tutorial. I have had mine done for a while and it has been quite a learning experience. I my self am thinking of getting the coffee table and modding it to have two levels for the 89' Batmobile. One level for the car and Batman and the other for the shield and the Villains. Ill show that if and when I get to it.

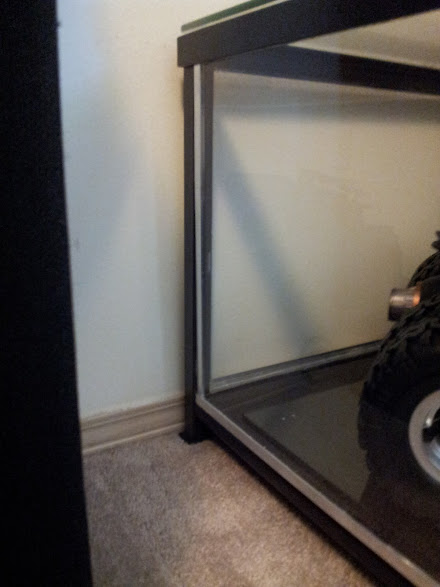
First is the measuring and moving of the slots that hold the rack. I used blue,.97 inch I believe, masking tape. I just followed the same lined and measured out the same original length of the slot and moved it down like so! I measured and inch from the bottom of the rods, so it sits one inch off of the floor now. That is plenty of space as you will see! I cut the new slots with my dremel heavy duty multipurpose cutting tool blades. -

Before!
20130402_172138.jpg


After!

20130402_175752.jpg


Then I painted all of the metal parts!

20130402_180909.jpg


20130402_180006.jpg


20130402_180837.jpg

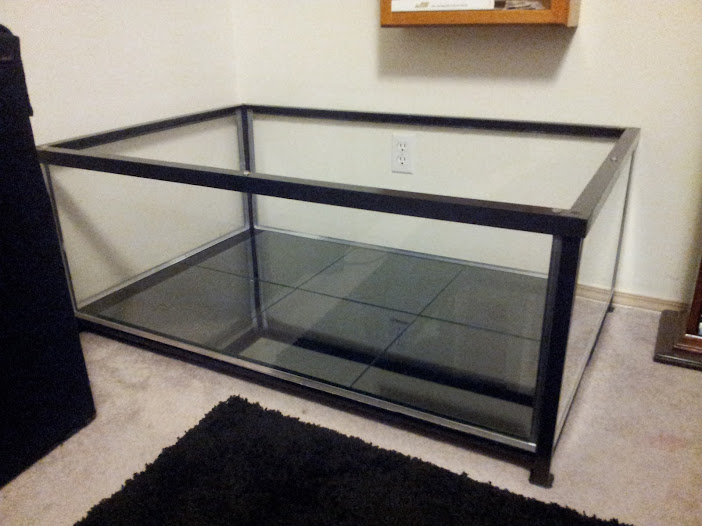
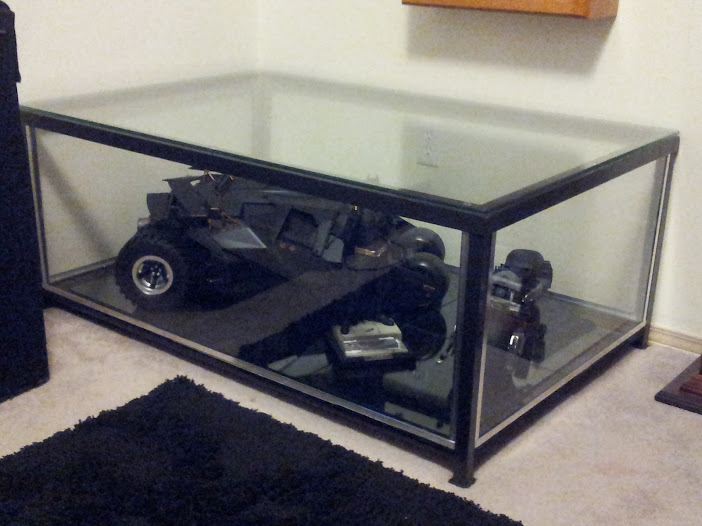
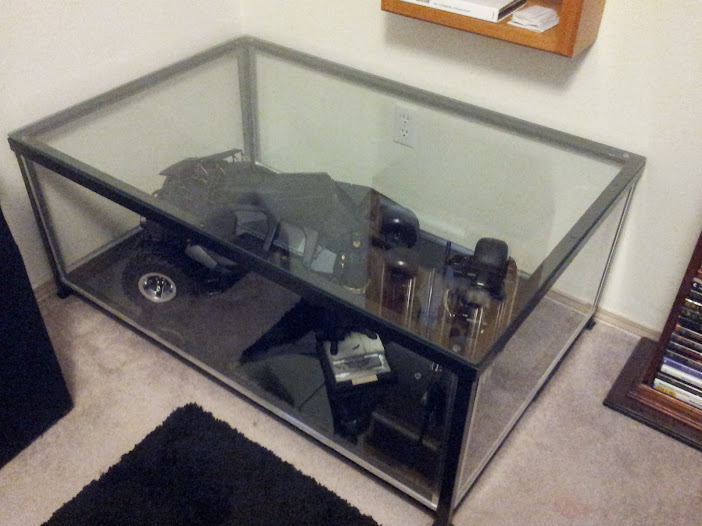
After everything dried, I clear coated the paint with a semi gloss coat. Then, once that was dry, I assembled the table to measure for the acrylic Plexiglas, base shelving, and metal trim that you can find at home depot as everyone else has mentioned prior in this thread. Now the tricky part that I didn't understand and that some had trouble with is that none of these tables are alike. Meaning they will all have different dimensions and lengths when cutting the base shelf, metal trim and Plexiglas windows. My advice to everyone trying this is to remember to measure twice and cut once. For me it was a cut and check method, always remembering to cut a little less then you think and then check the fit. Once I had everything cut and fit well I used 3M, clear two sided tape/ sticky tack. It works pretty well, but is kind of costly for what you get on a single roll. I suggest you buy it at a Wal-Mart in their tape and adhesive area in the office supply area.

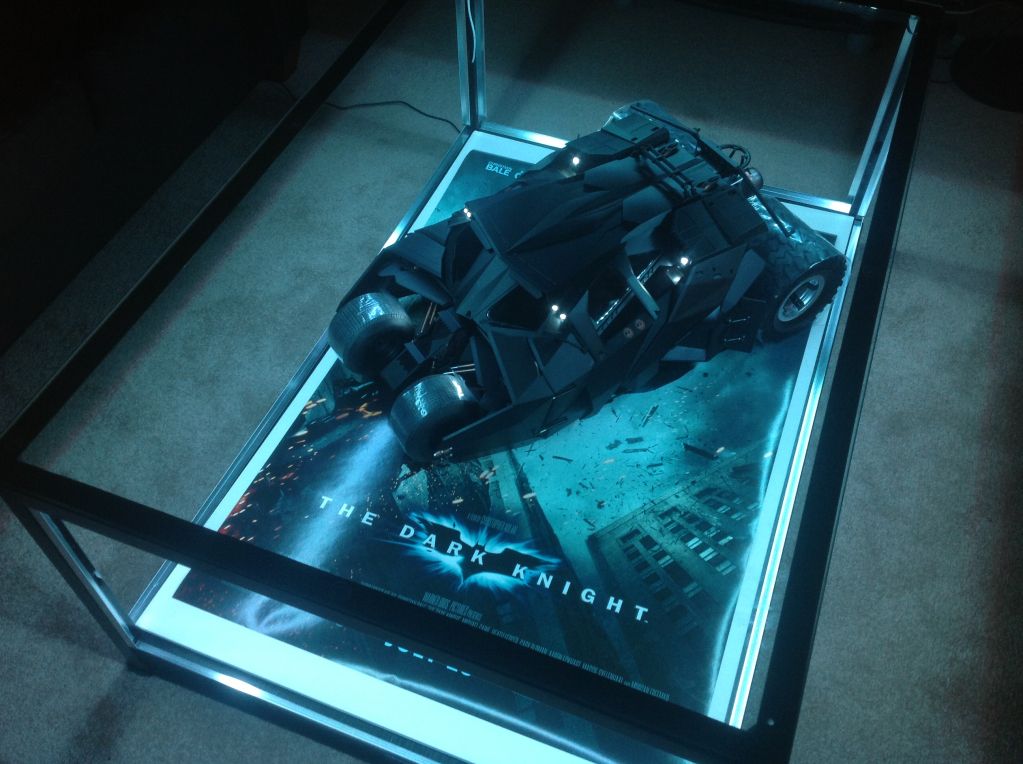
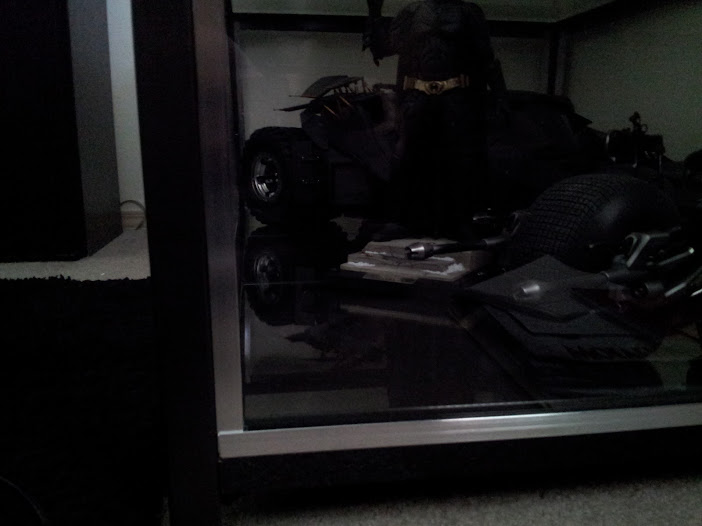
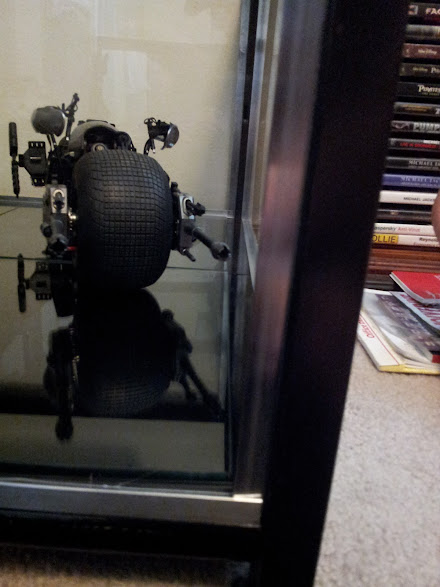
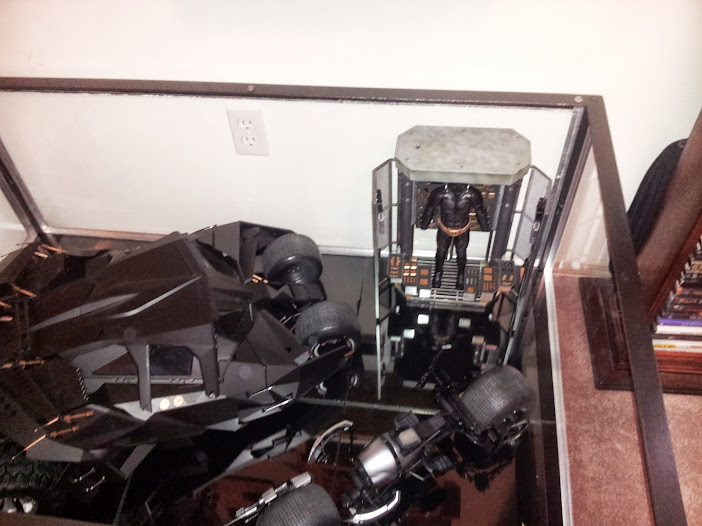
Once I had it assembled. I laid some spare glass from a cube display I have on top of the shelf base to help protect the tires on the Tumbler and the Bat-Pod from the paint on the shelf base.
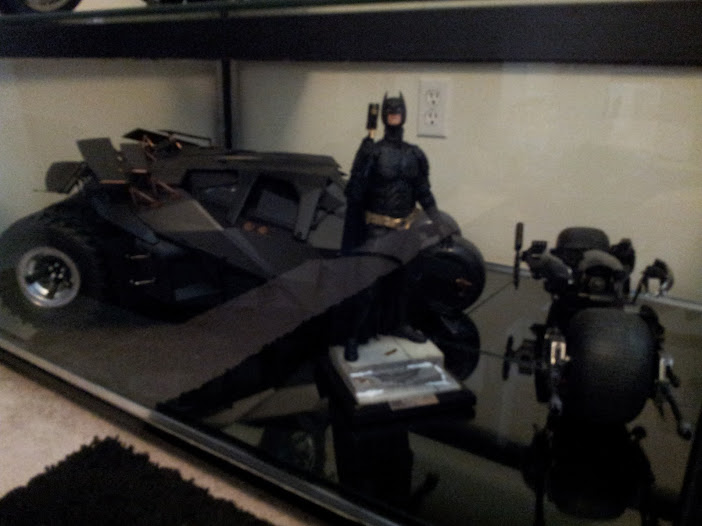
20130428_002420.jpg
 
I still want to add the led light strip mod eventually as well.... one day soon hopefully.

Well done. I think you should paint those silver bracket black as well. It will look better. BTW, what did you use for the flooring?
 
Last edited:
Thanks! I like the silver accent look of the trim. I used shelving from Home depot as others have used. Gave it a gloss coat and then placed some squared glass over that to protect the tires of the Tumbler and the Bat-Pod.
 
What's been the typical cost of retro fitting these tables? Materials only excluding your time.
 
Back
Top