Well I decided to dive in and start work on this.
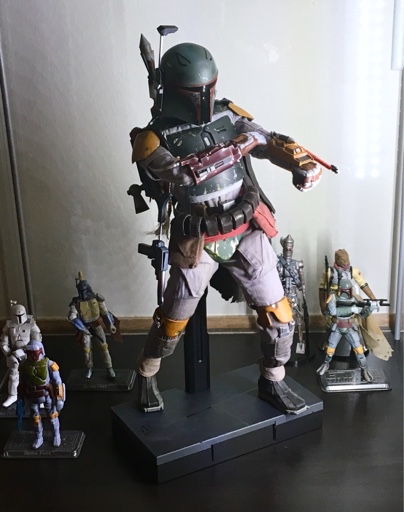
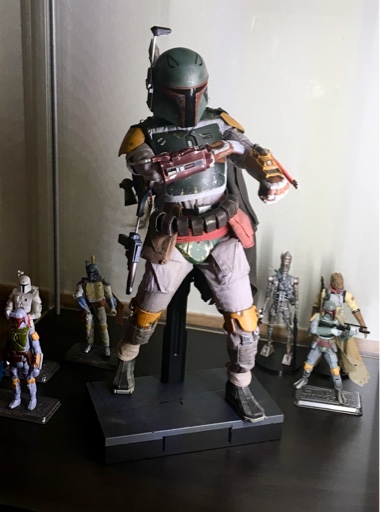
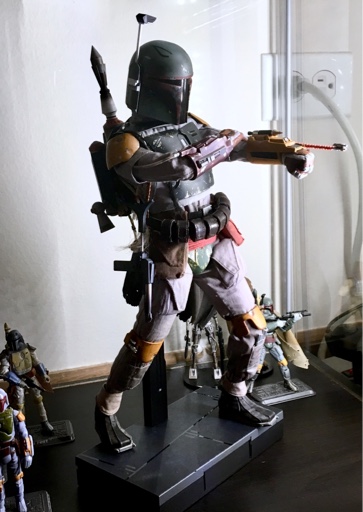
For the body I decided to go with McHaley's idea of using Medicom arms to narrow the shoulders so the shoulder armor lays flat. I'm happy with the rest of the stock body, so other than some strategic padding, I'm done with the body.
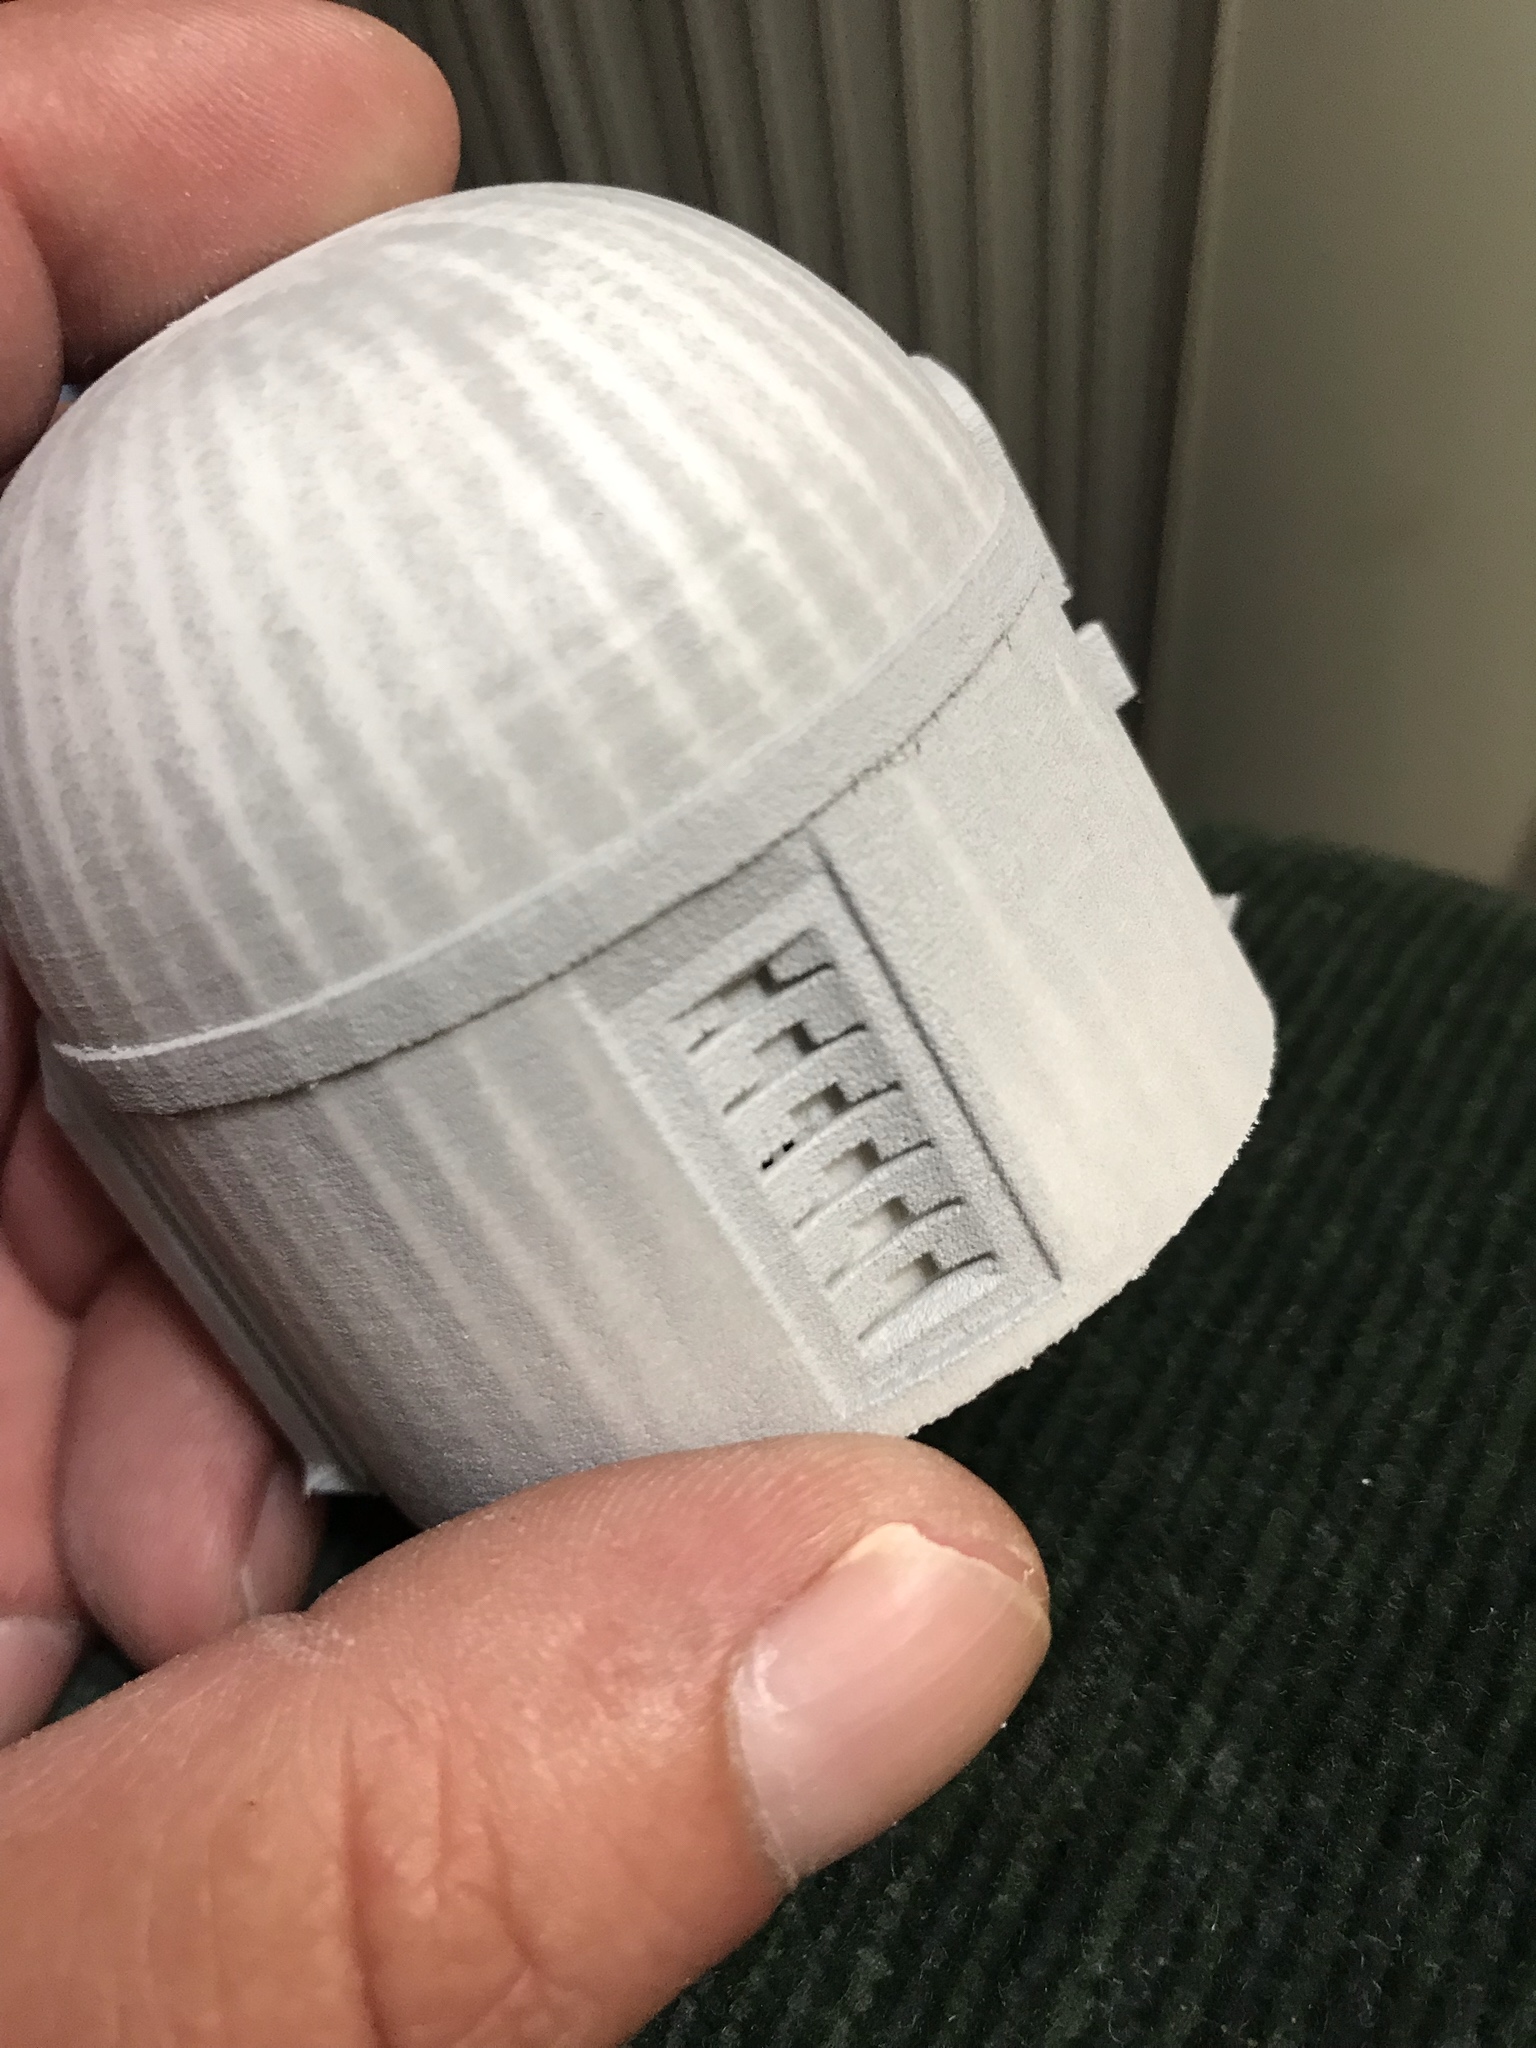
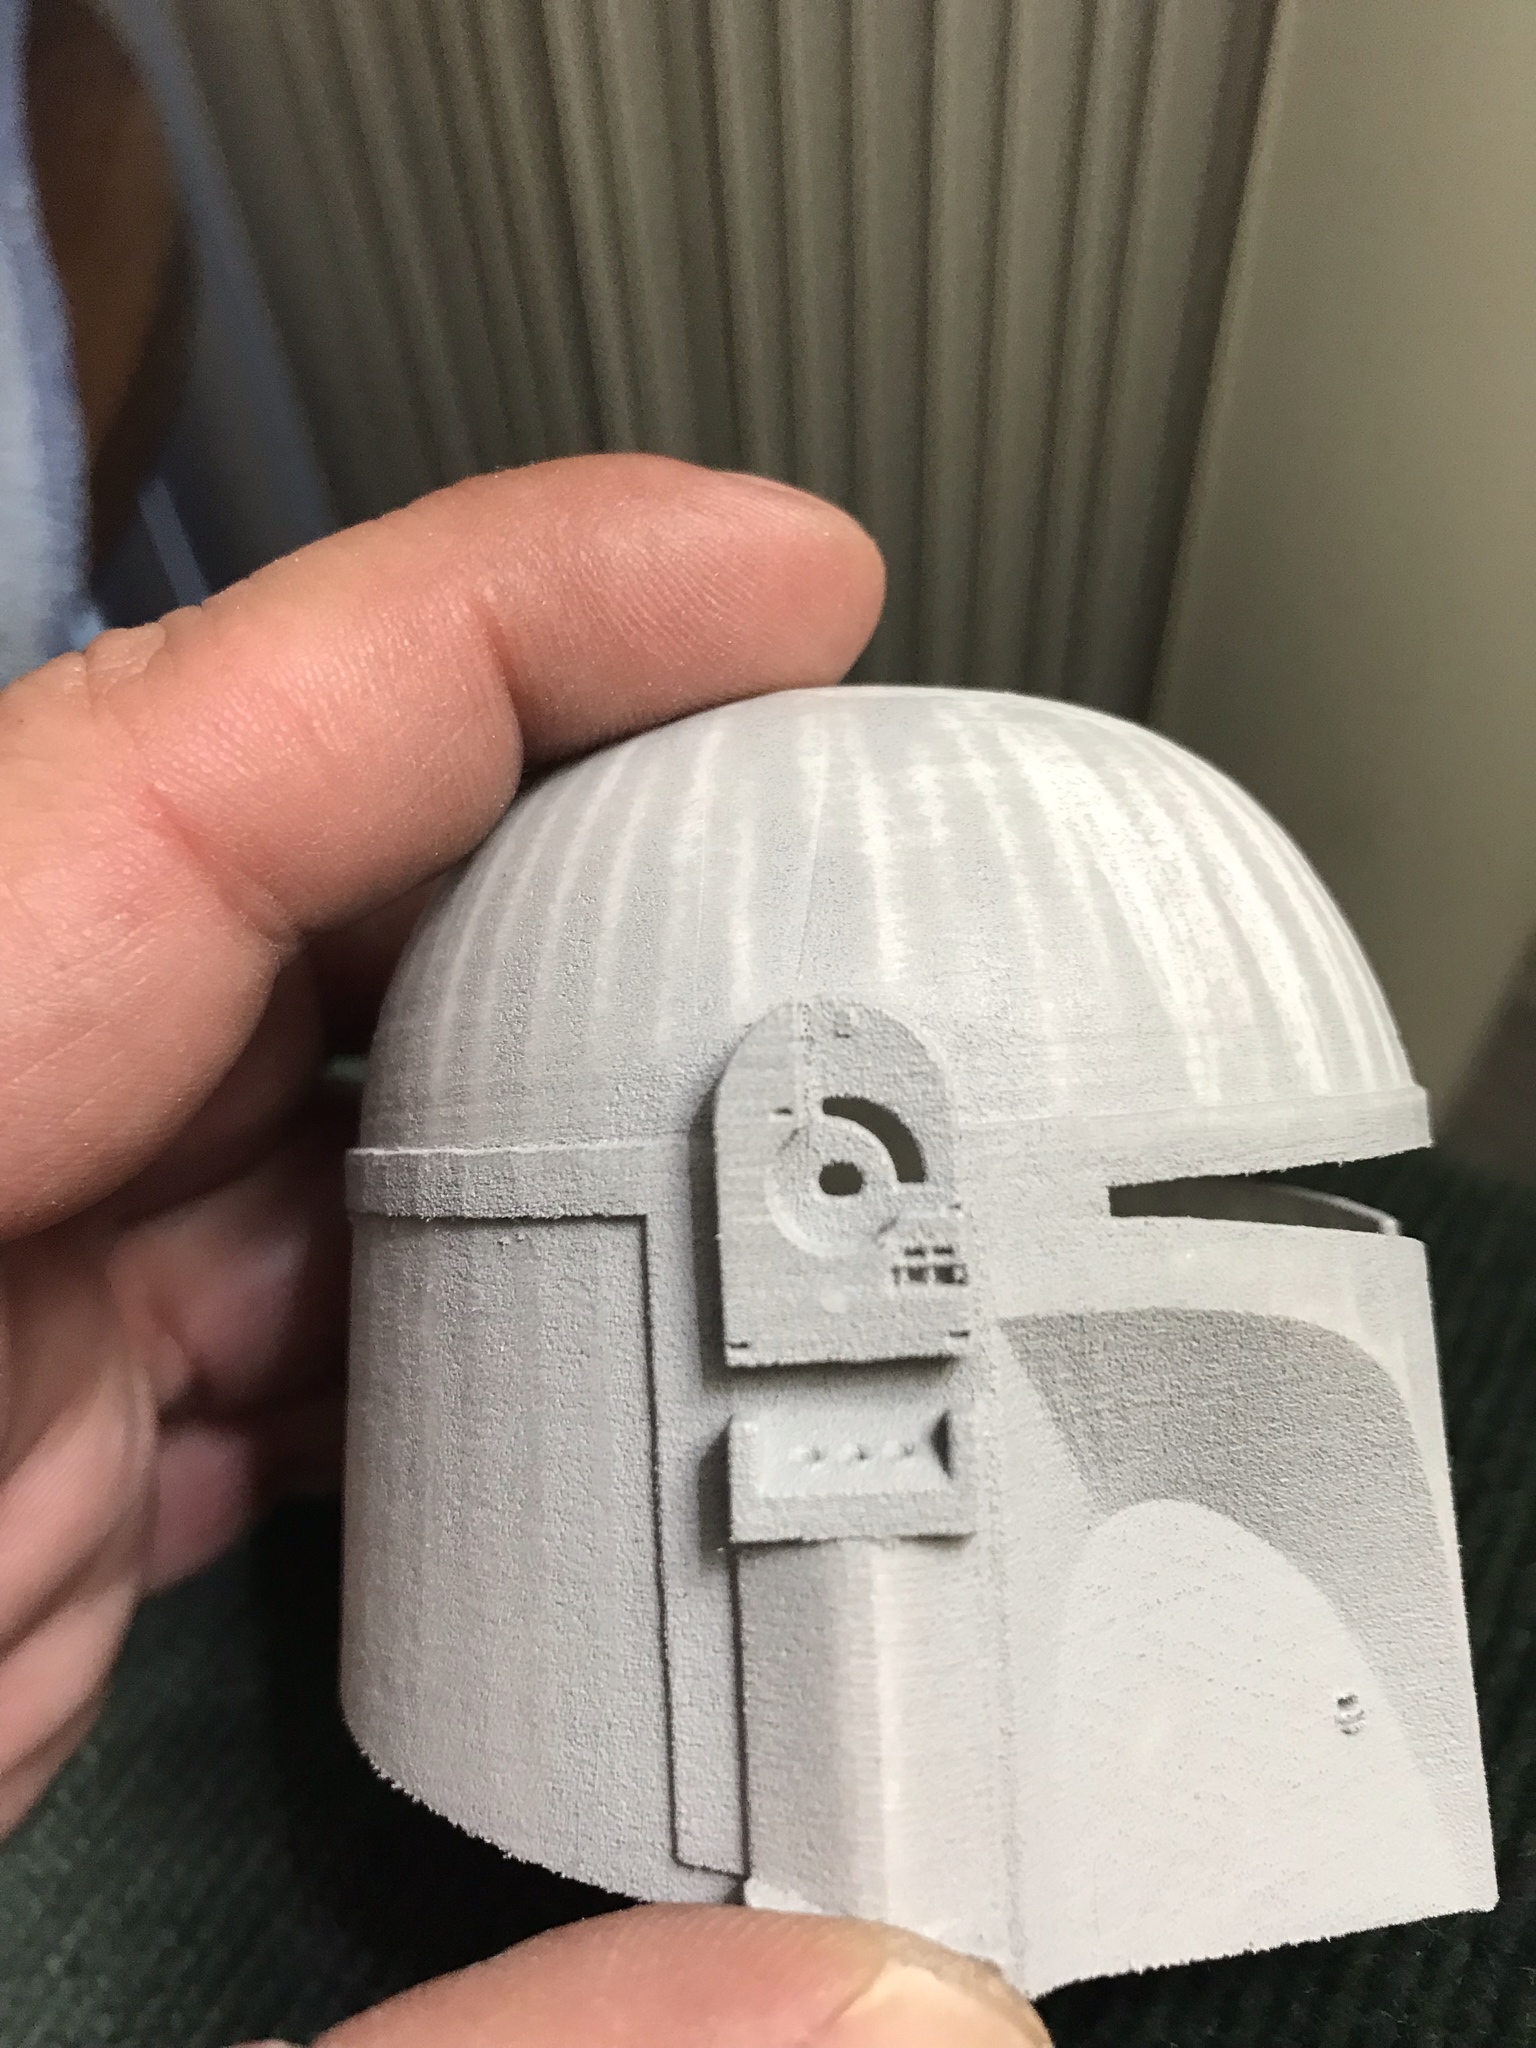
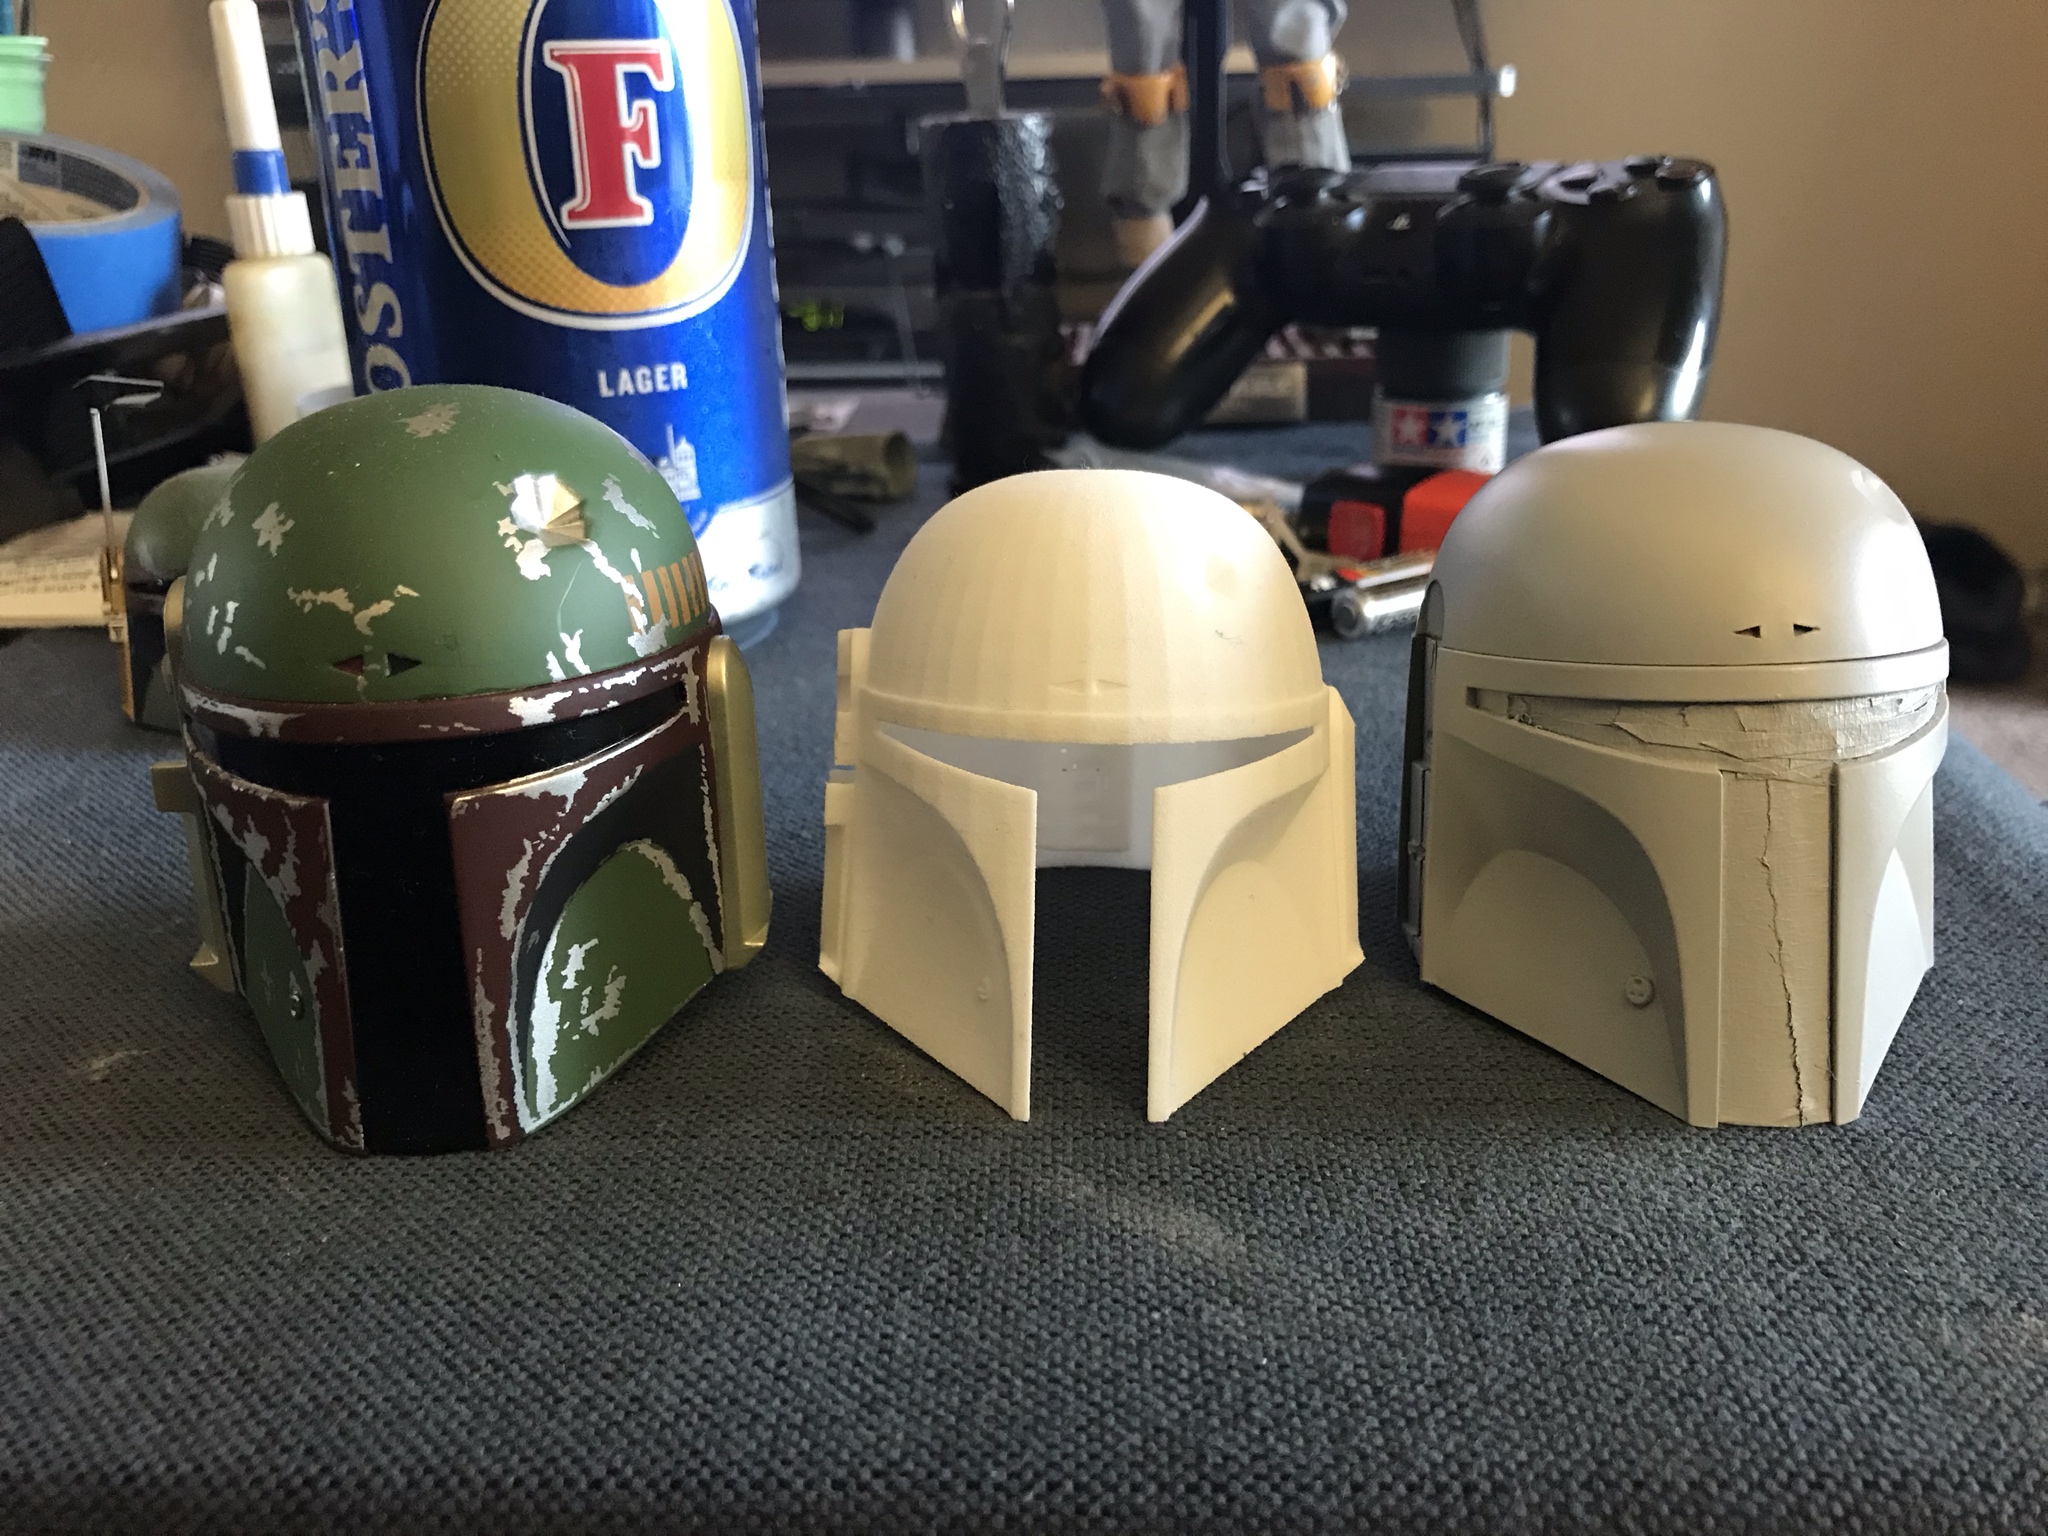
For the helmet I'm mostly sticking with Matrixs's method, I'm using the Hot Toys ear coverings though. It would've probably been much less of a headache if I used the Sideshow ear covers, but I really like the look of the Hot Toys ear coverings so l'm putting myself through the torture of trying to get them to work. Some styrene on the back was used to get the depth right.
I hate working with vinyl, because of how soft and flexible it is, it's so difficult to sand, and using a hobby knife to carve is worse because you need the control of a surgeon to make a straight line. I opted to use the hobby knife to shave in thin layers. It still sucks but it works.
Believe it or not, I've spent the whole weekend working on this and It looks like I've hardly done anything LOL! and it looks like the hard part is going to be gluing the sides of the face plate to the ear covers. That's ultimately the only place where the vinyl will be attached to the hard plastic that 1/6 scale helmets are made of. I'm having a tough time getting the vinyl of the back of the face plate flat and straight enough to make a nice smooth surface to glue the vinyl face to the hard plastic of the ear coverings. I don't want to have to cut away more of the vinyl, but I may have to to insert thin styrene strips to make a nice flat surface for gluing the face to the ear coverings.
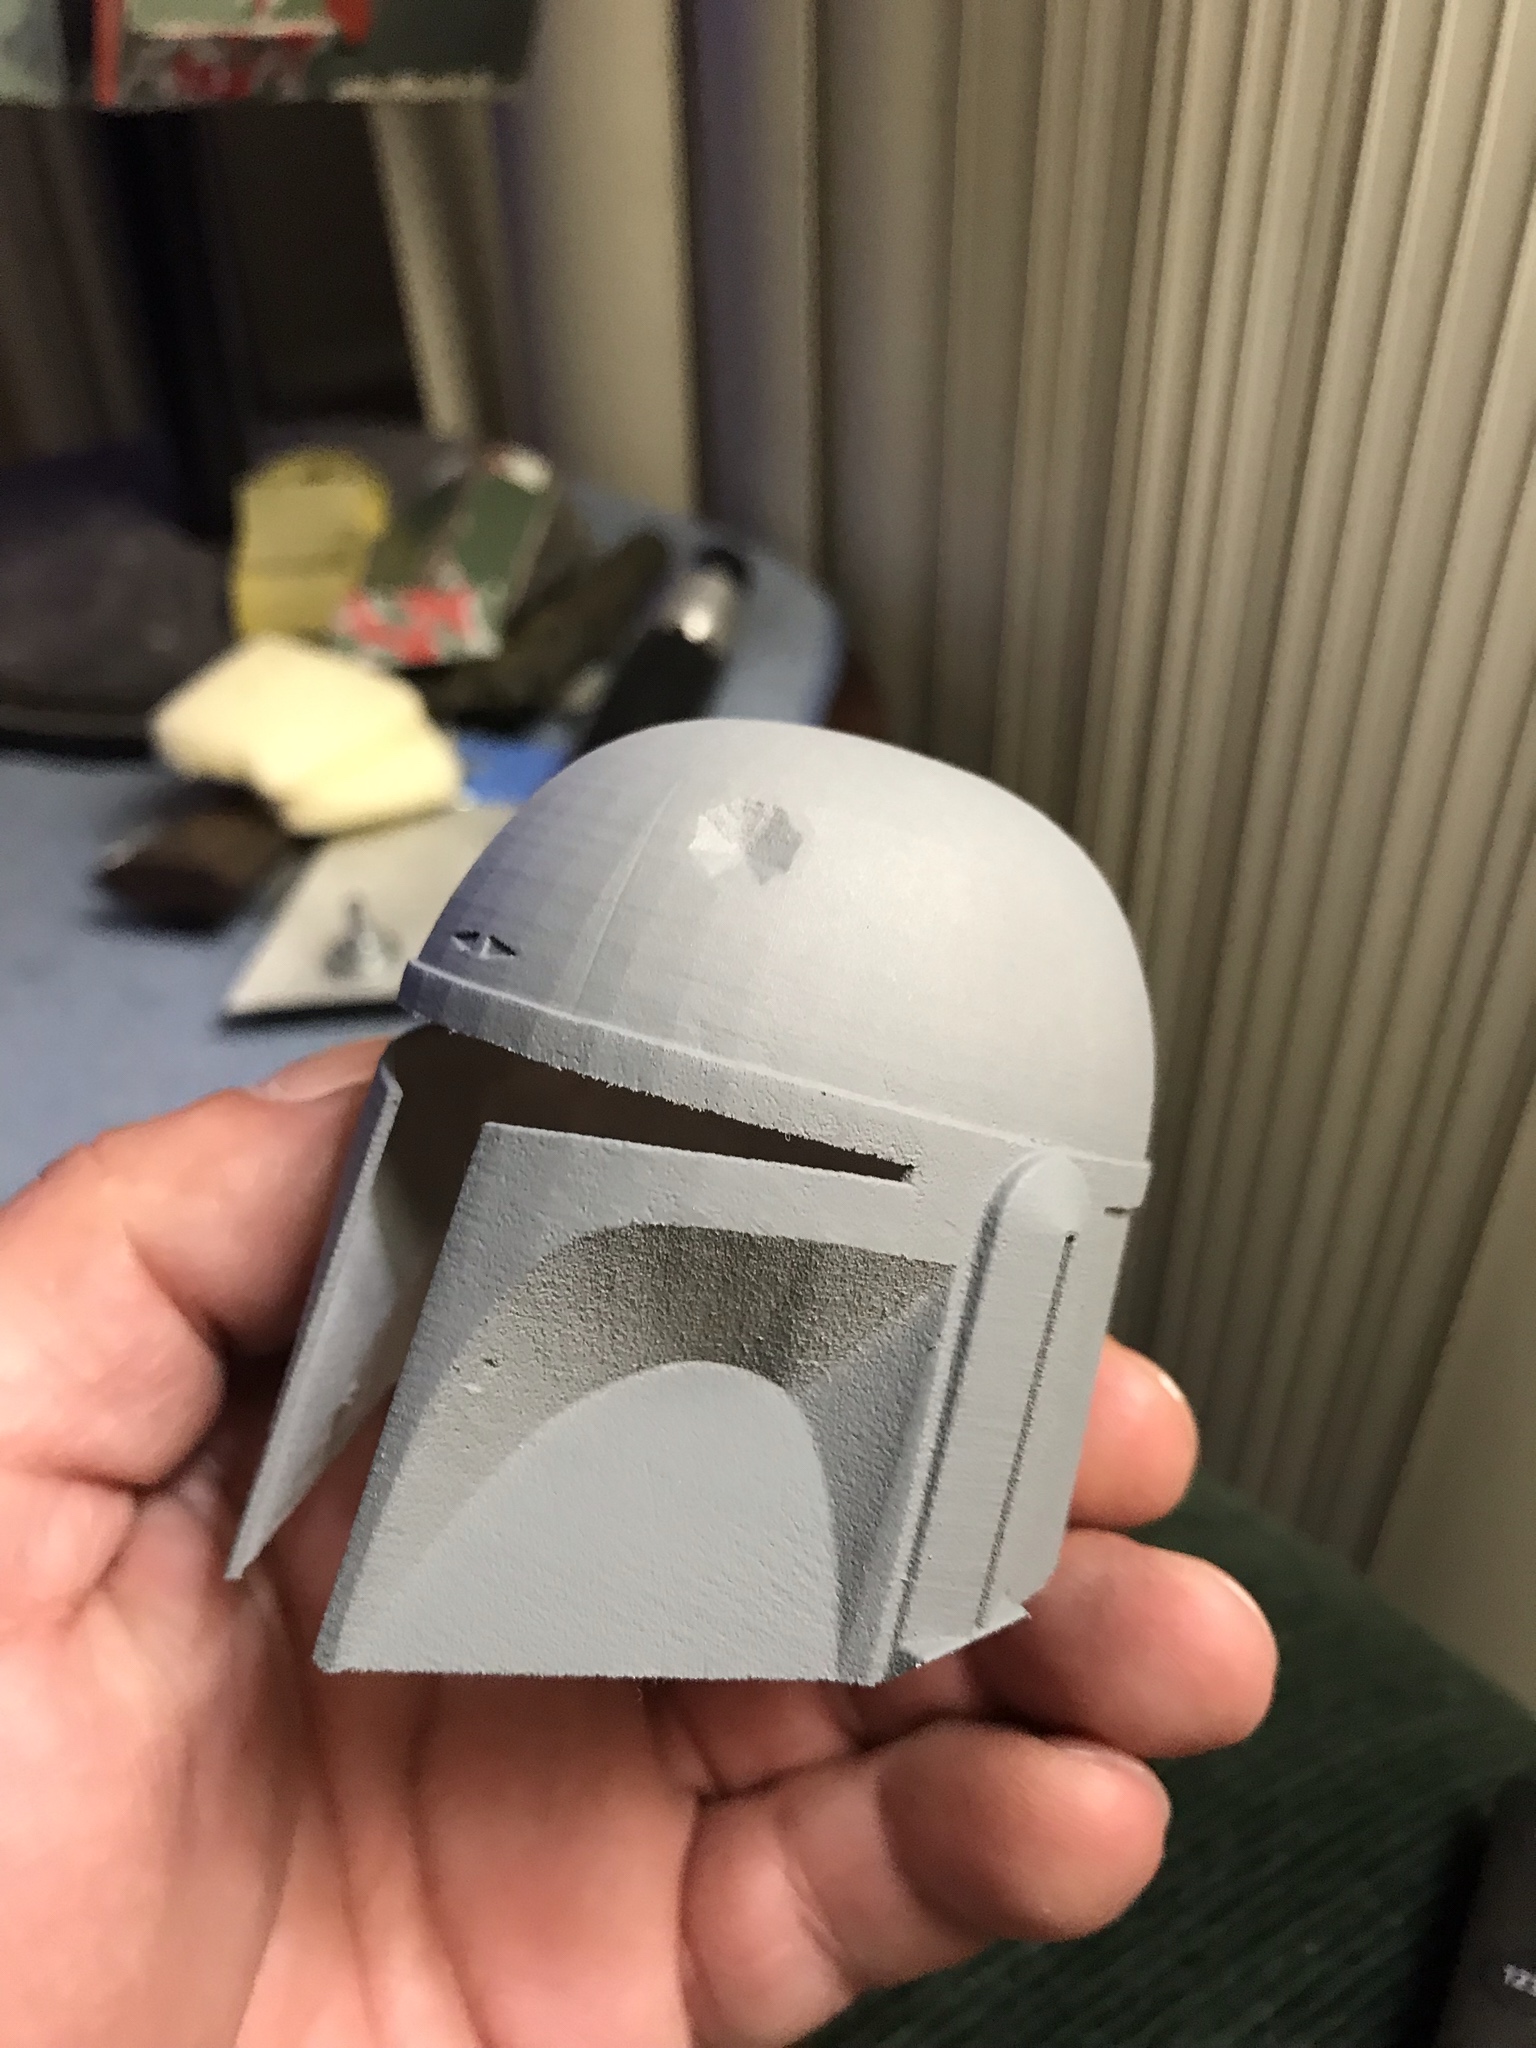
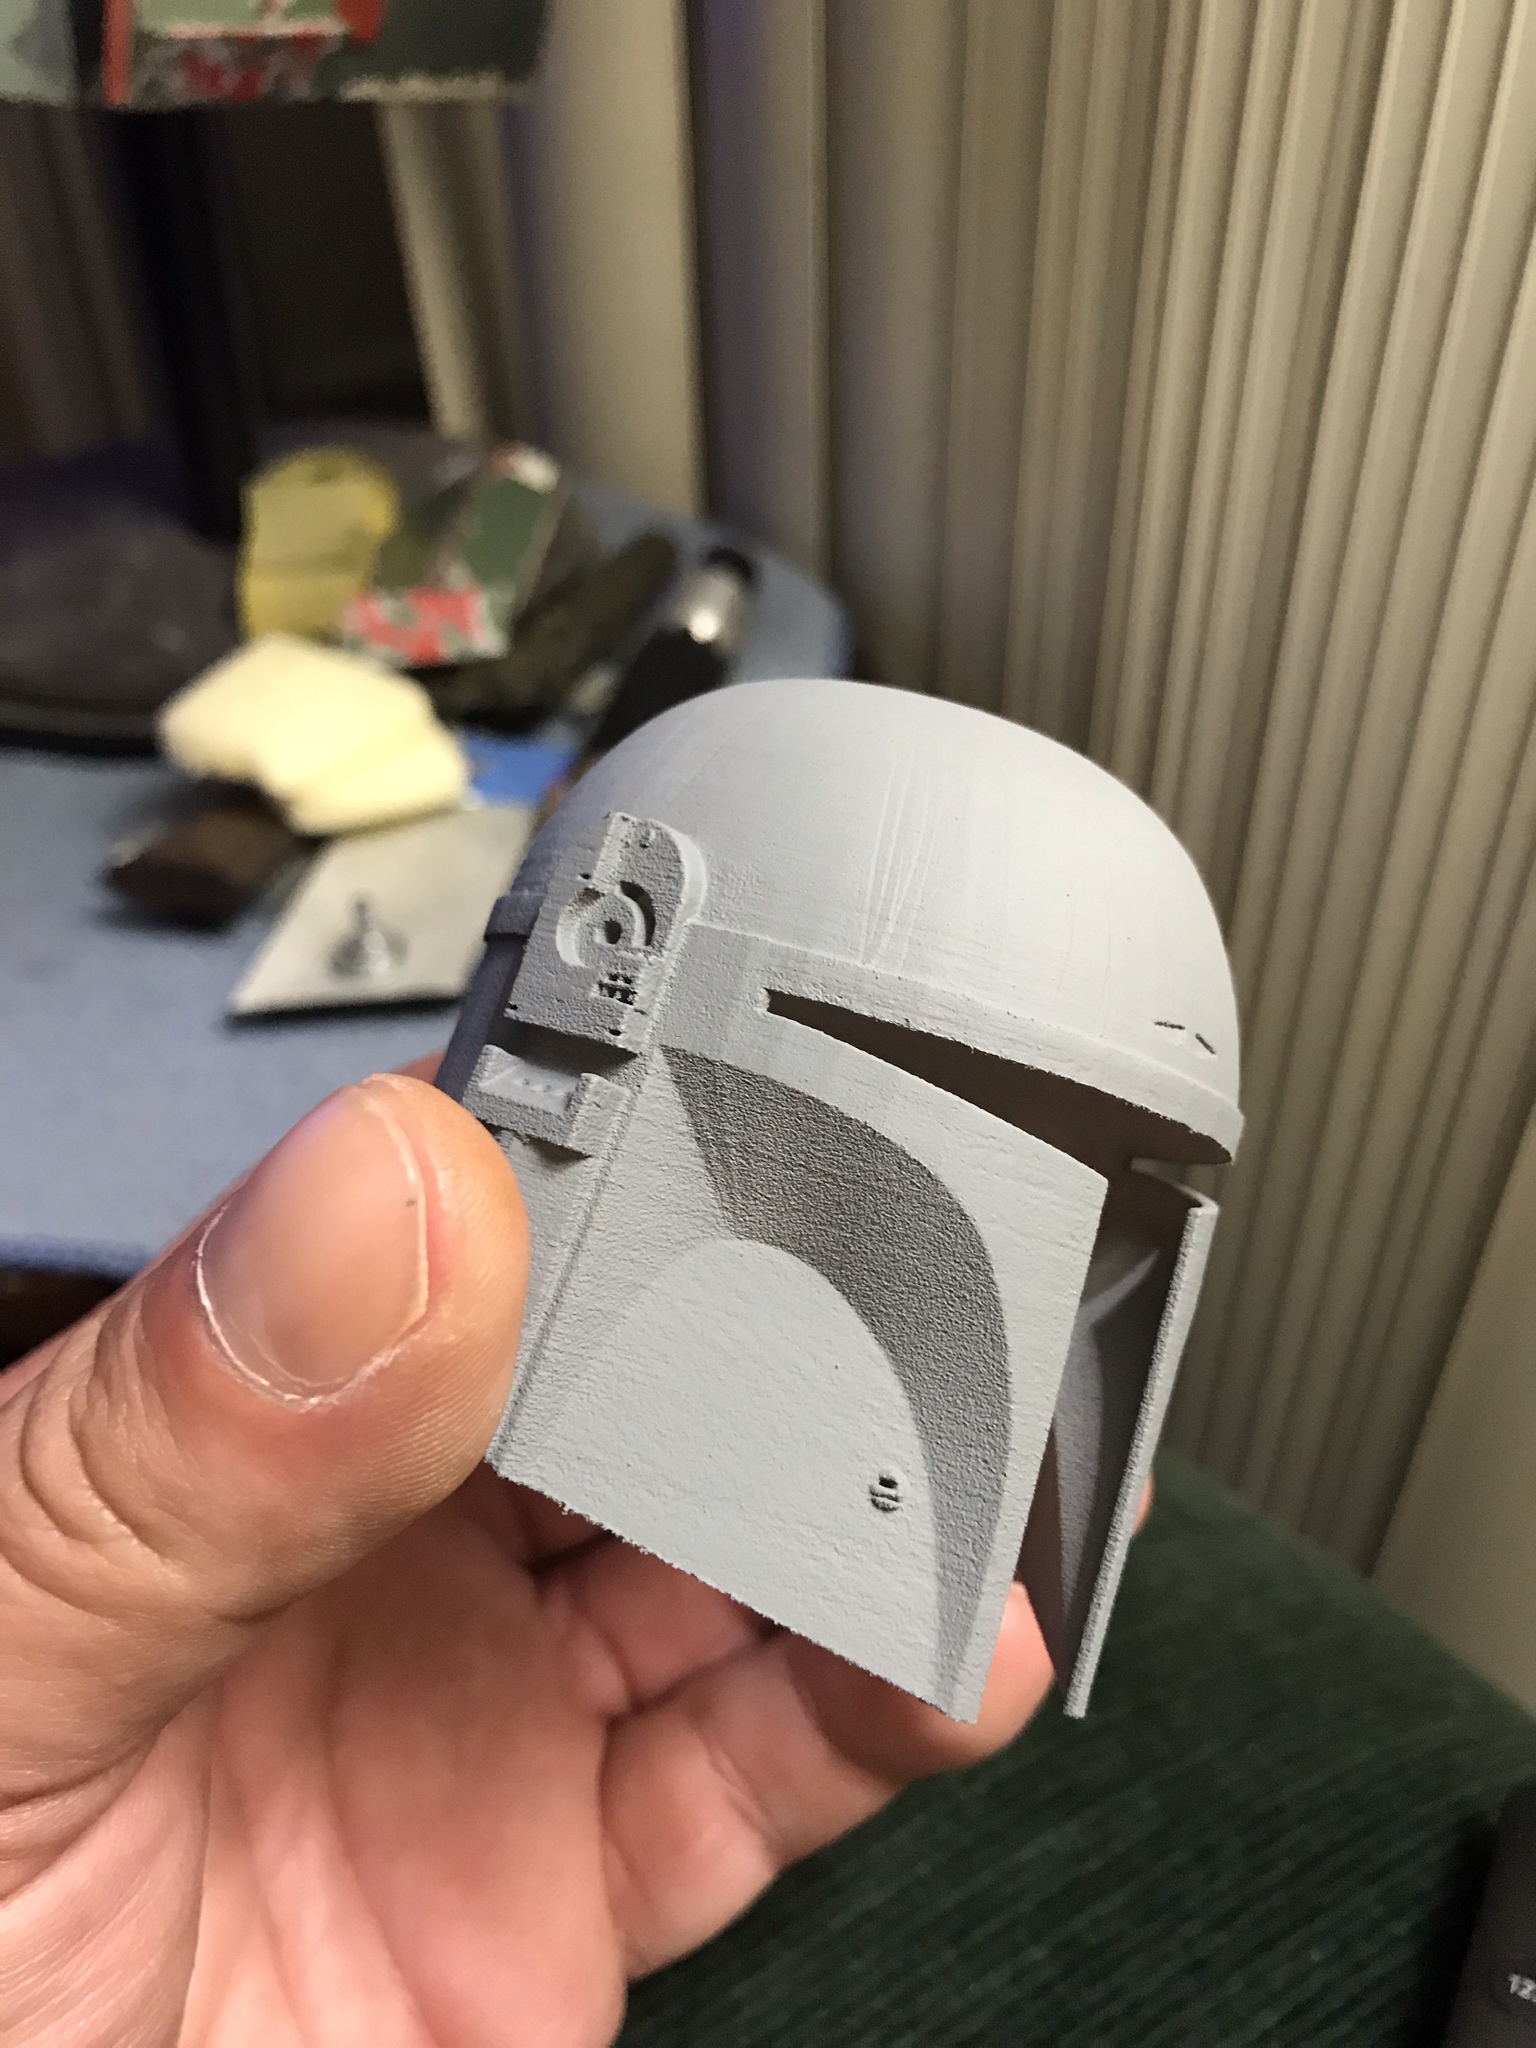
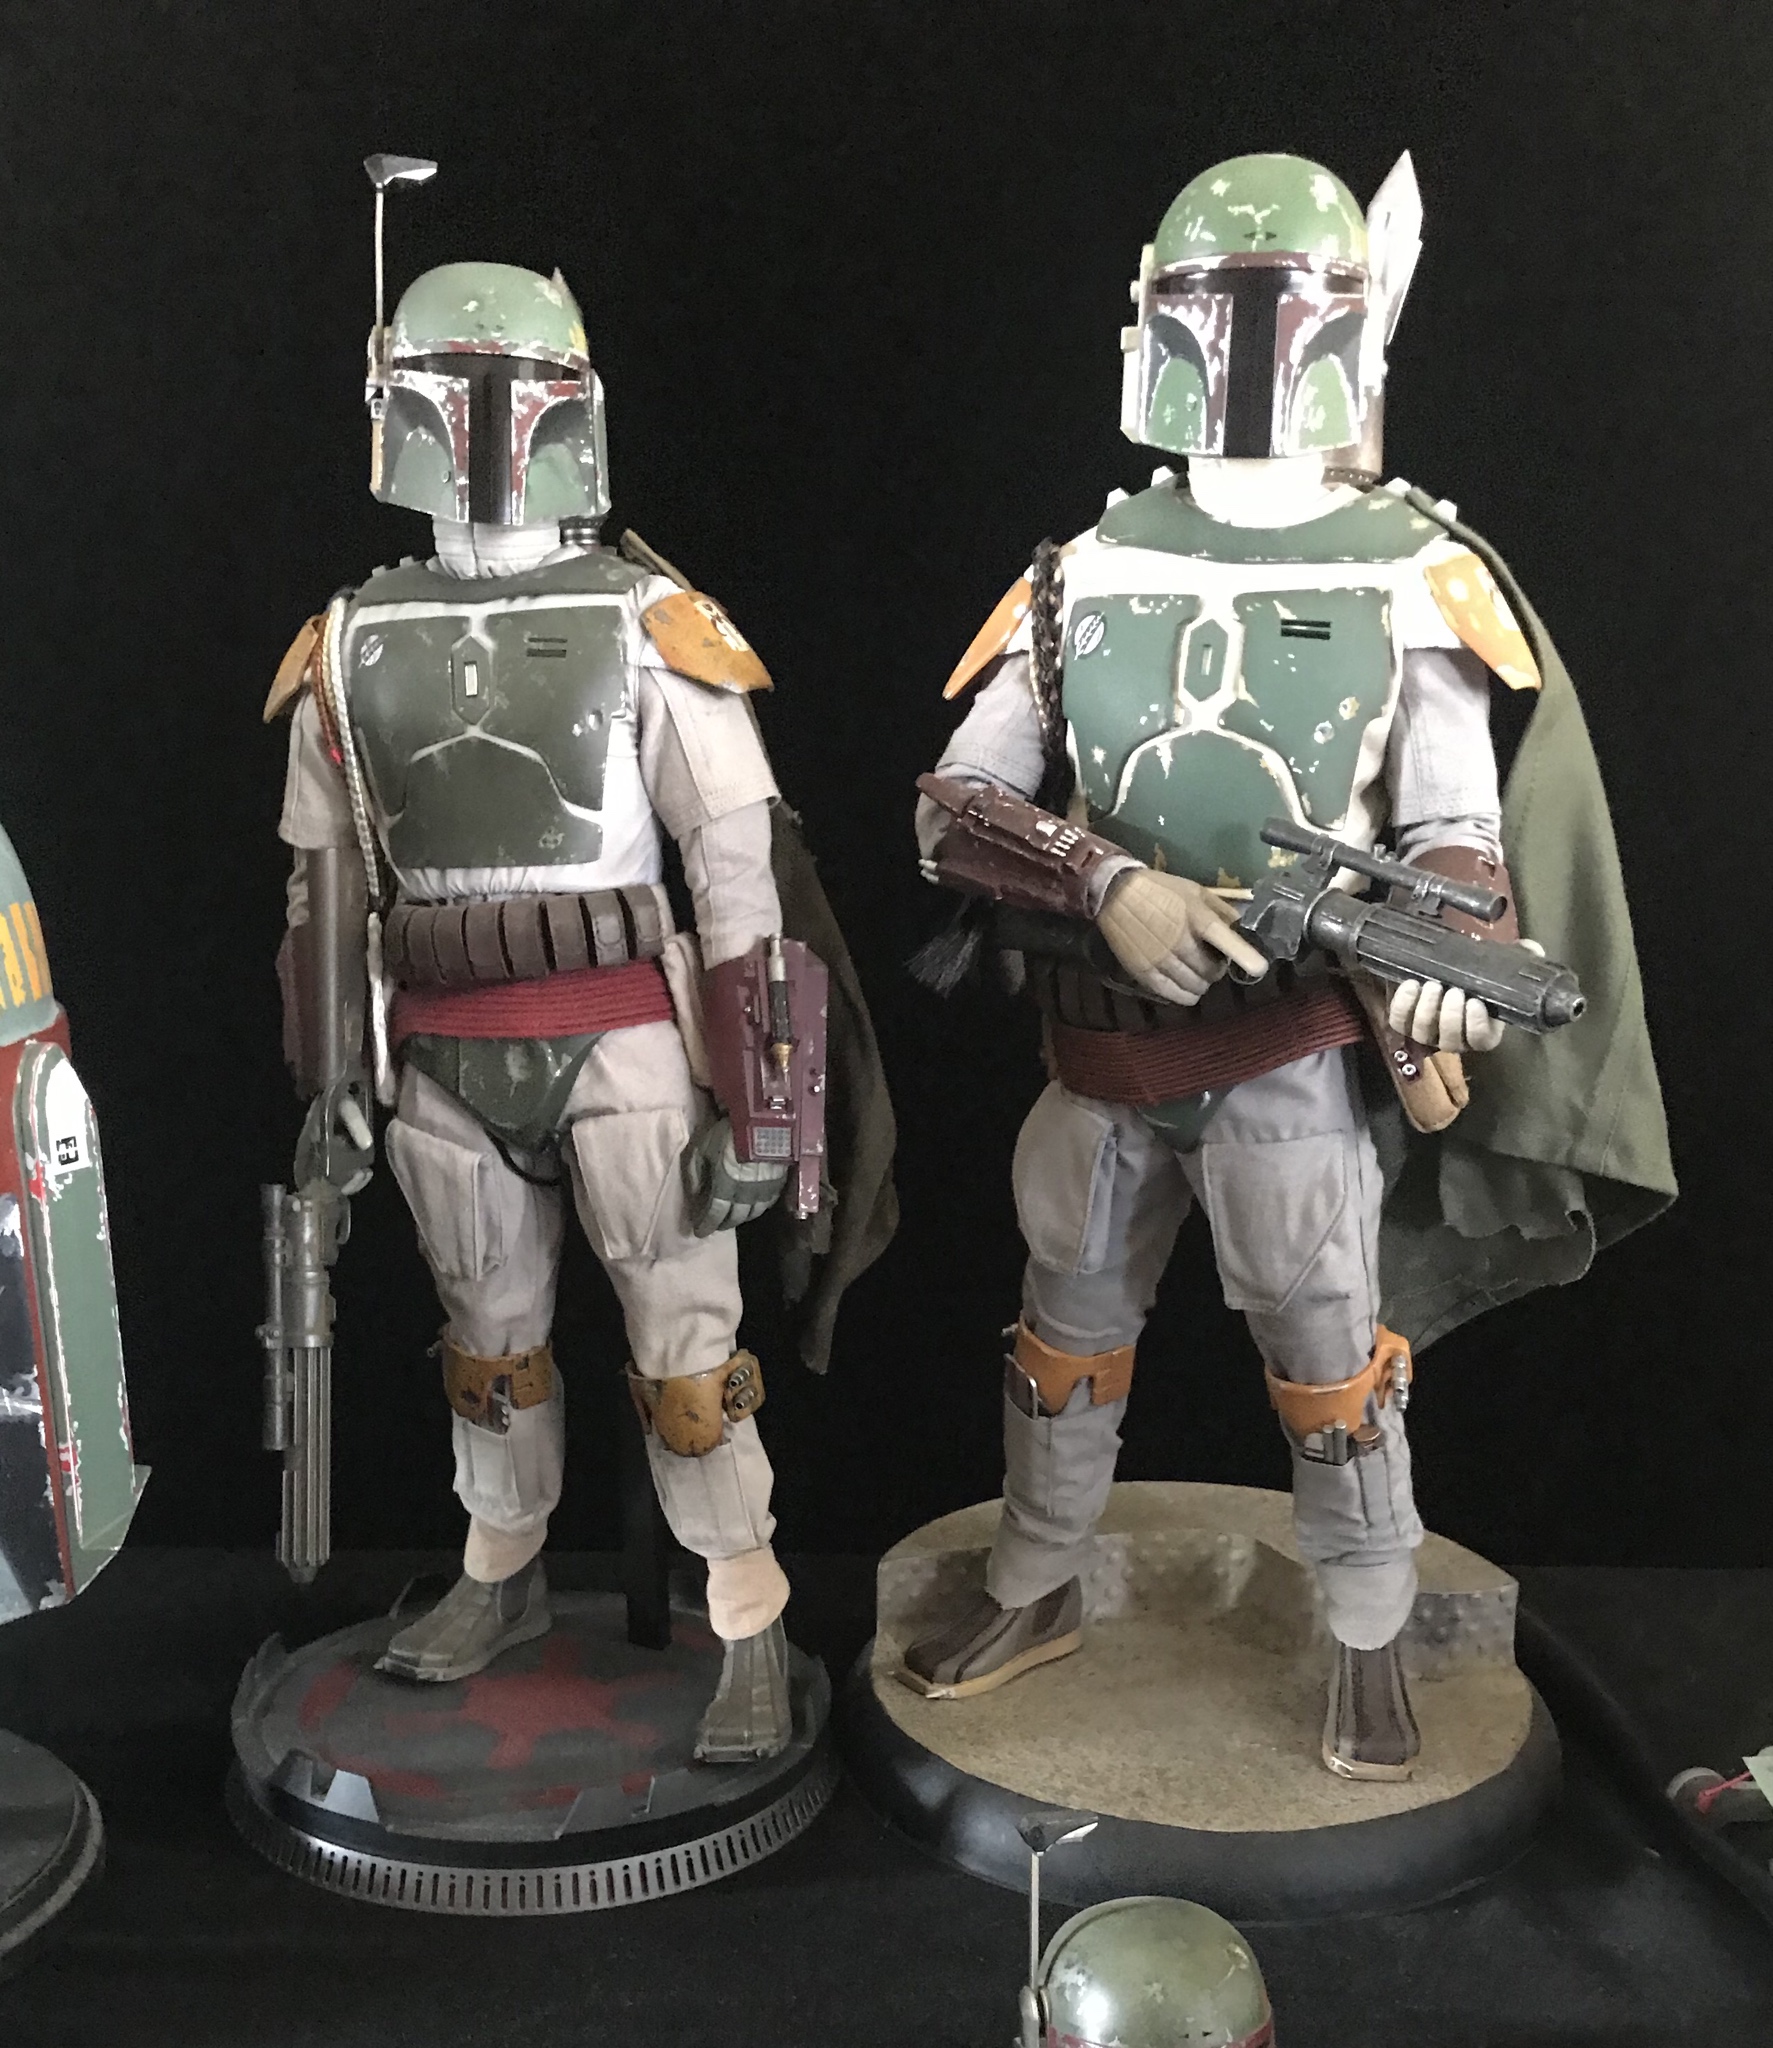
Overall I think the shape and proportions are really nice. Much closer than Hot Toys or Sideshow. So I guess I'm going to continue to torture myself!

In all seriousness I'm really having fun with this project. I haven't had this much fun since working on the ANH Vader.
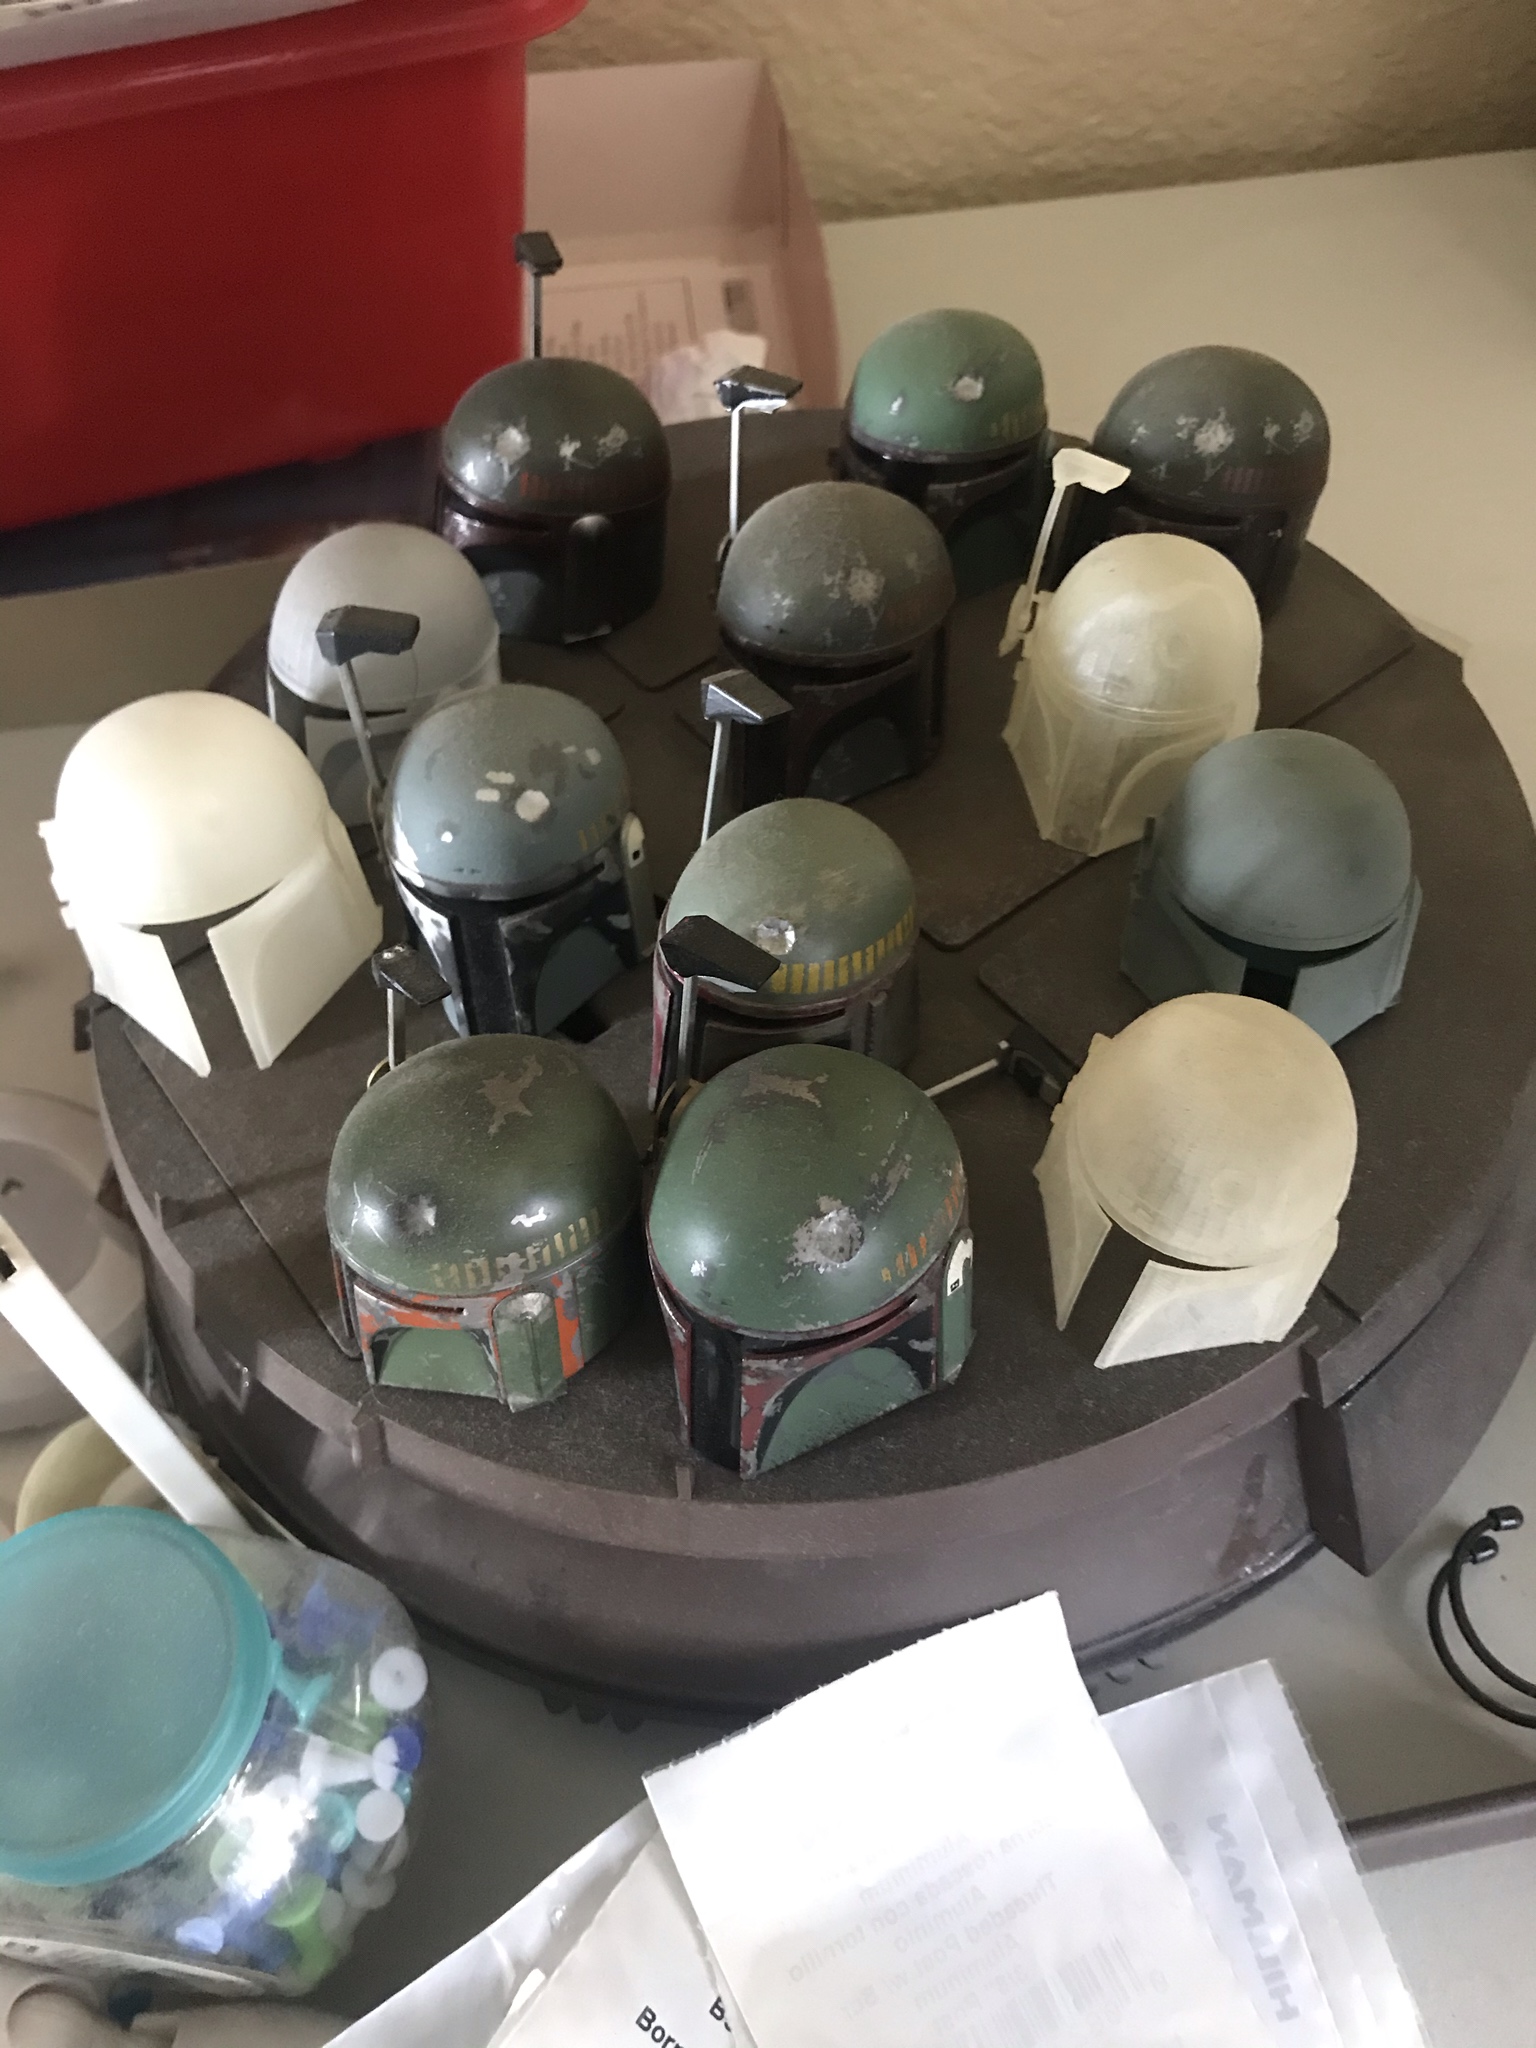
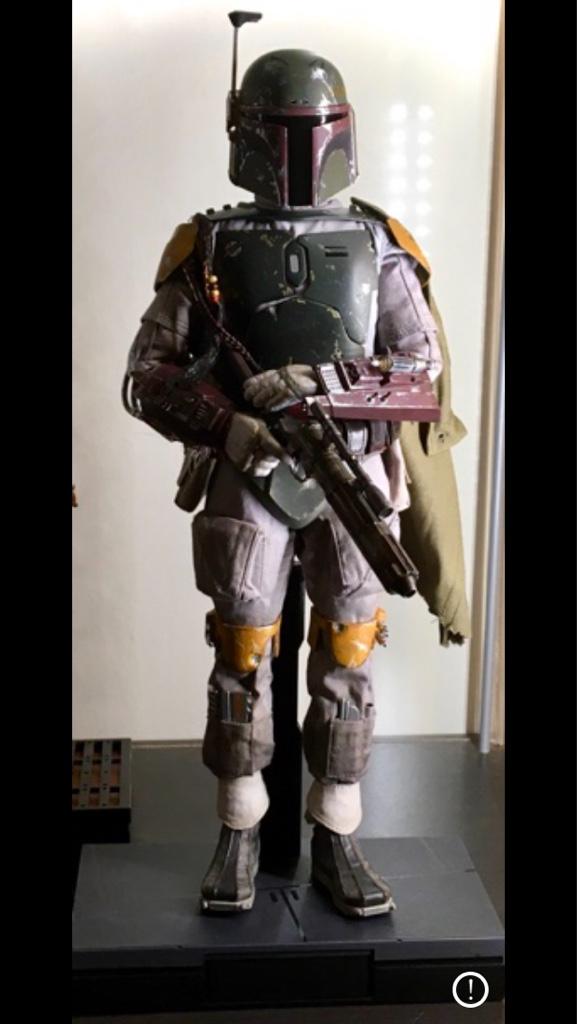
Anyway here's some WIP pics.