ED-209 from Hot Toys (My Rebuild)

Collector Freaks Forum

Help Support Collector Freaks Forum:

This site may earn a commission from merchant affiliate links, including eBay, Amazon, and others.

Keith_UK

Freakalicious
Joined
Jun 19, 2012
Messages
20
Reaction score
0
Last weekend i finished my rebuild of the Hot Toys ED-209. I started this back in 2009, but run out of steam with it and put it away until around a month ago.
Anyway, i thought i would post all the photos i have of the rebuild, as i'm sure some of you will find it interesting.

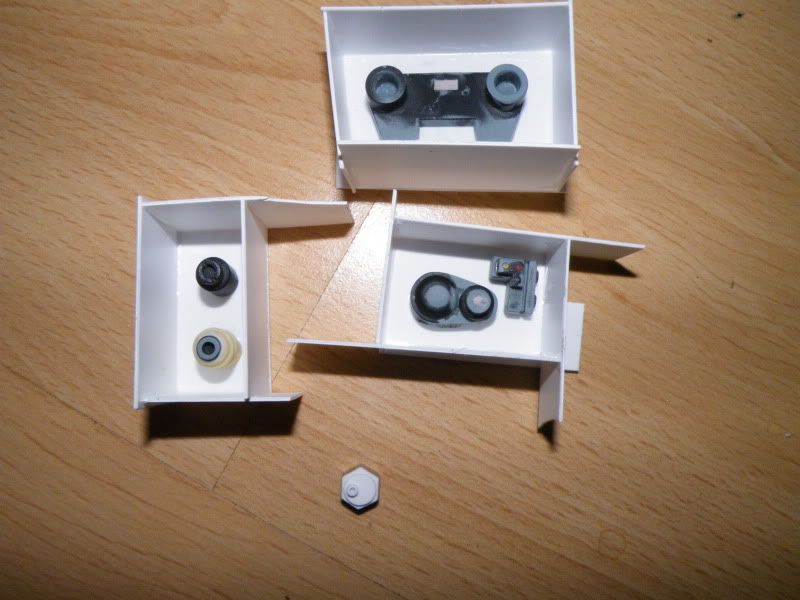
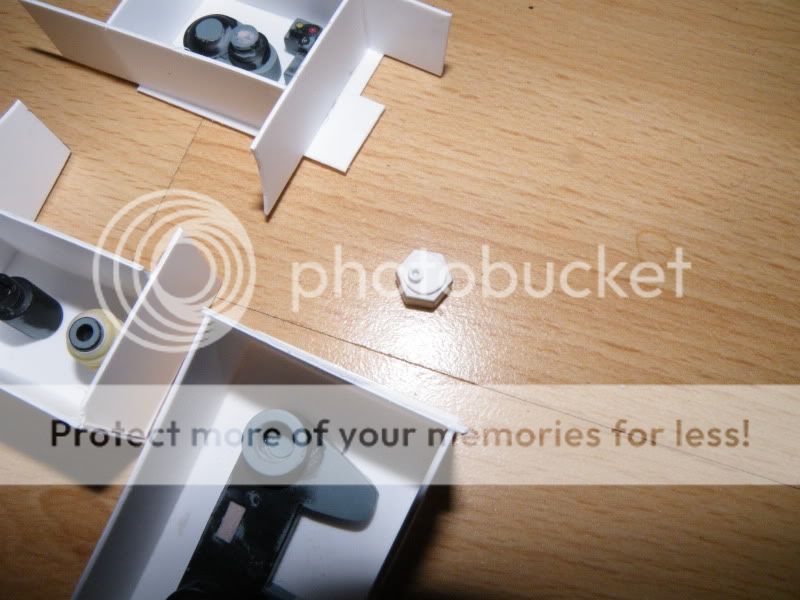
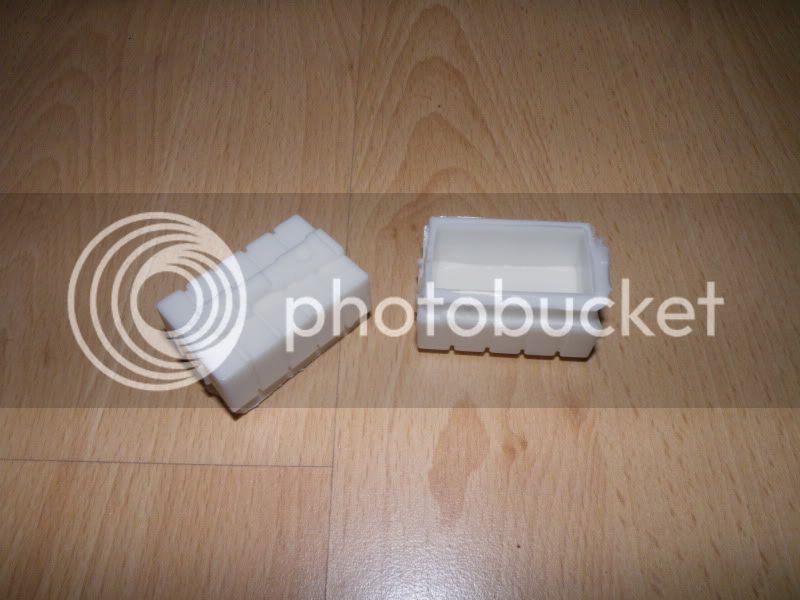
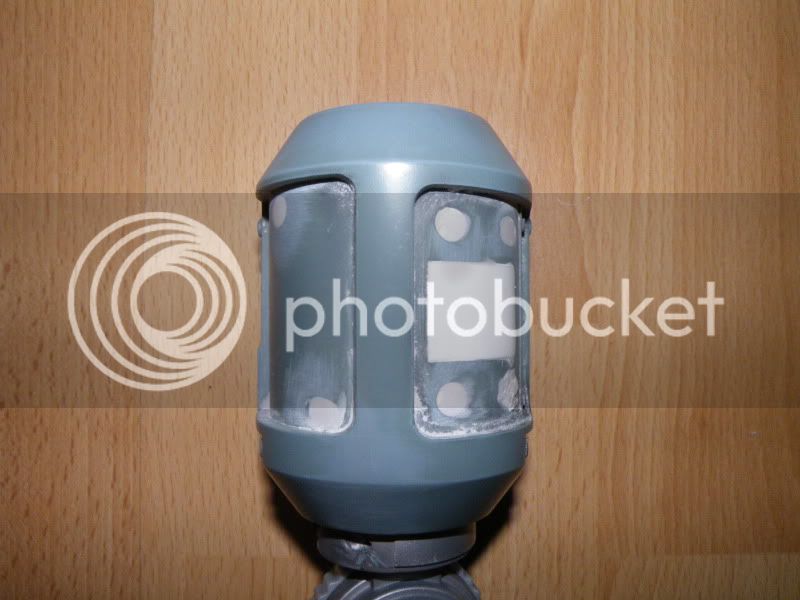
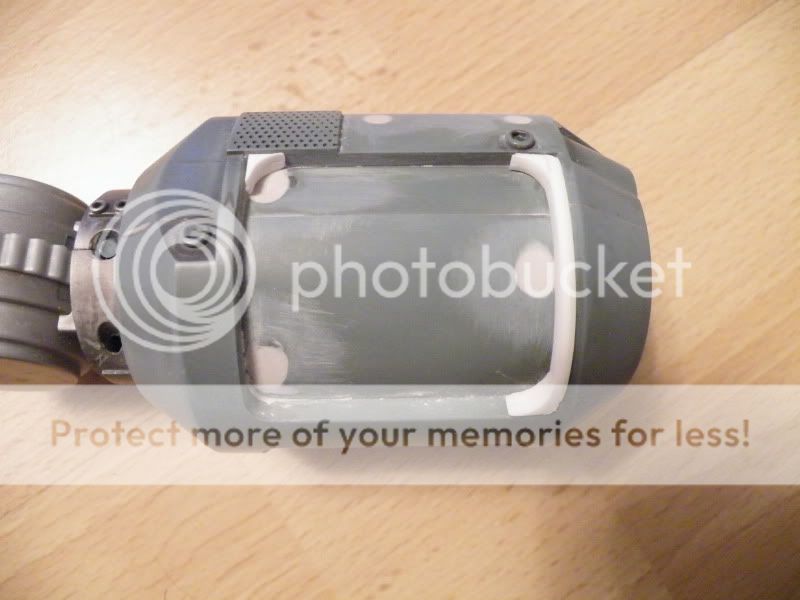
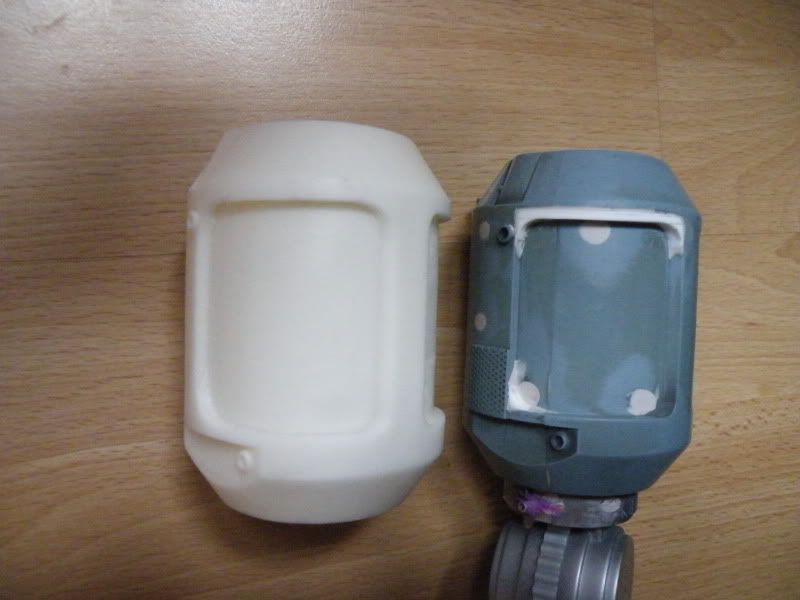
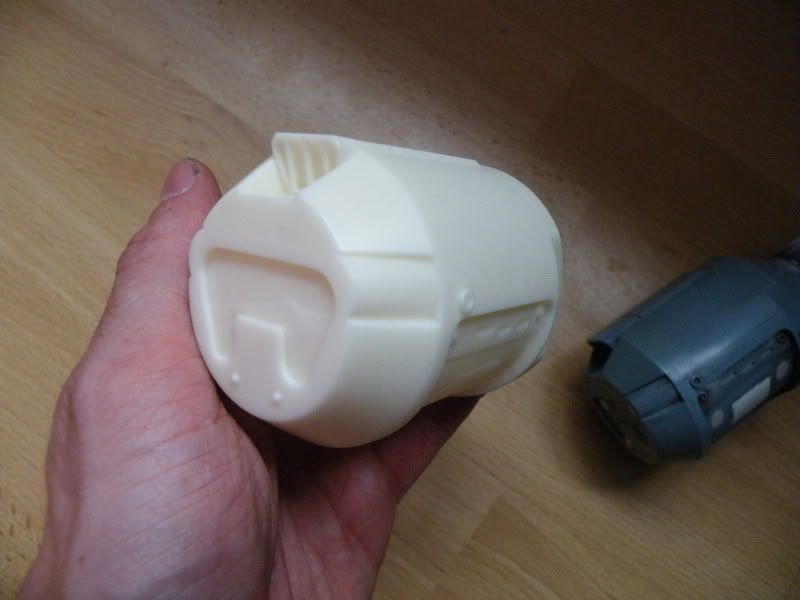
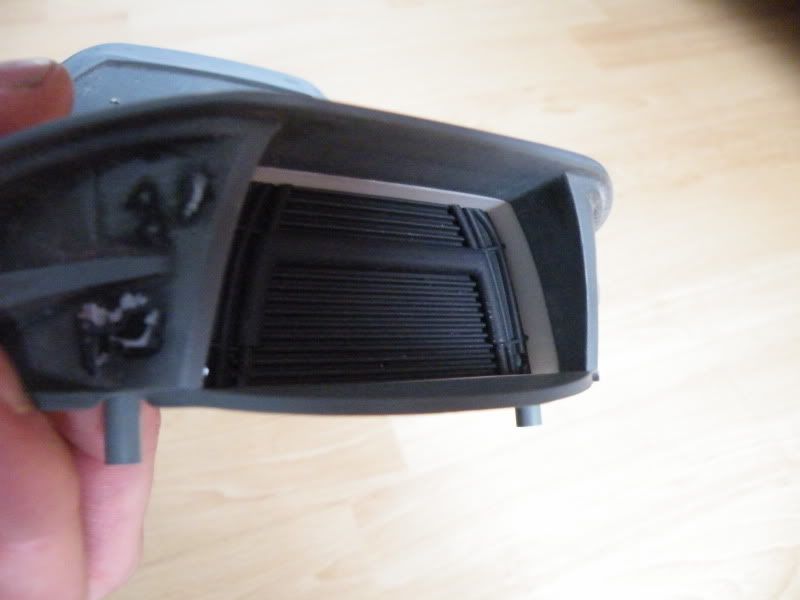
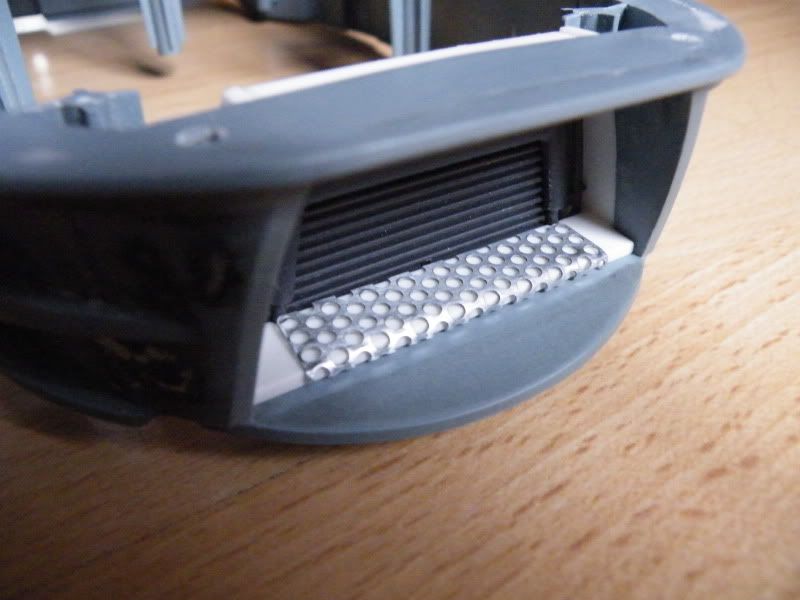
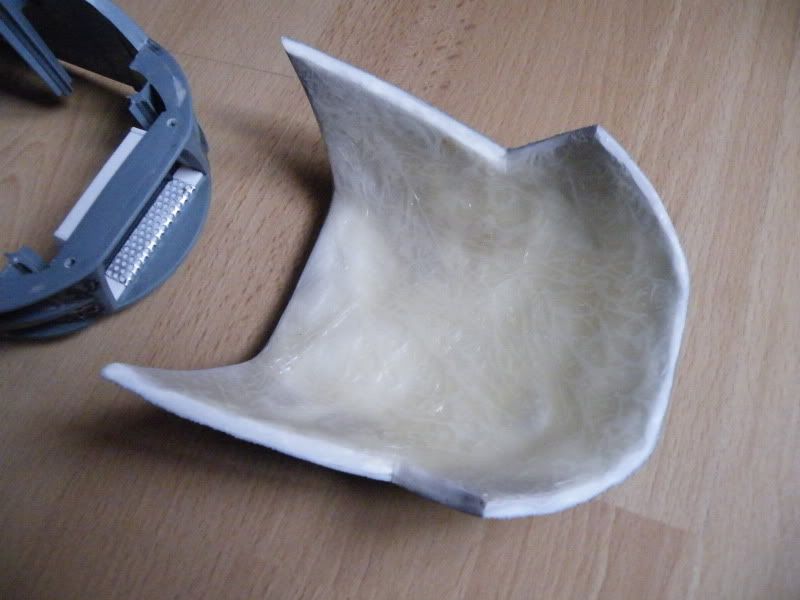
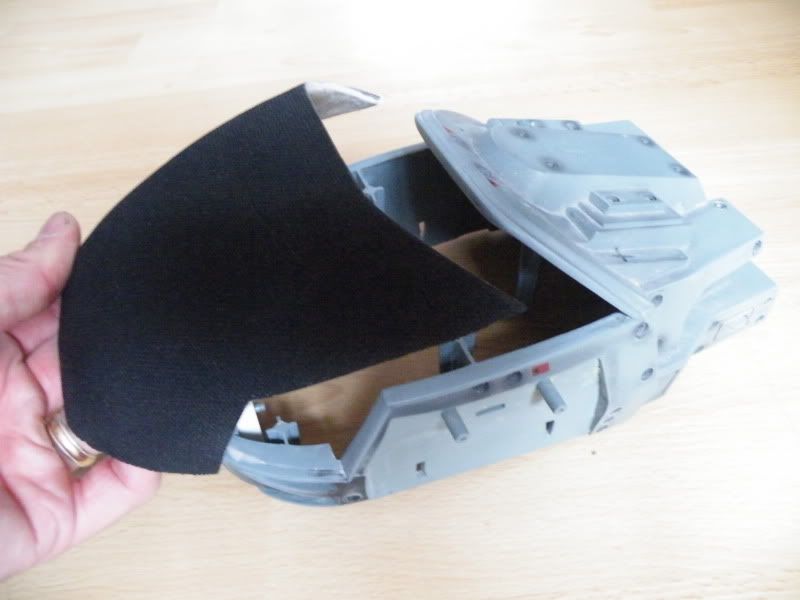
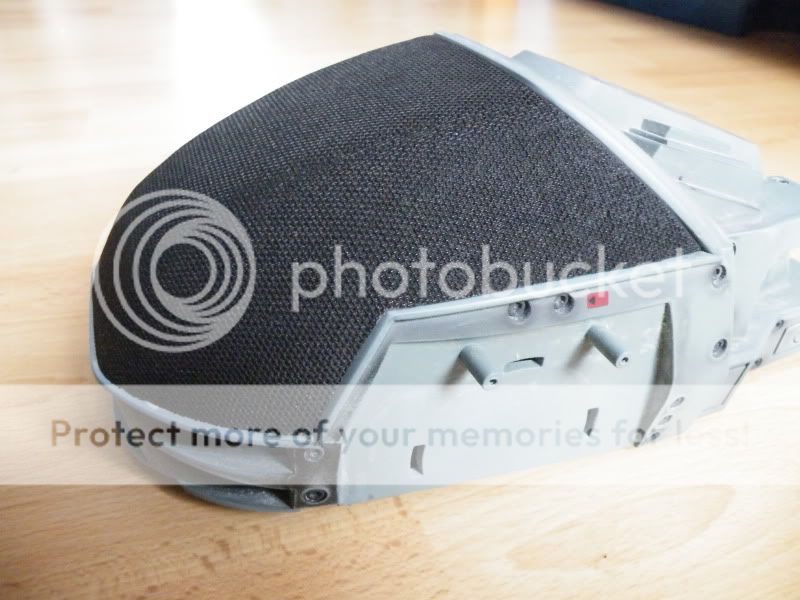
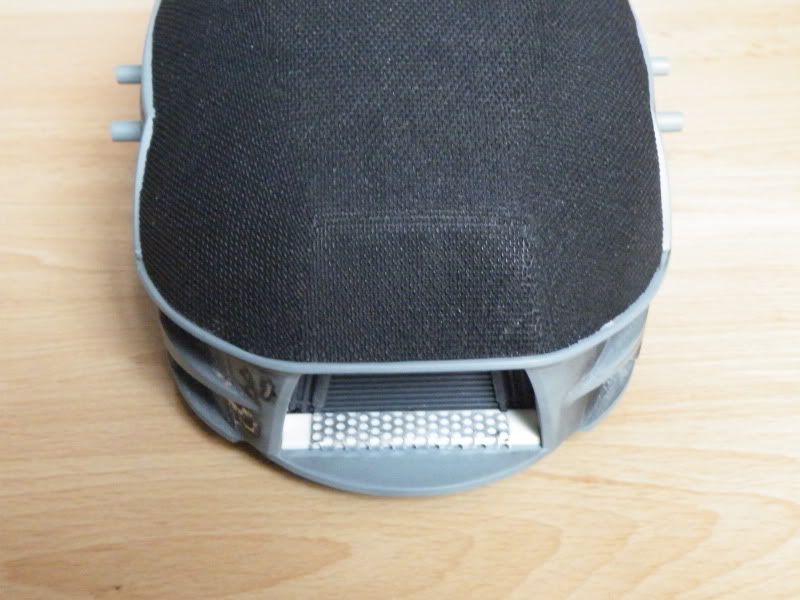
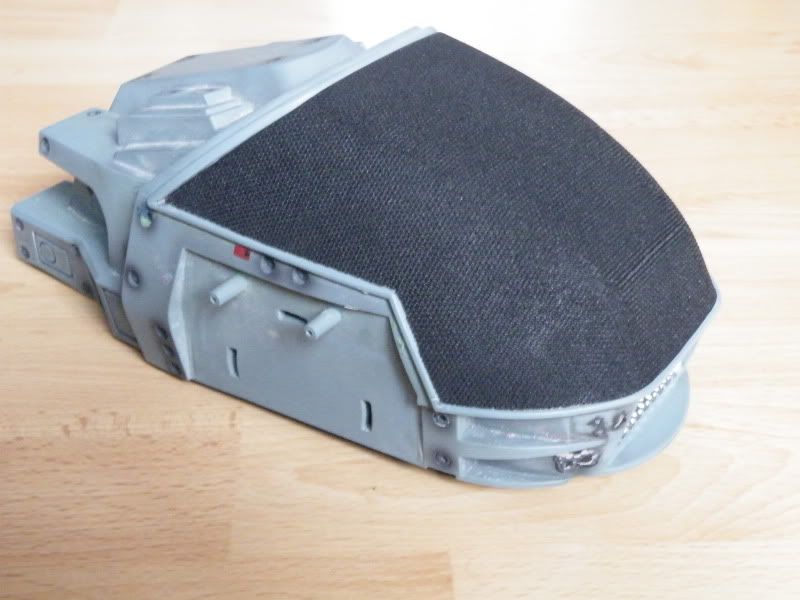
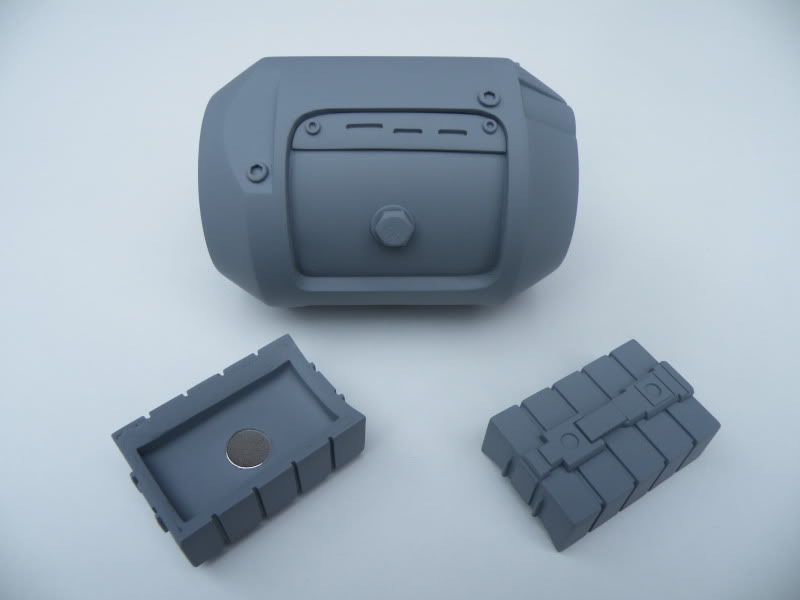
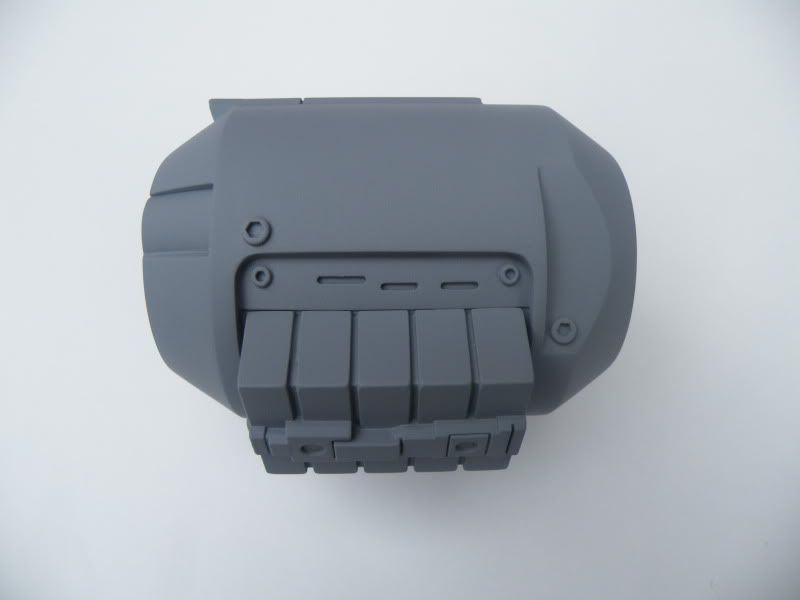
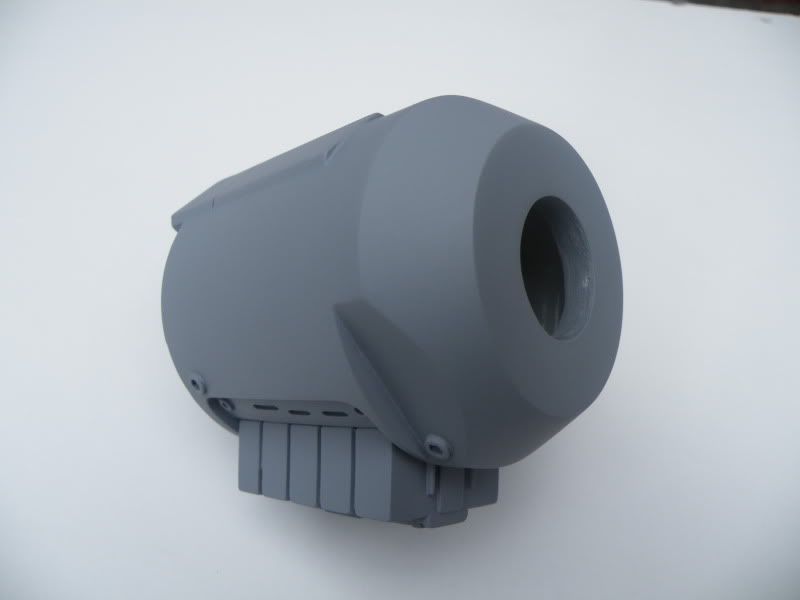
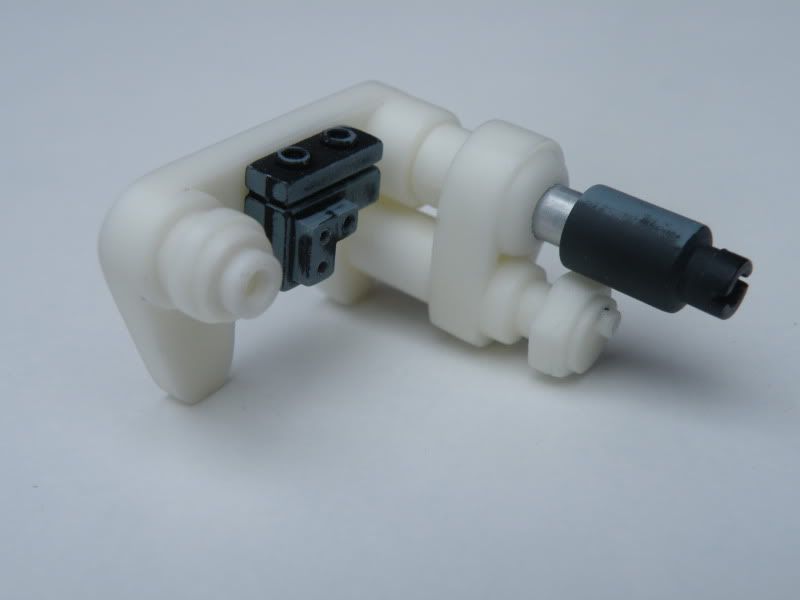
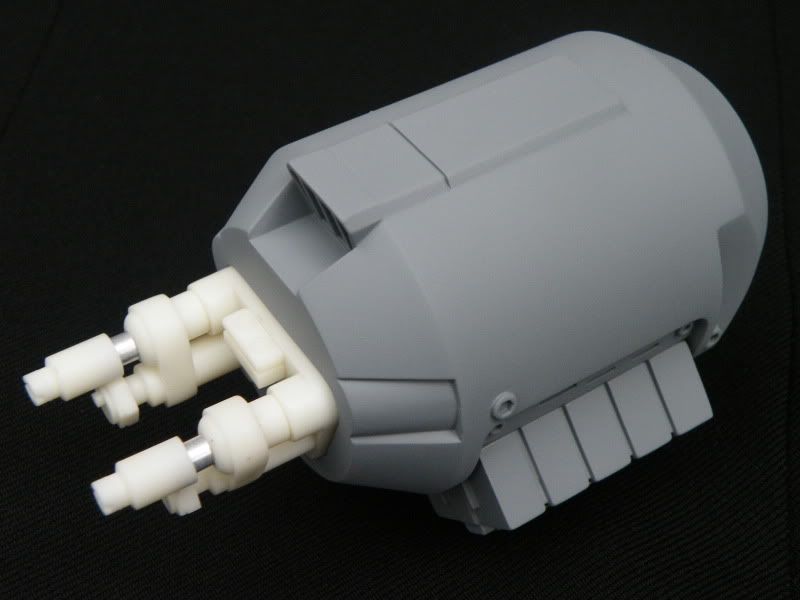
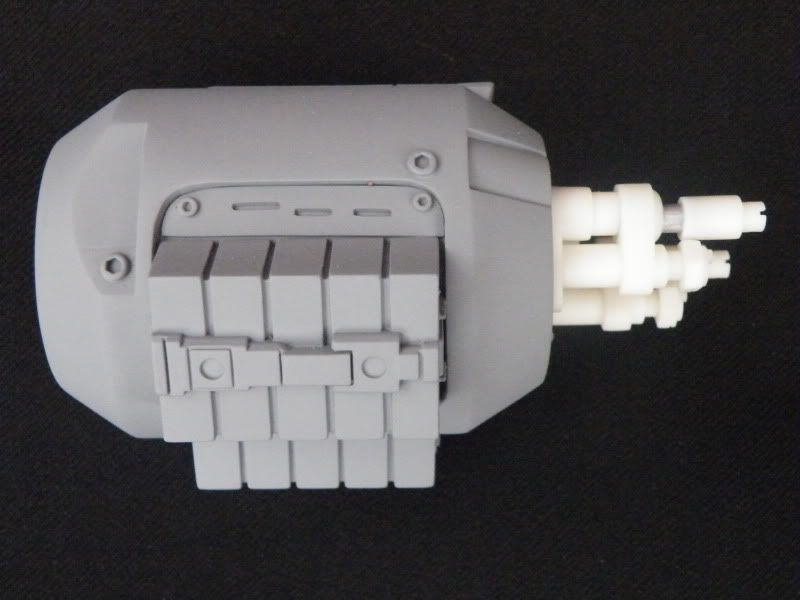
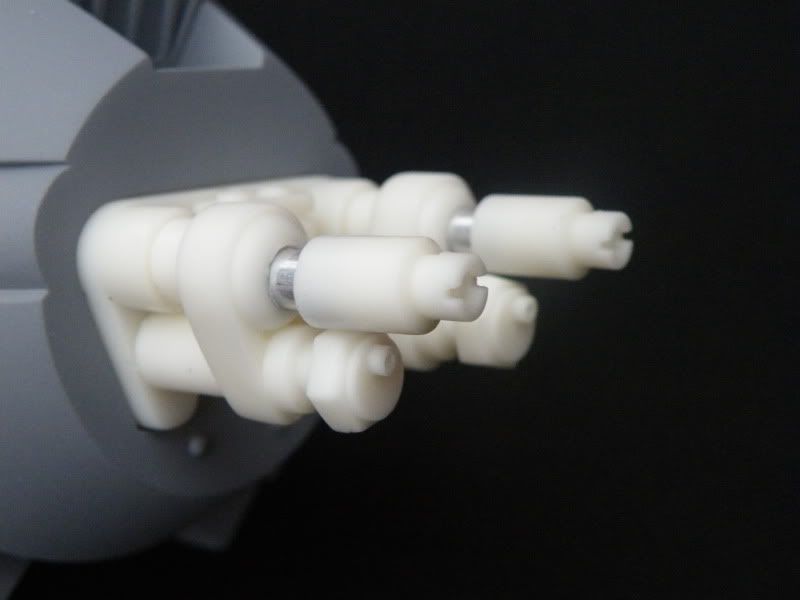
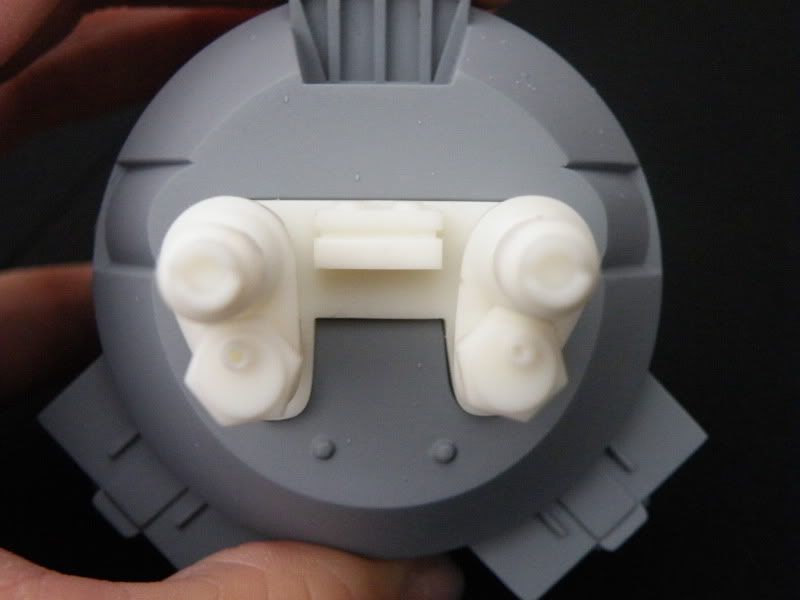
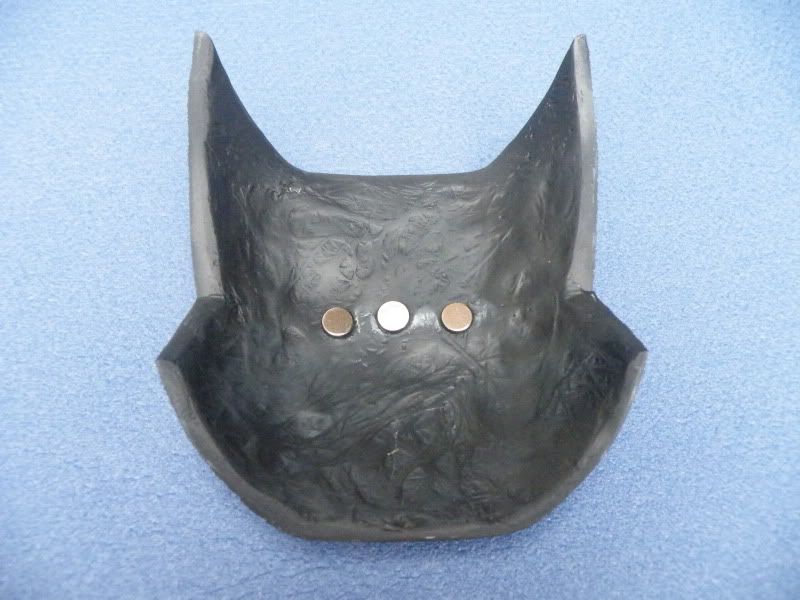
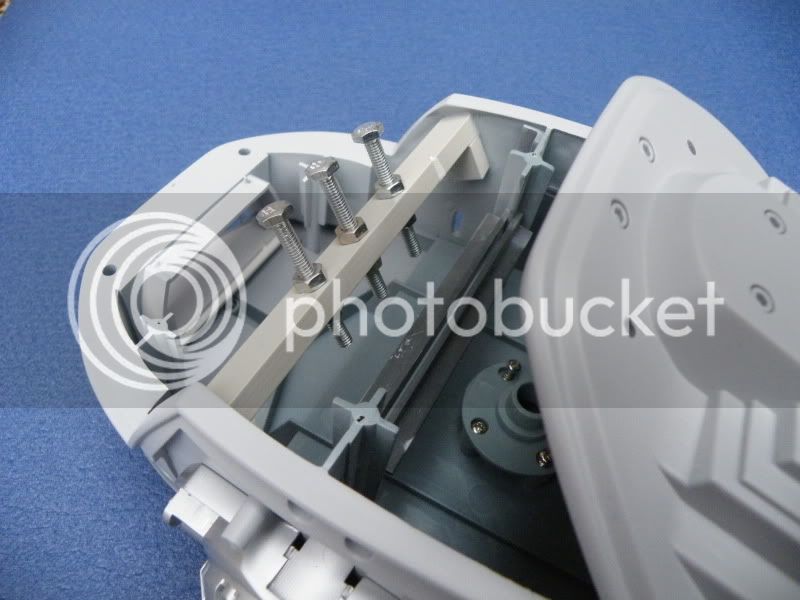
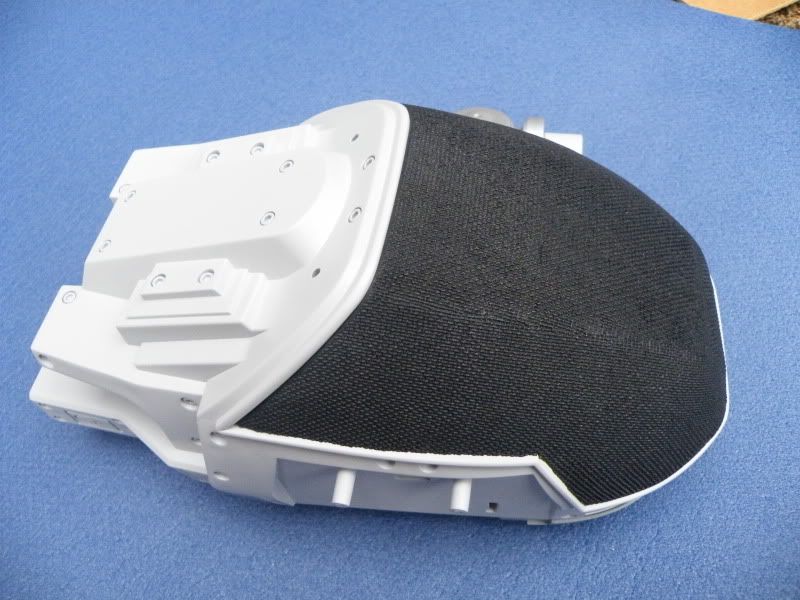
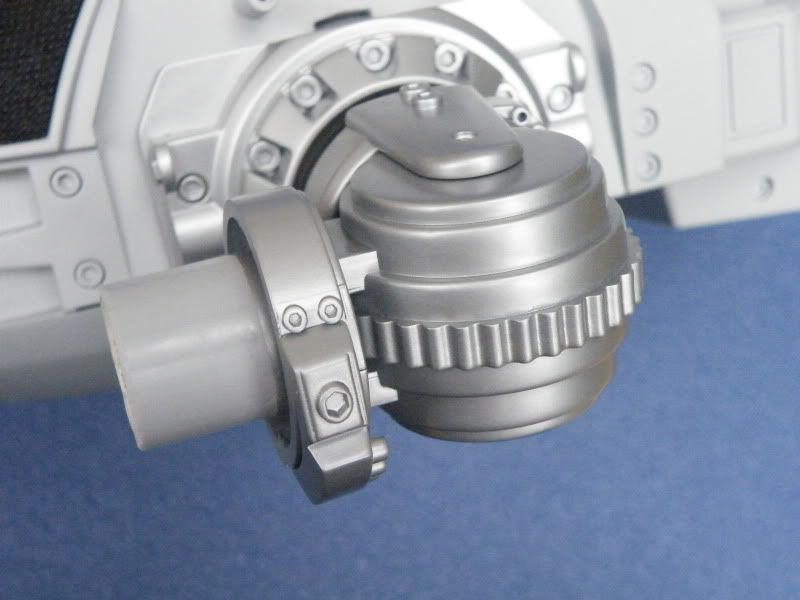
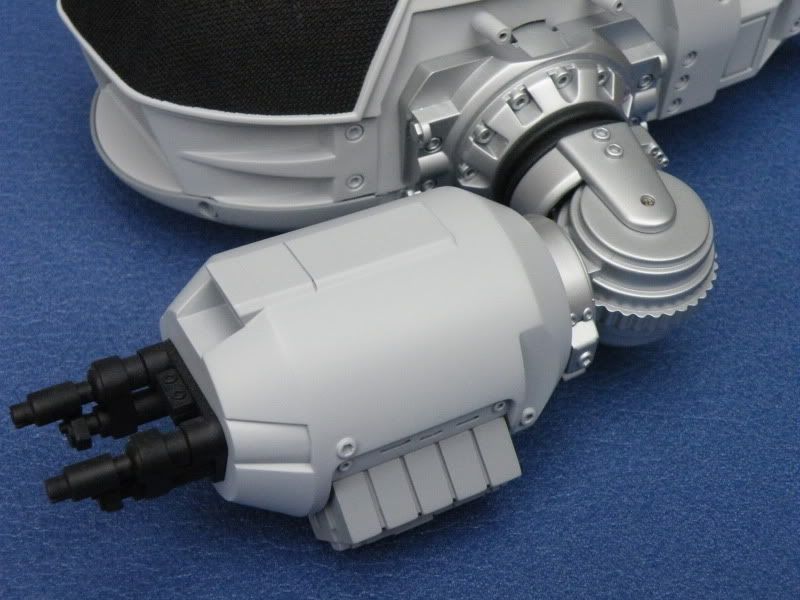
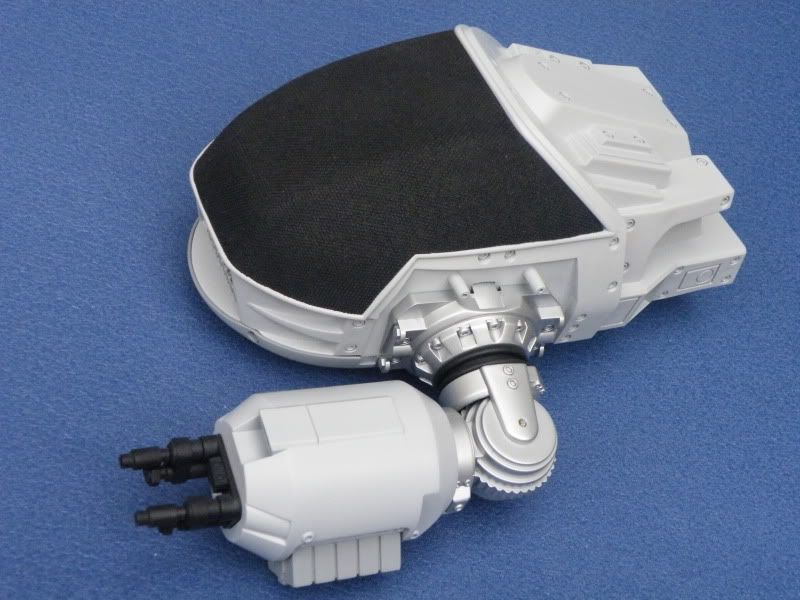
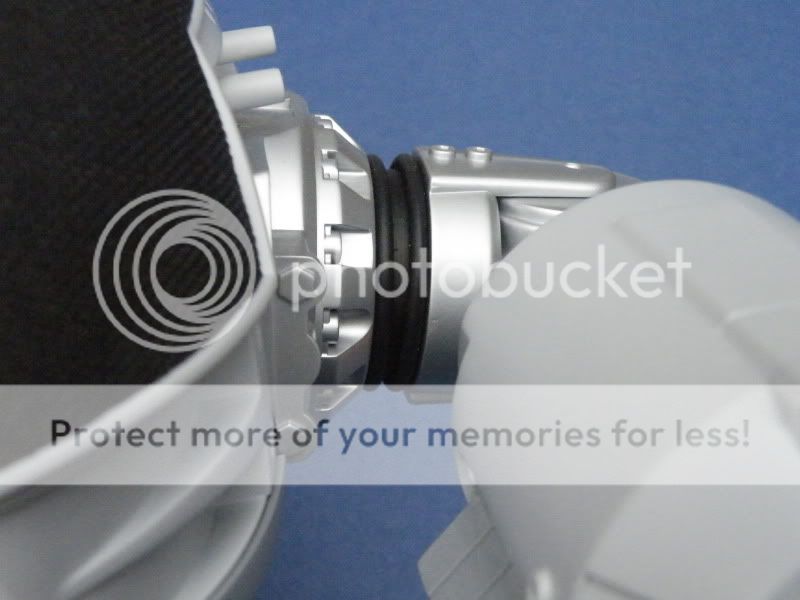
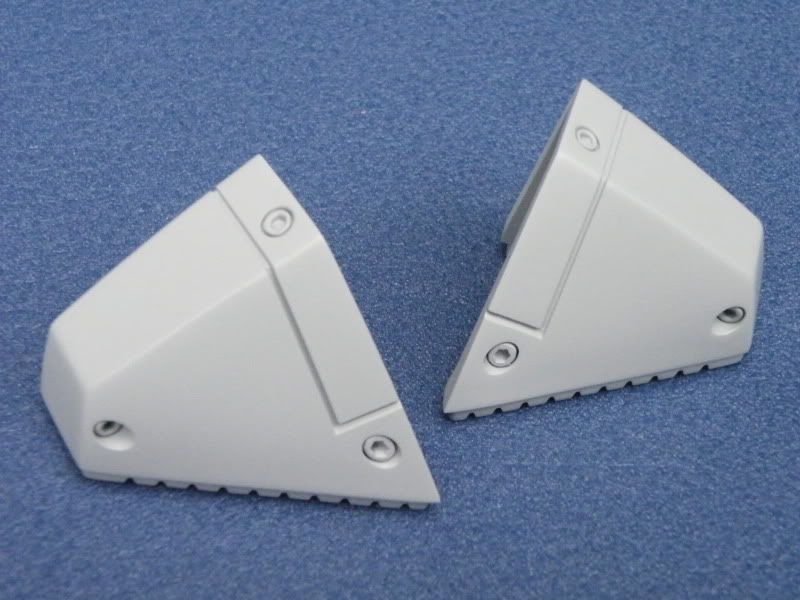
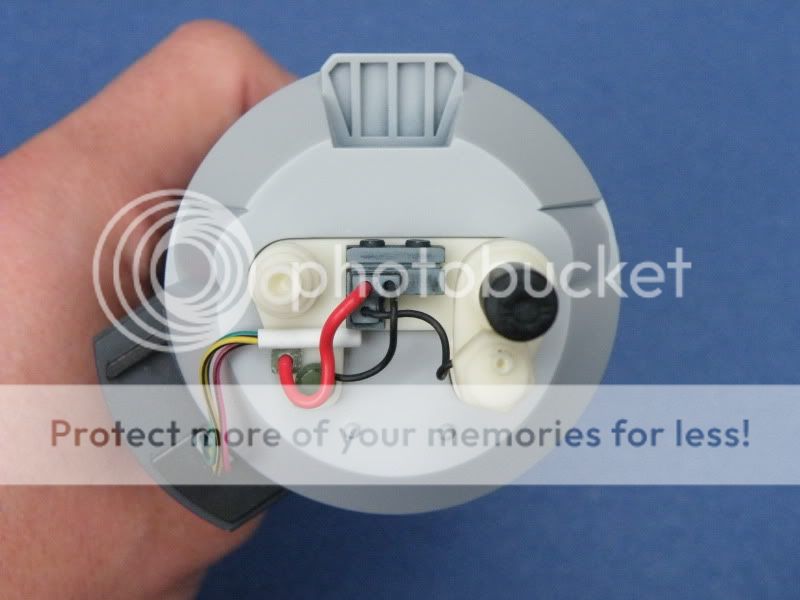
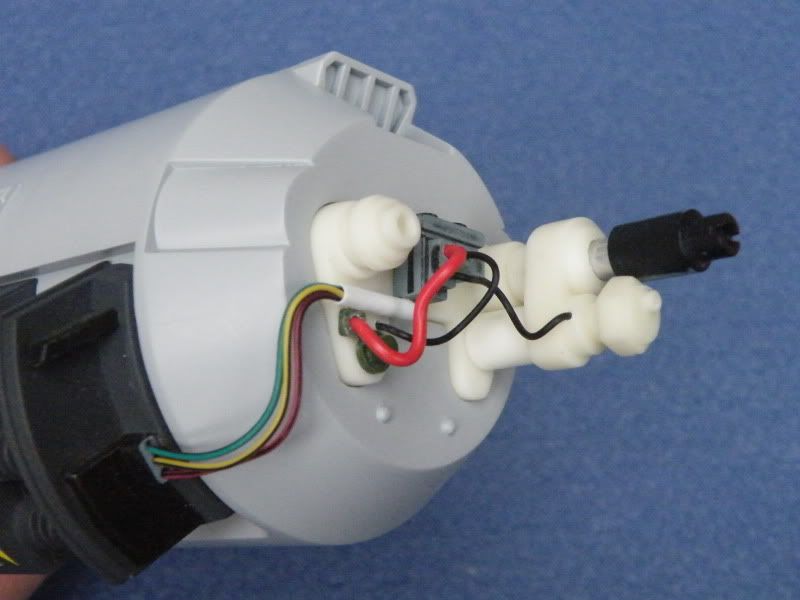
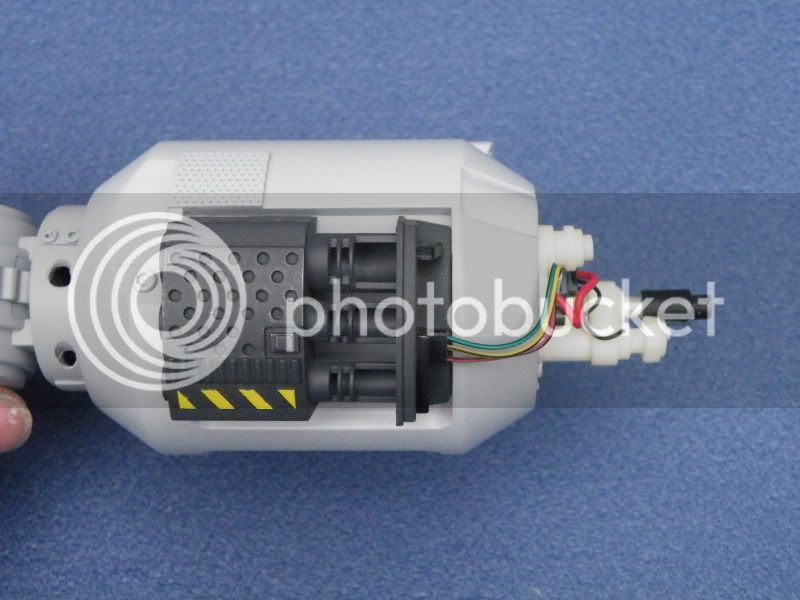
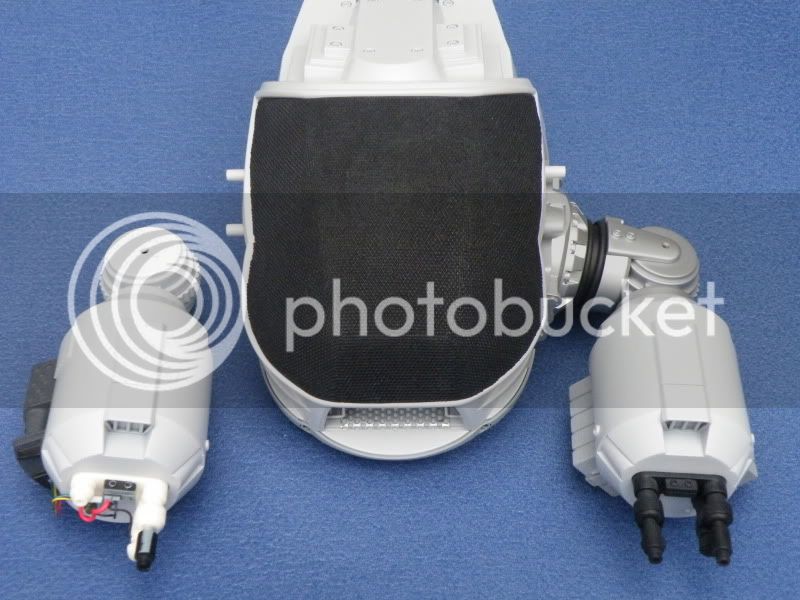
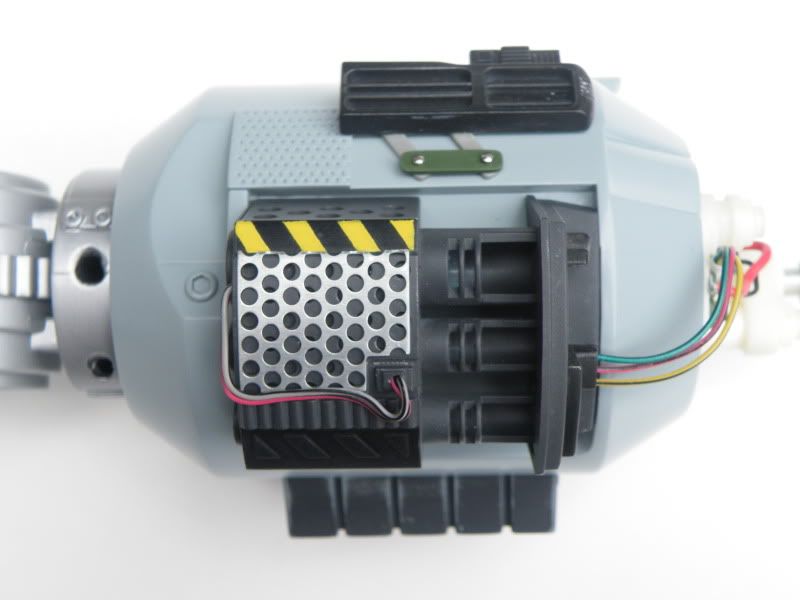
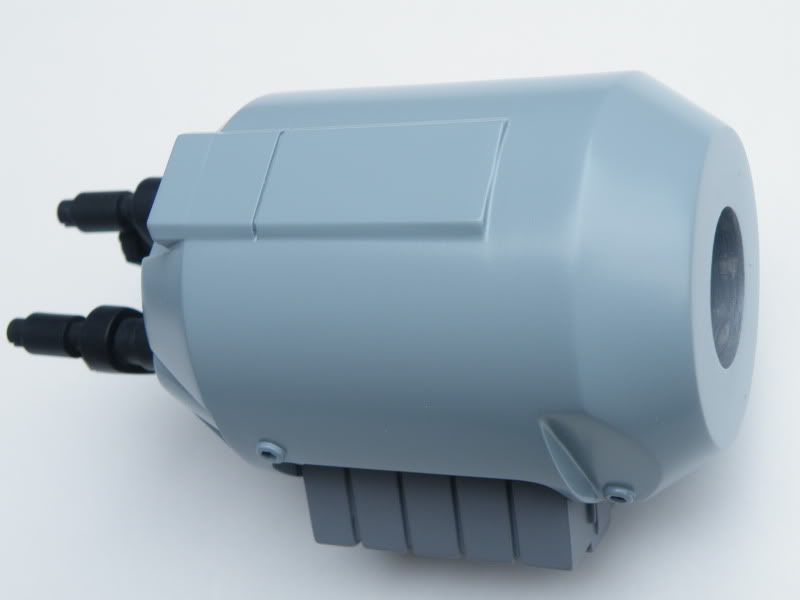
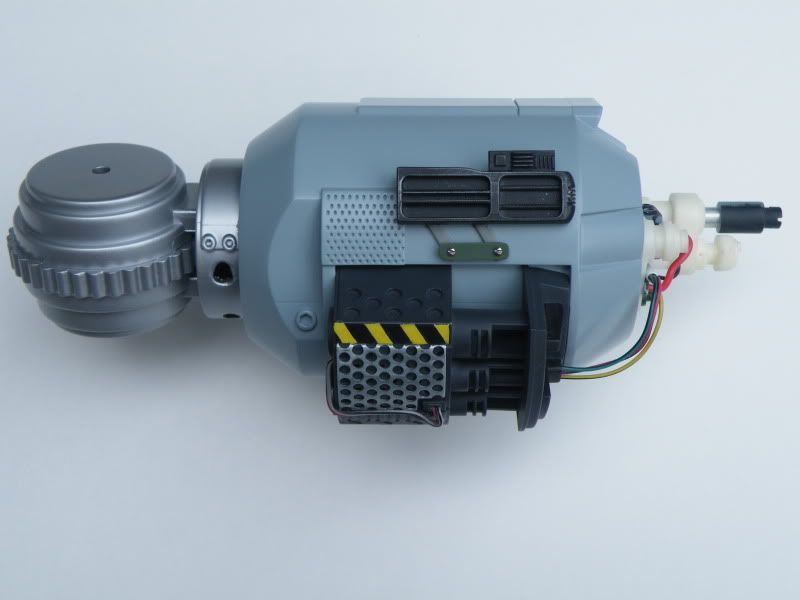
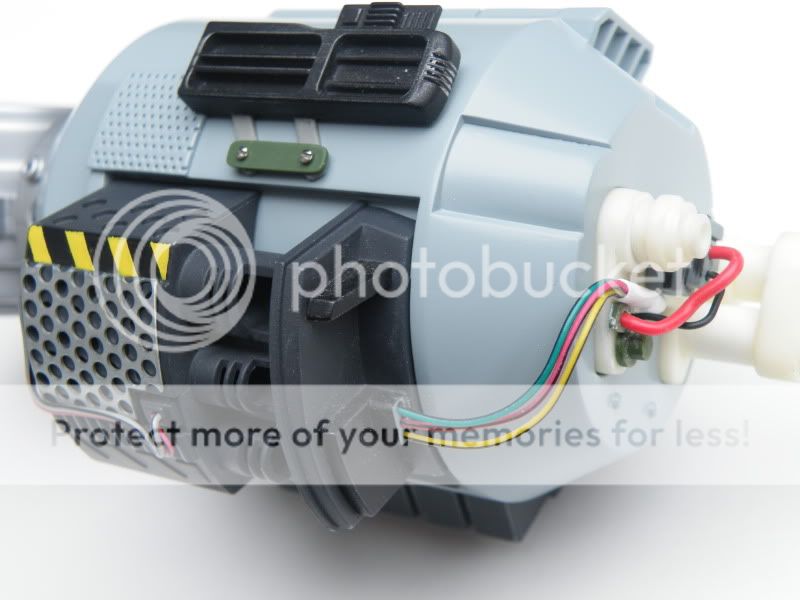
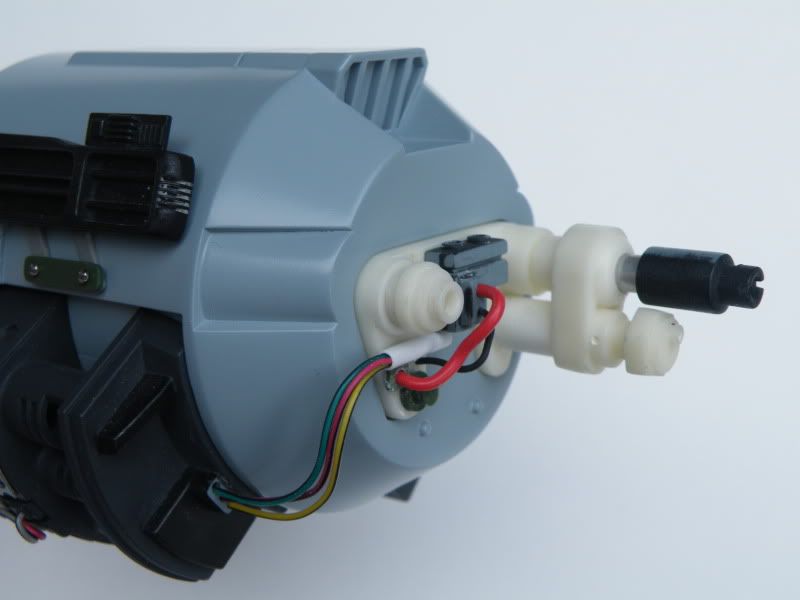
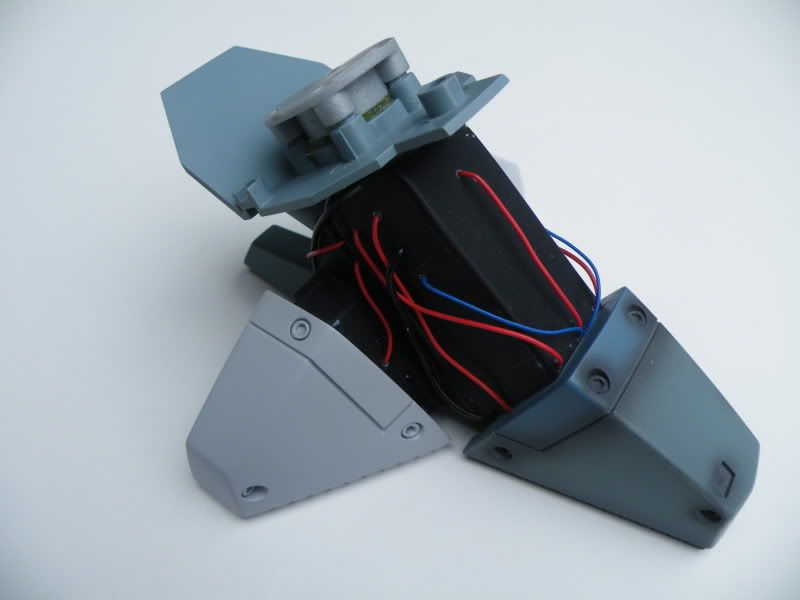
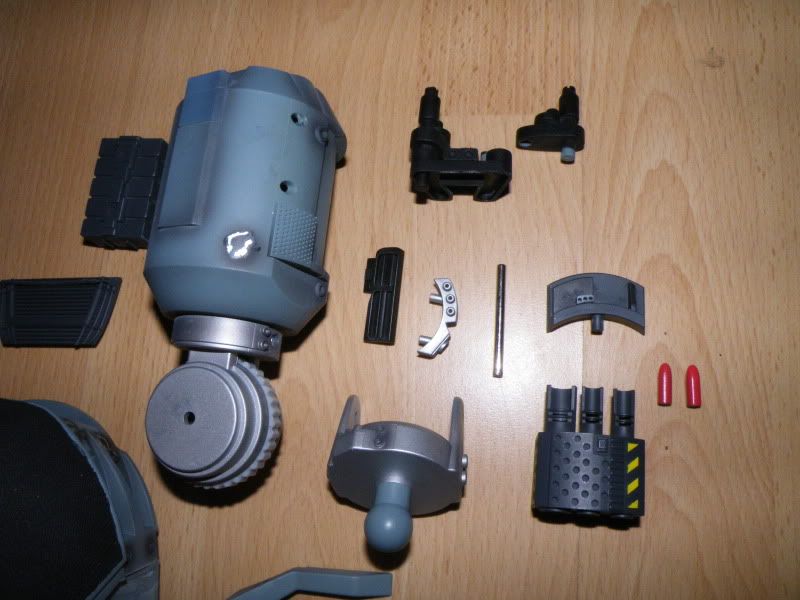
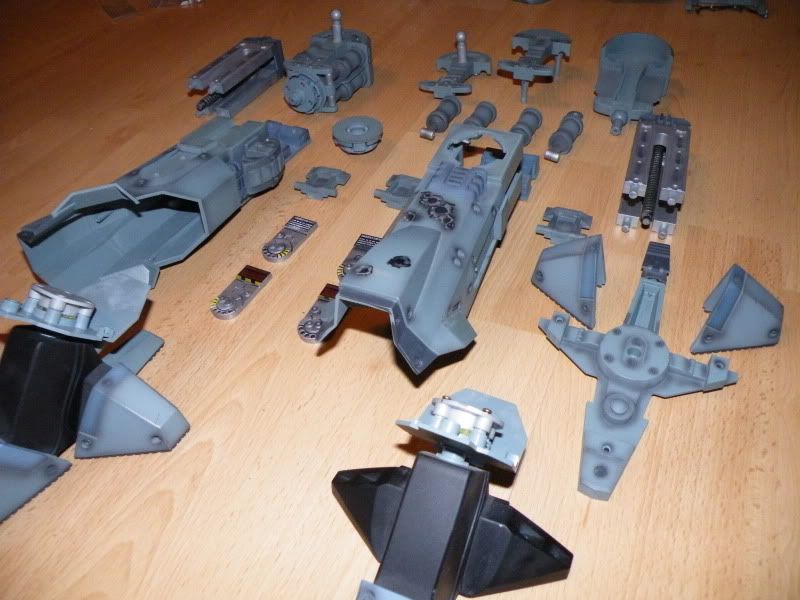
Here are the head and arm parts:
DSCF1302.jpg

DSCF1303.jpg

DSCF1304.jpg

DSCF1305.jpg


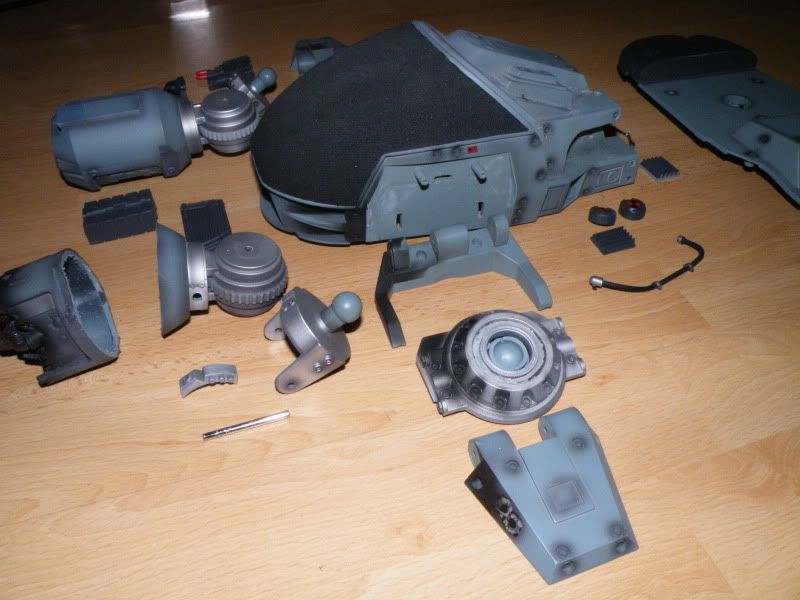
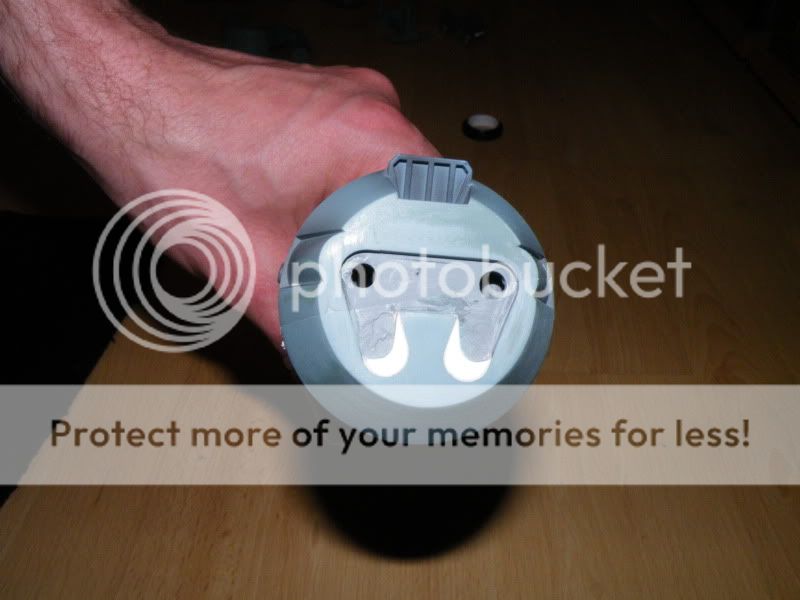
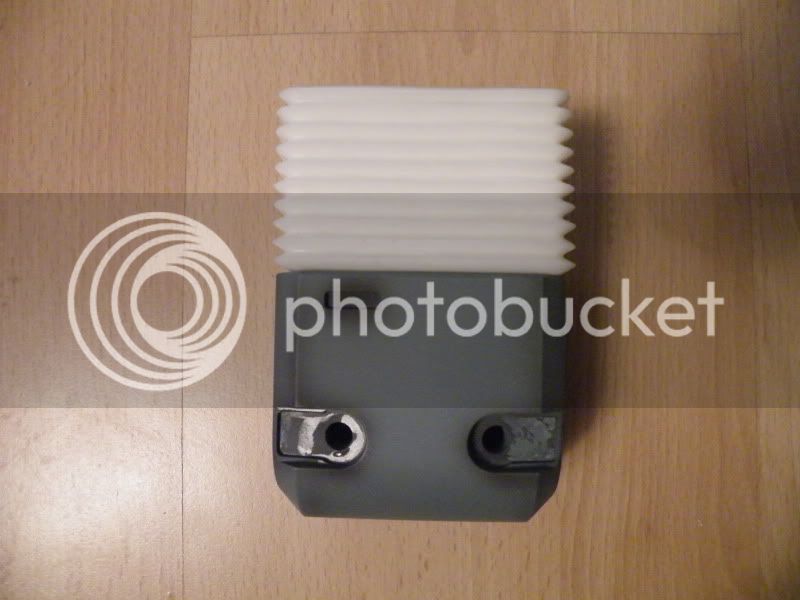
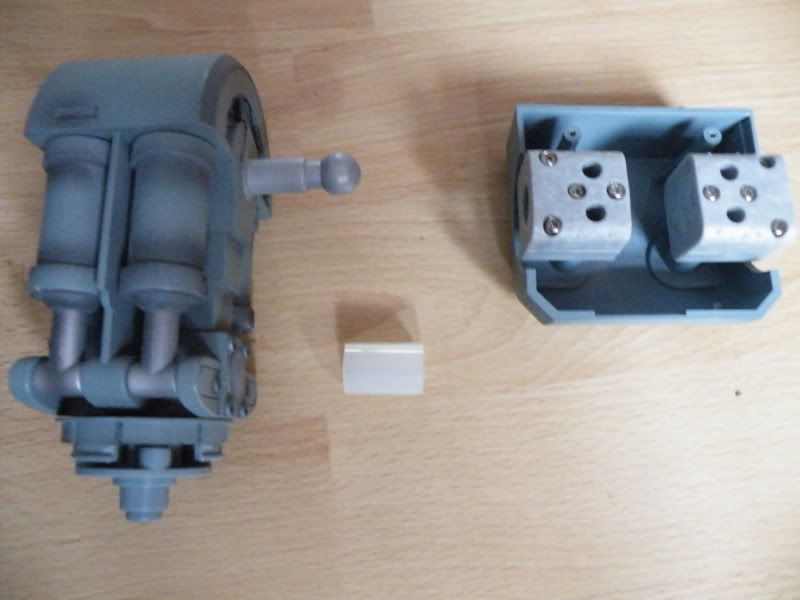
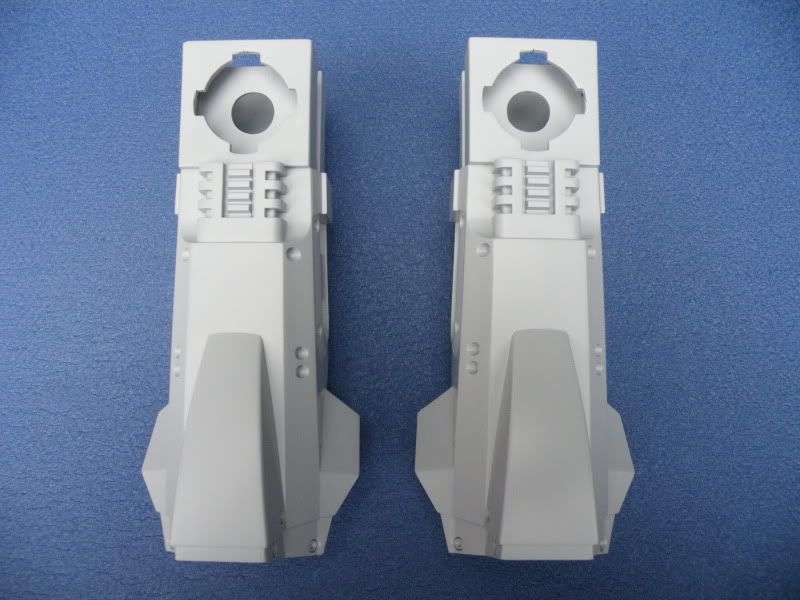
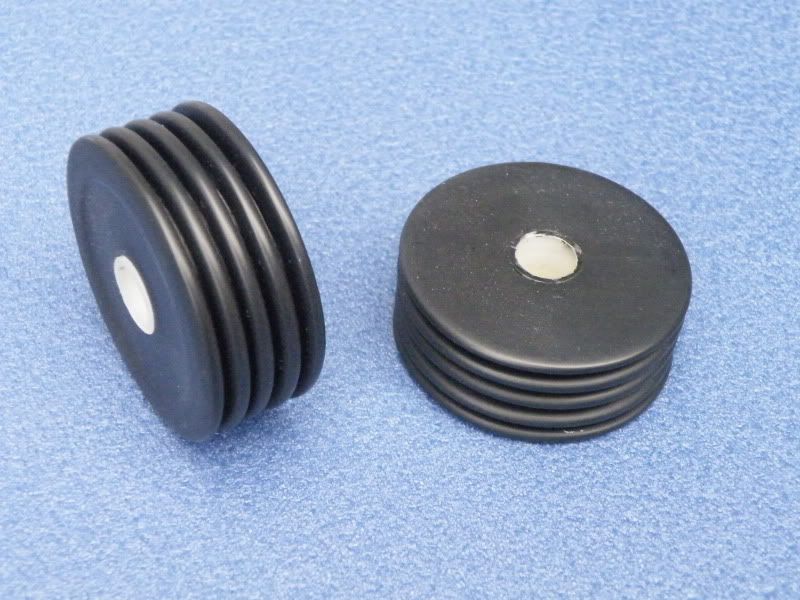
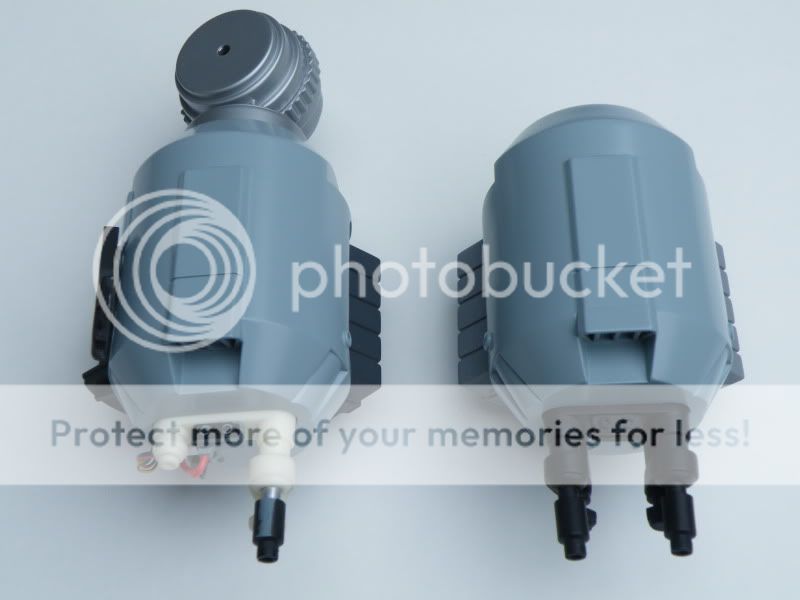
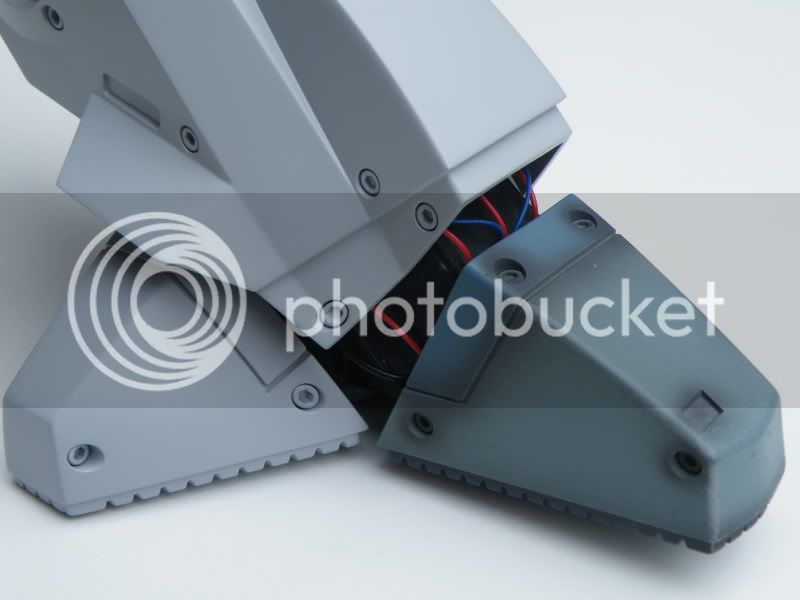
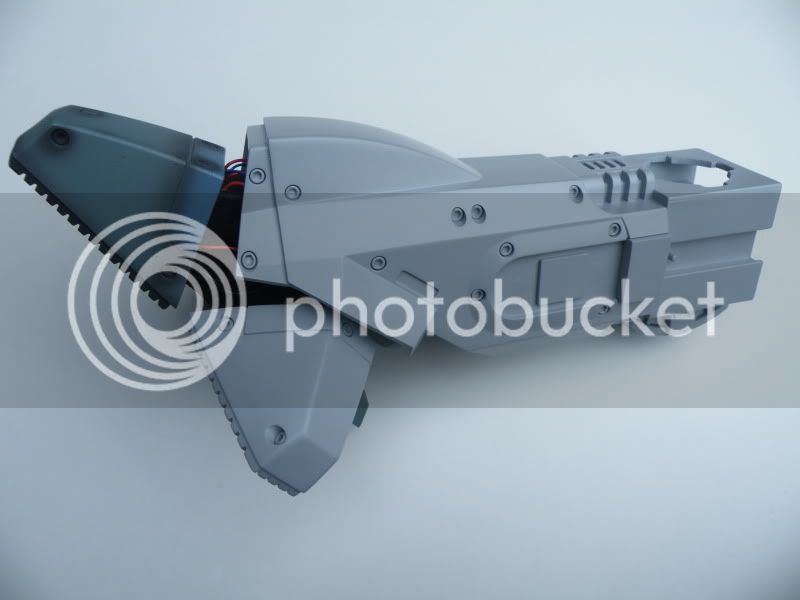
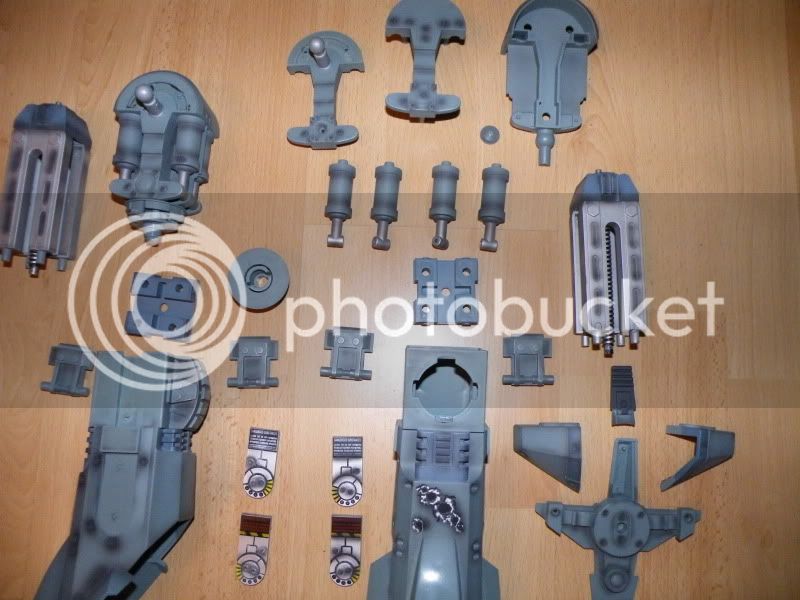
The leg parts. The leg on the left has yet to be fully taken apart:
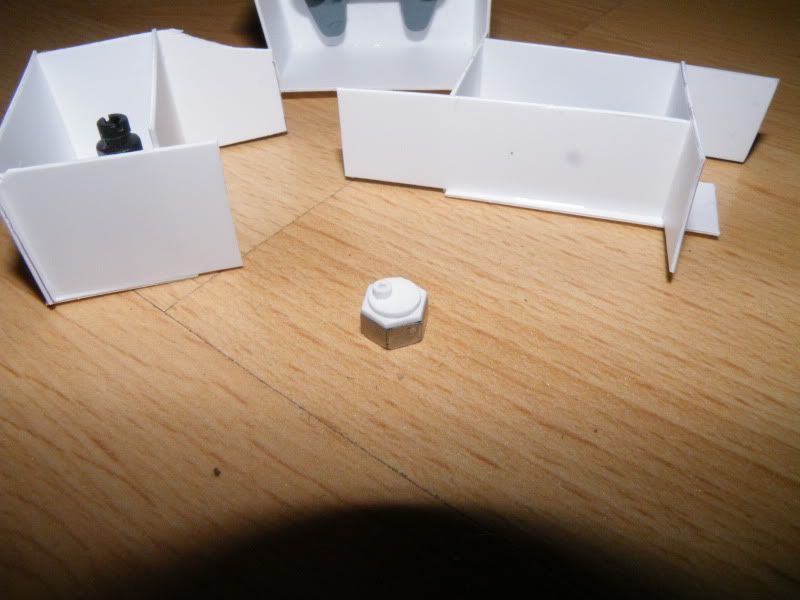
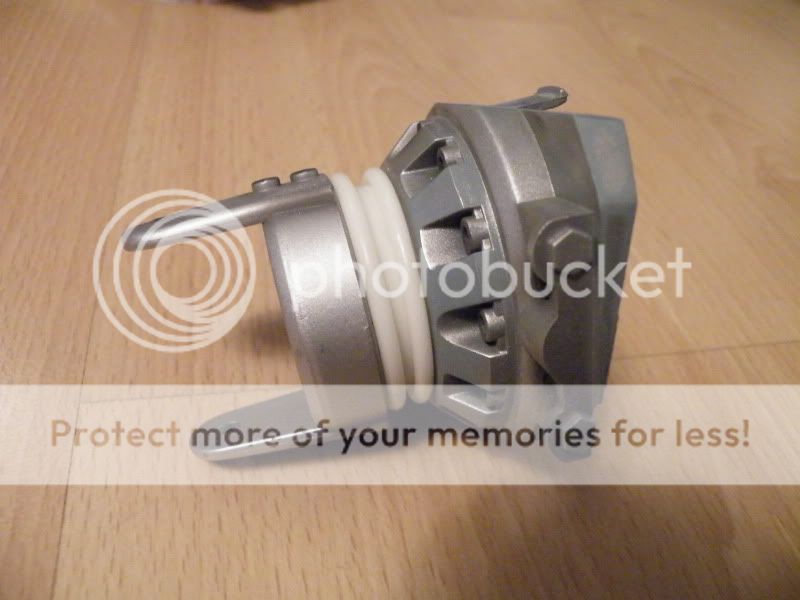
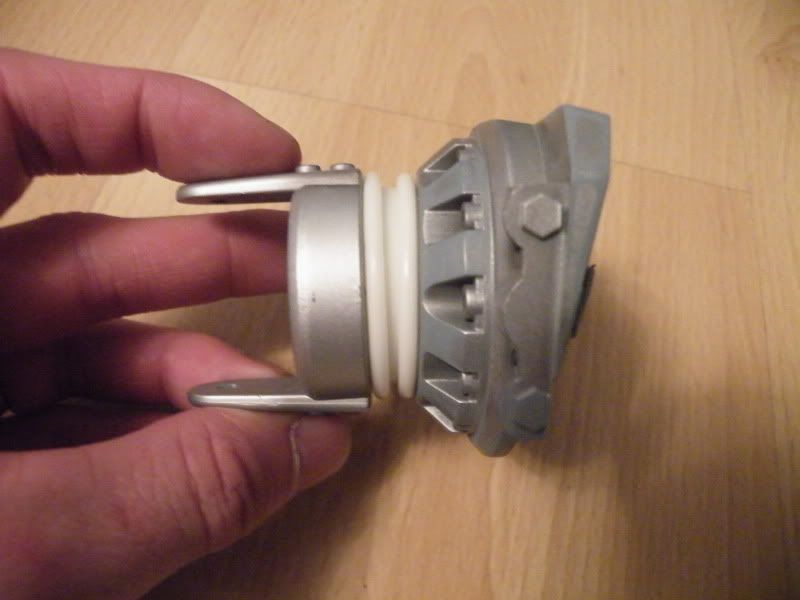
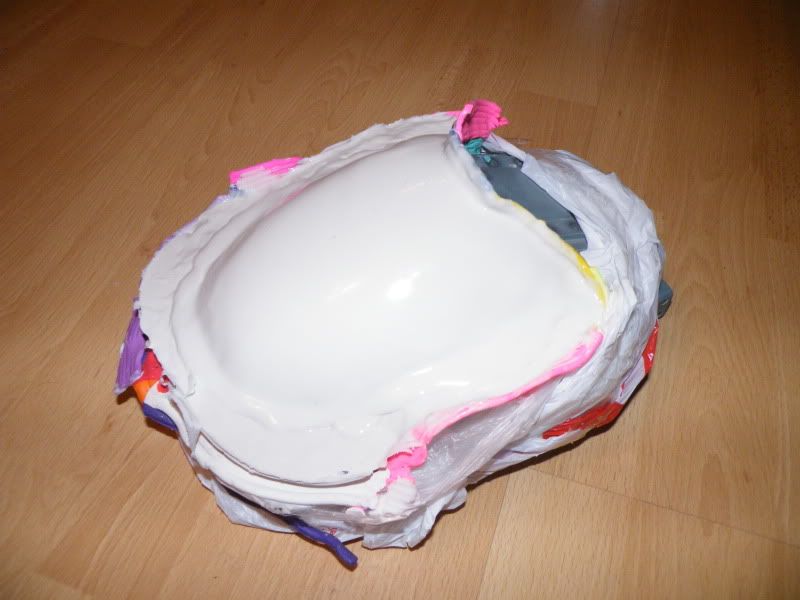
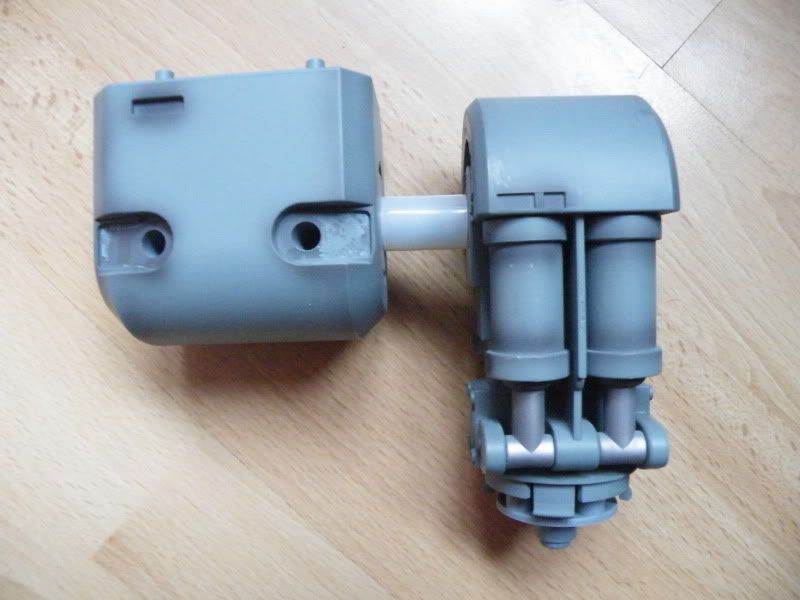
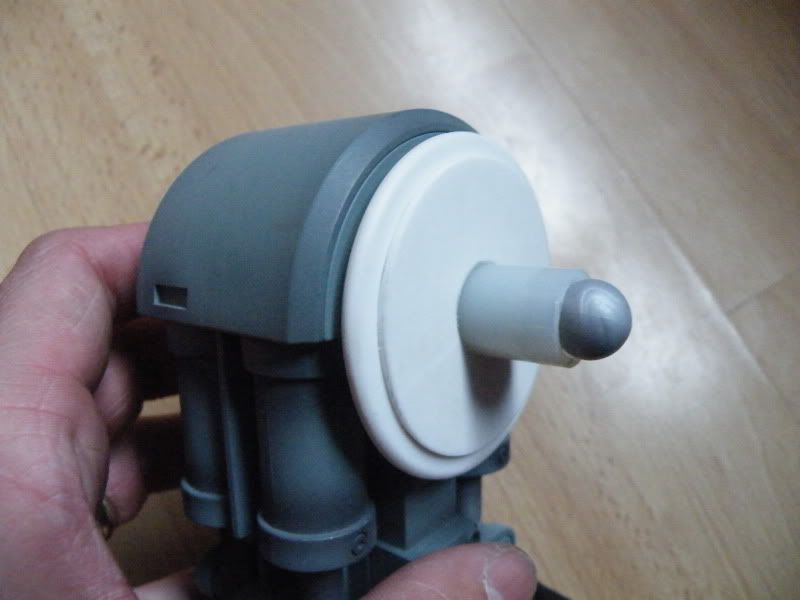
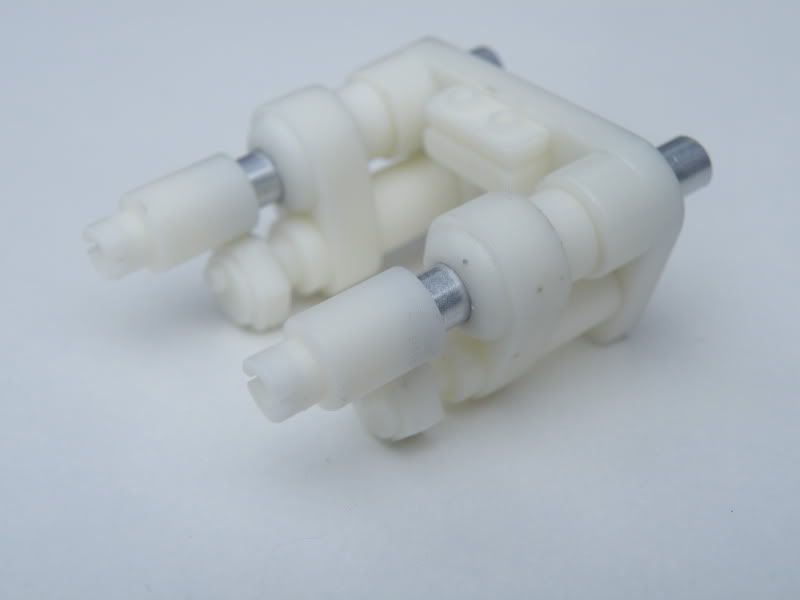
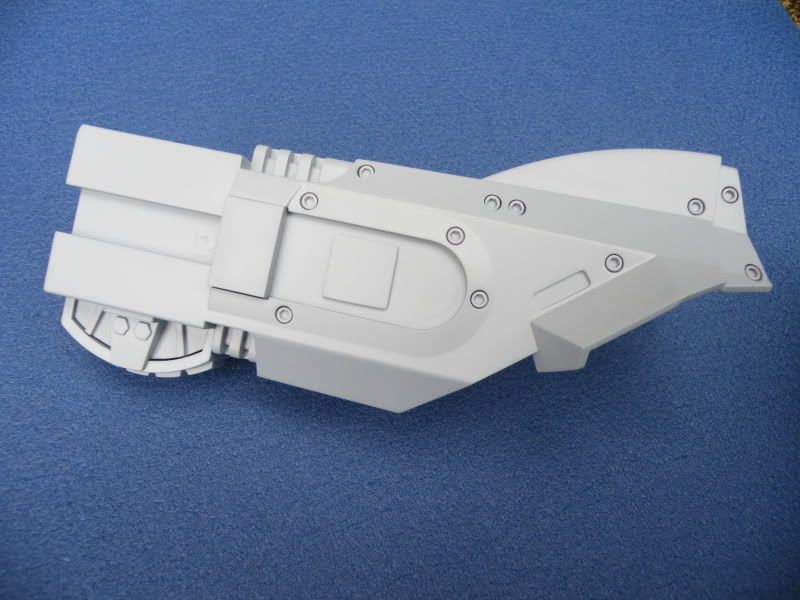
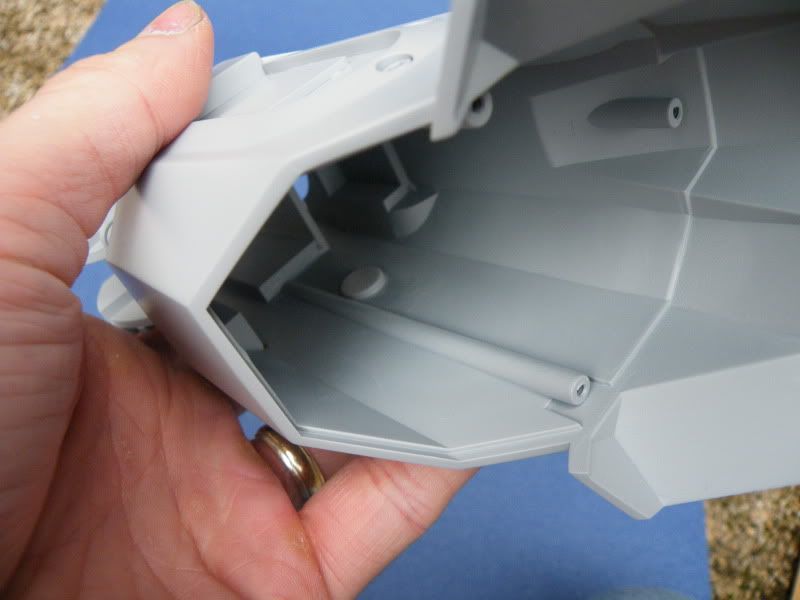
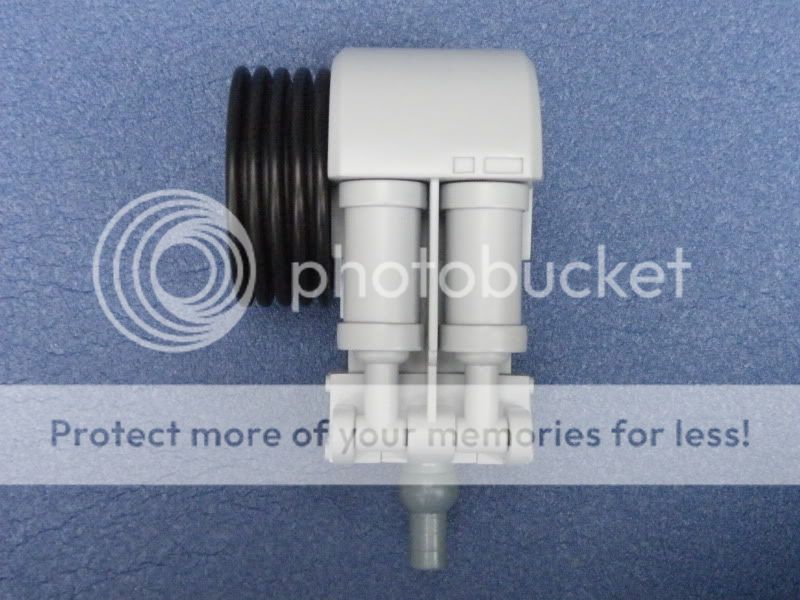
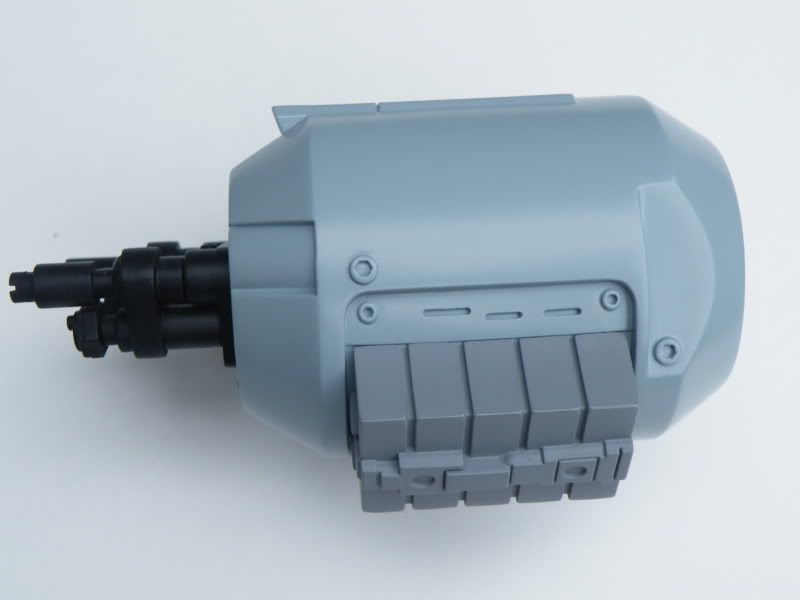
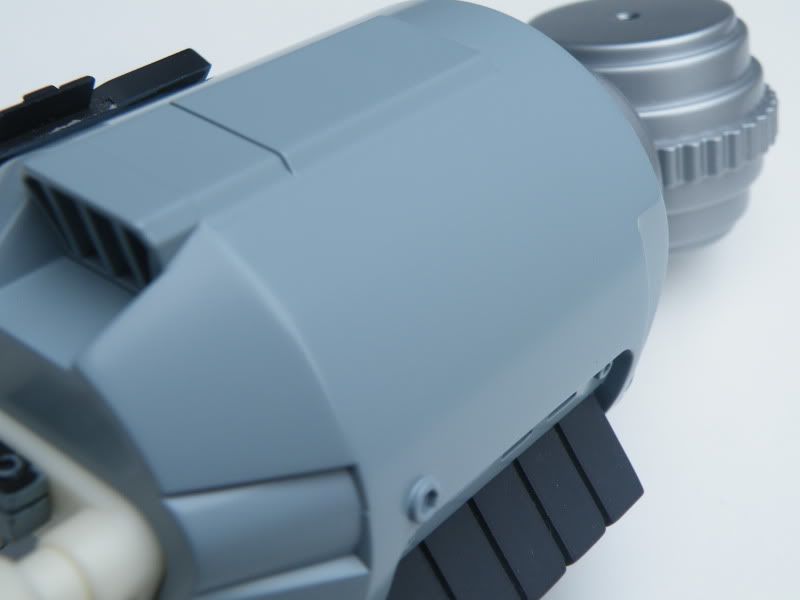
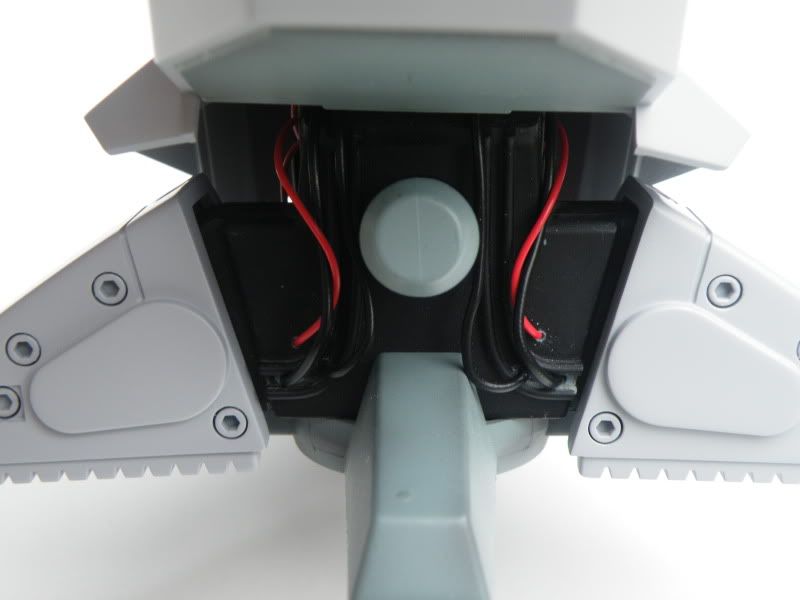
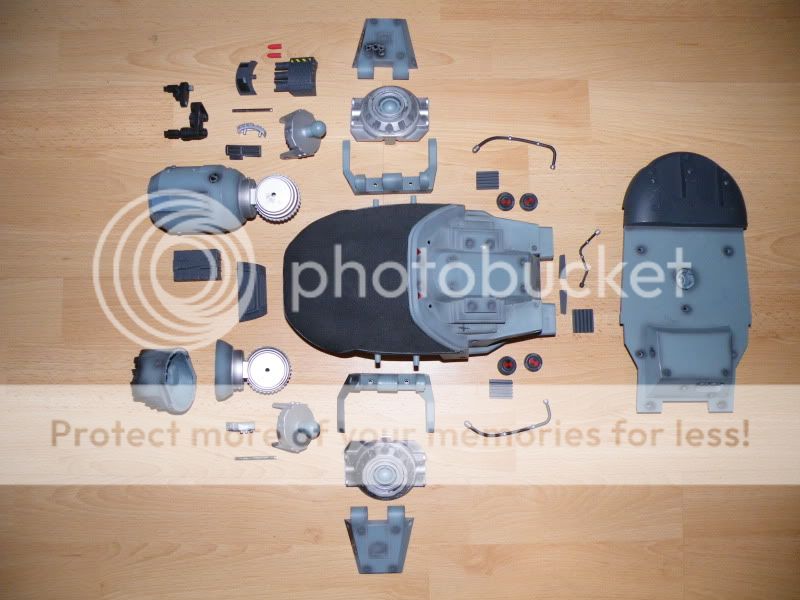
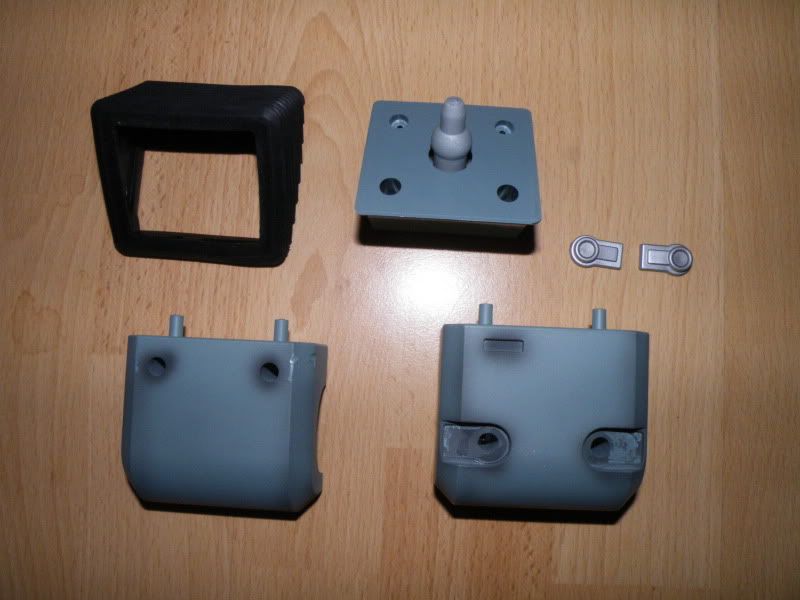
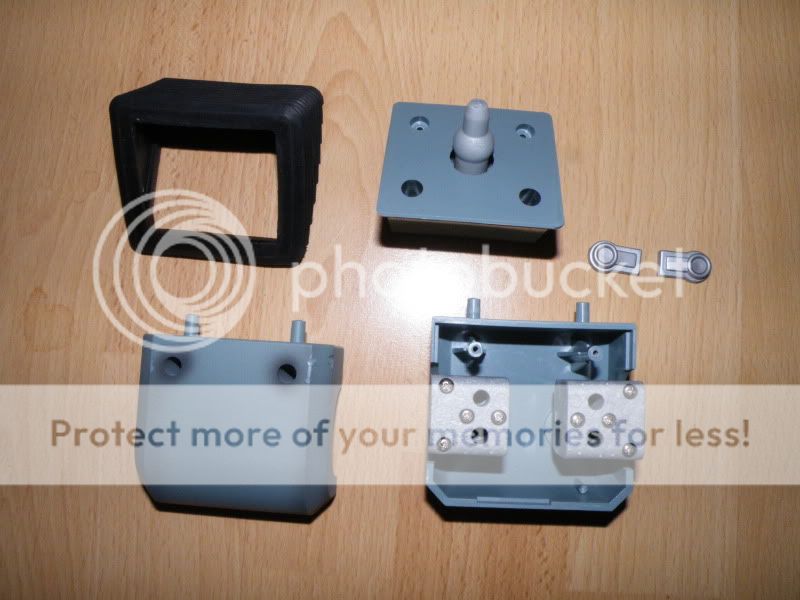
DSCF1312.jpg

DSCF1313.jpg


The pelvis:
DSCF1315.jpg

DSCF1316.jpg


Keith.
 
Gun parts ready to mold:
Picture023.jpg

Picture021.jpg

Picture020.jpg


I made the size of the gun mounts accurate, so there was some filling in to do using plastic sheet of the correct thickness on the pod/arm:
Picture018.jpg


This part i've made will replace the rubber where the arm attaches to the head:
Picture019.jpg

Its ready to mold and will be cast in resin. The same idea will be used for the rubber on the hips. The articulation won't be as much as before, but i only want him stood up straight.

I don't like to permanently glue things together if there is another way around it. I made these things below and fitted them inside the head:
Picture014.jpg

The dark grey caps have little magnets inside.

I fitted magnets inside the round things that attach to the sides of the head:
Picture016.jpg


Here they are fitted:
Picture015.jpg

Its good because if you move one of the round things down or off to the side a bit, as soon as you let go, it shoots right back into the perfect position again on it own.

Keith.
 
Here are the cast gun parts:
Picture002.jpg

Picture003.jpg


I made a mold of the original rubber neck and cast it in resin:
Picture014-1.jpg

Picture015-1.jpg


This cast part replaces the rubber between the arm and the side of the head:
Picture029.jpg

Its not quite as simple as it looks, as for the gun pod section of the arm to be horizontal, the arm has to be dropped down a little at the shoulder, so the part that replaces the rubber had to have the correct angle:
Picture032.jpg


I was almost ready to mold the arm/gun pod to replace the battle damaged left arm, when i noticed that the recess for the rocket launcher was larger than the recess for the ammo box.
Picture018-1.jpg

The left arm has two ammo boxes, so i had to make this:
Picture020-1.jpg

There are 8 parts to make those 2 parts. I am going to temporarily glue and fill these parts in place for molding, then remove them again when done:
Picture022-1.jpg


The dome ready for a fiberglass mother mold:
Picture024.jpg


Keith.
 
Here is the new arm casting:
Picture004.jpg

Picture005.jpg


Here is the head with the rubber removed and the plastic under the rubber cut away:
Picture006.jpg


I've cut the mouth out and i'm working on making it deeper:
Picture008.jpg


Some detail started to be added to the deeper mouth:
Picture012.jpg


Here is the casting of the canopy with a quick coat of matt black paint on it. I will probably paint it satin black:
Picture013-1.jpg

Picture014-2.jpg


Keith.
 
Here is the new canopy fitted:
Picture019-1.jpg

Picture016-2.jpg

Picture017-1.jpg

Picture018-2.jpg

The rim which runs around the canopy on the head will be painted black also. Hot toys didn't paint that black for some reason.

The piece of plastic tube fits over the hip joint and makes sure the legs are set in a perfectly symmetrical position and stay there:
Picture020-2.jpg

Picture022-2.jpg


This white styrene piece i've made will be molded and 4 casts will be glued together and replace the old rubber hip joint:
Picture024-1.jpg

Picture023-1.jpg


Keith.
 
Here is a finished hip joint, made from resin to replace the original rubber ones. This part has been the most time consuming part to make believe it or not:
Picture003-1.jpg

Picture004-1.jpg


No more rubber!!! Did i say i hate rubber?:
Picture002-1.jpg


Here is the gun pod and ammo boxes. I have bolts sticking out of the pod and magnets built into the amo boxes to hold them on:
Picture005-1.jpg

The detail with the three slots above the bolt head on the pod in the above photo had to be added on this side, as this side was where the rocket launcher was on the pod i molded. I made a partial casting of the pod and cut this section out and glued it on this side.

Ammo boxes fitted:
Picture008-1.jpg


The hole at the back takes a plastic tube through it which is how its going to be mounted to the arm. You can see how thick the cast pod is by looking at the hole:
Picture010.jpg


Here are the new guns for the left pod. They will have a few wires fitted to them after i've painted them:
Picture013-2.jpg


Here is the new gun for the left pod. As you can see, i've used two original parts. I still need to add a few bits to this to attach the wires to:
Picture015-2.jpg


Keith.
 
Some more photos of the new left pod, ammo boxes and guns. Everything here has been reproduced/scratch built:
Picture016-3.jpg

Picture020-3.jpg

Picture017-2.jpg

Please ignore the rain drops:
Picture019-2.jpg


Keith.
 
Here are the main leg sections in Tamiya Fine Surface Primer:
DSCF3373.jpg

DSCF3374.jpg


Note the magnet inside to hold the silver things on to the side of the legs:
DSCF3375.jpg


Here is one of the silver things (i don't know what to call them) with a magnet inside:
DSCF3376.jpg


I glued the plastic squares onto the leg so the silver things fit in the correct position with an even gap around them:
DSCF3377.jpg


I added the grey plastic tube to the fitting for the upper leg section and added some thick plastic sheet with a hole in it inside of the upper leg. It just gives some extra support to the legs and spreads the load out rather than it all being at the front face of the upper leg:
DSCF3379.jpg


The leg tops just push into place and are a nice tight fit:
DSCF3380.jpg


Here is the canopy with magnets fitted:
DSCF3382.jpg


Here you can see the bolts that the magnets in the canopy stick to:
DSCF3381.jpg


DSCF3383.jpg


Keith.
 
Some parts painted in Tamiya Bare Metal Silver. Note the tube that the new pod fits on to:
DSCF3384.jpg

DSCF3391.jpg


The new pod push fits in place:
DSCF3385.jpg

DSCF3388.jpg


Here you can see the resin arm joint i made to replace the rubber (the black part):
DSCF3386.jpg


The deeper more detailed mouth:
DSCF3387.jpg


The new resin neck painted black:
DSCF3389.jpg

DSCF3390.jpg


Upper leg section in primer. There are 8 parts to each upper leg section and every part was primed separately. Its just been push fitted together here for the photos:
DSCF3393.jpg

DSCF3394.jpg


Keith.
 
The new resin hip joints in final black paint:
DSCF3401.jpg

DSCF3392.jpg


Some toes:
DSCF3395.jpg


Some test fitting of the wires on the right pod. The red wire is still a little too long here:
DSCF3396.jpg

DSCF3397.jpg

DSCF3398.jpg

DSCF3399.jpg


DSCF3400.jpg


Keith.
 
Here is the rocket launcher after some work:
Picture279.jpg


The gun pods are now in the final base colour:
Picture542.jpg

Picture544.jpg

Picture539.jpg

Picture284.jpg

Picture540.jpg

Note the added rivets to match the original:
Picture541.jpg


The rocket launcher targeting thingy has been reworked and screws onto the pod with two tiny screws, so it can be removed. It still needs to be painted:
Picture283.jpg

Picture285.jpg

Picture282.jpg


Keith.
 
Here it is. I should have put something next to him to show the size as he is HUGE!

e5px.jpg


4r7.JPG


njxy.jpg


0d8t.jpg


iw03.jpg


yfgl.jpg


0bll.jpg


bl37.jpg


niq2.jpg


6vw9.jpg


Keith.
 
Back
Top