Custom Ball Jointed Battle Droid

Collector Freaks Forum

Help Support Collector Freaks Forum:

This site may earn a commission from merchant affiliate links, including eBay, Amazon, and others.

AndreTK421

Super Freak
Joined
Sep 24, 2010
Messages
531
Reaction score
0
Location
On the Moon...with Steve
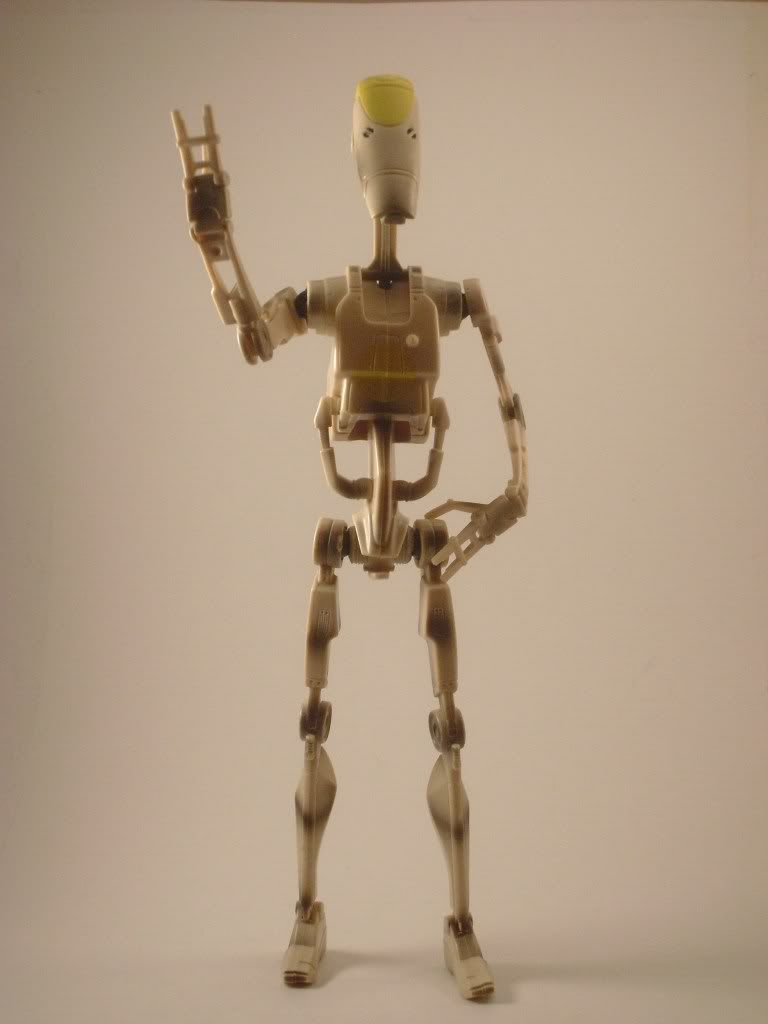
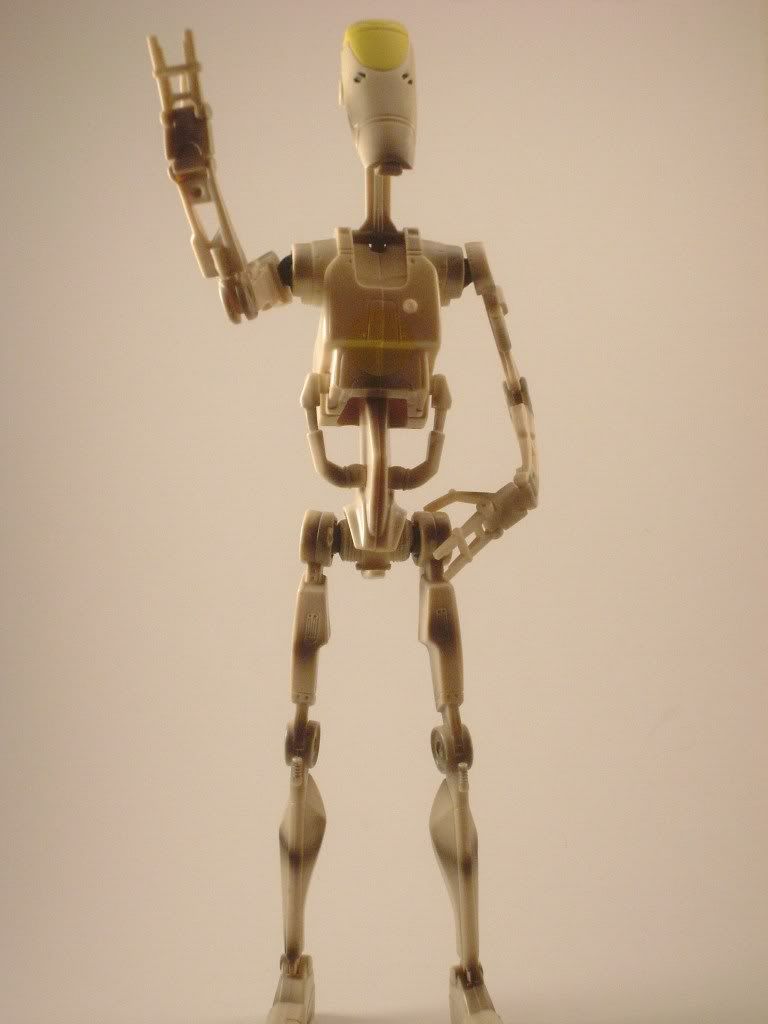
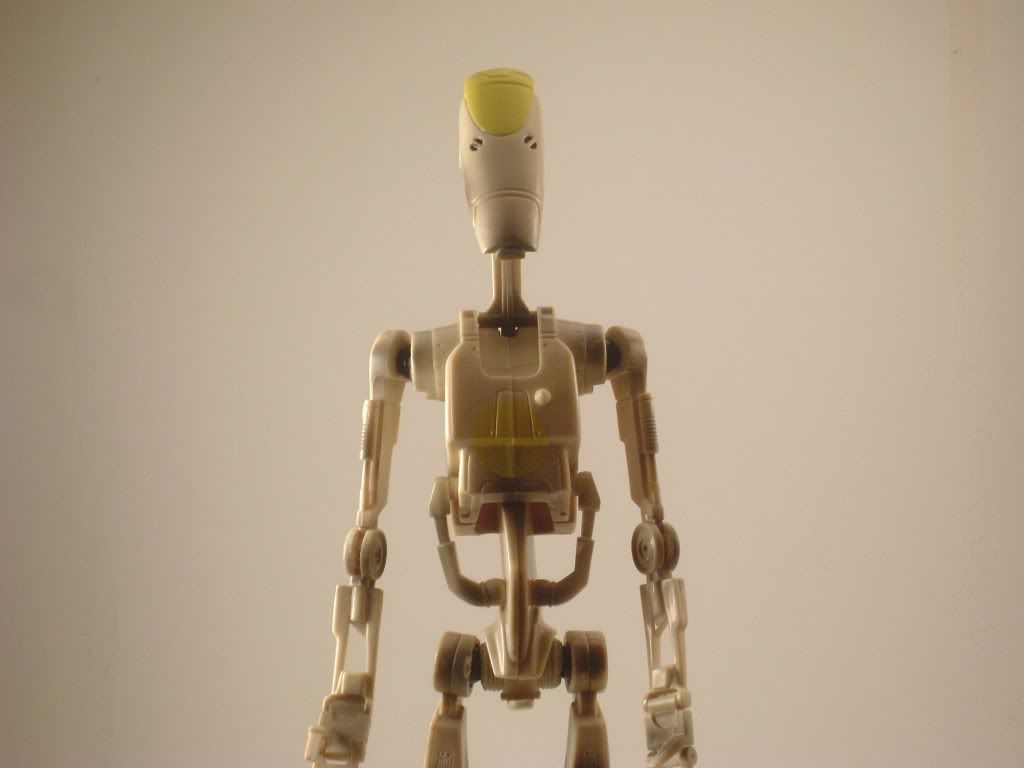
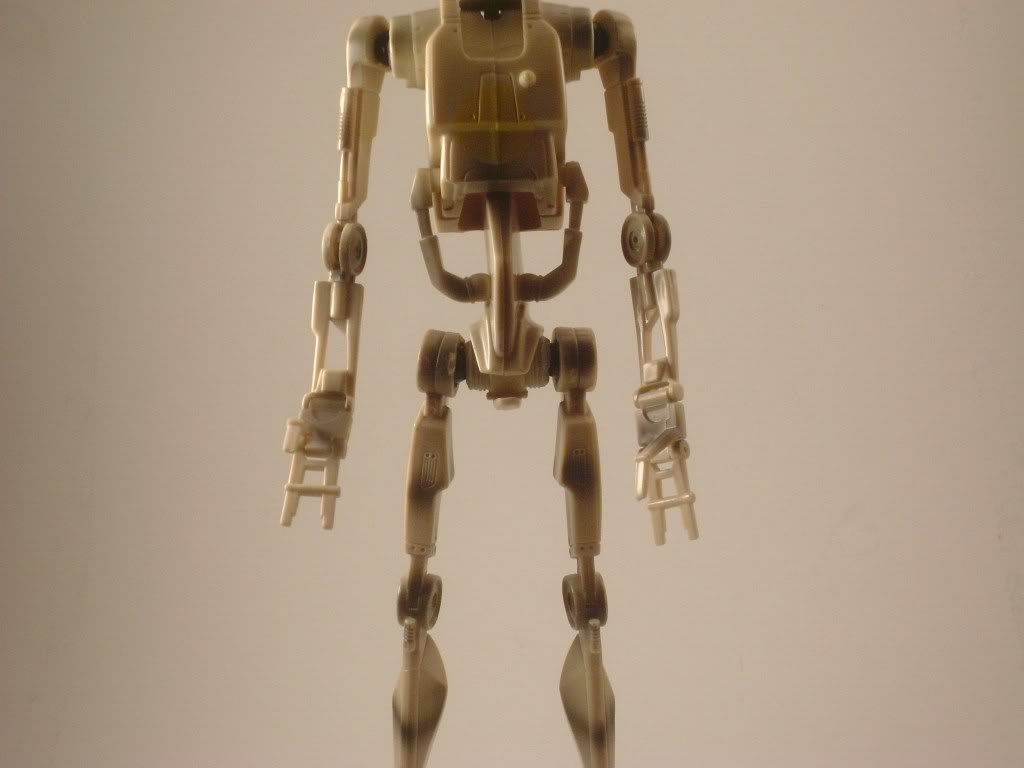
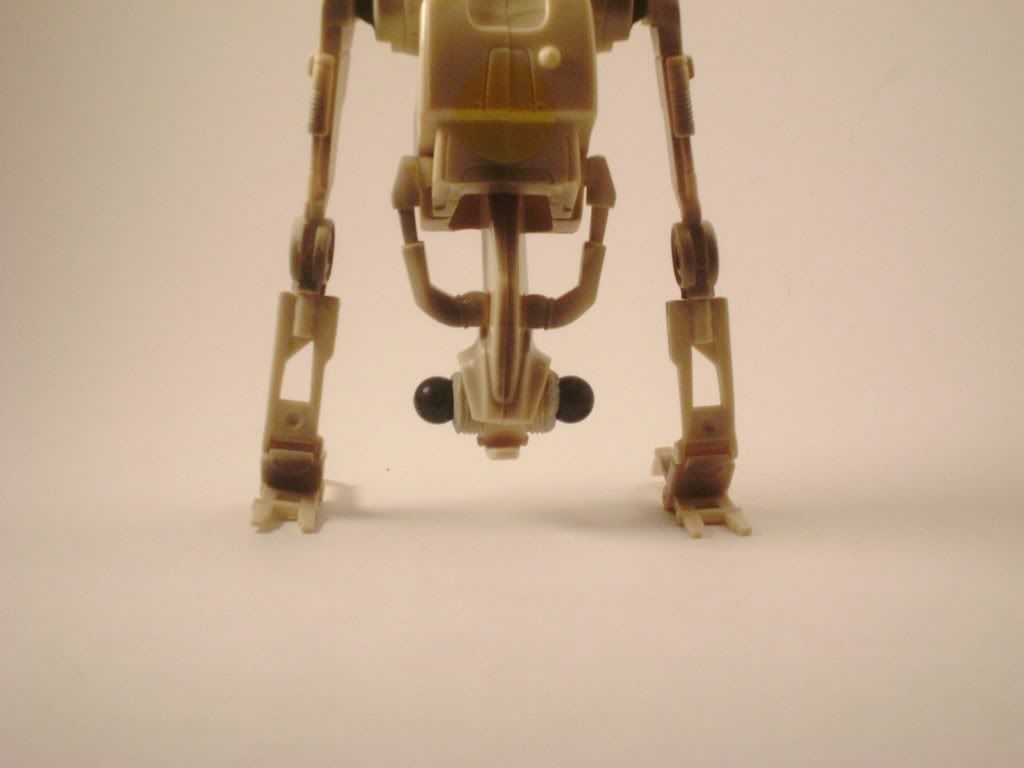
Ok did some work this week end to my Battle Droid that I got for Christmas. Gave him some new joints YAY!! All I need to do is get is head attached which will also be on a ball joint Prime then paint him all up. Got to get some primer first DOH:slap Thanks for lookin:)
BD1.jpg
BD2.jpg
BD3.jpg
BD4.jpg
BD5.jpg
BD6.jpg
 
Nice work man, can't wait to see it painted up. I've always wanted to do this, but I really just want Sideshow to hurry up and make the bastards.
 
Excellent upgrade! You blended the ball-sockets perfectly. I did something similar using Lego Bionicle pieces, but they were pretty large. Also, my heavy-handed approach was a lot more noticeable than yours. Great job!
 
Very nice clean job. I would love to try this mod on a couple of my droids. Would you share what type of joints you used and your source? THX! And again great job!!!!!!
 
Hey thanks guys! It wasnt to hard at all to do. I got some Lego bionicle parts from the new hero collection I believe. I used loctite precision max super glue in the .35 oz. bottle and this 5min. epoxy called Perma poxy really easy stuff to work with. I then pulled out my exacto knife cut his legs and arms off. I then dremled out the arm socket and hip sockets this part was a little hard because I had to make sure the shoulder holes were not to big so I could blend the socket better so I didnt have a huge hole. I then took my dreml and grind down the socket part to fit very tightly into the shoulder hole so it was flush with the shoulder so nothing was sticking out....make sense? I used the super glue to glue in the sockets and this glue is super strong it aint going no were. Then I took a drill bit the size of the peg that was still attached to the ball and drilled in the arm to fit it then filled it in with super glue as well. Next I moved to the hips after I hollowed out the hip joint I filled it with the perma poxy and pushed in the balls with short pegs still attached to them from were they were cut off from. Then I began to make a socket into the leg were the ball would fit into useing my dreml. This part was also hard you have to be careful not to make the hole to deep or to big. I made it as tight as I could to start with then went out from there, I did how ever make one a little bit to big so it fits a little bit looser but no big deal it stays put. and that perma poxy hardens in like 5 to 10 min. then hardens like steal in 24 hours and you can sand it drill it all that stuff works really great. Any way hope this helps any one that wants to do this for cheap. I think the glue and the perma poxy was like $10 all together I got it all at Wal-Mart. but any who thanks for the comments guys hope anyone who does this has just as good if not better results :yess:
 
Awesome description, THANKS! Can you shoot some quick pics of the ball and socket, attached and un-attached? And grab a pic of which Bionicle hero you used? If not that's cool.

THANKS AGAIN!!
 
I dont have the Bionicle Packaging Im not sure even what one it was to be honest I think it was one of the smaller guys. the frame with all the sockets and balls...... not going there lol. was given to me from some one who worked at wal-mart and the took it out of a display and gave it to me. What pics do you need Brinn Im not to clear on what you mean sorry. Are you meaning the leg ball and socket?
 
Nice , clean work Andre . I'm in the process of doing the same , but the size of the ball joints and sockets meant I had to do significant work re-building the shoulders and hips .:clap
 
Thanks thundergod!! yea I would have had to do the same but I thought hey why not grind down the socket instead and it worked like a charm.Just a bit time consuming getting them to the right size but it worked for me. YAY!
 
:clap That's incredible! :panic: You've outdone Mr. Snow on this, I think! Very nice work, I definitely have to try this when I have time!

My battle-droid is so sick of not being able to actually aim his blaster at anything... I'm sure if the BD's were really like the Hasbro version, the Clones would win for sure!
 
Thanks Dude! I dont know about out doing Mark but thanks anyway. And it didnt take to much time just a couple of hours. I still need to get his head fixed up, but I know already how I am going to do it so it wont take long there either. Also thanks again to everyones kind words.:hi5:
 
Well, Mark's used the old LEGO ball joints, and they stuck out a lot. You used the newer, tinier joints, and I can barely see them!

And :lol "only" a couple of hours, I haven't had a couple of hours recently. I barely have enough time to post on SSF as of late, due to my massive workload... I'm actually working right now! :wink1:

Anyway, he looks great, and I can't wait to see how the modded head comes out. Could we see some shots of him holding a blaster? :naughty
 
Simple yet very effective mod. Looking forward to seeing him painted up. Will you be doing the Super Battle Droid as well?
 
Back
Top