Sardo Numspa
Super Freak
Oh, that`s an even better idea!


Really nice! I saw this diorama... The diorama is big or small version?
Hey, what kind of clear coate do you recomend? I've never been clear coate shopping, but the only kind that I am aware of is the spray can variety such as the Krylon one. And is it something you get from a hobby store or you can pick it up at Walmart/Lowe's as well..and does it only come in a spray can? I'd really like one in bottle form that's easy to apply with a paintbrush. Plus one that I could wipe off right away (without messing up a sculpt) if I screwed up.To make it more rigid, and without gluing it to the neck, you might just have to paint it with clear coate on the inside.
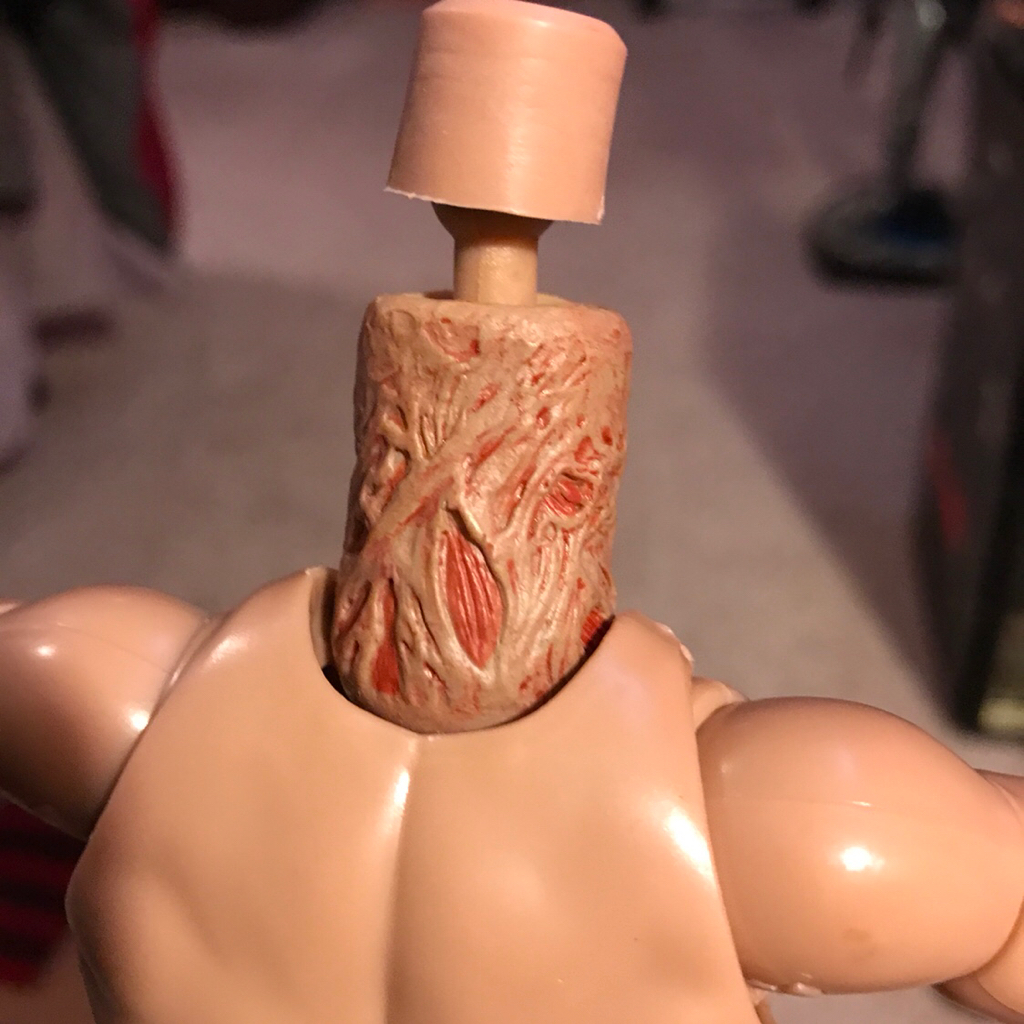
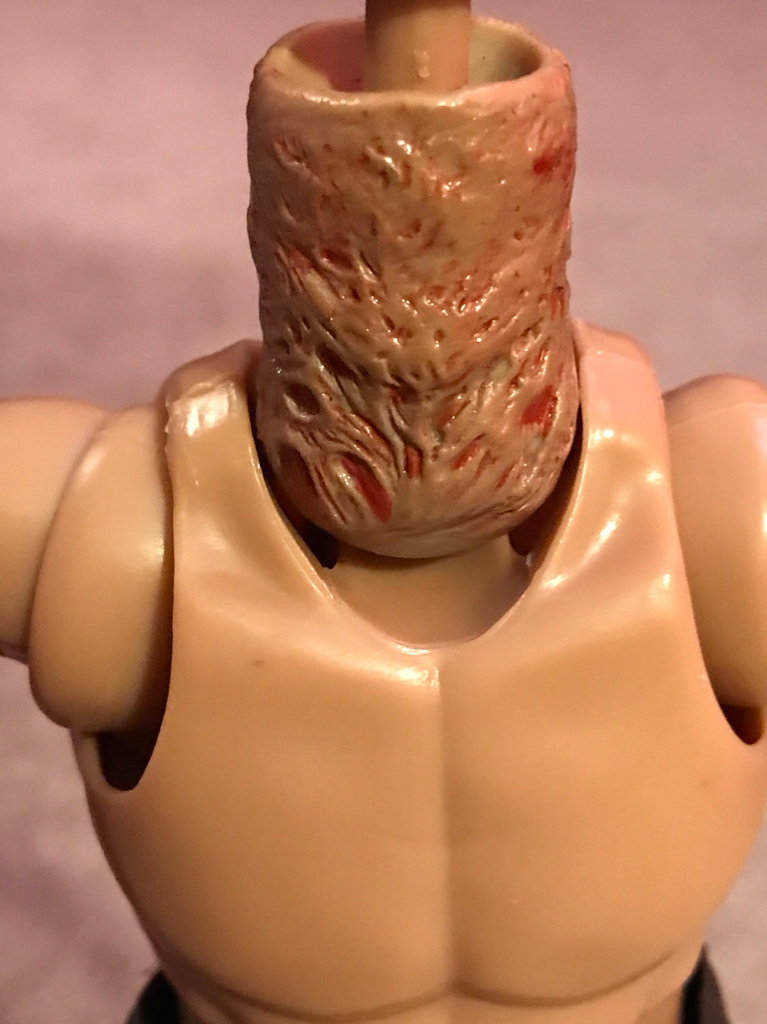


Hey, what kind of clear coate do you recomend? I've never been clear coate shopping, but the only kind that I am aware of is the spray can variety such as the Krylon one. And is it something you get from a hobby store or you can pick it up at Walmart/Lowe's as well..and does it only come in a spray can? I'd really like one in bottle form that's easy to apply with a paintbrush. Plus one that I could wipe off right away (without messing up a sculpt) if I screwed up.
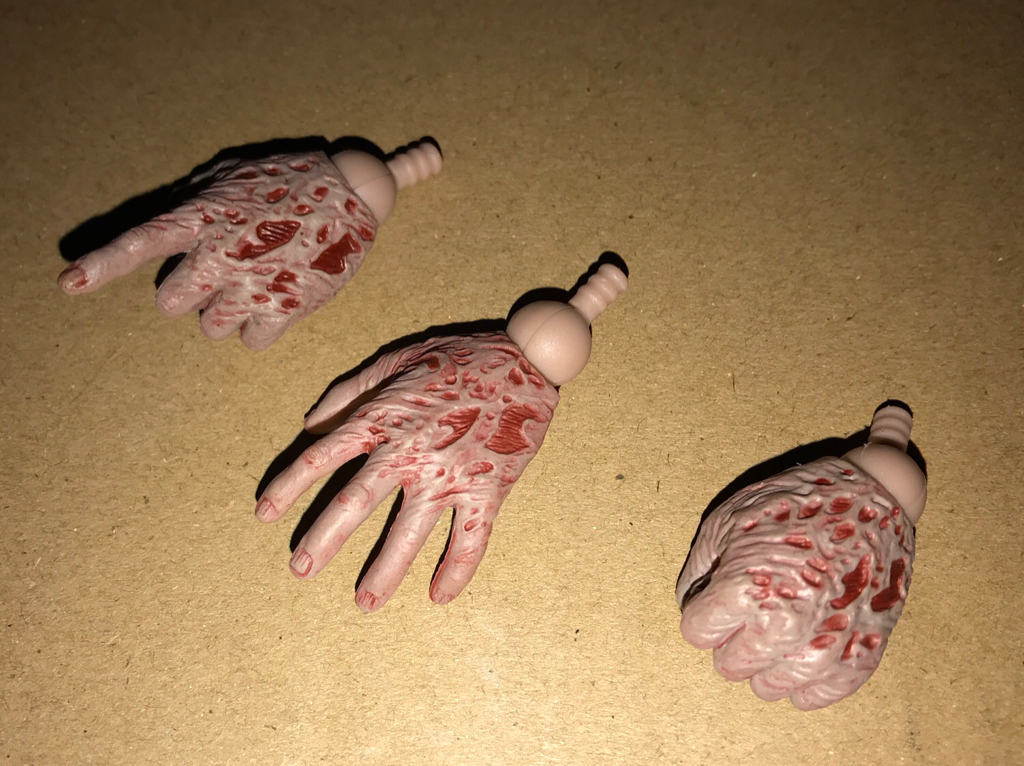
But If you looking to make him have a wet look? If so I’d use Floor Wax. It dries and leaves a gloss without ruining paint. It’s how I did mine and his hands. Also if your so inclined....some hot water and a tooth brush you can remove it. It will stay on there as long as you like. It’s an old model builders trick. I use to use it on Figure models for clients and run it through my airbrush.
Dries in under 5-10 minutes and it last - won’t cause tacky paint or screw ups like some clear sealers either. It’s been my trick of the trade for over 20 years for models and figures that needs a gloss or wet look to them. Hope that helps ya out.
Take care - Jase
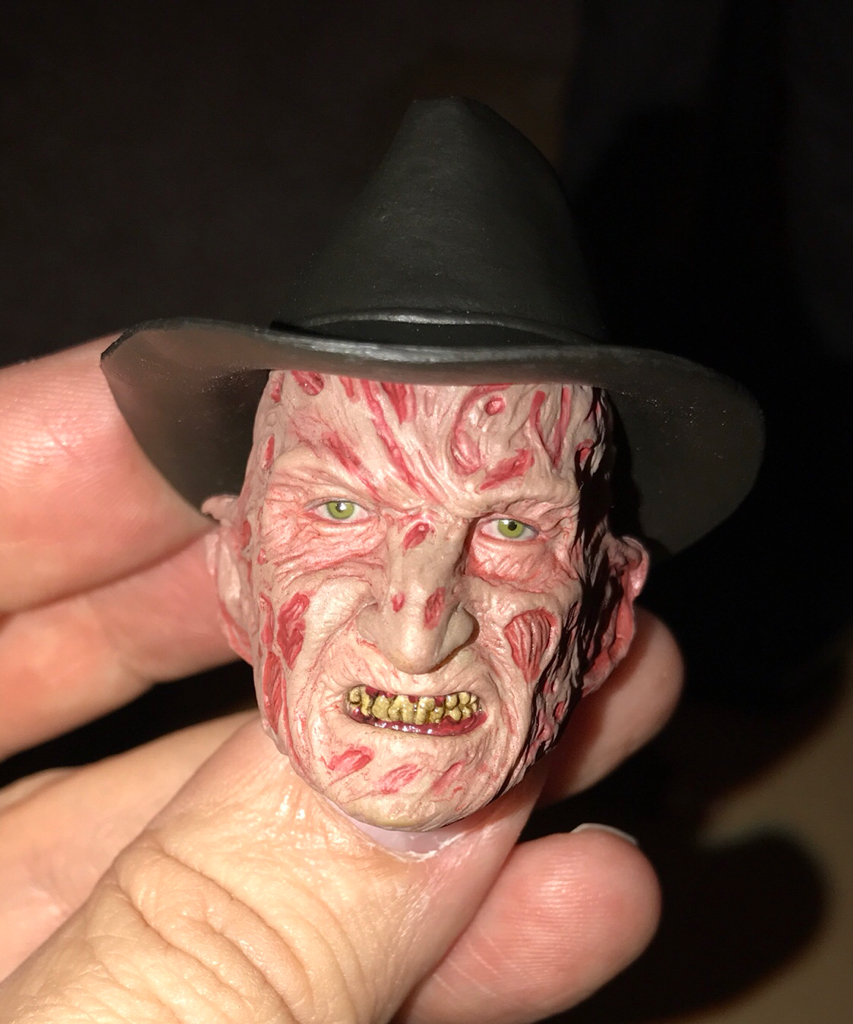
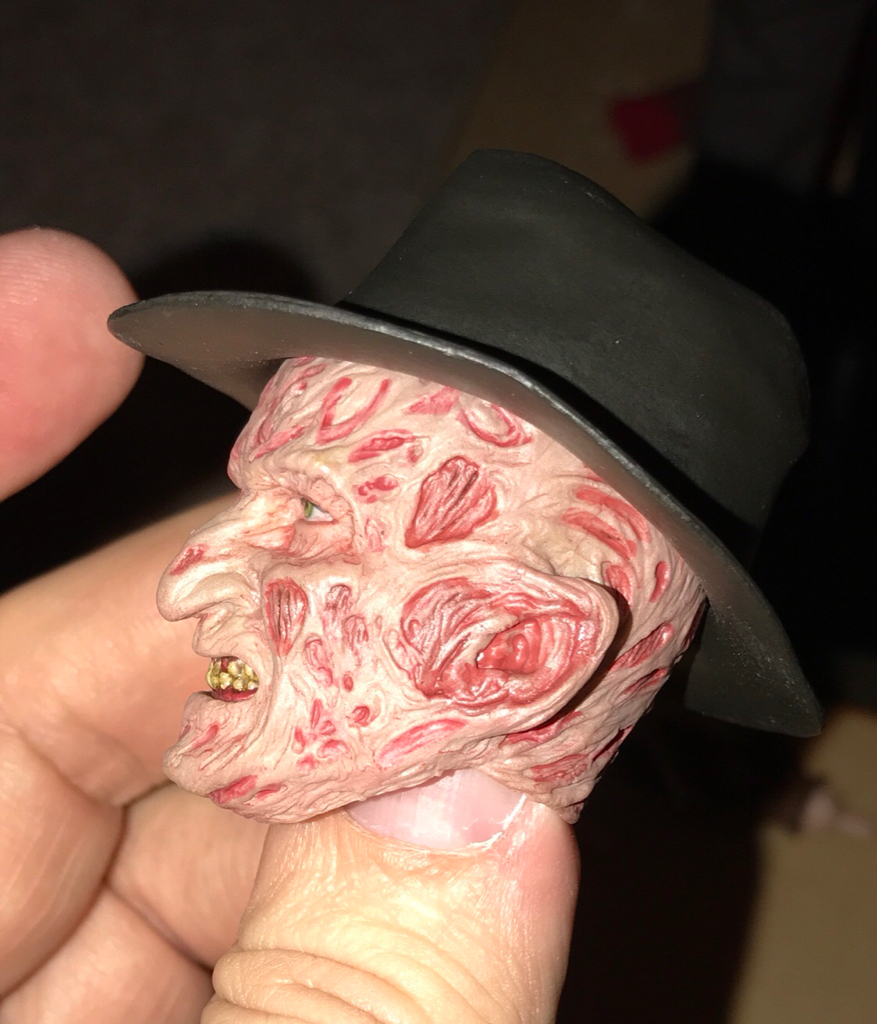
That's a damn good point..I'll have to go back and see, as I don't recall it looking off in that way. The fedora is accurate to part 3, but yeah, I can see the need for the crown to be overall a bit larger if positioned lower on the head. I do fancy the idea of tilting the hat down on the left side as it was often worn. But still, it certainly is a risk to do all of that indeed.Now, I've seen people repositioning the hat, and I understand why they did it, but frankly, I don't like any of the results I've seen.
That hat is very narrow already and on all the pics I've seen with the hat lower, it looks like there's no head in there, so I'd think twice before doing such a drastic mod... Unless you use a proper sized replacement hat.


That's a damn good point..I'll have to go back and see, as I don't recall it looking off in that way. The fedora is accurate to part 3, but yeah, I can see the need for the crown to be overall a bit larger if positioned lower on the head. I do fancy the idea of tilting the hat down on the left side as it was often worn. But still, it certainly is a risk to do all of that indeed.
")
I think the best way to circumvent the hat issue is to heat it up, lower the front part of the brim and cold freeze it in shape. That's probably the only mod I'm gonna do.
Nice pics, Death Asylum! Makes the wait unbearable.

Yeah. Luckily the hat on mine came bent quite nicely. But a very easy alternative to those receiving more flared up brims. I have even noticed some variation with actually how far down the hats are on some figures compared to others. I did own another and the hat was definitely sitting just a bit higher than my other one. When I get some time, I'll send comparison pics.I think the best way to circumvent the hat issue is to heat it up, lower the front part of the brim and cold freeze it in shape. That's probably the only mod I'm gonna do.
Nice pics, Death Asylum! Makes the wait unbearable.
Hey Jase, where'd you get that particular Pledge? This is what they had at Walmart:All thanks to...
Dries in under 5-10 minutes and it last - won’t cause tacky paint or screw ups like some clear sealers either. It’s been my trick of the trade for over 20 years for models and figures that needs a gloss or wet look to them. Hope that helps ya out.
Take care - Jase
Sent from my iPhone using Tapatalk

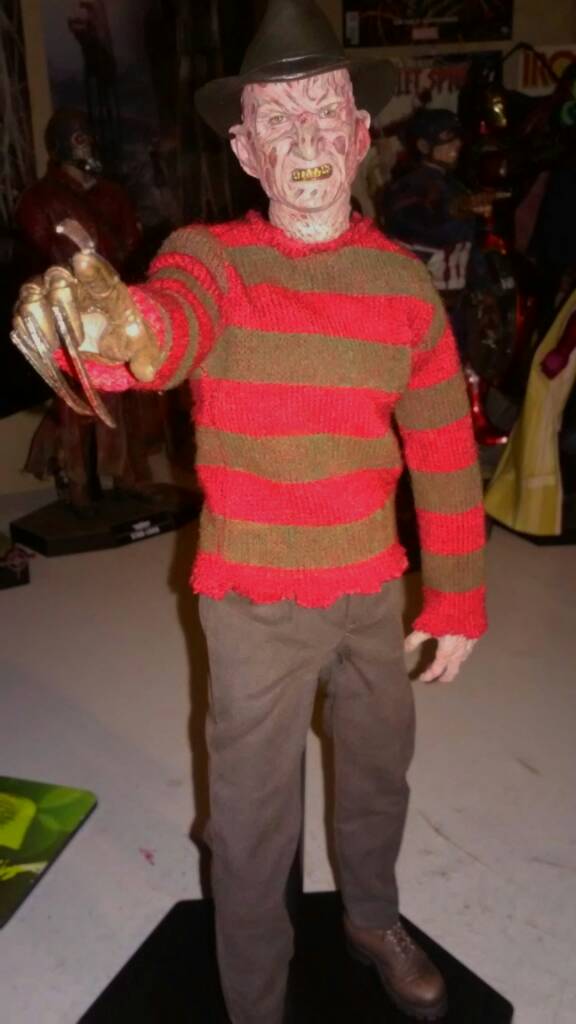
A few quick pics with my iPhone. Overall, pretty good out of the box. He can def benefit with a few mods, but SSC did alright on this one.
Enter your email address to join: