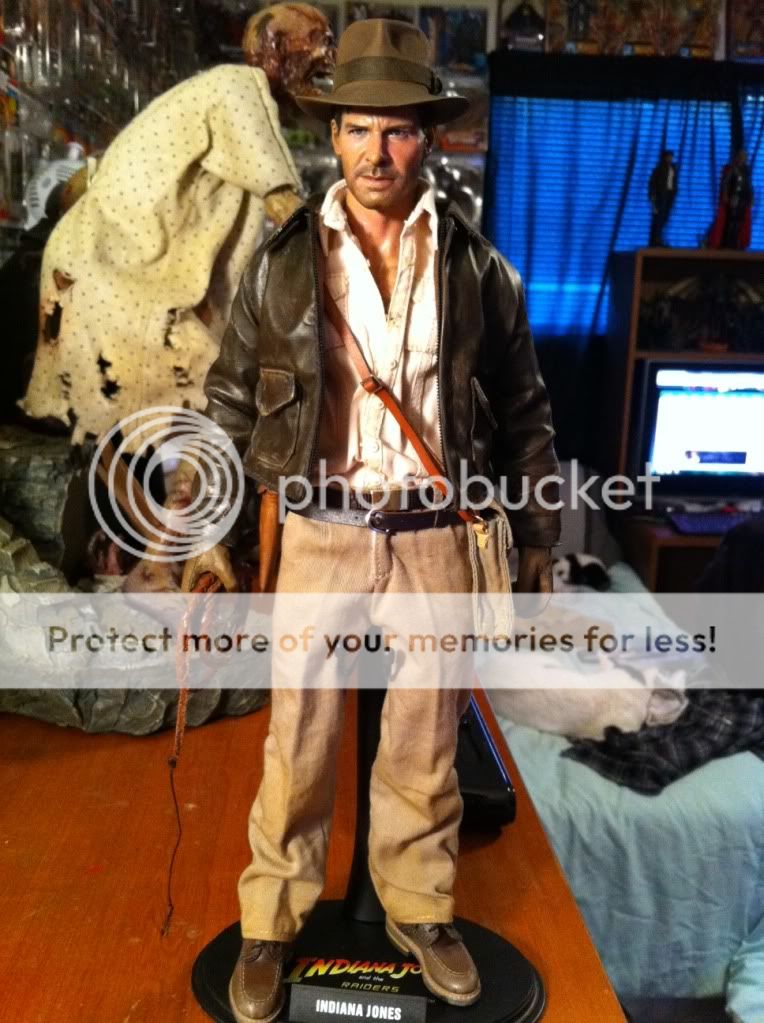
Mad Old Lu
Super Freak
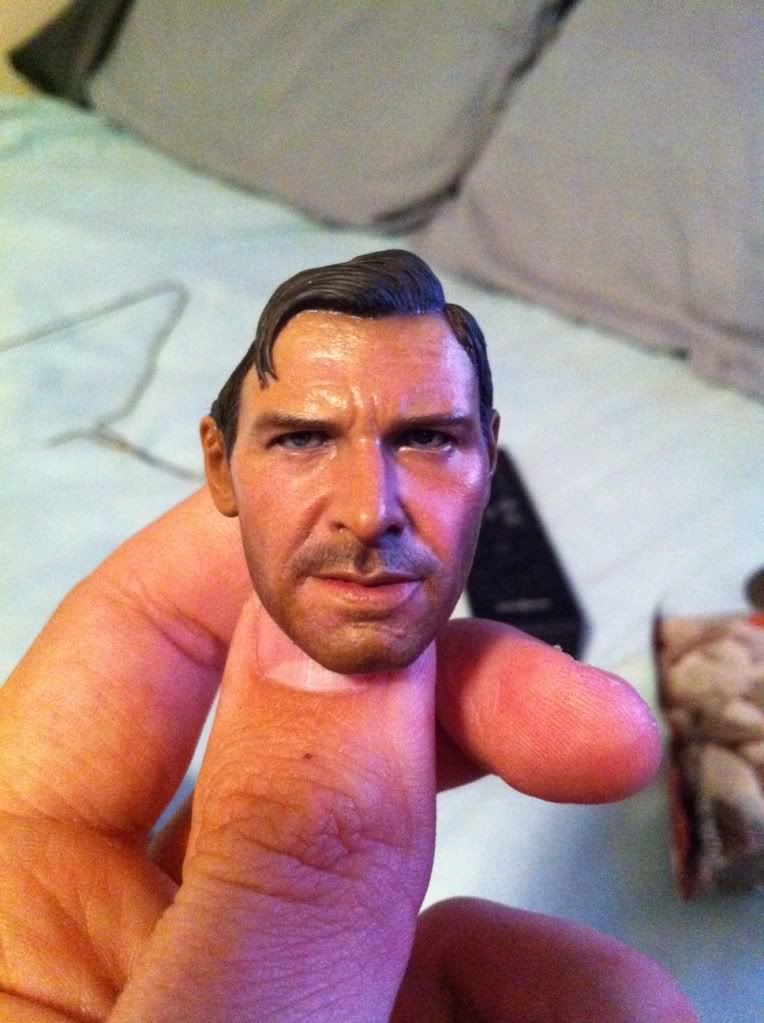
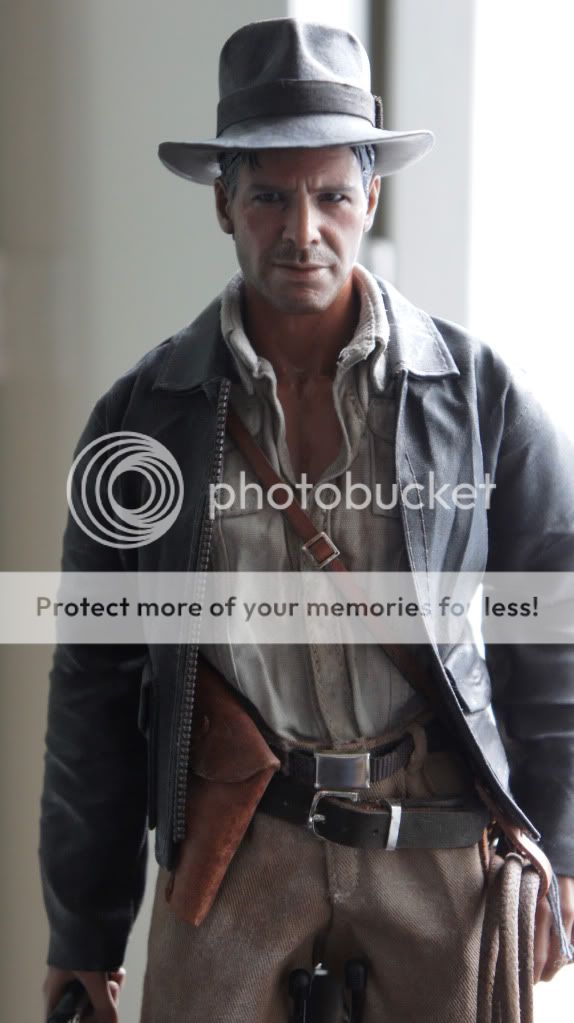
Great job, Crow! Really brought out the likeness I never thought was there! 
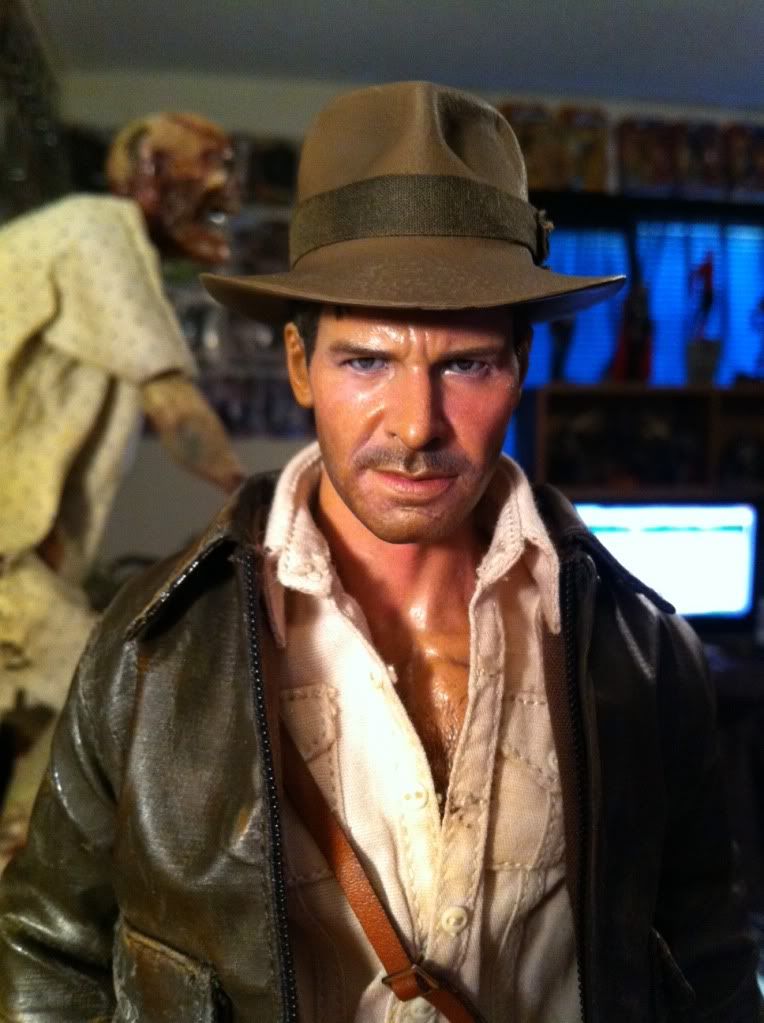
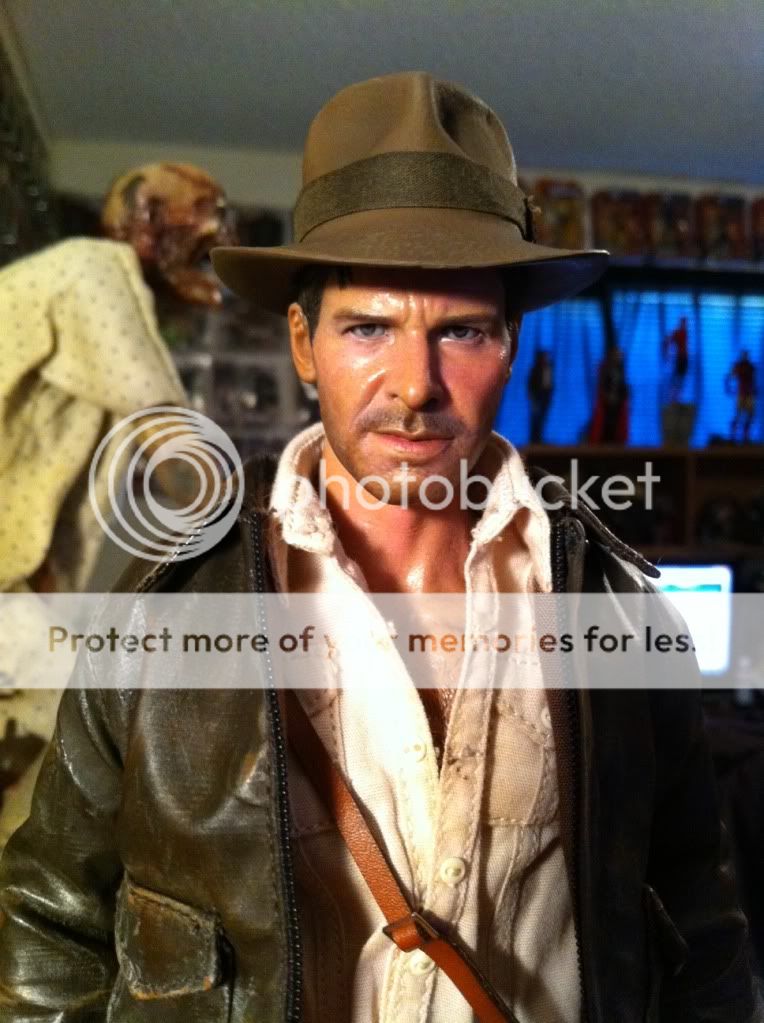
For you and those that have been repainting: are you guys painting over the little eyelashes when you lighten the guyliner? Are you guys doing a complete repaint to the face, as in, covering pretty much all the flesh?
For you and those that have been repainting: are you guys painting over the little eyelashes when you lighten the guyliner? Are you guys doing a complete repaint to the face, as in, covering pretty much all the flesh?
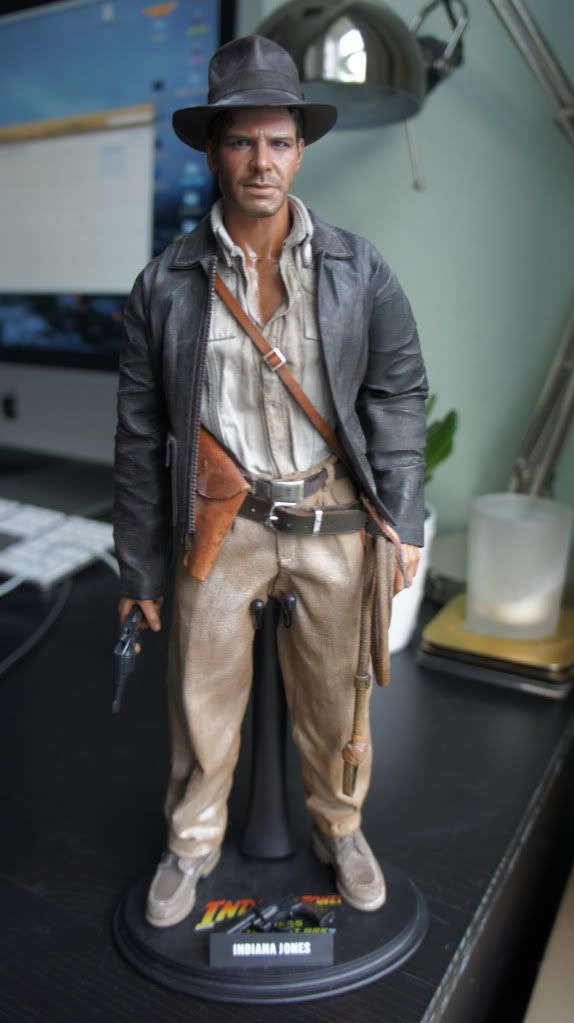
") I'm going to try the drybrush flesh on the lips, thanks for the information.
I'm going to try the drybrush flesh on the lips, thanks for the information.