1/6 B'omarr Monk

Collector Freaks Forum

Help Support Collector Freaks Forum:

This site may earn a commission from merchant affiliate links, including eBay, Amazon, and others.

enaud

Super Freak
Joined
Apr 17, 2008
Messages
1,409
Reaction score
10
Location
Charlotte,NC USA
Greetings all.
Here's a peek at one of my latest projects I've been working on.My work schedule has finally eased up after 2 months of not being able to work on the fun stuff,I've been dying to create something.
With all of the killer diorama & modeling projects,I thought I would take a jab at it.Before I got too far along,I started to snap pics of my progress(1st for me...I usually start hammering away at something & don't get around to take pics till it's done,lol)

Alrighty....
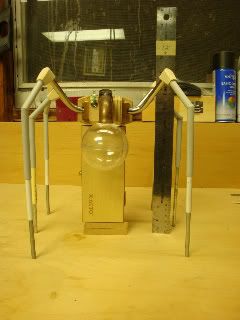
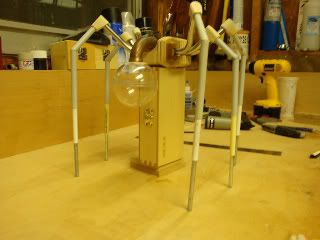
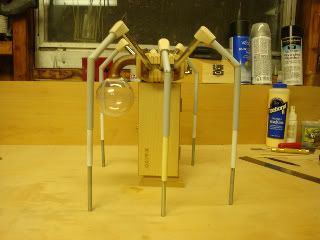
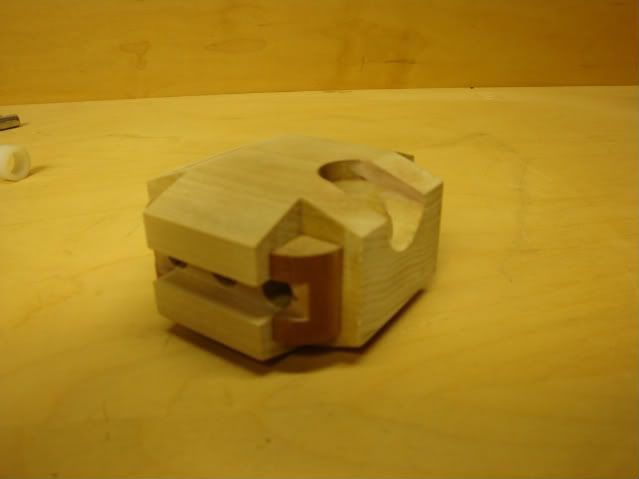
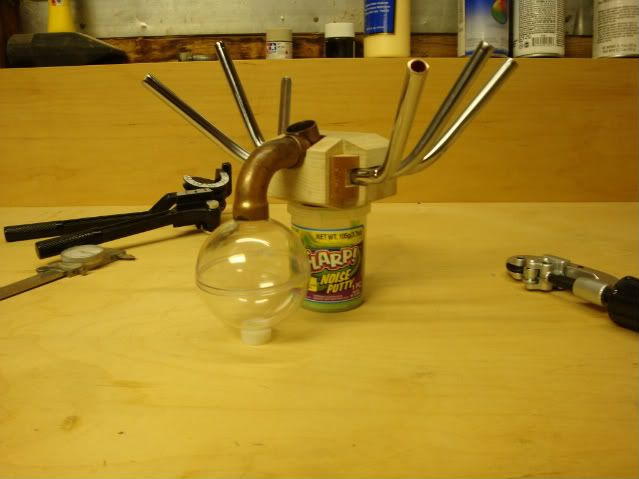
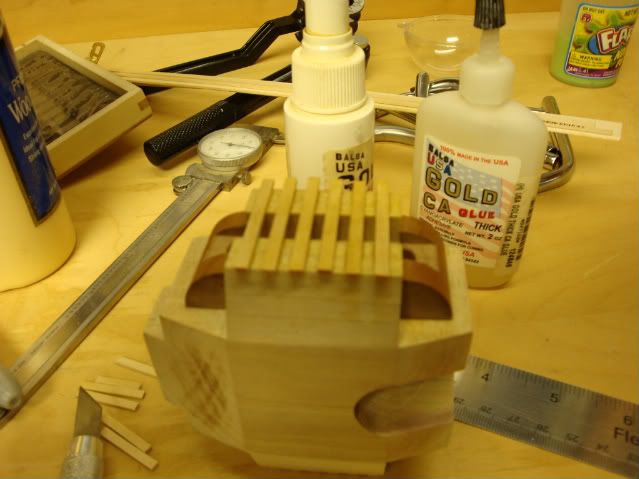
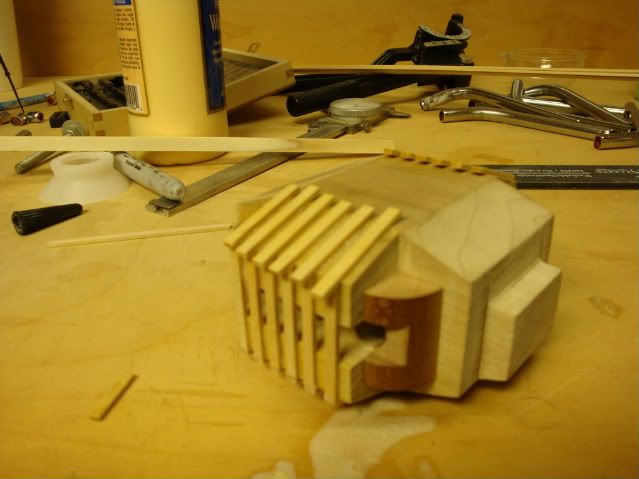
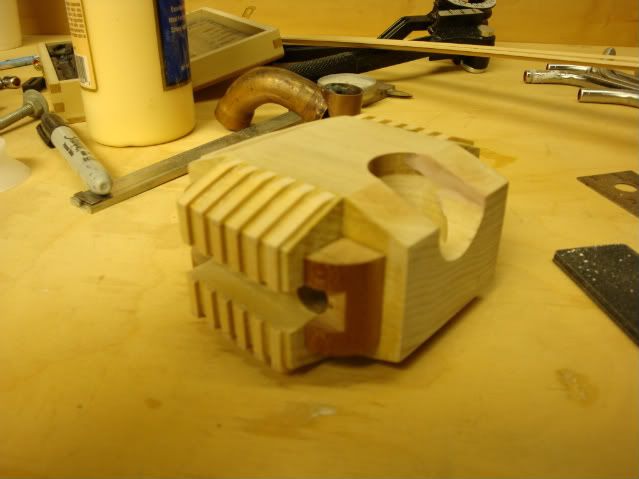
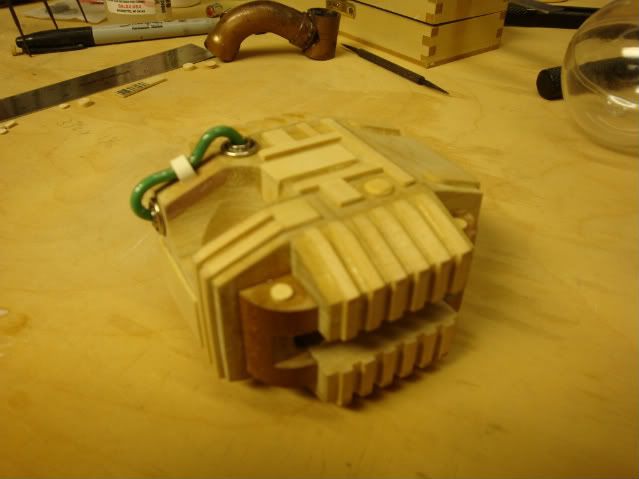
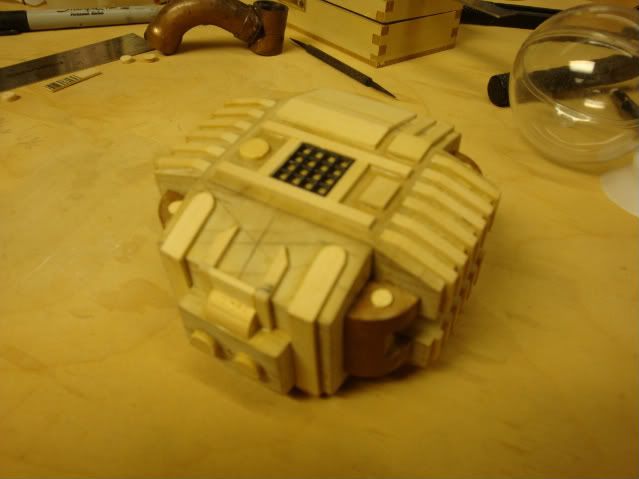
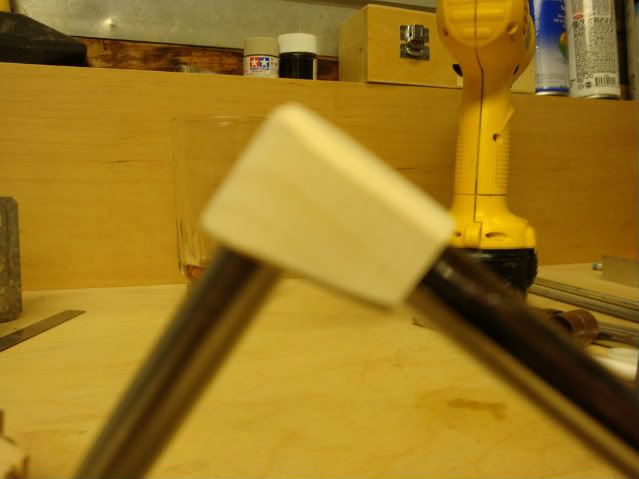
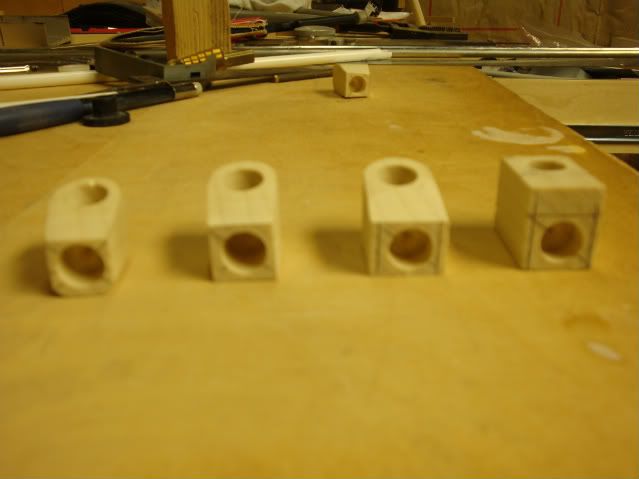
For the body,I started out with a block of wood,cut down,sawn & beveled on a table saw to the desired body shape & size...Drilled a few holes & glued some more wood.
DSC00217.jpg


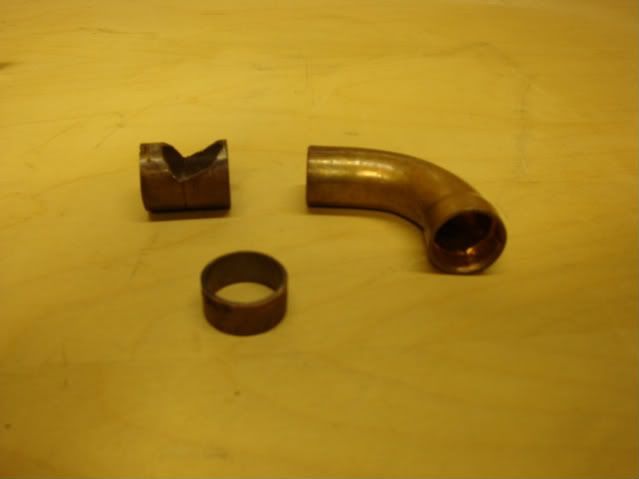
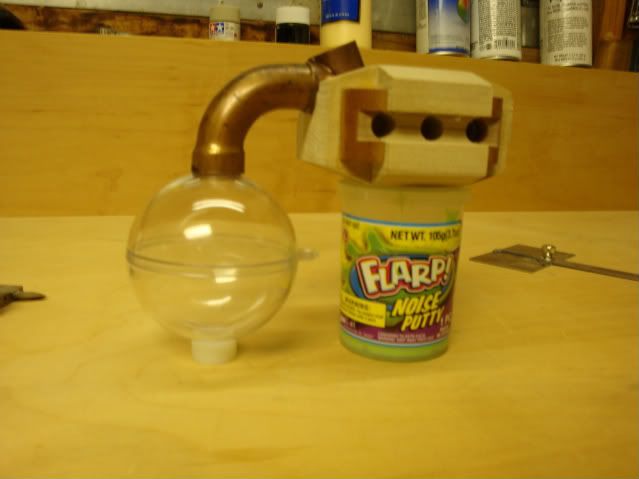
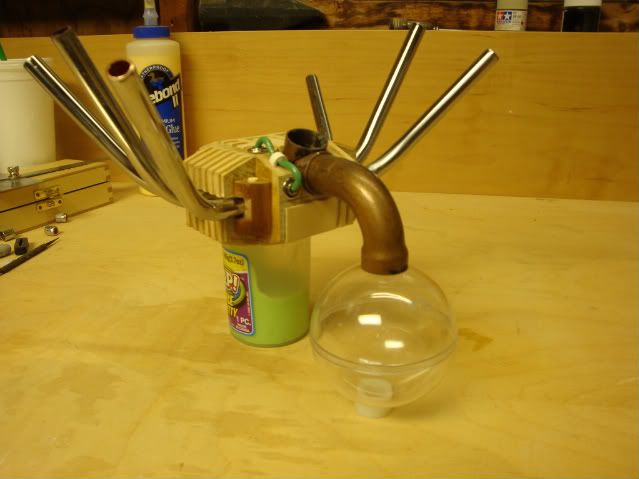
The neck stem is a few copper pipe fittings modified & epoxied.
DSC00216.jpg


It took forever to find a suitable clear ball to serve as the head/brain bowl
DSC00218.jpg


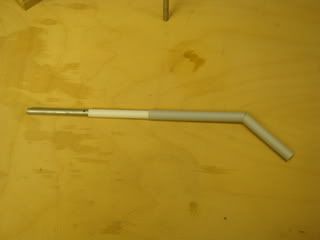
For the 1st section of the legs,I used some metal tubeing from the hardware store.
DSC00219.jpg
 
Here are some progress pics of the body detailing.I basicly took various sized of wood strips,cut & glued them....sanded & glued some more pieces to create the rough "engine block" look.
DSC00221.jpg

DSC00223.jpg

DSC00224.jpg

DSC00225.jpg


With a little inspiration of the works of master droid builder Dorgmal Snow,I worked a few non wood pieces into the mix.Plastic mesh,wire,half of a styrene tube & some button grommets I think add a nice touch.Along with a few more pieces of veneer dots made from a leather punch.
DSC00226.jpg

DSC00227.jpg
 
Okay, thats it. Just when I thought I had seen it all, I see this.

Awesome, this looks GREAT so far, cant wait to see the finished product. nice.
 
Here's where I'm at so far with the body detailing & the legs,neck,& ball in their respected placement
DSC00228.jpg
 
Last edited:
absolutely brilliant...............at one time i thought of making one of these but nothing clicked on how to do it. you are off to a blazing start & look forward to these wip pics.
 
Brilliant!

Are you working from reference pictures or just making it up from memory as you go along?

Either way, superb.
 
Thanks for the comments guys.

Gothikus-A little bit of both....but mostly making it up/imagination as I go along.I found a few usable pics on the web.The best pic was off of wookiepedia.I do have the kenner/hasbro figure from the late 90's which has been some what helpful.

Just got word today that I have to work this weekend :banghead so I'm sure that I won't have the time I would like to work on him.
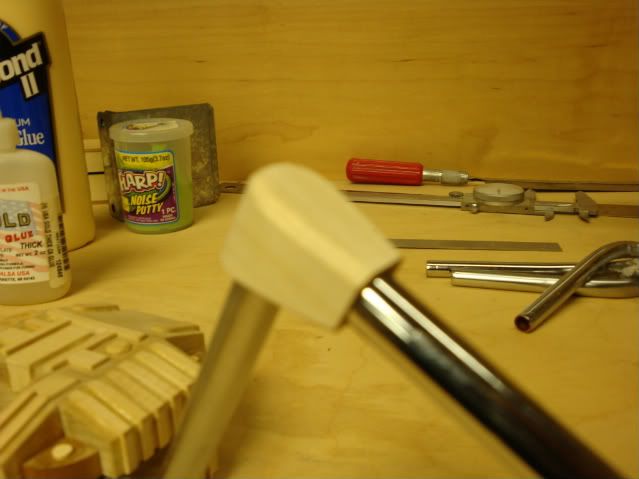
Here's a few new pics loaded this afternoon of the 1st leg joint/knuckle.
DSC00231.jpg


DSC00230.jpg

I was able to get a pic of the "evolution" of the leg pieces.From right to left,the steps the wood is marked,drilled & sanded to the final shape.I plan to add some extra detailing to these before it's all done
DSC00229.jpg
 
Such dedication... I tend to glue bits of cardboard together to make stuff! I'm speechless (For once... well almost, I'm obviously waffling on right now, but you know what I mean.... well done... Good night!)
 
Brilliant work!

It's nice to see someone using some "classic" model building materials - wood, pipes, etc. to produce a figure. It's going to make for a very solid and well-crafted piece in the end. Almost more of a sculptural piece.

Excited to see what comes out of this.
 
Indeed, your craftsmanship is outstanding. Just the body alone is stunning... Your perfectionist is a wonderful inspiration.
:)
 
Very cool project! :rock I never would have thought of going about this way. Really looking forward to seeing this one finished.

And also, Flarp = :cool:
 
I fired up the heater in the workshop & worked on B'omarr today.I accidently resized my pics photobucket smaller than usual :duh
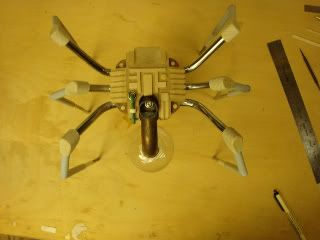
so sorry for the small pics.Here where he's at so far....

The lower leg sections consist of 3/8" pex pipe,a piece of a 5/16" tube removed from ball point pens(both having a 1/4" inside diameter)
& a 1/4" metal rod.
DSC00232.jpg

I mitered & epoxied the pex,then tremmed to length.The metal rod was cut then inserted(it runs all the way to the mitered joint),then slid the cut portion of the pen tube.These combined give a good,steped down/telescopic appearence.Each pair will get their own assortment of detail pieces attached later.

The pipes connected to the body were trimmed & assembled with the leg joints & lower leg portions.
Everything is basicly "dry" fitted in their respected position.The body needed support to stand on it's own at this point since nothing is secured,glued,or fastened at this time.A temporary screw was put into the neck piece & double stick tap applied to the ball to hold them in place for the pics.I'm glad that I chose the metal rods as part of the lower legs.They add some needed weight due to him being top heavy.

DSC00233.jpg

I wanted to show the aproximate height by having a ruler in the shot(marked at 12" just in case the numbers didn't show)but my camera angle defeated that purpose.From the bench to the top of the leg joint is 10 3/4" & 9 1/2" to the top of the body.
DSC00236.jpg


DSC00235.jpg


DSC00234.jpg


Still lots of work to do yet,but I am fairly pleased how he's coming together.
 
Back
Top