One of you clever clogs should really start a service where people send you the cowl for you to do the eye mod on, it might be simple but there's plenty of us that would be too scared to try it. Just think about how much money you could earn 


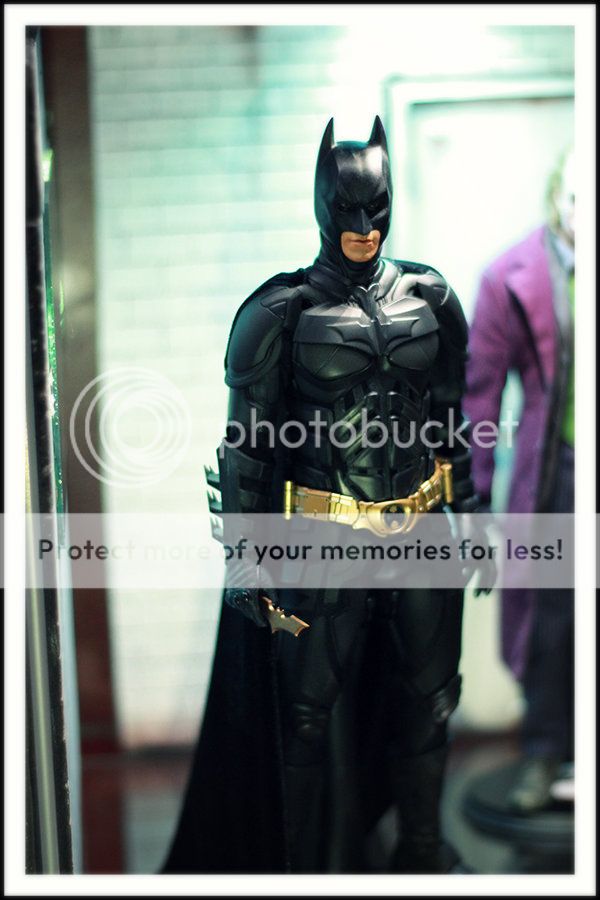


Glad I got Batman DX12 at Sideshow just before it got sold out.
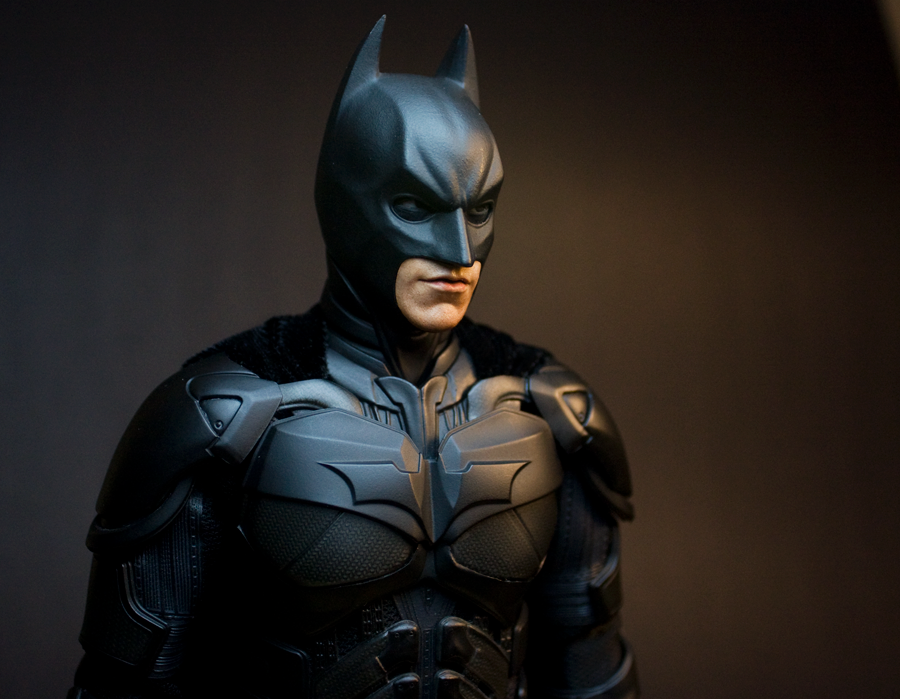
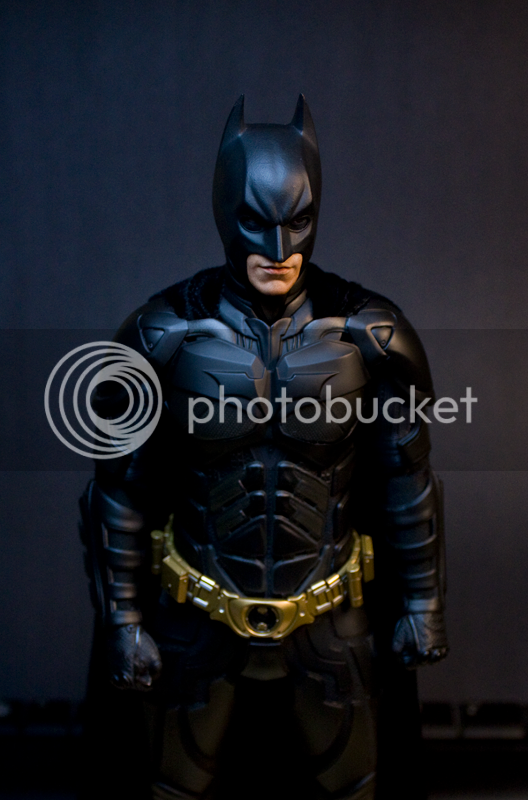
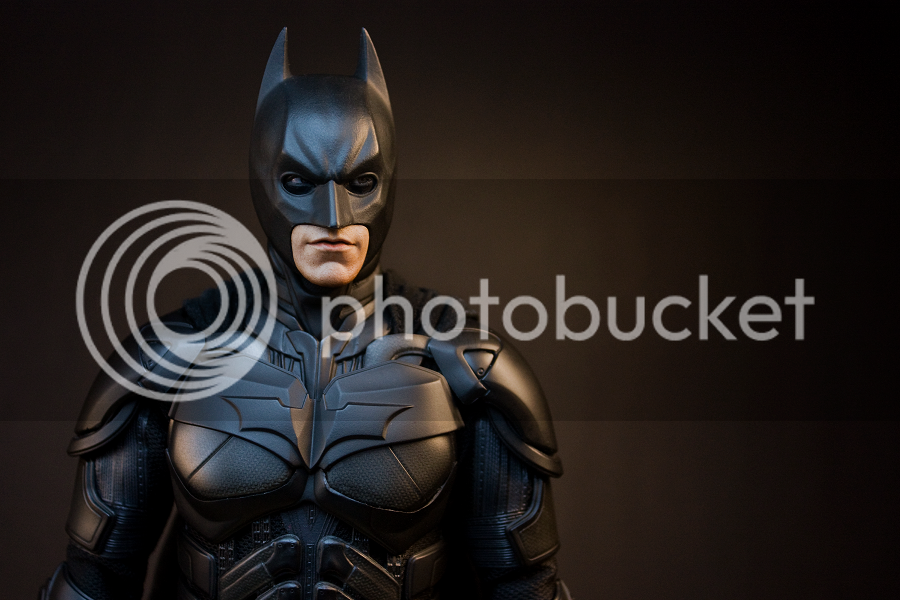
Looks great in person and even better with the mods. Cowl looks funny, I think it is a bit small and the nose is a bit short. Shame on Hot Toys for not getting it right on the third attempt. But still, a great figure overall.
Thanks for posting all the steps for the mods. Neck, eyelids and collar mods are a must. Robbie's mouth plate and Tony's cape are optional but highly recommended.
The usual pictures:
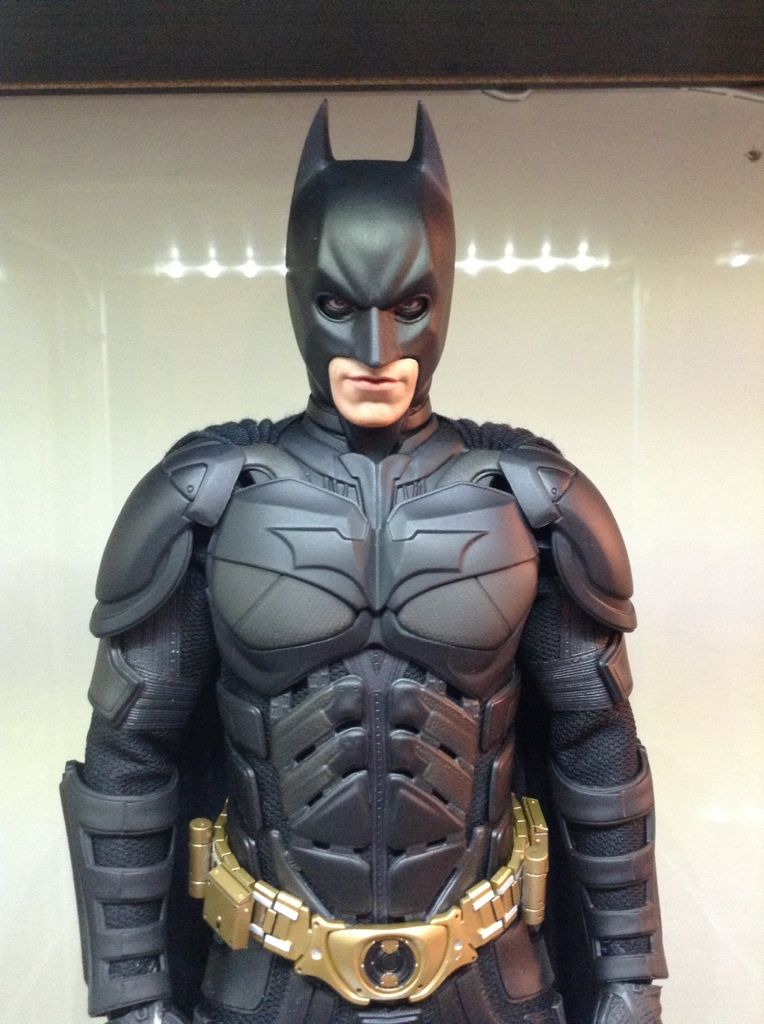
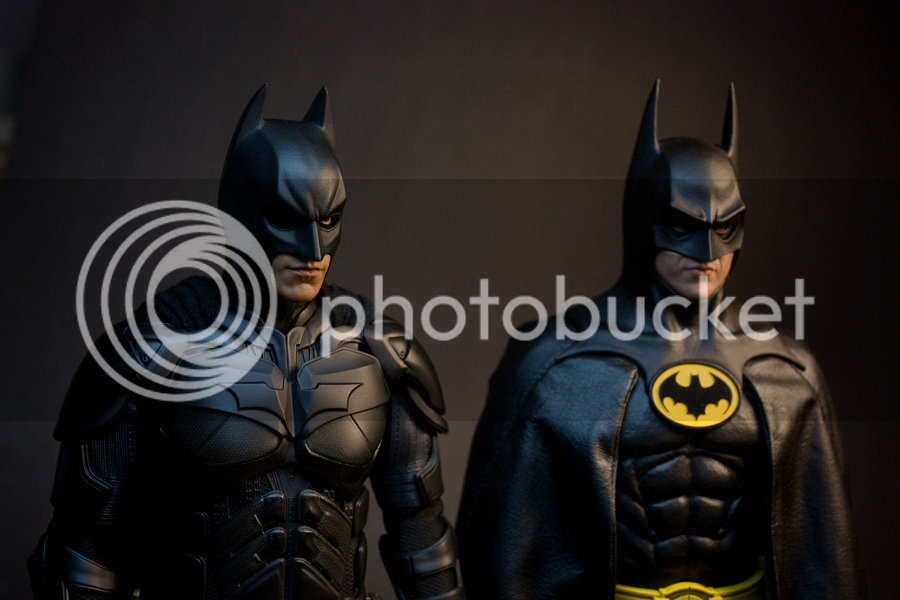
Didnt get a chance to post this on this thread last weekend, but
here's my dx12 with MRM's custom cowl.
I love this comparison shot. Really shows how close it is.

Thanks Tony, first time I don't use photoshop to fix the pictures, just some sharpening and scaling.Clean shot, looks great! Did you shorten the neck?
Thanks Tony, first time I don't use photoshop to fix the pictures, just some sharpening and scaling.
Yes, I shorten the neck by taking out the rubber grommet of the bottom. Took some force to split the neck at the seams.
 the result definitely shows


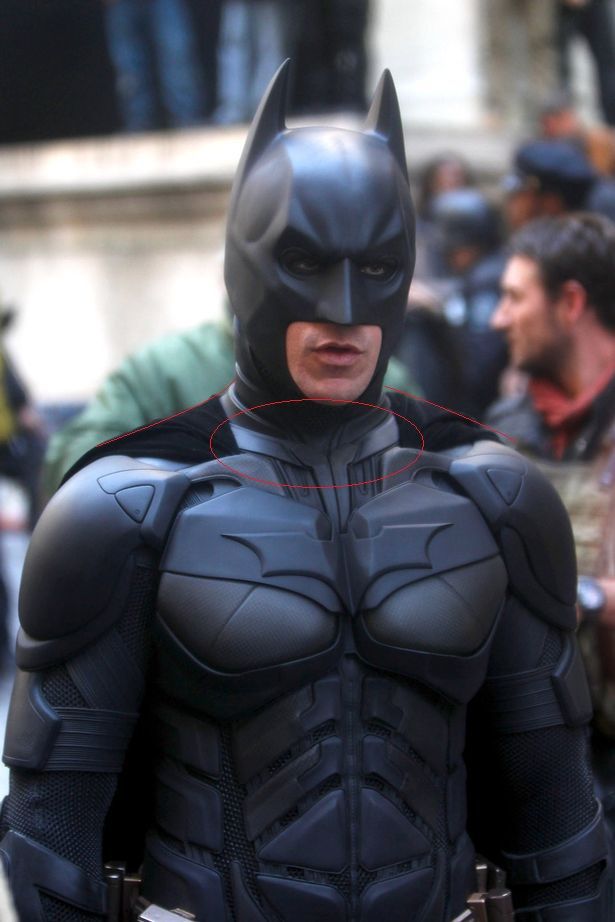
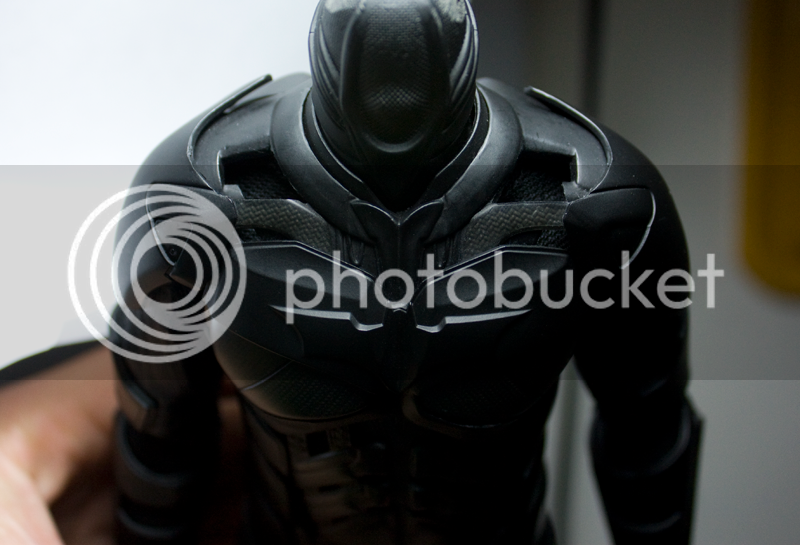
I've been experimenting over the past couple of weeks with ways to make the shoulders not look so flat. I realized that the figure's shoulders are just that: flat, instead of having the natural slope of the trapezius muscles on Bale's shoulders. The fact is that the cape is forced to sit too far back on the shoulders and too far from the center of the collar. this is due to the location of the cape insertion holes. Using a custom cape kinda exacerbates the problem, due to the thinner, more realistic fabric used.
Here's an example of what I mean:
The cape covers most of the collar and conform to Bale's shoulders.
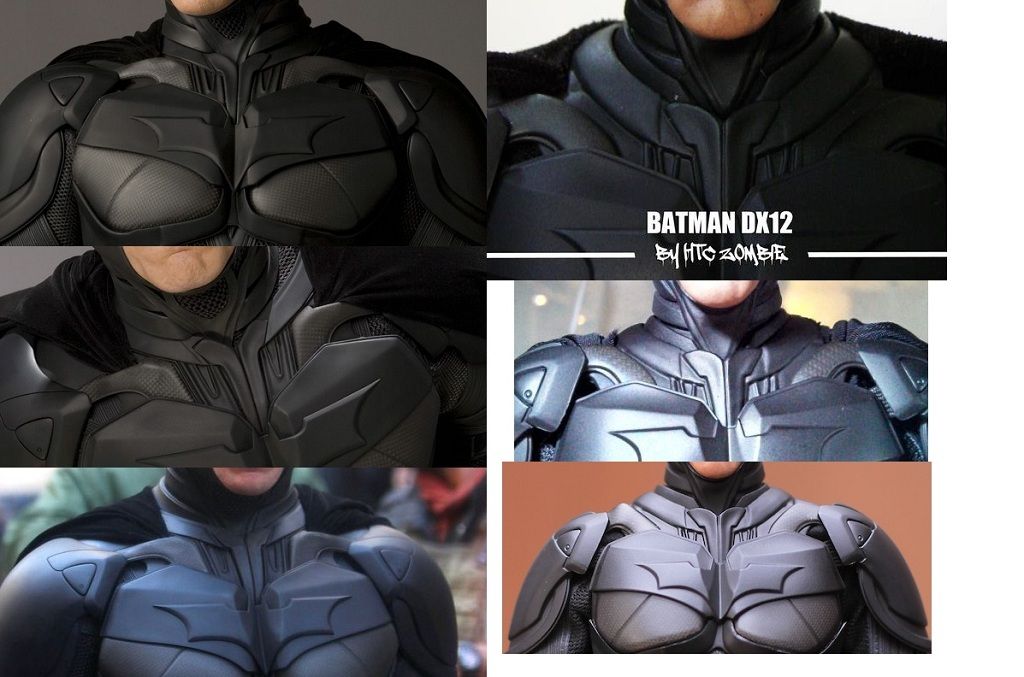
So I took drastic measures! I Modded the shoulders to allow the cape to sit closer to the collar and neck, like on the real suit. I did this by cutting a section of the armor out right below where the cape holes are set. The cape now sits lower on the body. Doing so creates a nice slope effect for the shoulders as well.
custom cape
stock cape (still required some futzing to get it to look decent).
I must be blind or something, im just not sure where you cut it to make that slope effect..lol...


Then I just said "eff it", No PERS plate needed.

Ok guys, so for all of you that are scared to rip into your $250-$300 DX12 cowl and take out that PERS plate either for painting the eyelids black or sculpting the squint mod, I am here to say man up, and do it. I was like you and I was scared. Well, good news, I just did it.
So when you look in your cowl, you will see these pieces. The smaller one with the whole in it is the one under the mouth where you change out the face plates.
I used a very tiny flat head screwdriver and stuck it in between the cowl and the metal piece, worked it around and it eventually lifted up. Don't worry about those clips on the top and bottom of the pieces, they will bend by themselves.
Next up is this little gem. It looks exactly like this when you are looking down into the cowl.
Rory stated that this piece was very difficult to get out due to it being plastic that will shatter with too much force. While this is true, this wasn't the case for me at all. I did the same thing to this piece as the piece above, cowl side, worked it around and after about 30 seconds, it popped off no problem. This piece was actually the easiest for me. Cowls differ I suppose.
Then once these pieces are off, you can finally see the PERS plate. It was also have the knob for the eyeballs attached to it.
This was the hardest part but it is very doable. In the first pic, once you pop off the eyeballs (there is a gap from the lever to the PERS plate, I stuck my flat head into it and pryed it off, nothing to it) this is what it is going to look like.
The second pic shows where I made my cut. This is the deepest section since the nose is right under it. I never once cut from outside the cowl through the eye hole because I didn't want to risk jacking it up.
I used an Exacto knife for this part. I used a brand new blade to make sure it cut. Just point the blade straight down and slowly start to cut to seperate the plate from the cowl. Once I had enough leverage and room to stick my flat head in between the cowl and plate, I preyed and pulled and it came off.
All in all, this is what you end up with. The order is from left to right on what comes out first.
I painted my eyelids and this is the result
Then I just said "eff it", No PERS plate needed.
however, since I had it all out, I tried my hand at doing the squint mod. It is drying now so once it is all done, I will snap a few pics.
I hope this helps. Don't be scared people, it's a moderately difficult task IMO.

But you don't need to take all that out to paint the eyelids?
Just if you are sculpting new ones and want a perfect finish?
But good tutorial, none the less!
 I thought you had to so that you don't paint the eyeballs.
Enter your email address to join:
