


SpawnFan
Super Freak
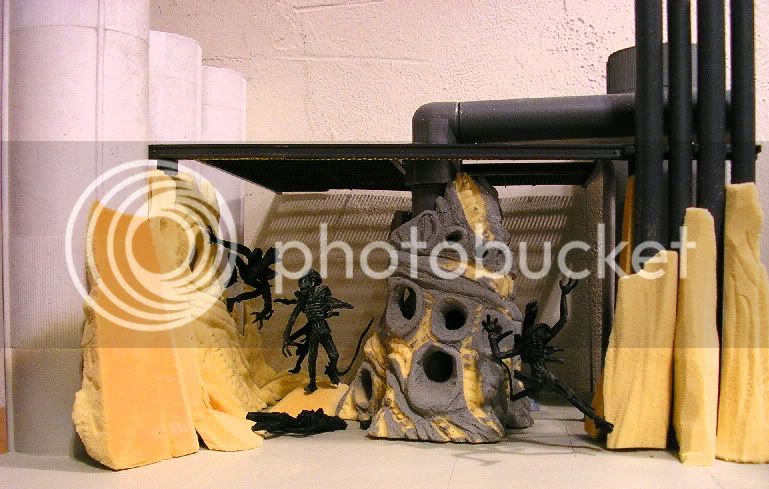
Since the Slug asked I though I'd post my "how to make a 1/6th scale Aliens corridor" on here.
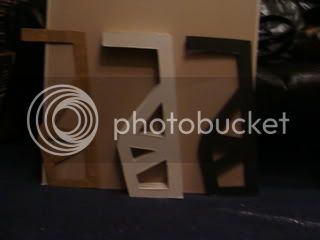
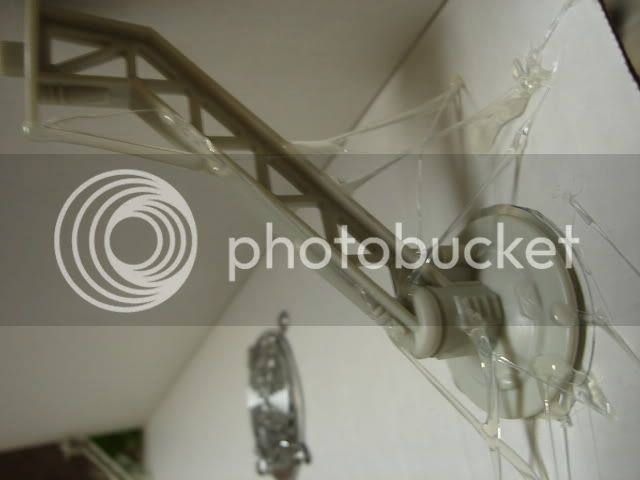
Here are the girders I used. With the cardboard cutout I used as a mold on the left and a painted one on the right and the rest of the unpainted ones in the middle.
I draw the size of the girders out on these sheets of plaster and started to cut these out with an exacto knife and afterwords painted them black.
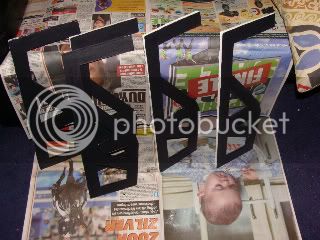
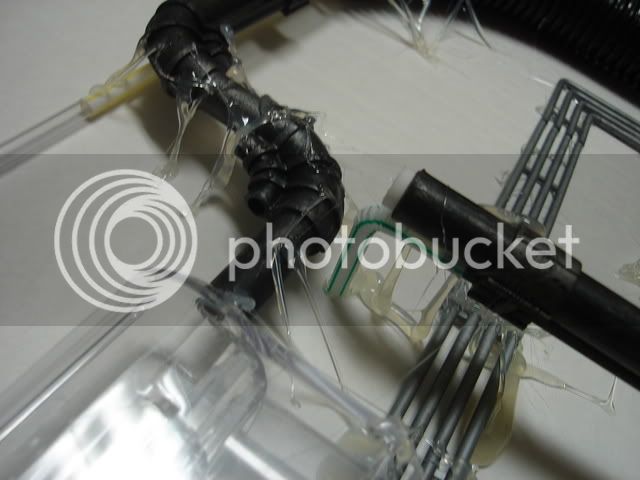
Painted girders;
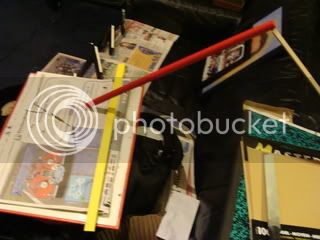
Wooden bar from hobby shop. like a curtain bar, painted red and a long wooden sort of side skirt also found at hobby shop painted yellow and afterwords added small strips of tape and painted the uncovered parts black to make the safety bar.
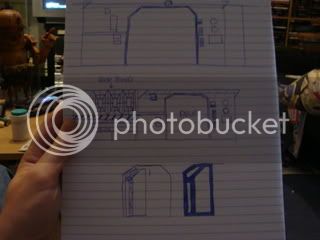
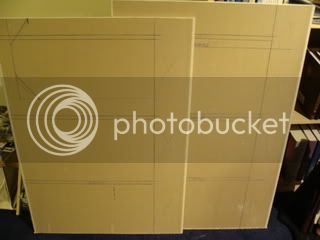
Drawn out plans and drawn spaces for the girders and the red panels on sheets of plaster for size reference.
I made the red panels also using pieces of plaster and cut the diagonal/horizontal patters on the panels out of thick cardboard and glued them on the pieces of plaster which I painted a dirty red afterwords.
I then painted the sheet of plaster black and glued the girders and the red panels in place.
I glued the safety bar on the appropriate spot on the girders and added small neon lights, about 7 inches in size, to the safety bar and cut some numbers out of paper and painted them white and glued them in place on the red wooden bar.
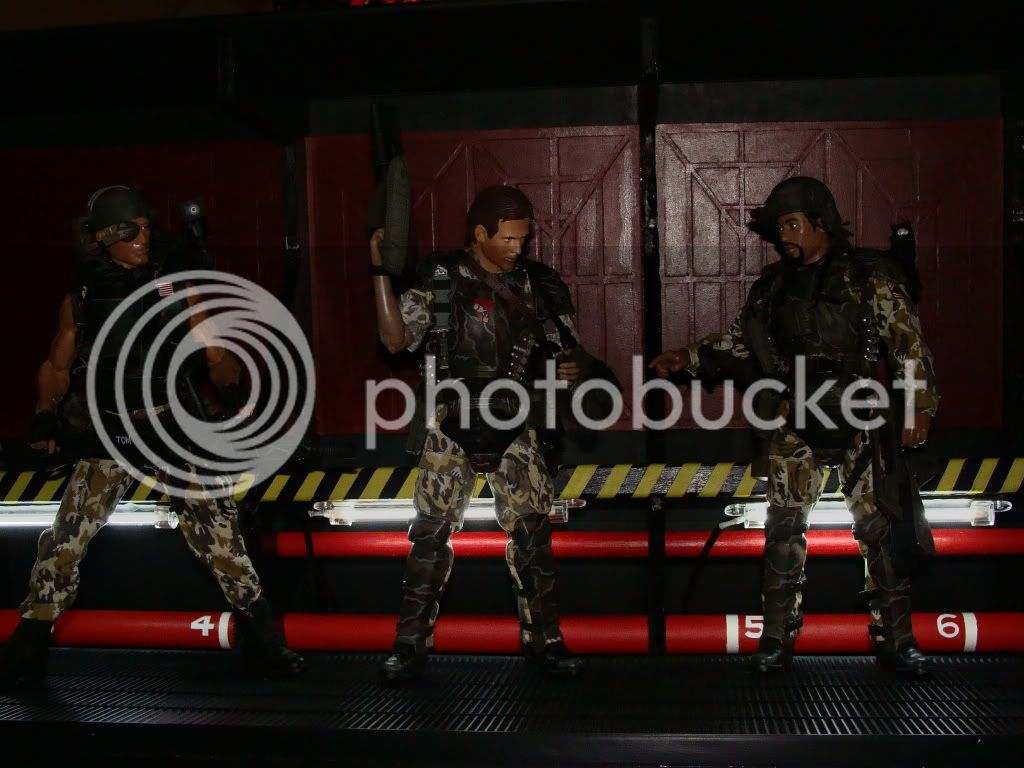
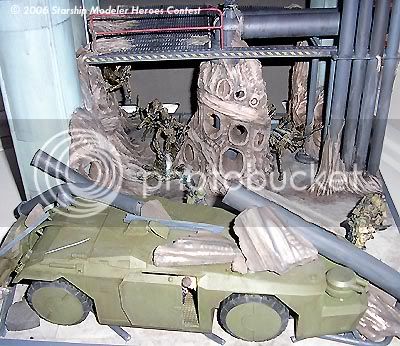
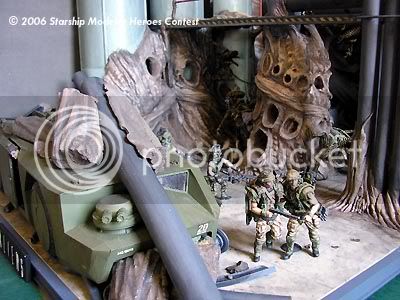
And the finished product;
Here are the girders I used. With the cardboard cutout I used as a mold on the left and a painted one on the right and the rest of the unpainted ones in the middle.
I draw the size of the girders out on these sheets of plaster and started to cut these out with an exacto knife and afterwords painted them black.
Painted girders;
Wooden bar from hobby shop. like a curtain bar, painted red and a long wooden sort of side skirt also found at hobby shop painted yellow and afterwords added small strips of tape and painted the uncovered parts black to make the safety bar.
Drawn out plans and drawn spaces for the girders and the red panels on sheets of plaster for size reference.
I made the red panels also using pieces of plaster and cut the diagonal/horizontal patters on the panels out of thick cardboard and glued them on the pieces of plaster which I painted a dirty red afterwords.
I then painted the sheet of plaster black and glued the girders and the red panels in place.
I glued the safety bar on the appropriate spot on the girders and added small neon lights, about 7 inches in size, to the safety bar and cut some numbers out of paper and painted them white and glued them in place on the red wooden bar.
And the finished product;


 great work there spawn......good to see a finished dio.