


starscream0
Super Freak
Sideshow Customer support was terrific and sent along the following information. Hope it's useful for everyone. My Vader now works perfectly and looks fantastic. Sideshow's notes are below:
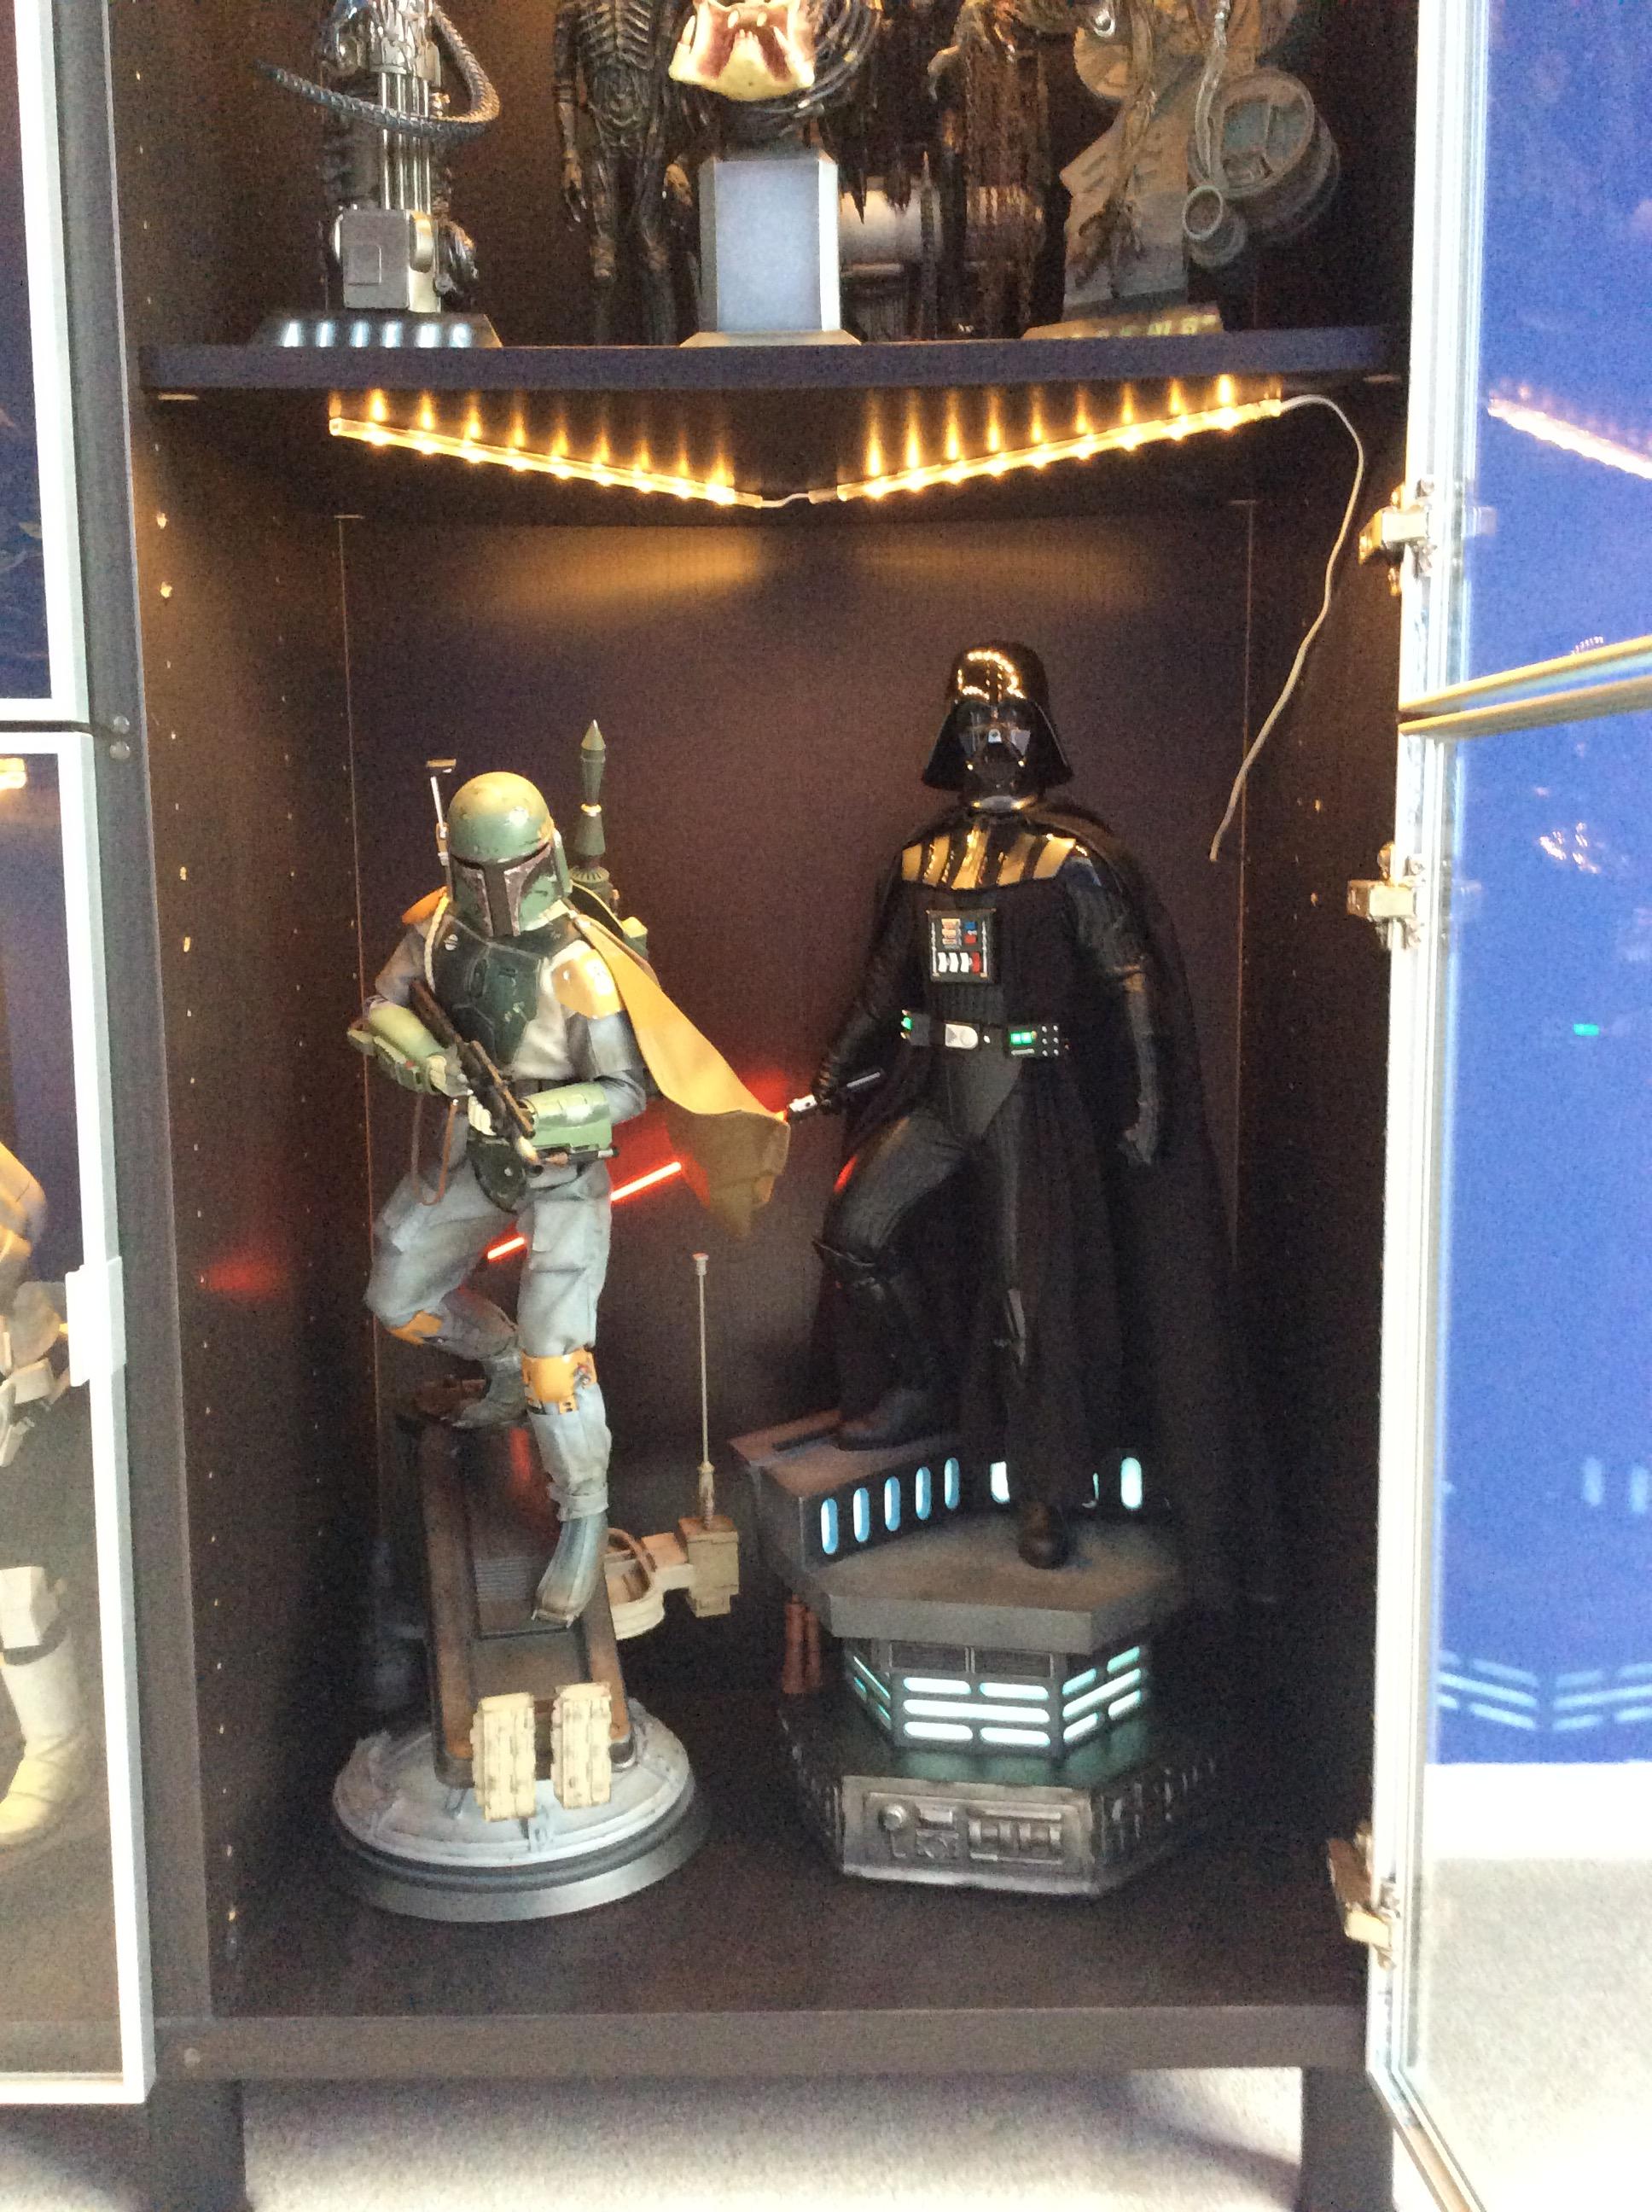
For the batteries in the belt piece, the battery on the right (closest to the very edge of the belt strap) should be placed with the positive side facing up, while the battery on the left (closer to the actual light-up panels) should be placed with the positive side facing down.
For the chest piece, there is only one battery, which should be placed with the positive side facing up.
I hope this helps you with getting this piece all lit up! Please feel free to let me know if you have any additional questions.
Thank you for posting Rugby...that worked for me also...now I just have the glue the velcro back on


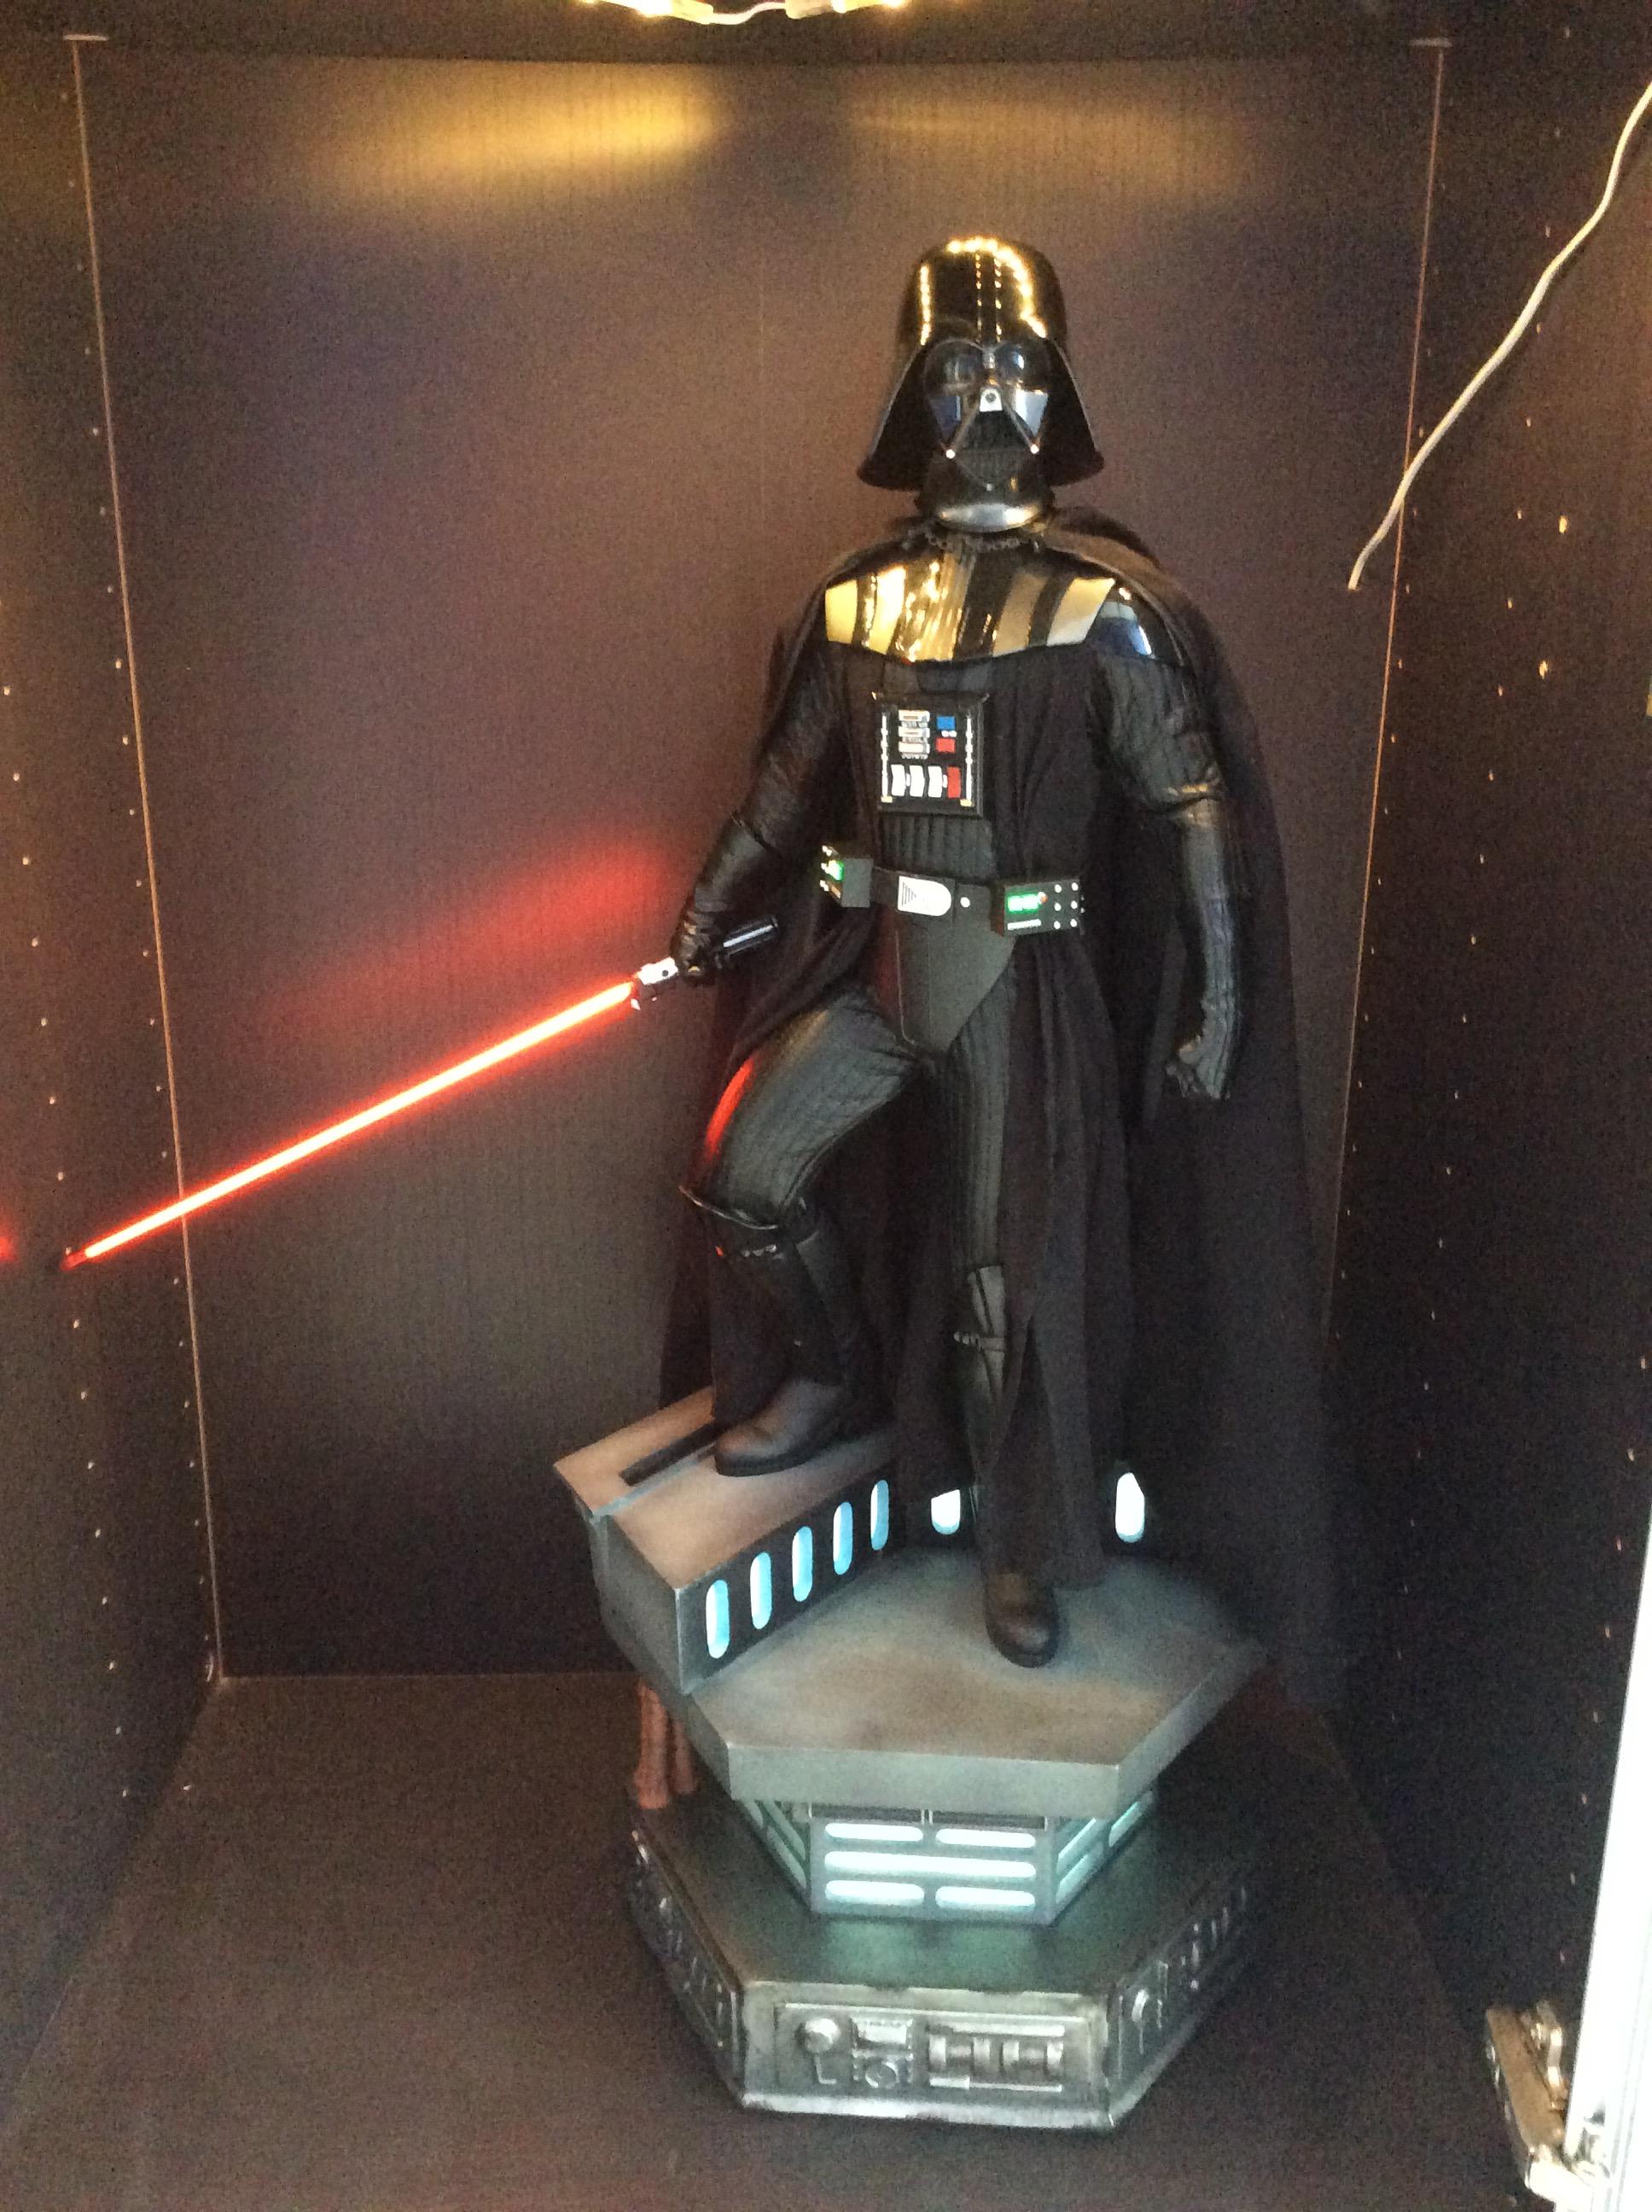
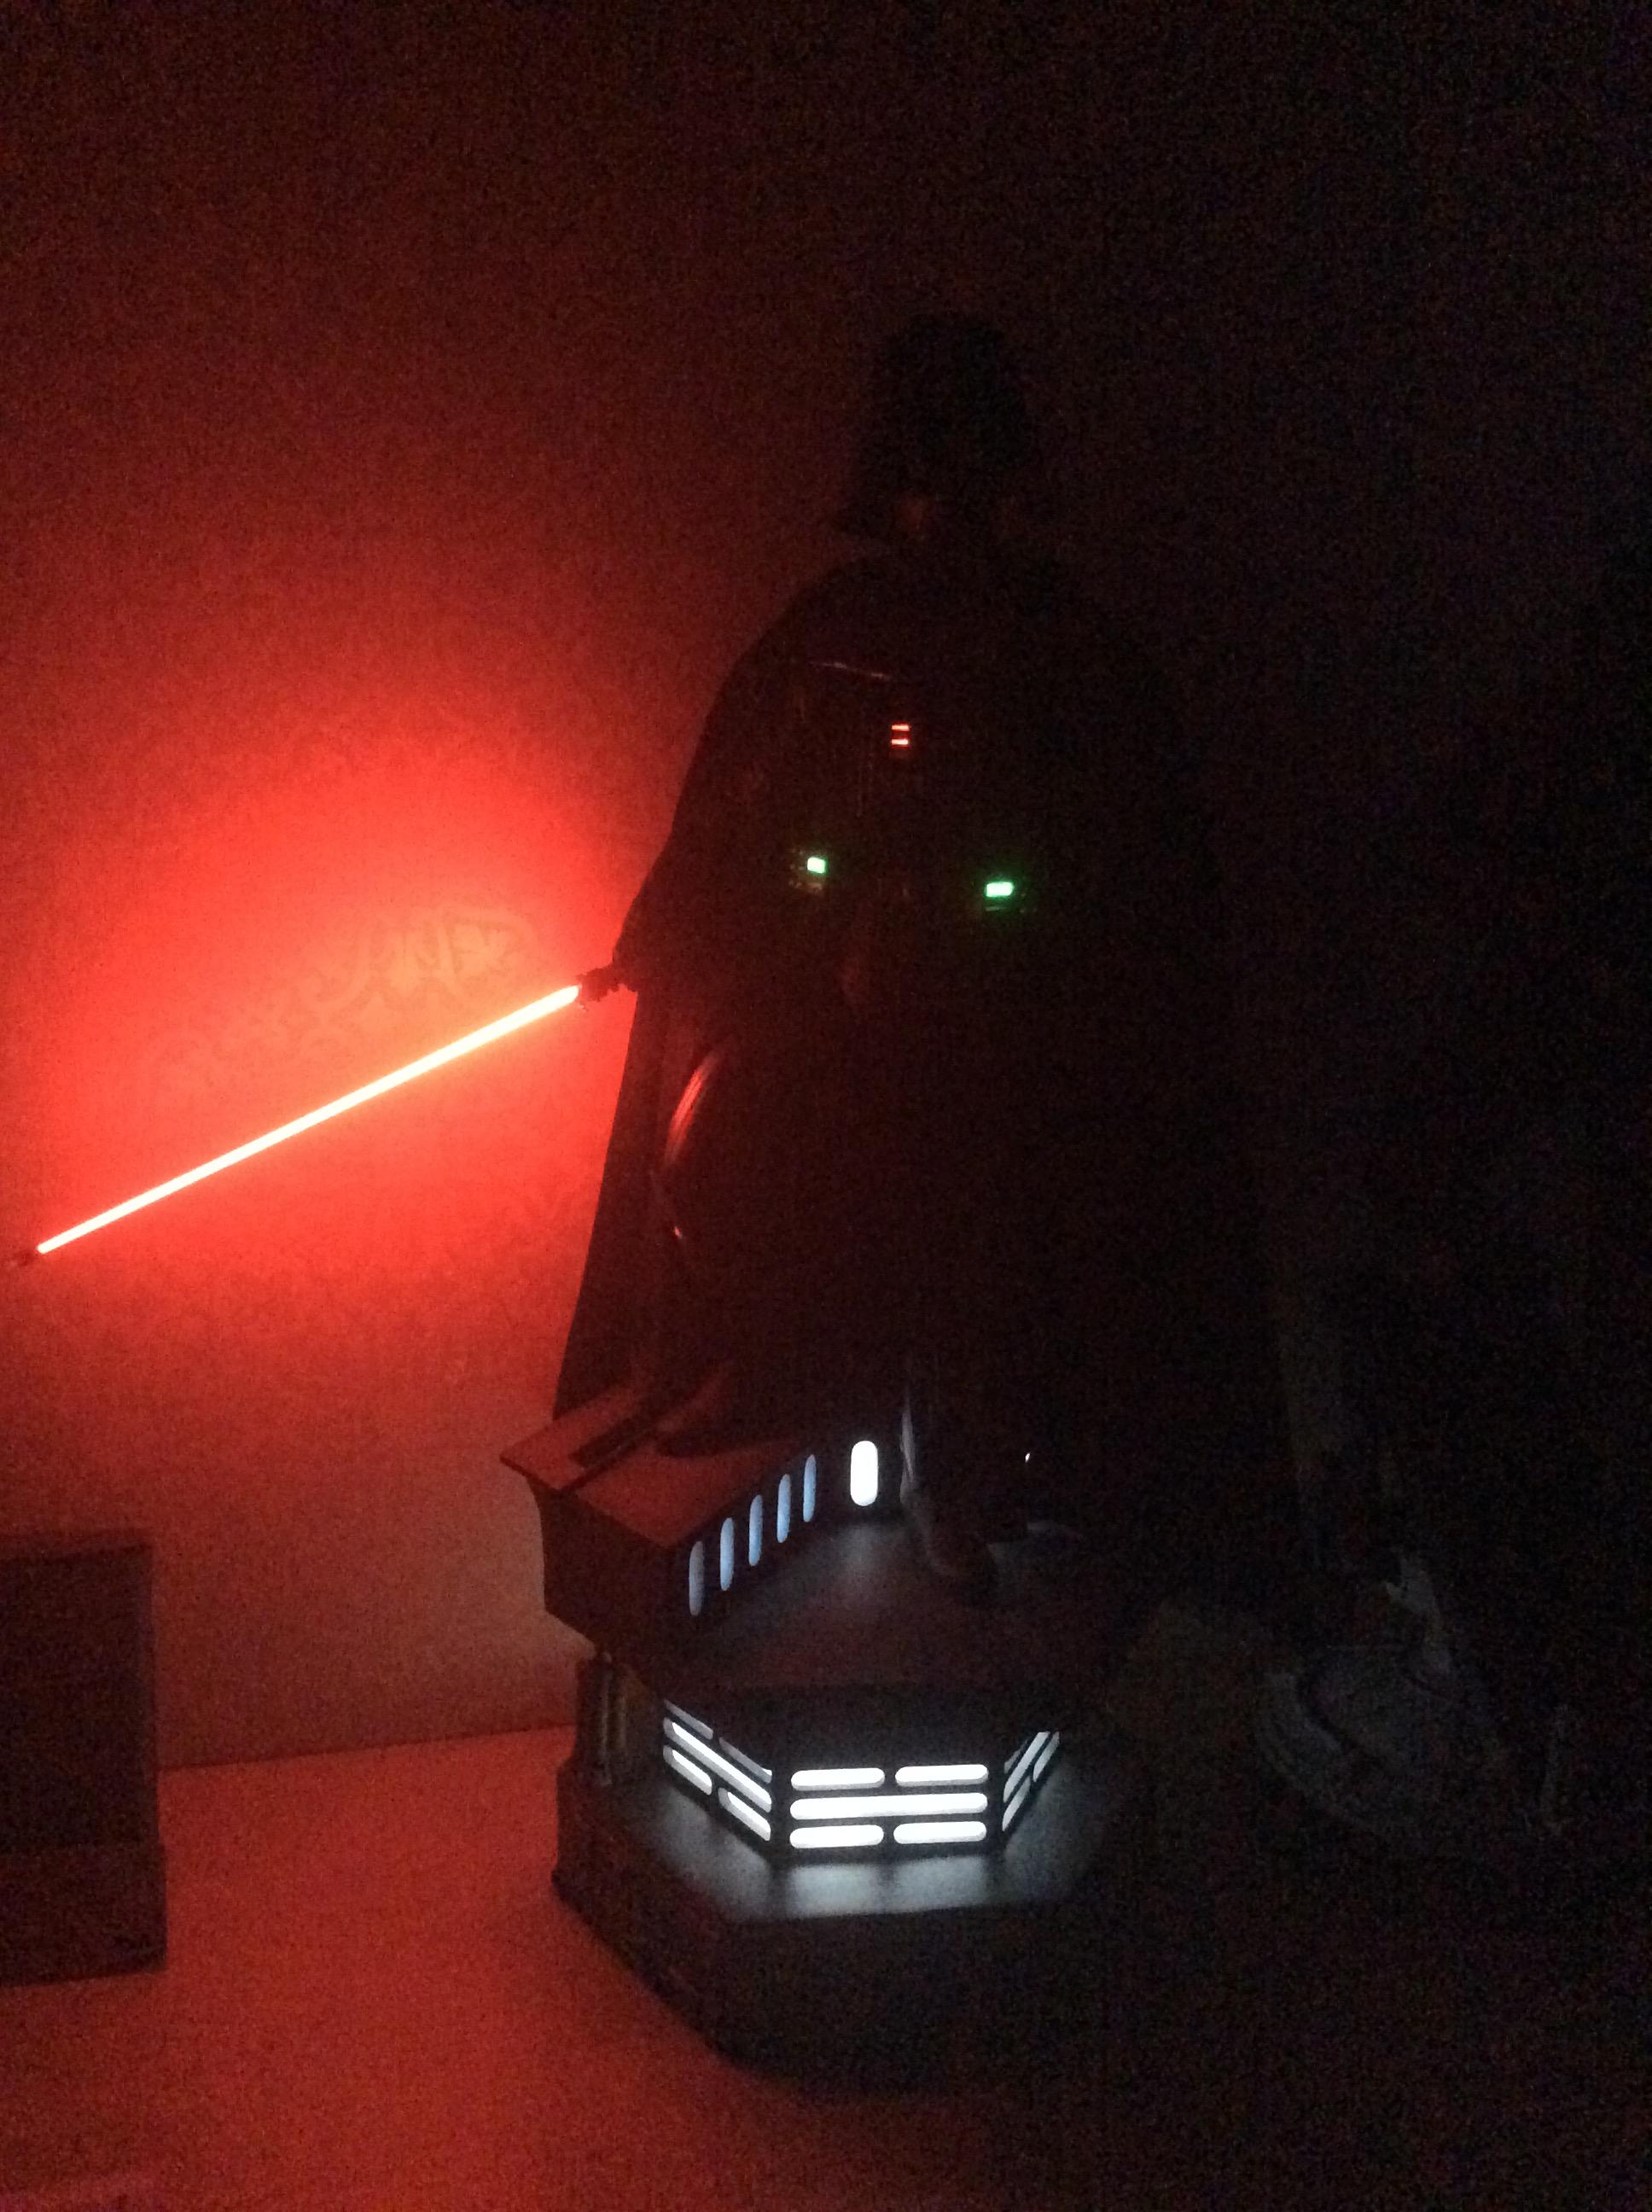
 Love all the light up features & he's a great Premium Format.
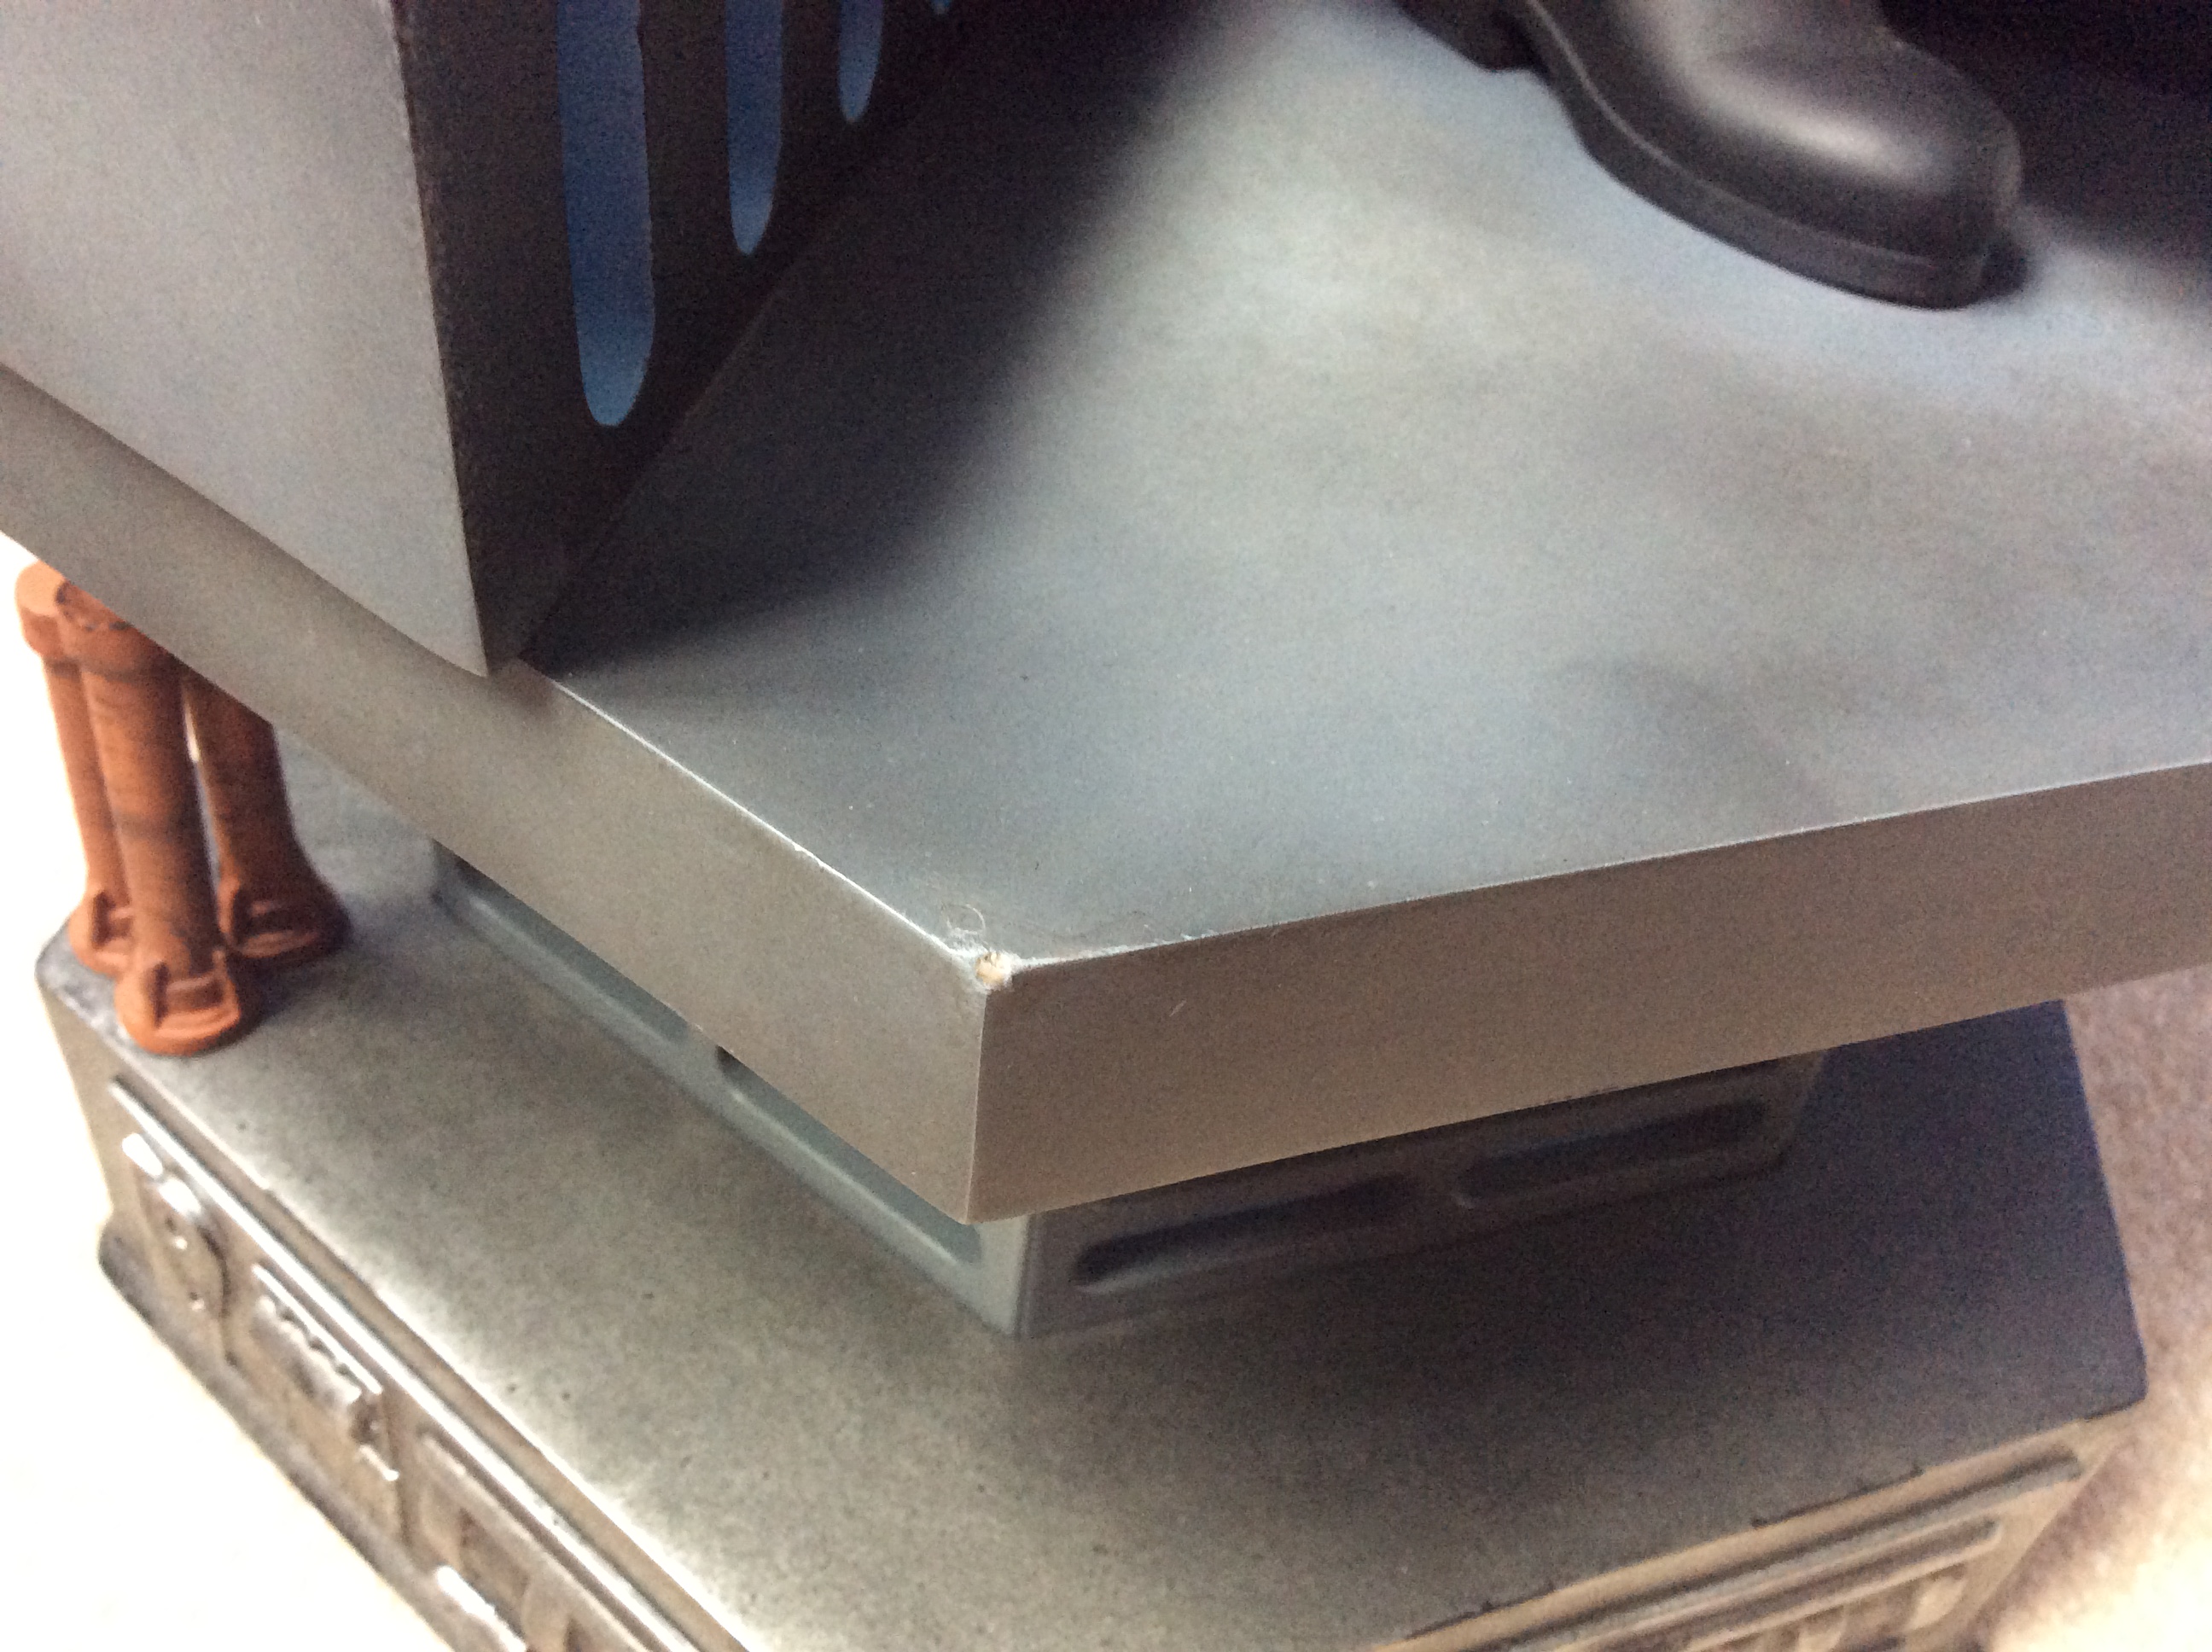
 , right out of the box
  . I've contacted SS. Let the wait begin. Otherwise, it's a beautiful piece. Aaaand the belt lights up great, thanks to you guys letting me know the proper orientation of the battery installment. Instructions would've been nice. I need a steamer now. Also, the chest box comes with the battery ALREADY installed. I found that out after I unscrewed it.

