Re: Skiman's Custom Workshop ([Brady Bunch da dis-functional family!!!!!])
Awesome paint up. That sculpt looks familiar. Who is it?
Awesome paint up. That sculpt looks familiar. Who is it?


Anyone see this yet?
Its fawking amazing.
That is all.


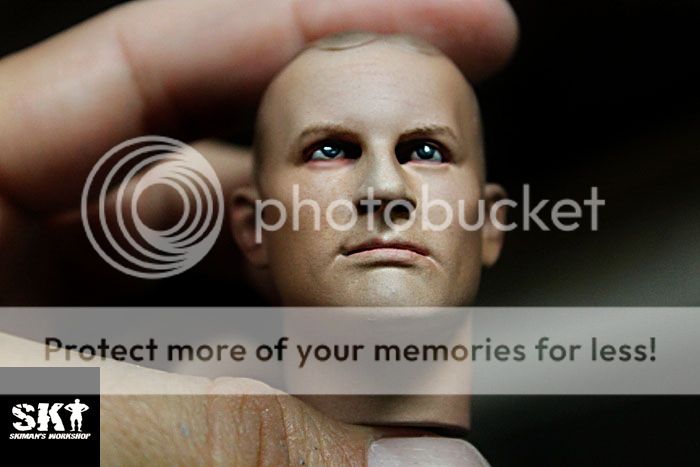
Love what you're doing Ski! Does Lance Hennriksen really have that large of a forehead?

Any more guesses?
Ski
Sent from my SkiPCS8100 using Skiatalk
Absolutely gorgeous work there man.

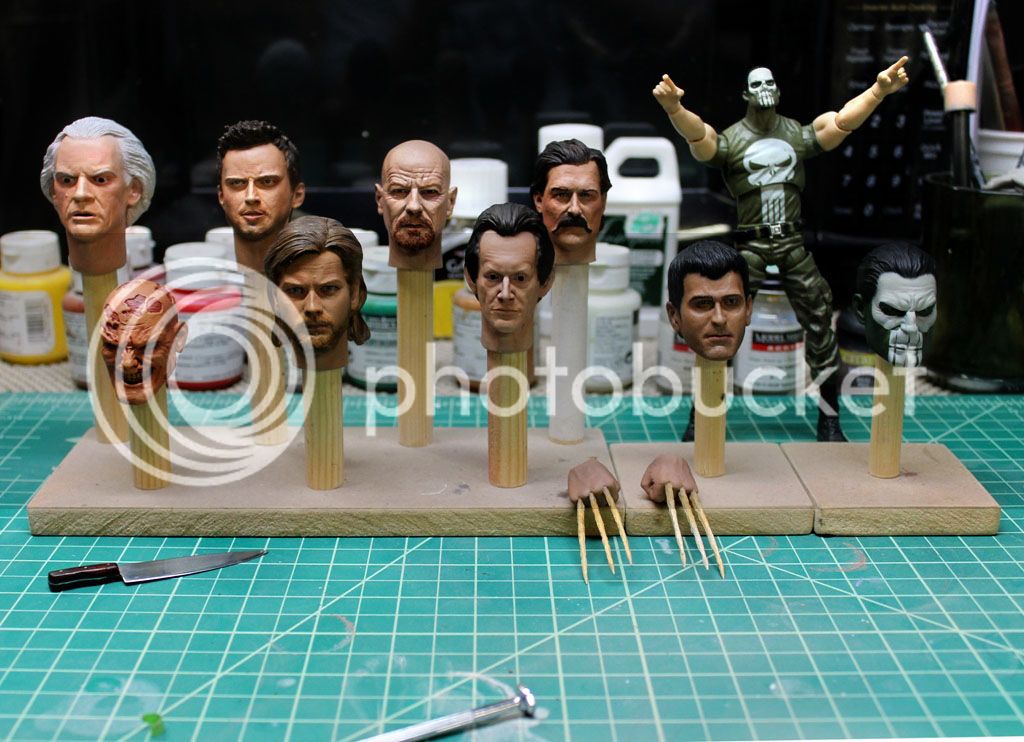
That is a sexy little collection you have going on there.


hi Ski,
What a great job you have done !
I just bought an unpainted MRM Batman Head, and I was wondering if you could give me some tips on the eyes:
* I have a 20/0 brush, it's small enough for 1/6 eyes, the problem is the brush bends when painting and hence I can't seems to be able to get a perfect circular eyeball.
What tools do you use to paint the eyes? what brush size? etc...
I was thinking drawing the eyeball with a black pencil (only the external black line), that would help me maybe.
* What and how do you use to get such a beautiful gloss on the eyes?
*Did you repaint the cowl? if so, what color did you use?
I don't like the texture of the MRM Batman cowl.. too grainy in my opinion. I know if you paint several layers of washes that will take away the grainy texture on the cowl.

What color do yu think would be the most accurate for the cowl?
Looks like Rocco's work, looks big and I know he offered a Doc at some time.
Great work as always Ski. I've had that Pun idea in my head forever. Cool to see someone execute it.
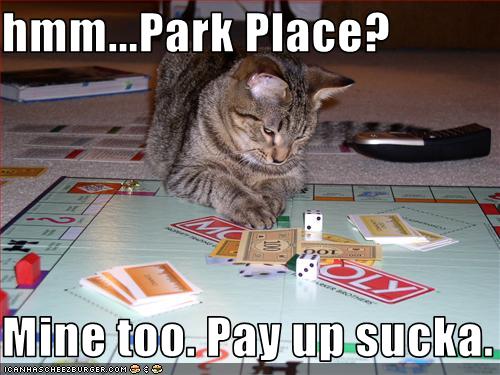
Ski since u are being so generious giving away your techniques could u please tell us how u get the speckled skin tonesÉ
Har.......

Har.......
Its true. Only he uses his cat, rather than a possessed demon girl.

Q and A
Thanks
I use a triple zero round but your spotter will work just as well also. I like all brands of brushes that are Sable brand named, they are super soft and allows for smooth brush strokes, etc... it does help to have a steady hand but it will help thus more if you have a brush that actually does what you want it to do. That being said I use another paint brush which is a more high brush (Pin-striping brush $30 - most art stores), it has much longer head and keeps it's form whenever dry and wet again. It'll take a little more to get used to because you have to be a little more advance so I'd say for now just stick to the small spotters and rounds.
Really, it just takes practice on creating the perfect circle and placement on the pupil as well. In the beginning the mechanical pencil trick worked but I didn't like how it indented the insisting paint in order to create the pupil circle shape. I really like for the apps to remain more clean and less pronounced but this trick does help you whenever you are dabbing the paint and you need it to stick in that one area of the circle. IMO, I say work with that if you are having problems creating a perfect shape and then once you get more advance you'll be able to free hand it and make maybe just the slightest mishaps where it can be corrected with little touch ups here and there.
Any kind of gloss or varnish will work (Testors, Model Masters, Future, etc...)
I did repaint all the commissions I have gotten cowls, with the exception of TheFiend, he requested that it wasn't necessary. I think I'm up to around the 20 headsculpts count on this commission and thank god it's over.
You could do two things in order to fix the texture of the cowl, it just depends on which one you are most comfortable in doing and that you can pull off with the skillset. I would either tape of the mouth and eyes and keep the most exposed areas open whenever your primer and prep the head for painting. You'll always want to primer your heads so the paint adheres and gives you a nice smooth finish. Primer the head and see if that smooth-ens the texture a bit, (let it dry an 1hr or more, VERY IMPORTANT), make sure that you are putting on thins coats at every primer as well otherwise you will be finding yourself stripping the head and starting over from scratch. Then repeat the steps again in the desired texture is not accomplished. This should give you a smoothened or at-least a better texture than what was casted originally.
Option 2, sand paper, 400 grit or the smoothess sand paper that you can find in fine quality. I'm not sure how rough the casting is on MRM's cowl is but I would judge that on how gritty I need the sane paper to be. Either way you are going to using 400 or higher to get that fine texture to where it's silk feeling. Also if you have a Home Depot, Ace Hardware, Autozone etc.. they have plumbing sand paper which works really well with water, it's also a method used on copper pipes that run in our plumbing of our houses and what not. Just dip the water sand paper into the water and work it's way onto the resin. That's also important as I'm not sure what this is casted in, rubber, plastic, or resin? Being that I'm guessing a resin, then it's going to take some elbow grease and it's going to be a labor of love.
Both of these options will work it just depends on which one you are most comfortable using, the primer method is great if you are good at cutting tape and getting it exact to where you don't primer spots that don't need the texture remove/smoothened.
Long story short, both methods are going to require patience.
IMO, here's how I created the effect because it's not exactly a flat black, most of cowls that are out there are not flack black, there's a gray undertone to them, so whatever primer you are using just get a gray tone or if your primer is not grey, then you will need to paint the first couple layers of it a medium grey. The next step would be to have a dilute black or watered down black. Another labor of love step with being patient and applying the light black in layers until it's uniform across the surface and it's all one layer around the entire cowl.
Hope that helps,
Ski
Enter your email address to join: