


willworkfortoys
Freakzoid
Thought I'd share this quick and easy weapons rooms recipe for everyone that is interested in making their own working pegboard weapons room backdrop. I've made this example for twelve inch figures but you can make it work for 3-3/4" figures too!
What you'll need:
Materials-
Cork Board (Purchased a set of 4 12x12 tiles at target, approx. cost 7 bucks)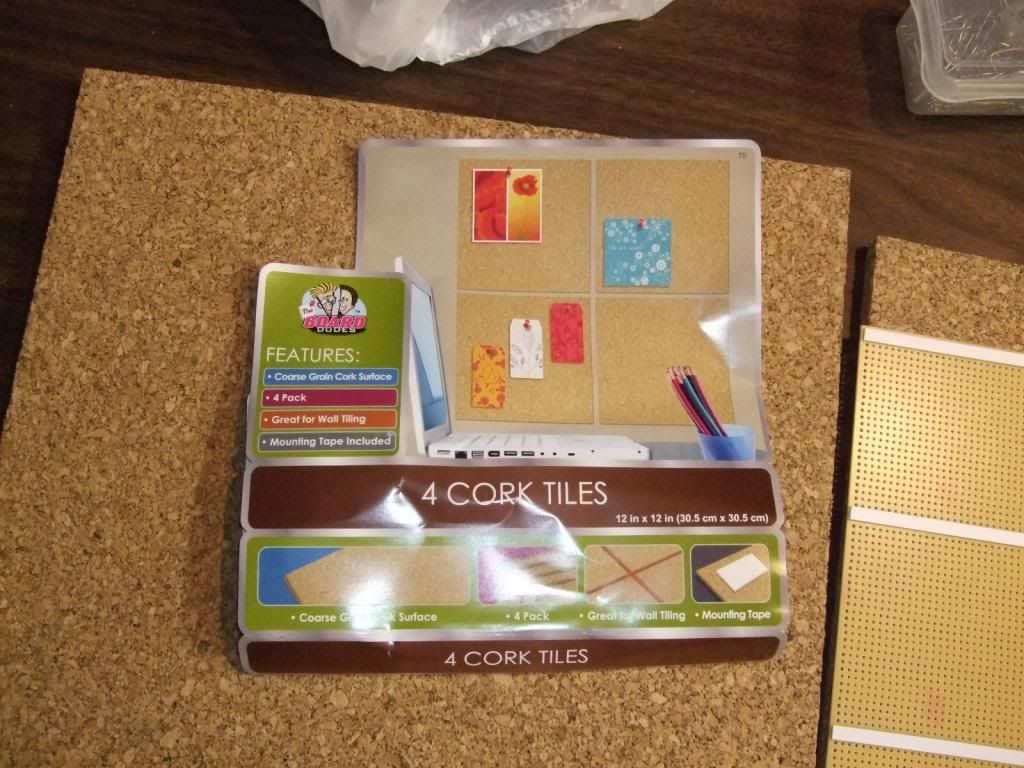
Perf Board (purchased at Radio Shack, 2 for each (6"x8") for a 12x12 diorama, approx. cost 3.50 ea.)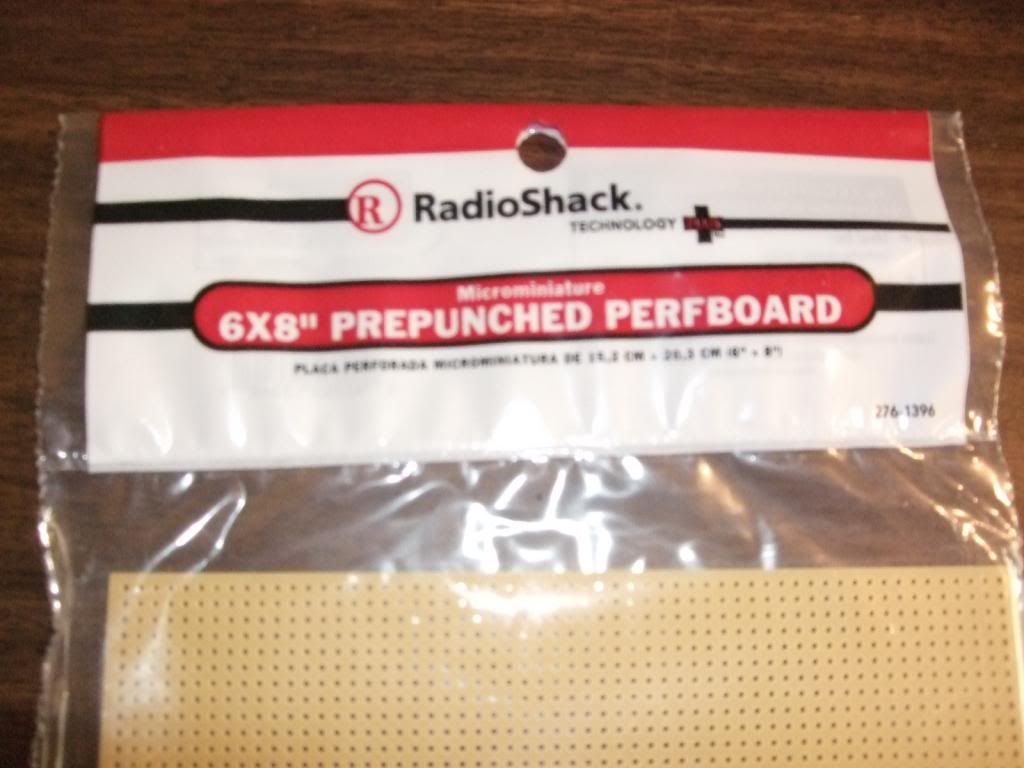
Thin Wood or styrene strips (used as spacers and essentially covered by perf board, cost approx. 3 bucks)
Glue and Paint (This is really up to you, I used elmers and thin model grade super glue)
Additional styrene sheets, angles, tubes, etc. as you see fit to embellish the non-"peg board" area
Straight Pins (I got them out of a household sewing kit. Make sure the diameter is smaller than your perfboard holes
Tools-
Metal Straight edge
Ruler
Blade(exacto or box cutter)
Needle nose pliers w/ wire cutter
Step 1:
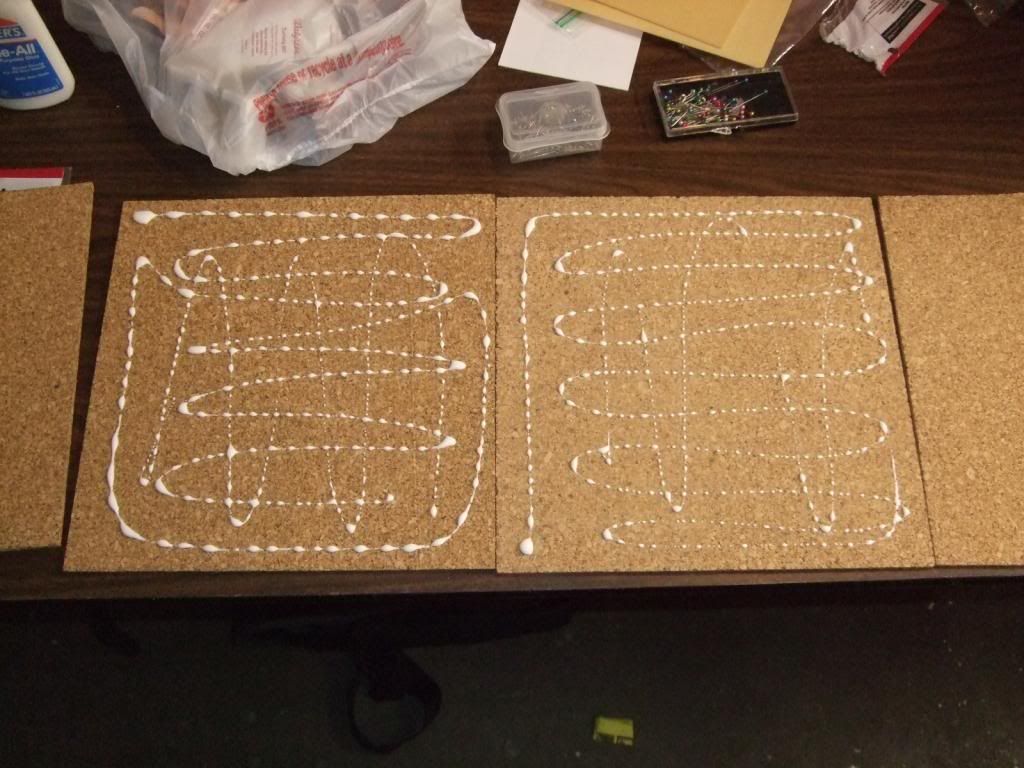
Take your 4 cork board tiles and glue them two thick (I used elmers liberally). I'm impatient but you should probably put some weight on them and let them dry together. If you're using scrap or other just make sure you have about half an inch of cork board to get a solid hold on your pins.
Step 2:
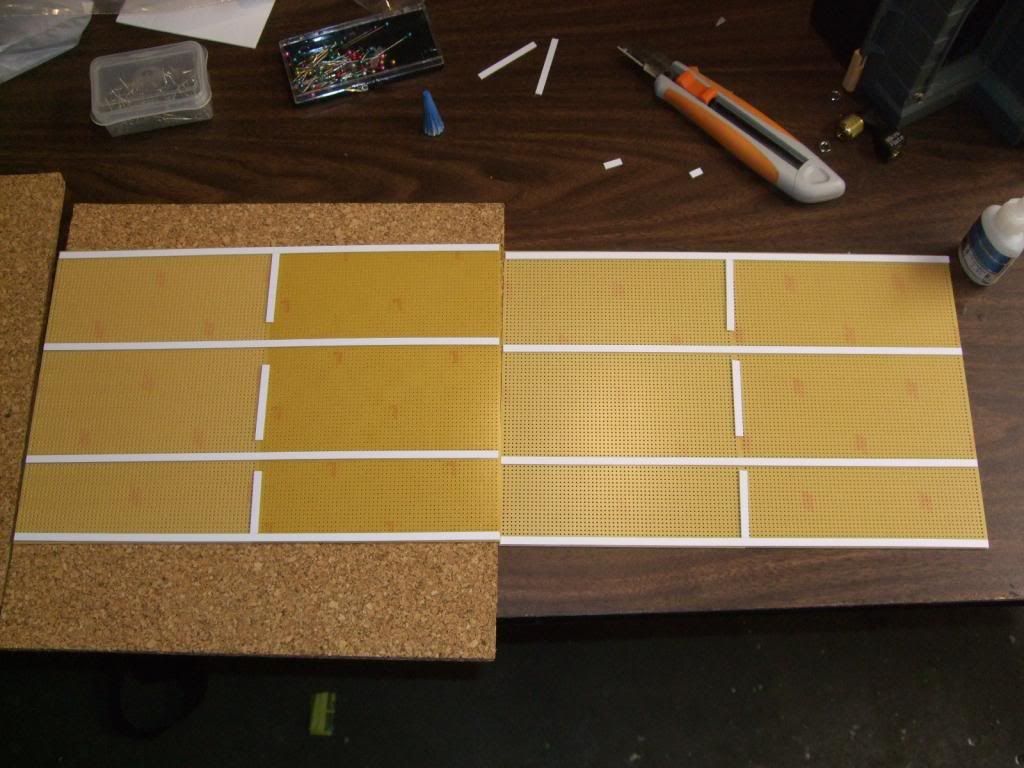
Put your perf board side to side with the 8" long side touching and measure out strips of styrene to reinforce them and hold them together. This will also give you a little space and depth between your perfboard and your cork board. I used styrene strips and model glue.
Step 3:
Now you can adhere your perfboard to your cork tile. I used model glue.
Notice you'll have a gap at the bottom of the board but the sides fit perfect.
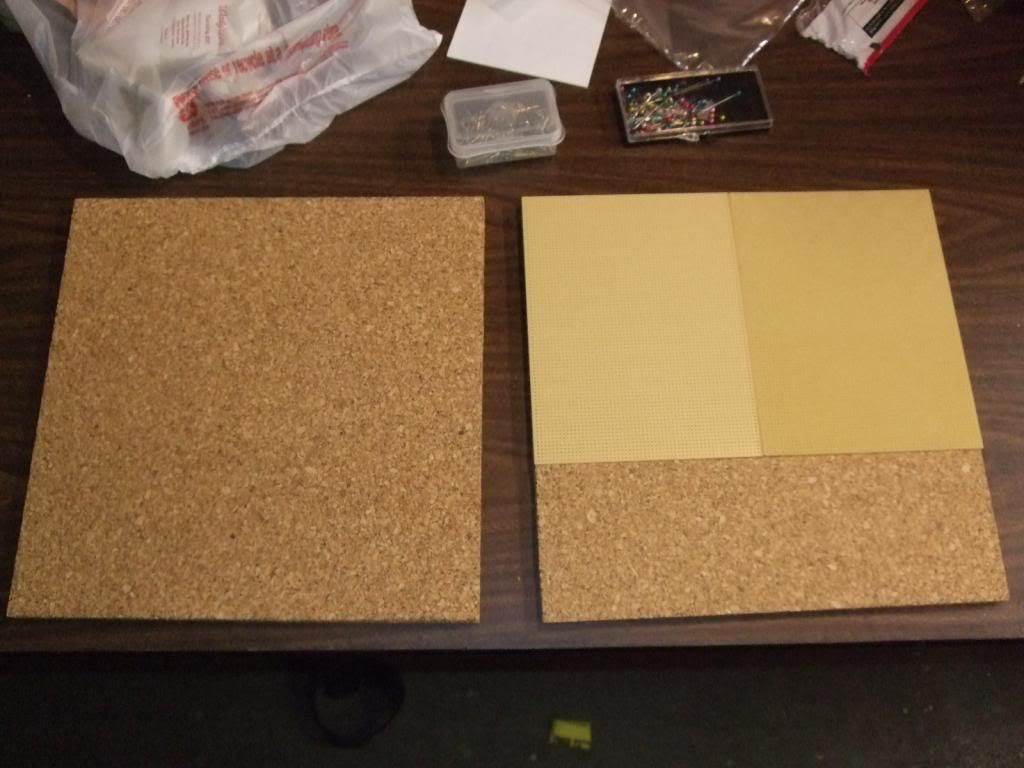
Step 4:
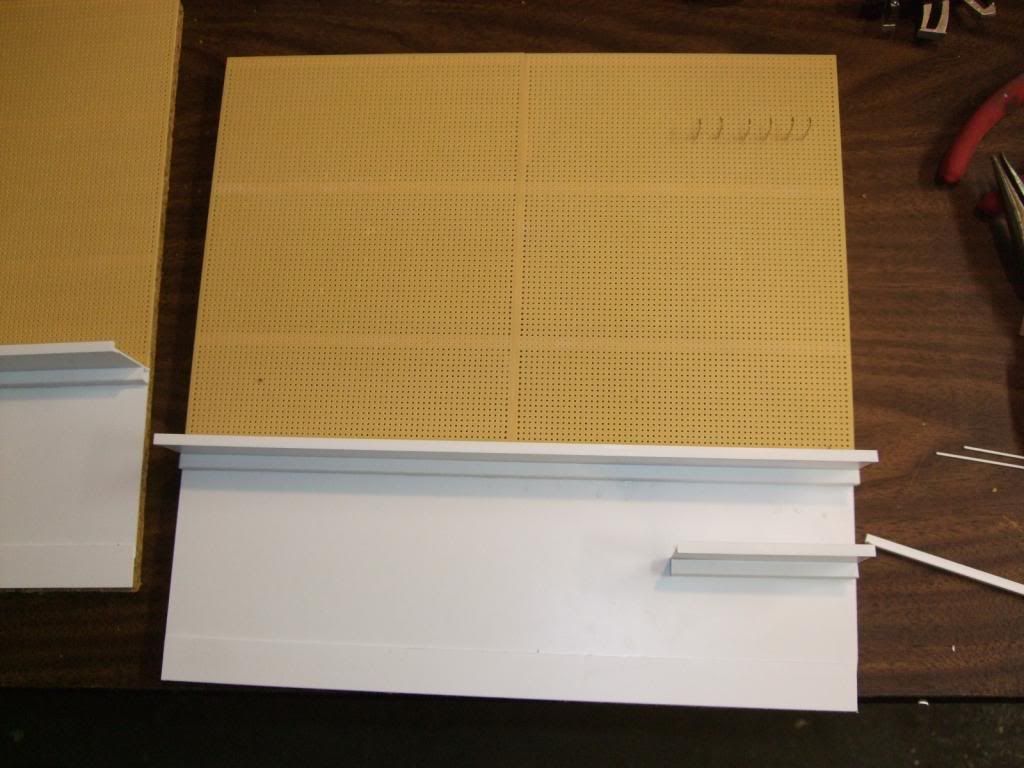
This is where you can get a little creative. I wanted to do this quick and dirty so I just used some styrene and cut it to fit the lower portion. Then I added some shelves and a baseboard. You can do more shelves, cabinets, whatever. I used model glue for all this work.

Step 5:
Take your straight pins and bend them using the width of the needle nose as your jig. This way you can get a consistent bend. You'll see the six I did in the top right corner. Check your pin length and bend size before doing a bunch of pins to make sure they're appropriate for the size, shape, and width of accessories you intend on holding up.
Step 6:
Paint. I'm holding off on this step until I decide what colors I want to do. I recommend airbrushing or spray painting so you don't clog your perfboard holes and have to go cleaning them out one by one.

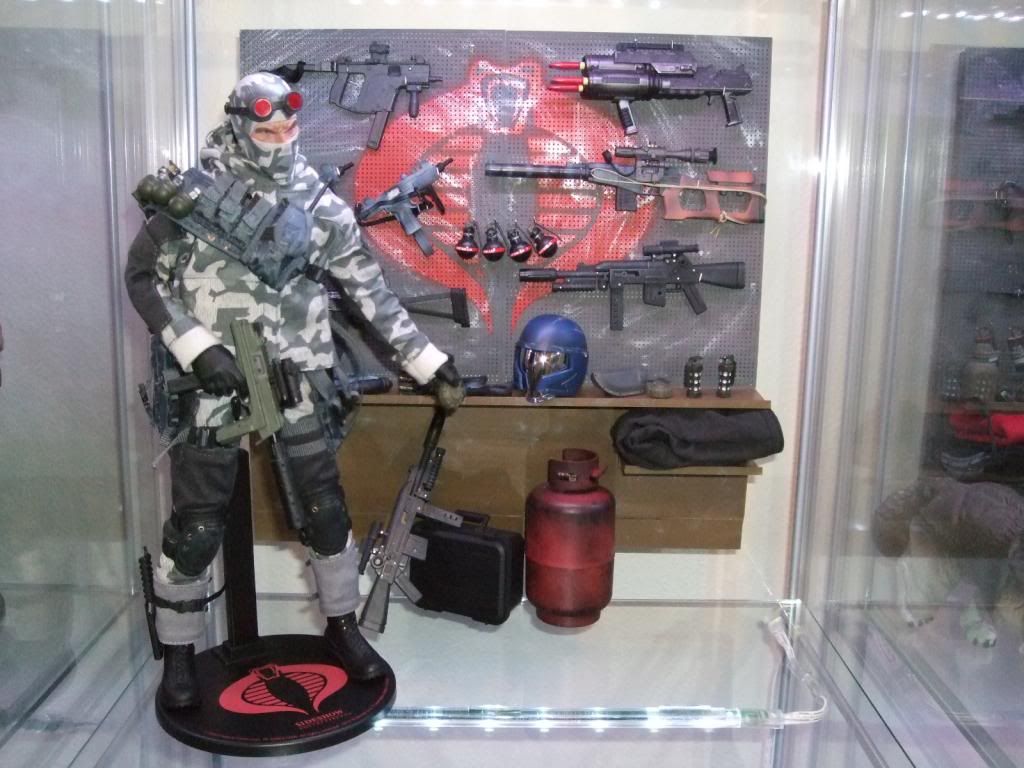
Step 7:
Display! I velcro to center them in my shelf and have a permanent place to store AND display all my extra accessories.
Hope this tutorial was helpful and gave you some ideas. All comments, criticism, and ideas are welcomed and appreciated.
What you'll need:
Materials-
Cork Board (Purchased a set of 4 12x12 tiles at target, approx. cost 7 bucks)

Perf Board (purchased at Radio Shack, 2 for each (6"x8") for a 12x12 diorama, approx. cost 3.50 ea.)

Thin Wood or styrene strips (used as spacers and essentially covered by perf board, cost approx. 3 bucks)
Glue and Paint (This is really up to you, I used elmers and thin model grade super glue)
Additional styrene sheets, angles, tubes, etc. as you see fit to embellish the non-"peg board" area
Straight Pins (I got them out of a household sewing kit. Make sure the diameter is smaller than your perfboard holes
Tools-
Metal Straight edge
Ruler
Blade(exacto or box cutter)
Needle nose pliers w/ wire cutter
Step 1:
Take your 4 cork board tiles and glue them two thick (I used elmers liberally). I'm impatient but you should probably put some weight on them and let them dry together. If you're using scrap or other just make sure you have about half an inch of cork board to get a solid hold on your pins.

Step 2:
Put your perf board side to side with the 8" long side touching and measure out strips of styrene to reinforce them and hold them together. This will also give you a little space and depth between your perfboard and your cork board. I used styrene strips and model glue.

Step 3:
Now you can adhere your perfboard to your cork tile. I used model glue.
Notice you'll have a gap at the bottom of the board but the sides fit perfect.

Step 4:
This is where you can get a little creative. I wanted to do this quick and dirty so I just used some styrene and cut it to fit the lower portion. Then I added some shelves and a baseboard. You can do more shelves, cabinets, whatever. I used model glue for all this work.

Step 5:
Take your straight pins and bend them using the width of the needle nose as your jig. This way you can get a consistent bend. You'll see the six I did in the top right corner. Check your pin length and bend size before doing a bunch of pins to make sure they're appropriate for the size, shape, and width of accessories you intend on holding up.

Step 6:
Paint. I'm holding off on this step until I decide what colors I want to do. I recommend airbrushing or spray painting so you don't clog your perfboard holes and have to go cleaning them out one by one.


Step 7:
Display! I velcro to center them in my shelf and have a permanent place to store AND display all my extra accessories.
Hope this tutorial was helpful and gave you some ideas. All comments, criticism, and ideas are welcomed and appreciated.
Last edited:


.jpg")