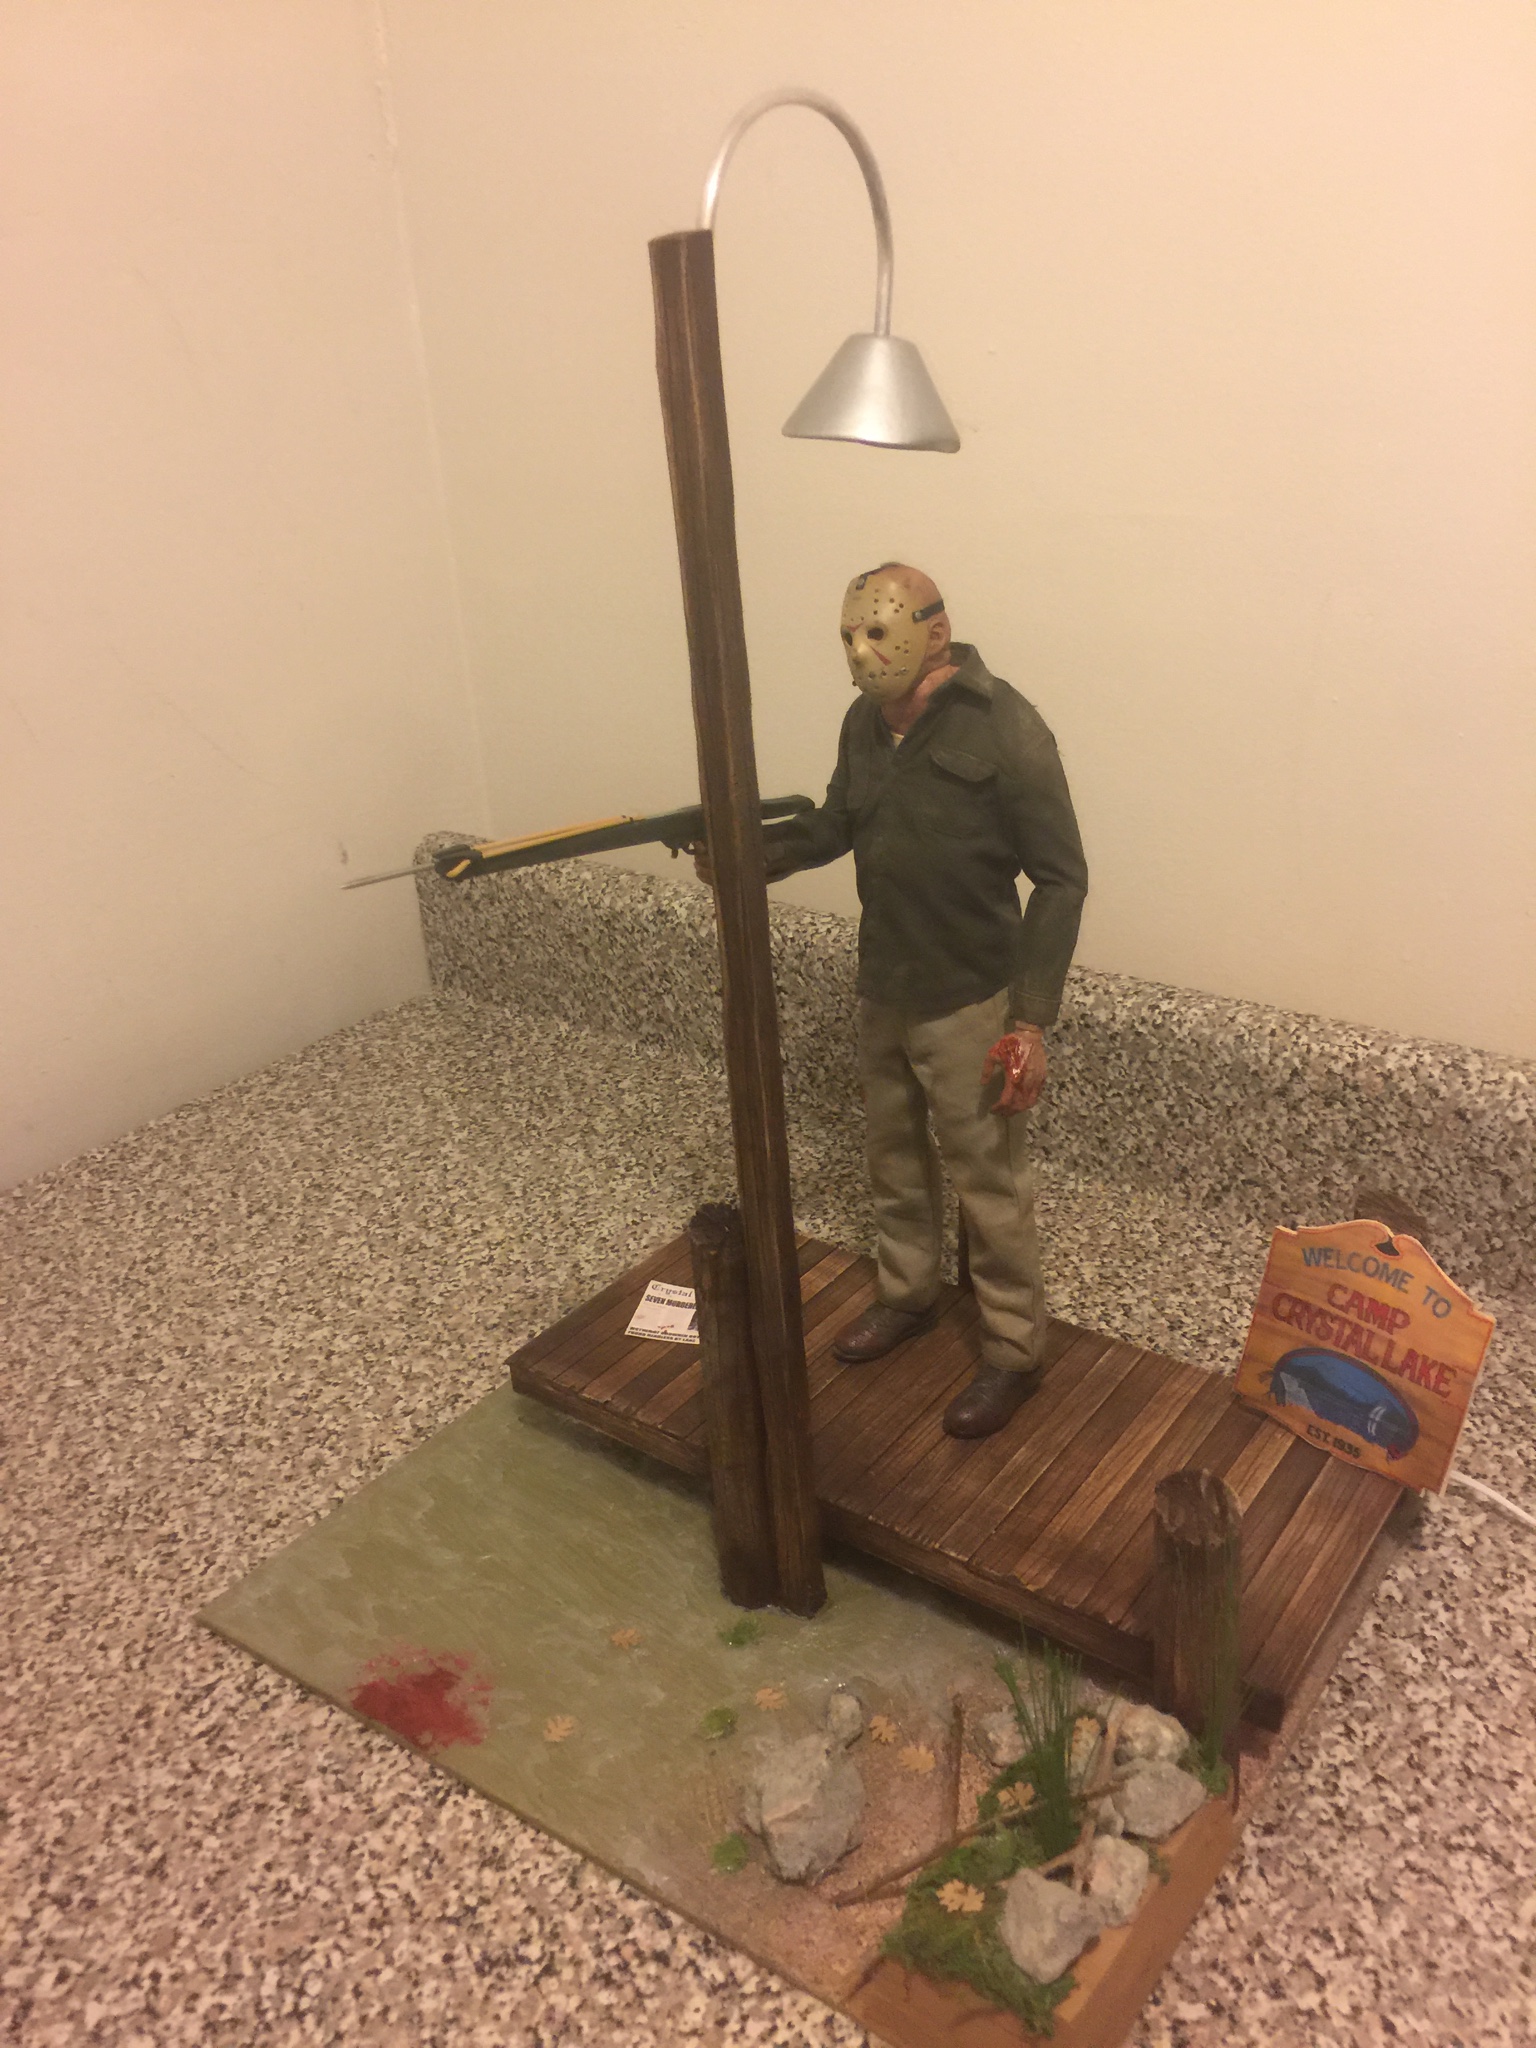
Please post some of the process... I've considered trying to make similar floor boards or a dock like that.
You did some excellent work on it

No problem. I kinda just grabbed stuff as I worked, but I'll do my best. Plus I’m at work, so I have to go off of memory. lol
Things you'll need-
1/2" dowel rod (you can go a bit thicker, but this is what I used-
https://www.hobbylobby.com/Crafts-H...ished-Wood/1/2"-Wood-Dowel-Value-Pack/p/24446
For the wood planks (slats), I just cut up some balsa wood I had laying around, but you can get something like this and cut it up-
https://www.hobbylobby.com/Crafts-H...ood/Basswood-Sheets---24"-x-8"-x-1/8"/p/93655
And for the bracing I found a thicker 3' length of balsa at the store, but I cant find it online. but it's basically whats in this-
https://www.hobbylobby.com/Crafts-H...d/Balsa-Basswood-Strip-Economy-Bag/p/80741966
For the chain I found a necklace at Walmart similar to this-
https://www.walmart.com/ip/DC-Comics-Superman-Oval-Shaker-Necklace/48174418
For weathering I just mixed paints, but you can use something like this-
https://www.ebay.com/itm/Tamiya-87081-Weathering-Stick-Mud-Free-Shipping-/401064476412
Xacto (or something to cut the wood with), a wood stain (I had some at the house, but you can get a small can at Lowes for a few bucks), Balsa glue (or wood glue..I just used CA glue) paint (I used Tamiya acrylics).
1. Figure out what size you want to make the dock. 8”x8” is about perfect, but I made my 5”x7” to save shelf room.
2. Cut the bracing the depth you want the dock (mine was 7”). I used a band saw, to make cuts easier.
3. Cut enough planks to run the length of your bracing, allowing for some spacing between them. Mine were cut ½” x 5”. These don’t have to be perfect. Symmetry takes away from a “real” look.
4. Take a dowel rod and score/cut it on both ends of 1 plank.
5. Cut the dowel rod pieces. I “think” my front 2 were about 5” long, and the back 2 were just over an inch.
6. Now that everything is cut, stain all the pieces. Again, you’re not looking to be uniform here. Go light and heavy on different pieces.
7. After the stain dries, it’s time to assemble. Using your glue of choice, set the 2 braces even and parallel to each other (the plank you cut the semi-circle into goes on 2nd from the front), and start gluing down the planks (a little glue goes a long way). Be sure to keep some spacing between them, and a slightly crooked one every now and then is all the better. I started with about 1/8” overhang on the first plank, and ended that way as well.
8. Flip it over, and glue the 2 short dowel rods to the inside of the bracing, up against the planks.
9. For the front 2, you’re going to want to level out the dock to the right height that was set by the rear 2, and glue them to the outside of the bracing. Again, it’s okay if they are slightly crooked.
10. Now comes the detailing. I took a pencil and made a slight indention with a twisting motion in the planks over top of the bracing to mimic nails.
11. Next I took apart the ends of the necklace off, and separated a link in the middle to have 2 pieces (I did it uneven, so one was longer than the other). I then painted it a gunmetal silver to get it to look like a galvanized chain.
12. I then wrapped the chains around the bottom of the dowel rods, up and around the top of the deck, attaching them with glue.
13. For final detailing I mixed some paint together till I got a flat dark mud tone. I went heavy with the pain around the base of all 4 dowels, fading as I went up. Sloppy is good. I then added some mud tones here and there over the dock and notched the front dowel to hold an axe or machete.
And bam! You’re done!


")