BANE - Show Your Customs / Modification / Customization

Collector Freaks Forum

Help Support Collector Freaks Forum:

This site may earn a commission from merchant affiliate links, including eBay, Amazon, and others.
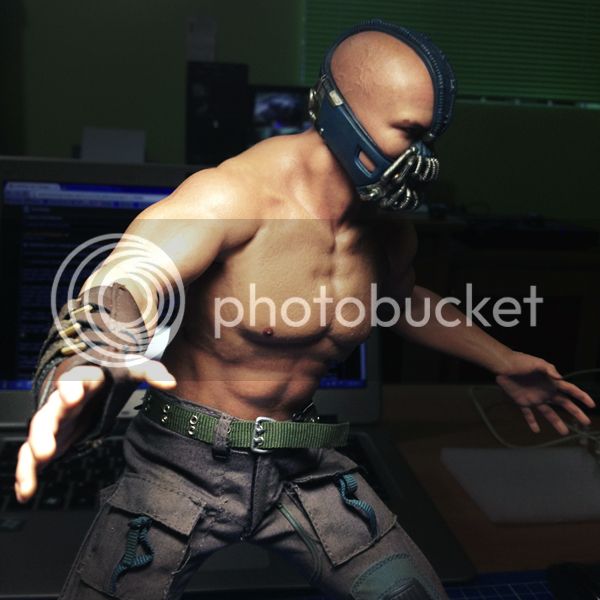
I am a proud owner of bane, finally.

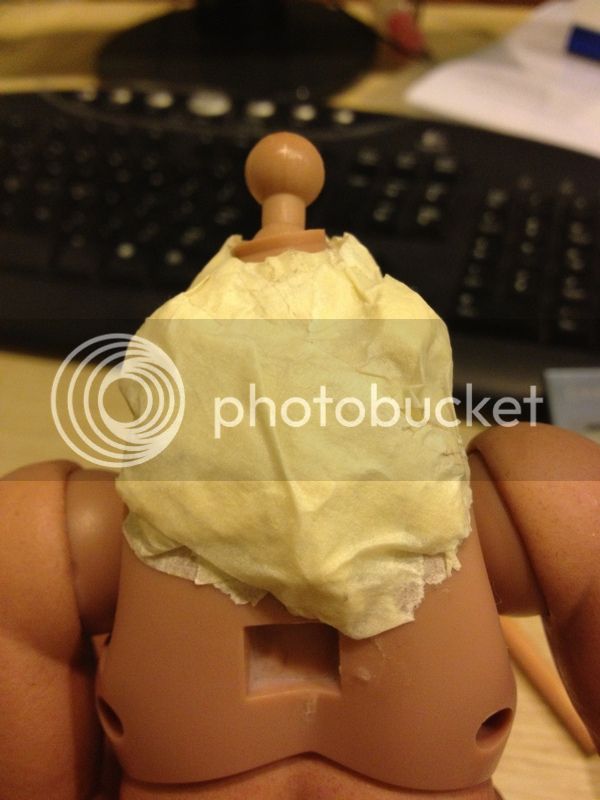
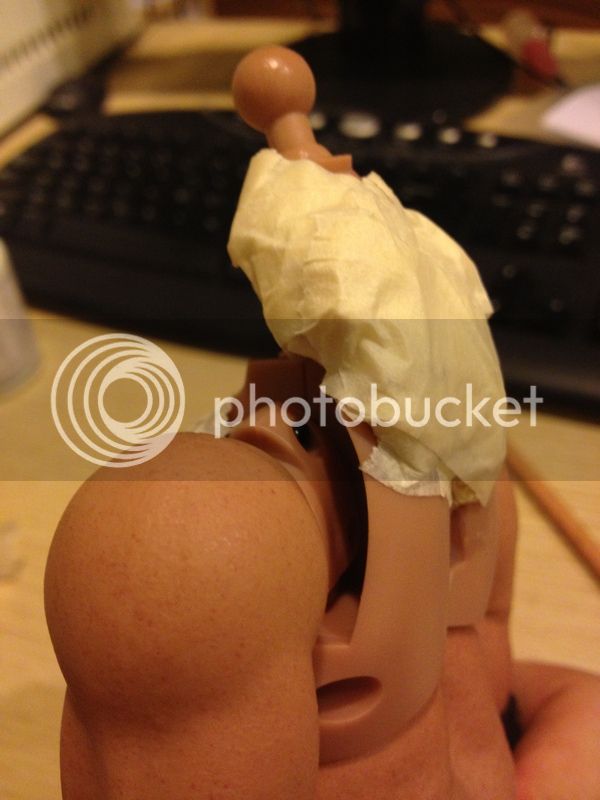
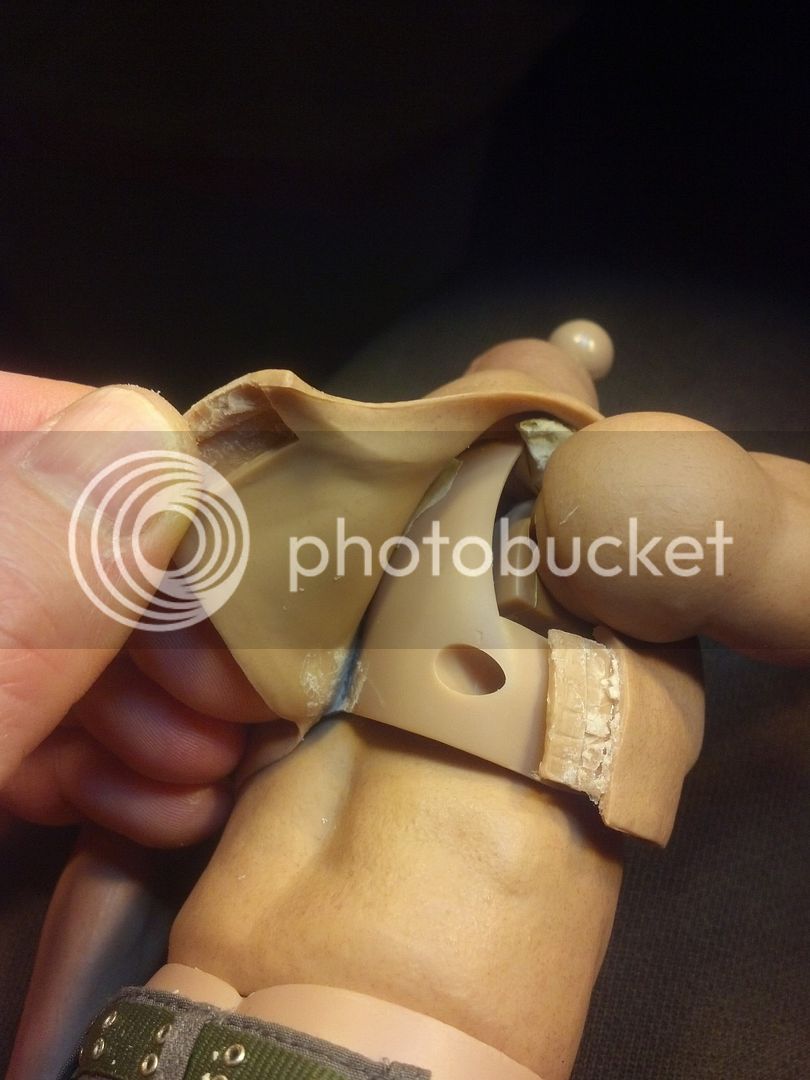
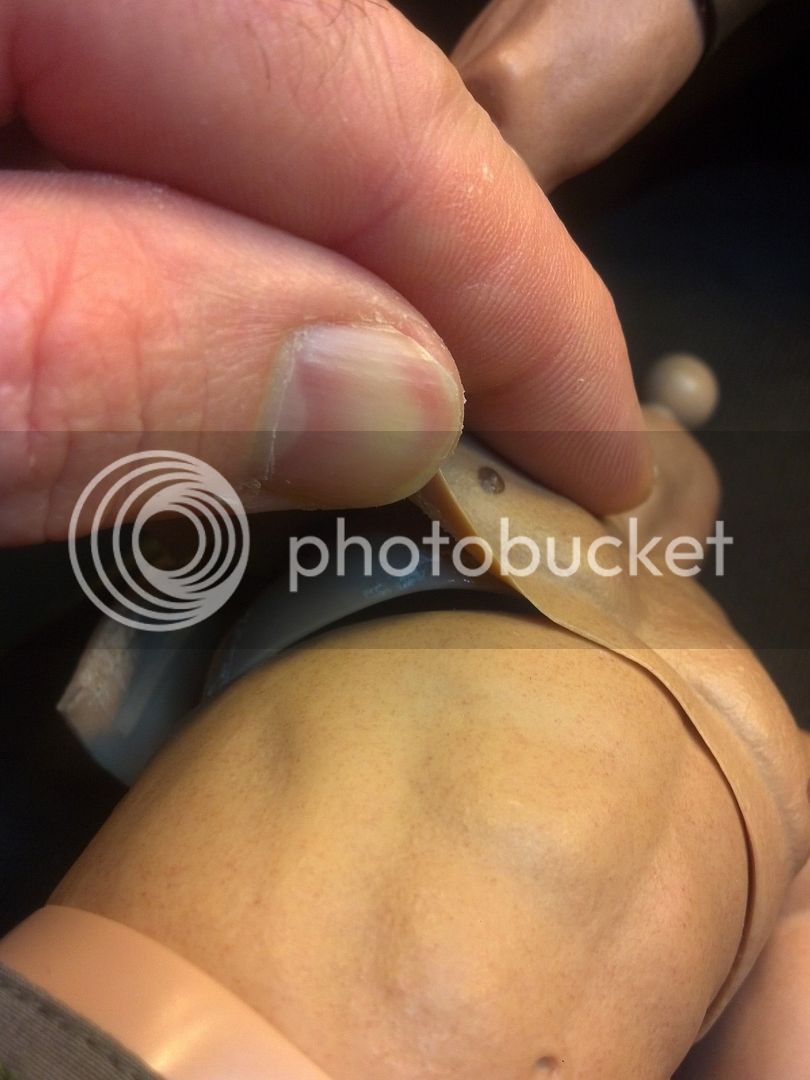
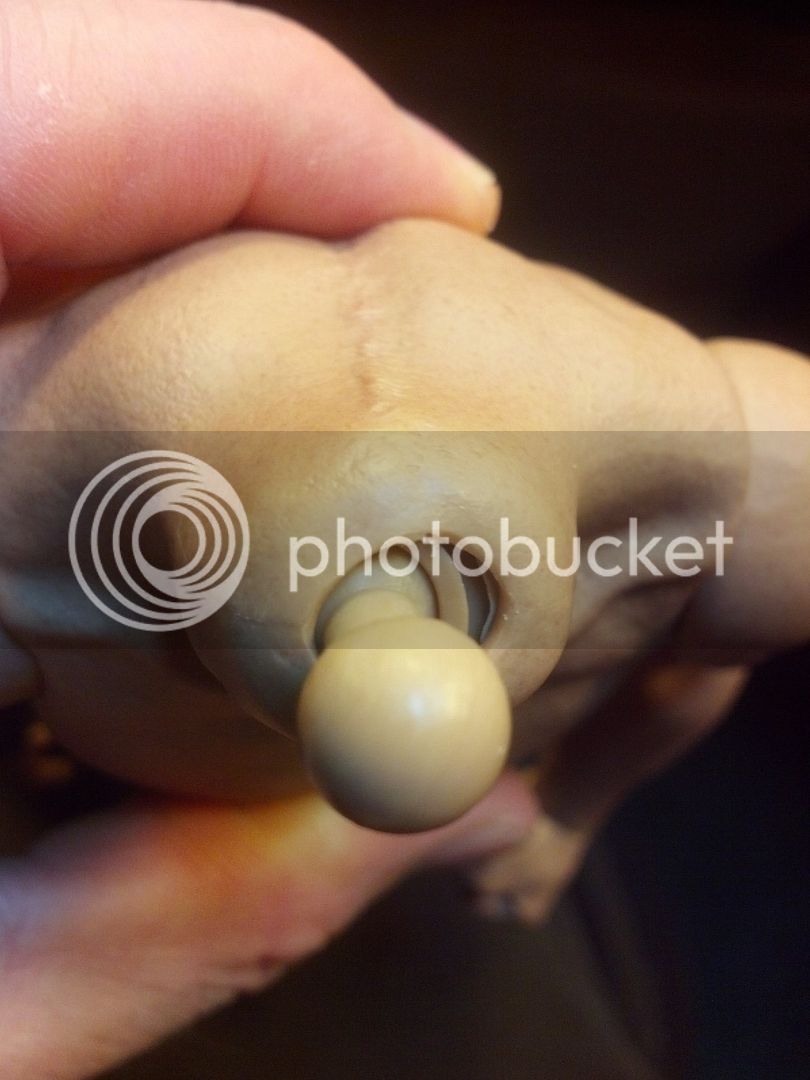
I only have one...prices are ridiculous tbh. That means, I don't think I'll be doing any mods to it. Unfortunate IMO. I wanted to make his traps larger, but according to Robbiethepainters method, I need to cut things.

However, rather than cut, can't I just slip some rolled up tape into his traps through the trap/shoulder opening?

Anyway, I haven't released him from his plastic and cardboard prison. I need to make room for him, but from what I can see, he looks friggin awesome.
 
I want to do the bane arm mod. I have an advanced true type body, and I'm going to use those arms. Which screws do I undo to get the arms out. I remember someone saying it was 3 screws. Can someone that has done this mod clarify?

Thanks
 
Cut the side of the torso , so you can remove the rubber boobie area .

Then you will see the screws and screw covers
 
Cut the side of the torso , so you can remove the rubber boobie area .

Then you will see the screws and screw covers

I'm talking about the advanced body though :peace

I know you have to un screw the 2 on the back. Is that all? or is there a third screw that i have to take out, because I heard you have to unscrew a third screw. I wish short round hadn't have deleted his tutorial, because that was very helpful.
 
I don't own the TT21 , so i don't know . Sorry brother .

Just take off all the caps and take all the screws out of the torso man
 
I'm talking about the advanced body though :peace

I know you have to un screw the 2 on the back. Is that all? or is there a third screw that i have to take out, because I heard you have to unscrew a third screw. I wish short round hadn't have deleted his tutorial, because that was very helpful.

Why did he delete his tutorial??

Oh and just do as Ecko says. Just unscrew all the screws. I dont own one of those bodies but I have taken other bodies apart.

Sent from my LG-E739 using Tapatalk 2
 
Decided to bulk the trap, and since no pics of the process so far, I thought Ill take pics of my progress to make it easier for others.

Opened his torso and now starting to build up the trap, but im not sure whether im doing it right. Some pointers from those who have done it will be great.

via Tapatalk2 on Samsung Note II
 
Ok, now I know what Robbie meant by "roll it into a ball". My previous pics took too long, so I simply roll masking tape into a ball and start building up the shape. The ball should have the sticky side facing outside so it's easier to build the shape. After awhile then I cover the whole thing with a layer of masking tape, this time the sticky side inside.

I hope my pictures were right, and btw, I'm ditching this and re-shaping the whole thing to look more like robbie's. I think I need to roughly shape the trap according how the muscles will actually shape. Will take pics of my second try.

IMG_4999_zps51321f8f.jpg

IMG_4998_zps6cabead9.jpg

IMG_4997_zps8b92d156.jpg
 
Alright will do bro :wave


No idea. If you go back to the first page, it says he deleted the images.

Weird...

Decided to bulk the trap, and since no pics of the process so far, I thought Ill take pics of my progress to make it easier for others.

Opened his torso and now starting to build up the trap, but im not sure whether im doing it right. Some pointers from those who have done it will be great.

via Tapatalk2 on Samsung Note II


It's cool of you to take pics of the process. Looking forward to the outcome.
 
Hey bud I thought I would answer here instead of the pm.

Make sure and separate the traps or he will end up looking like a hunch back instead of the defined cut. You want to keep the valley of the spine low. So instead of putting a large build up over the back, put tall then ridges in the areas of each trap. The rubber skin will flatten them out a lot so make sure they are solid and tall.

I didn't nothing to the chest area.

If I remember correctly I used a hair dryer to soften the rubber so that it would conform better.
 
Ok, now I know what Robbie meant by "roll it into a ball". My previous pics took too long, so I simply roll masking tape into a ball and start building up the shape. The ball should have the sticky side facing outside so it's easier to build the shape. After awhile then I cover the whole thing with a layer of masking tape, this time the sticky side inside.

I hope my pictures were right, and btw, I'm ditching this and re-shaping the whole thing to look more like robbie's. I think I need to roughly shape the trap according how the muscles will actually shape. Will take pics of my second try.

:clap:clap Great tutorial so far buddy :hi5:
 
Oh and I also added to the neck connector. Its a cylinder stock and so I added rolls to each side building them up and then ran tape around the whole thing to lock them down. Helps the transition.

I was going to just crack this sucker open and shoot some pics but I found one more thing. When you bulk all this stuff up the rubber torso is going to want slide up, so to counter this, I glued the back plug and the front edge to the under torso. This keeps them nice and flat to the body and wont allow them to slide or puff out.

IMG_20130525_232635_418.jpg

IMG_20130525_232653_386.jpg

IMG_20130525_233201_761.jpg
 
Last edited:
Wow, you re opened and took photos! Thanks so much Robbie. Tried 3 tines but im yet to find the perfect shape like yours. Will keep build em up and when I find the shape, will post it here.

Ok here's another attempt, what do you think?

bagysa8y.jpg


ydyda7y7.jpg

via Tapatalk2 on Samsung Note II
 
Last edited:
Back
Top