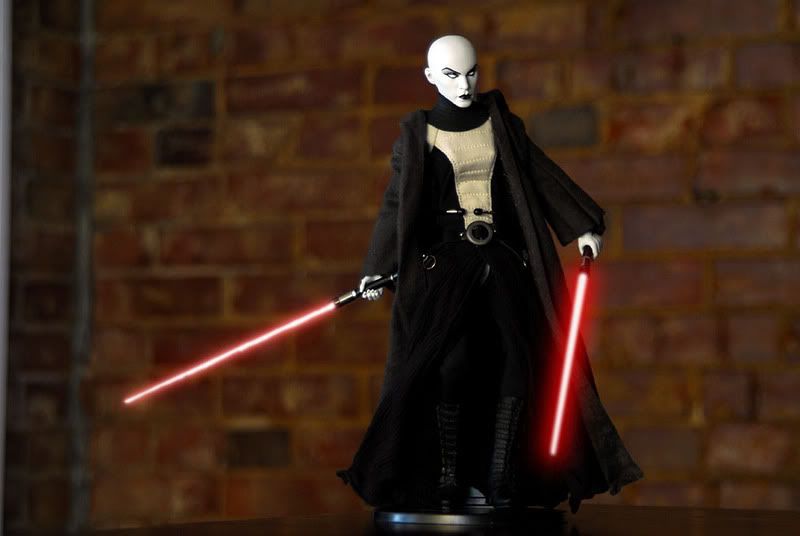
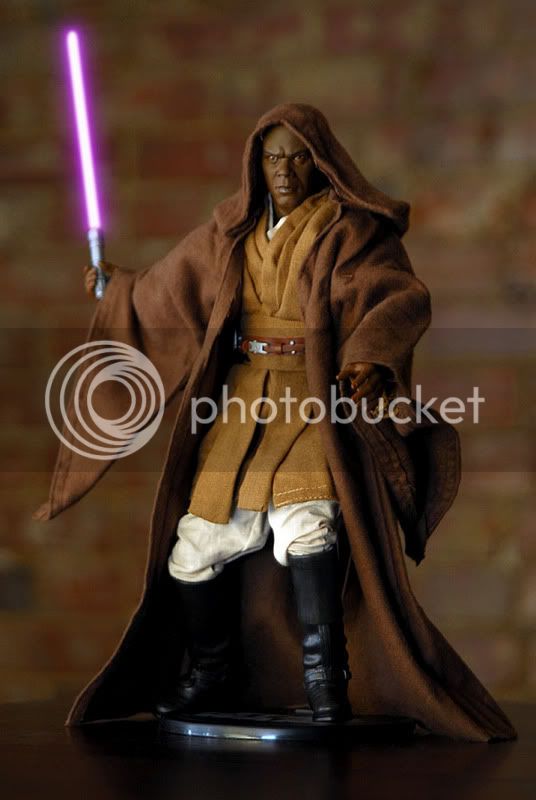
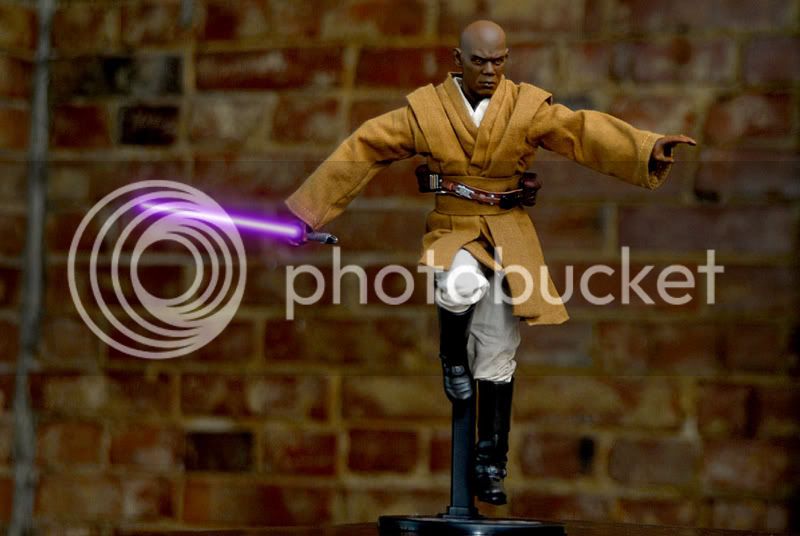
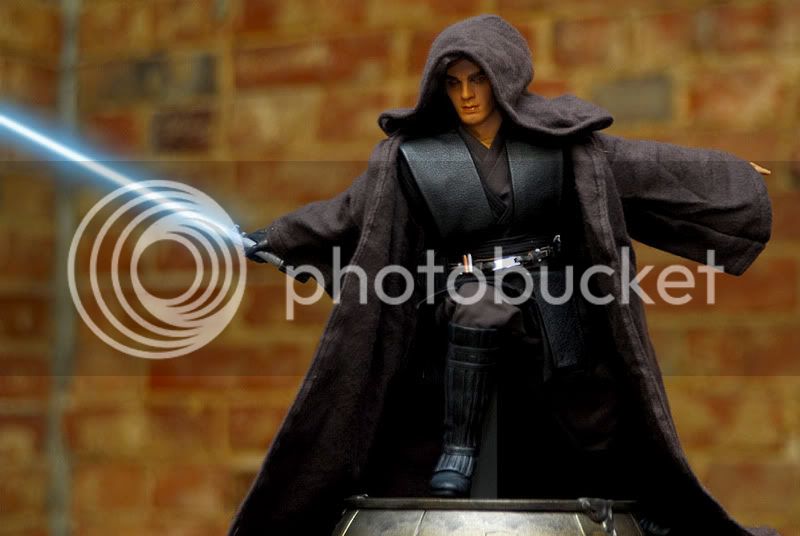
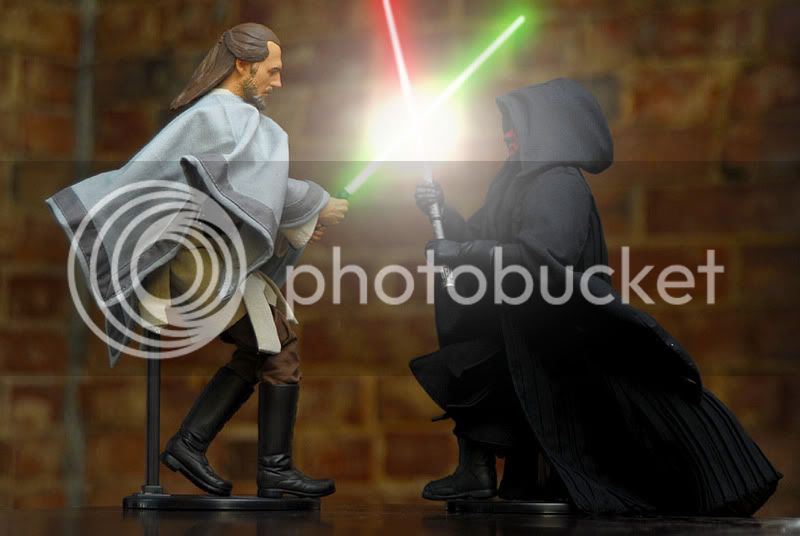
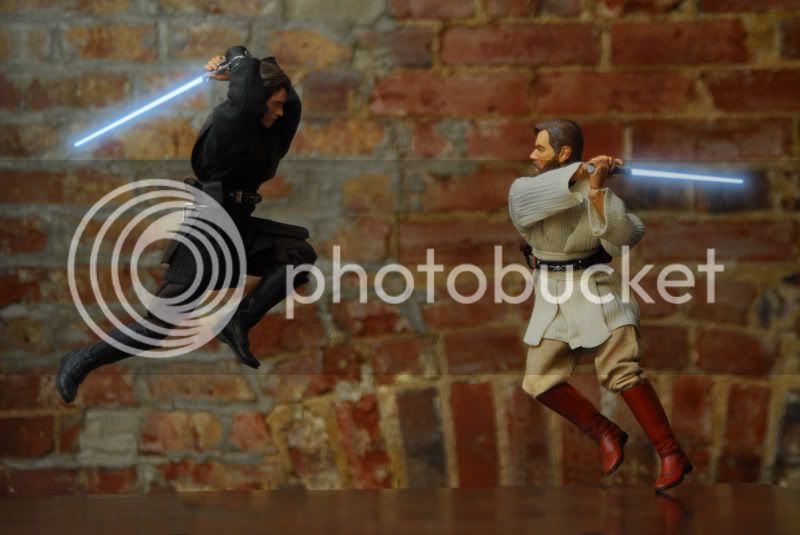
Well, it's been asked of me a number of times, and at this point, I actually have a system that is working out well for me, so here's how I go about my lightsaber glows.
Layer 1 (top most layer)
I usually just make a pure outline of the blade from the figure, but sometimes camera angles can distort the shape, where the film effects never followed those rules, and I'll just make the blade shape that seems best. I make my selection with the Magnetic Lasso Tool, then I use a feather of about 1 pixel. How much you feather really depends upon the resolution of your image. For images that I only plan to post here, I'm at 72 dpi and about 800 x 600 pixels, so my feather is 1. For my 10 megapixel camera images, which are about 4000 x 2500 pixels, I usually use a feather of about 3. With UNDO, it's easy to experiment. The only reason to feather here is to make the edge slightly imperfect, that's all you're going for.
Layer 2
Looking at some pictures of lightsabers, I noticed there's a soft glow around the white blade of the saber that's basically a white tone of the saber color. I use the selection of the white blade layer, and then expand it by about twice the ammount of pixels as my feathering on Layer 1; if my feather was 1, I expand by 3 pixels, and if my feather was 3, I expand by 2 pixels. After expanding, I feather the selection by half of the expanded number, so if I went larger by 3, I feather 2 pixels, and if I expand by 6, I feather 3 pixels. Here you want to be a little more blurred to give the illusion of light coming from a source and fading off at the outer edge, but not too much because it's still tight to the source. Once the selection is ready, I fill the layer with a whitish shade of the saber's color. I finish by making the layer a Screen layer.
Layer 3
This layer is the defining layer of the lightsaber's color. For this layer, I again go back to the original white blade layer selection, then I expand it by about 10 times the feathering on layer 1; if I feathered 1 pixel, I expand by about 10, and if I feathered 3, I expand about 30 pixels. Once I've expanded, I always feather by just about the same ammount as I expanded. For an expansion of 10 pixels, I feather 8 usually, and for an expansion of 30 pixels, I'll feather 25. Once the selection is ready, I fill the layer with the saber's color. I finish by making this layer a Screen layer as well.
Layer 4 (bottom layer)
This final layer is mainly to add to the illusion of a glowing blade. I do the same as layer 3, only my expansion numbers are double what I did for layer three, so if I expand by 10 pixels on that layer, I expand by 20 on this layer. I still feather by about 90% of the number I expanded by, so expanded by 20 pixels I'll feather by 15. Once the selection is ready, I fill the layer with the saber's color. Finally, I convert this layer to screen also, and then drop the opacity down to anywhere between 40-60%, going by how the image looks to know what ammount works best. You really just want this layer to add a little atmospheric glow around the blade, and let the top 3 layers define the blade.


