weltmaster
Super Freak
Hi all!
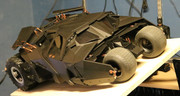
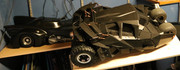
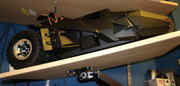
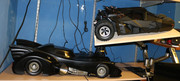
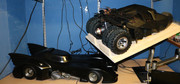
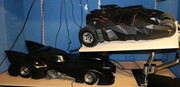
And so 2 weeks ago I jumped on a "cheap" used Tumbler, finally
However, the first owner was a complete idiot, clearly he was not meant to own 1/6 detailed pieces and treated the Tumbler as a childs toy.
Full of dust, hard time cleaning it.
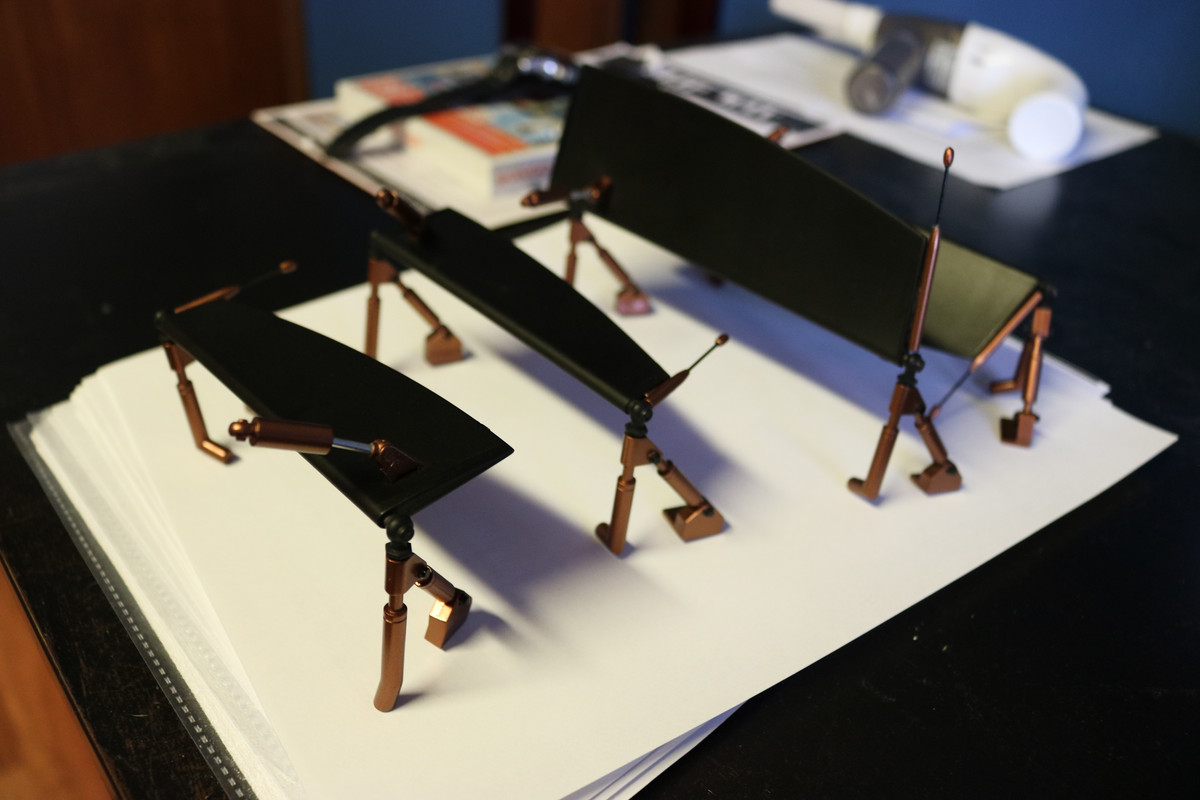
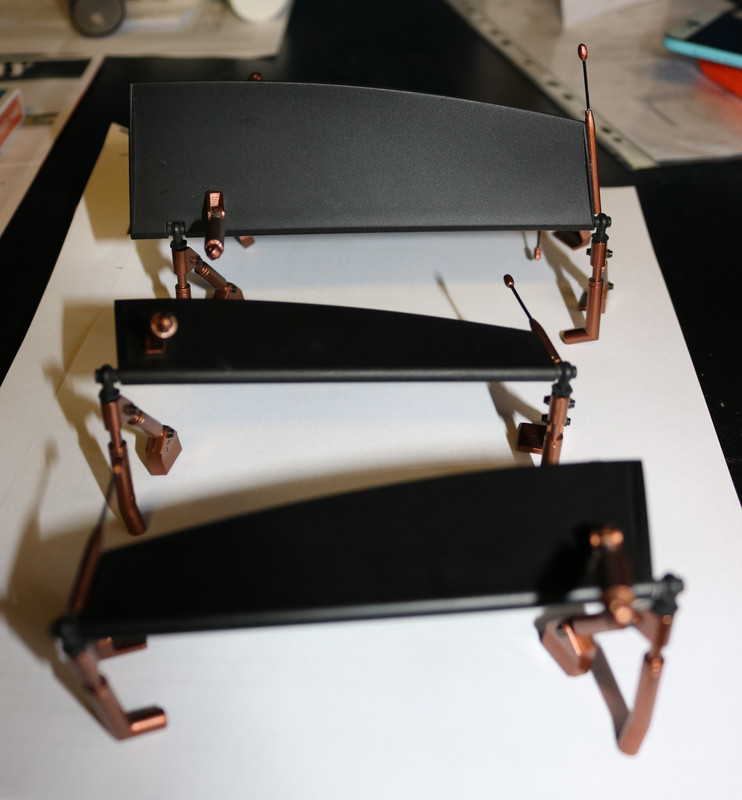
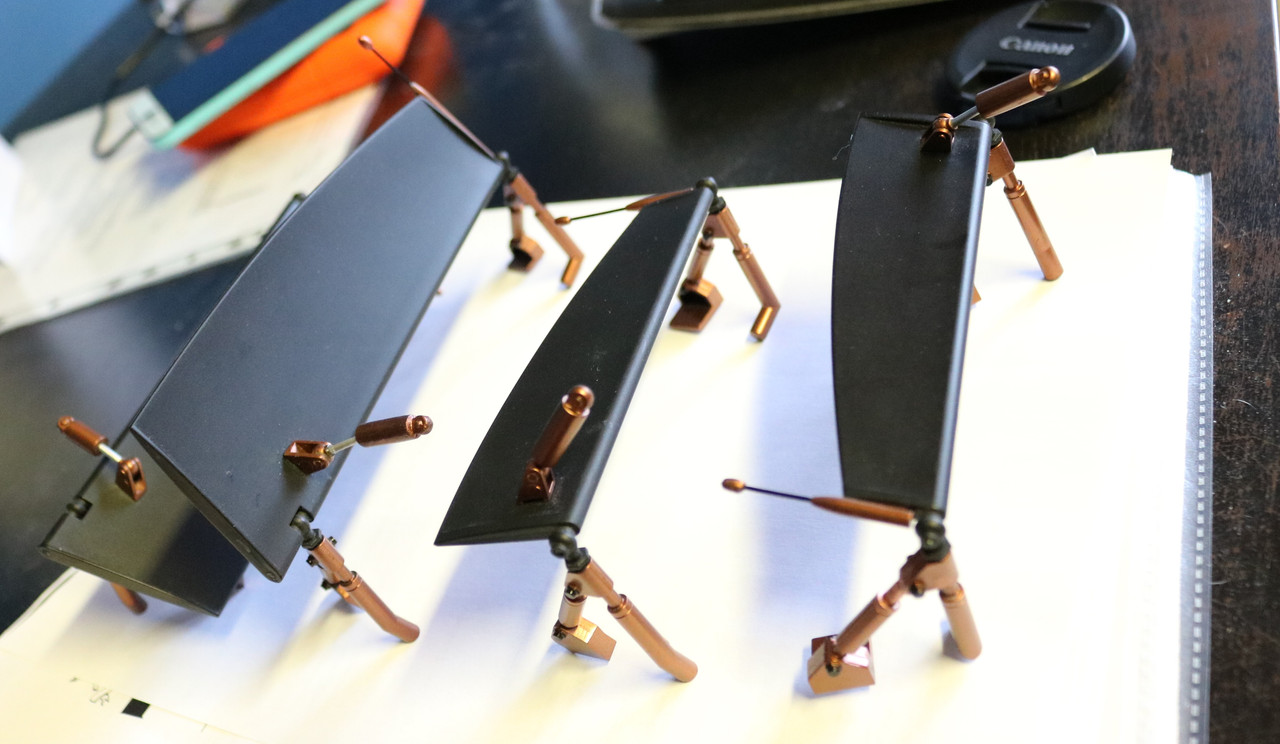
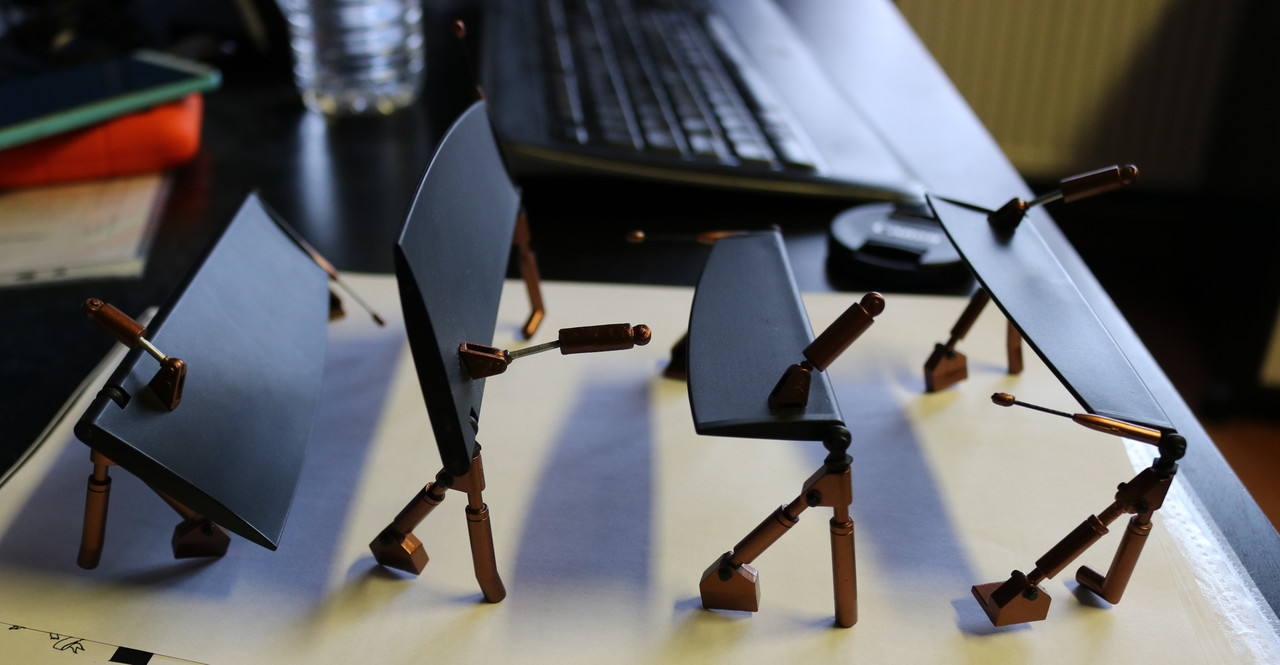
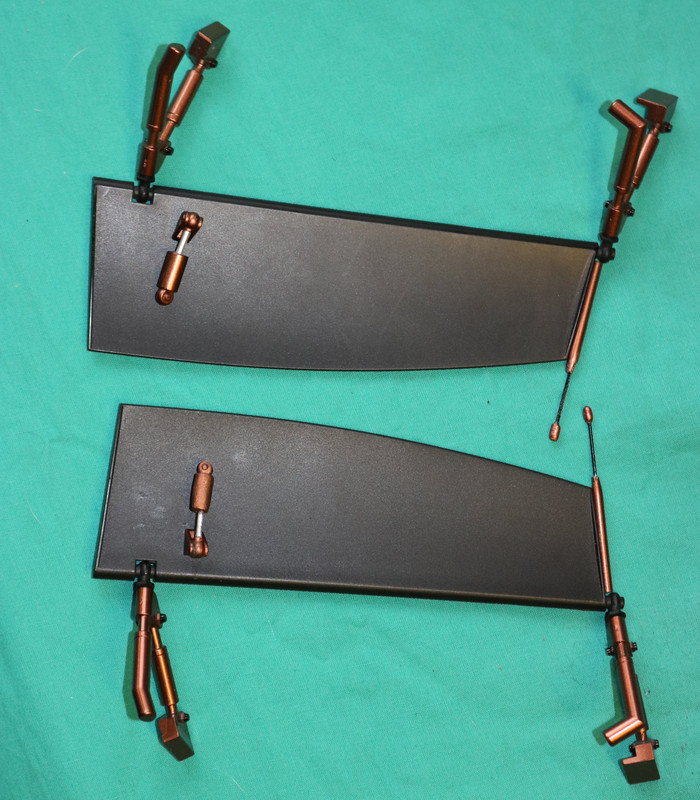
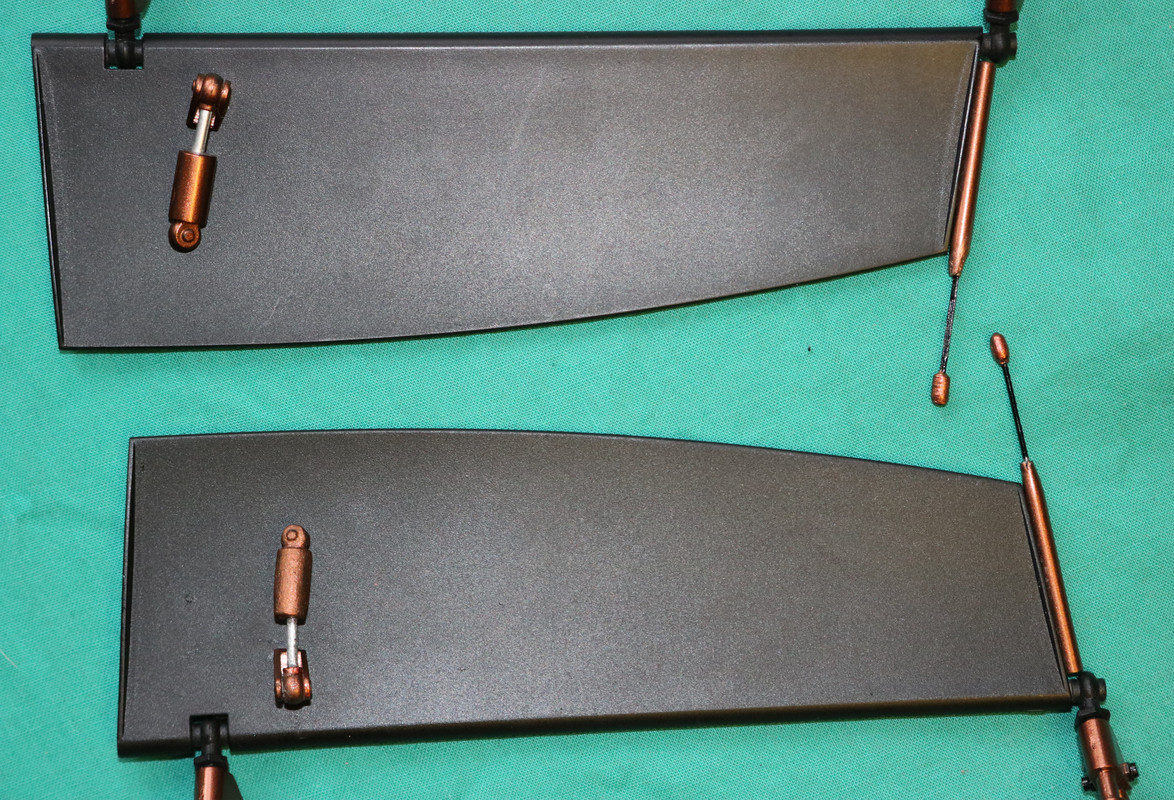
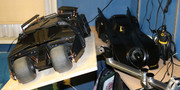
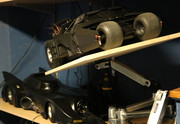
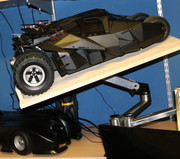
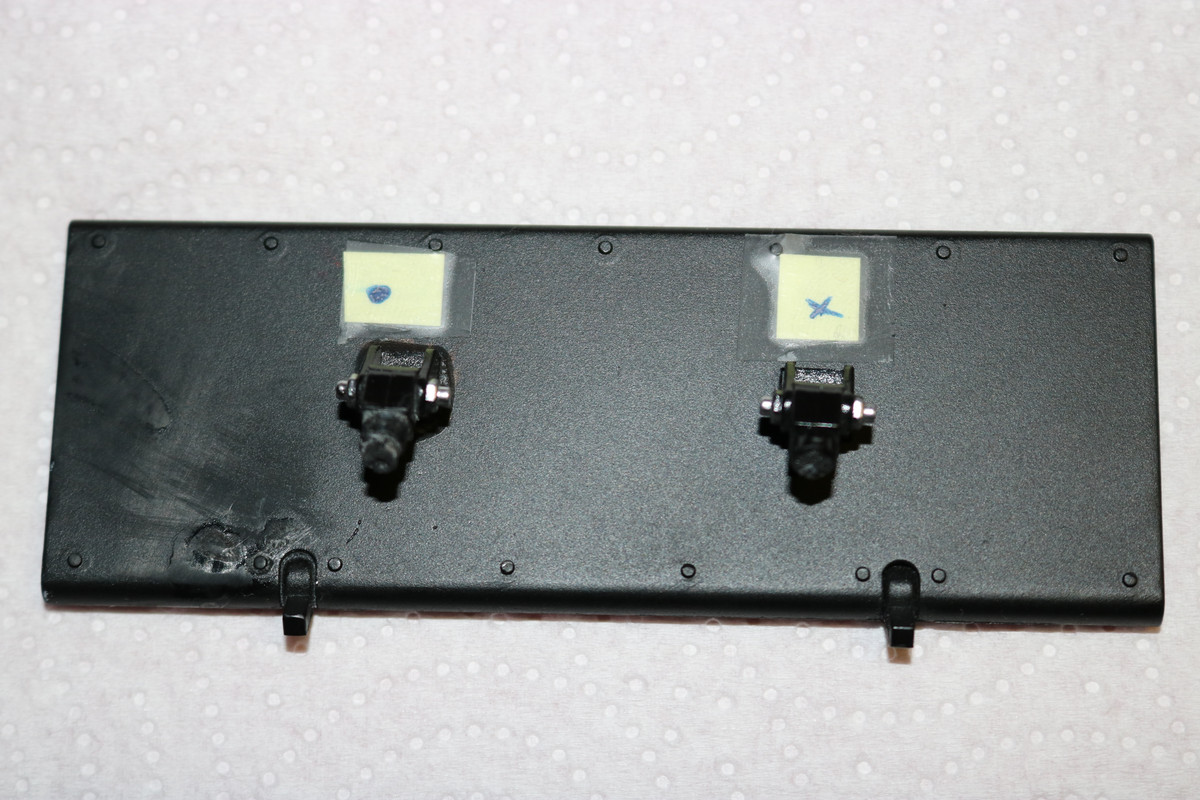
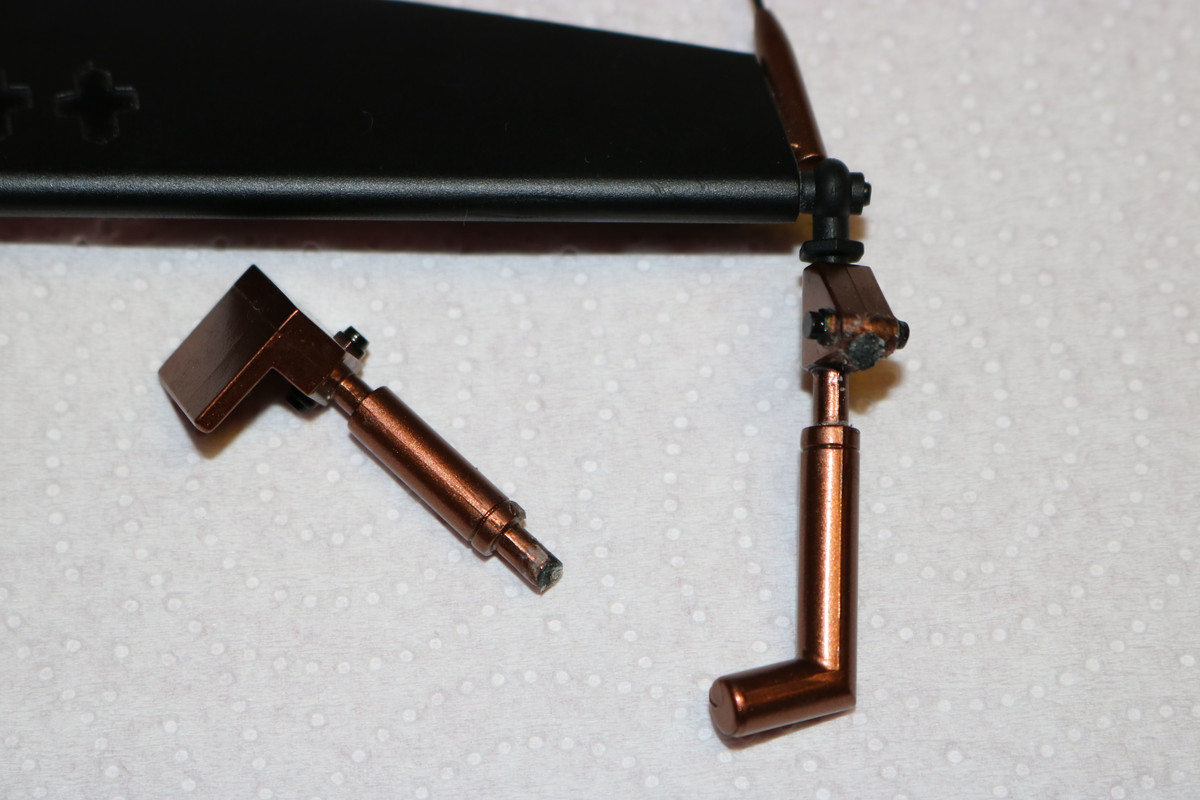
And we have the classic failures, broken flap parts and even a missing parts.
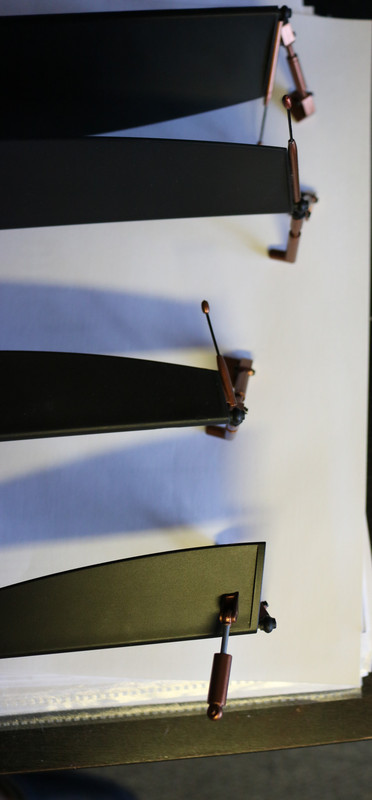
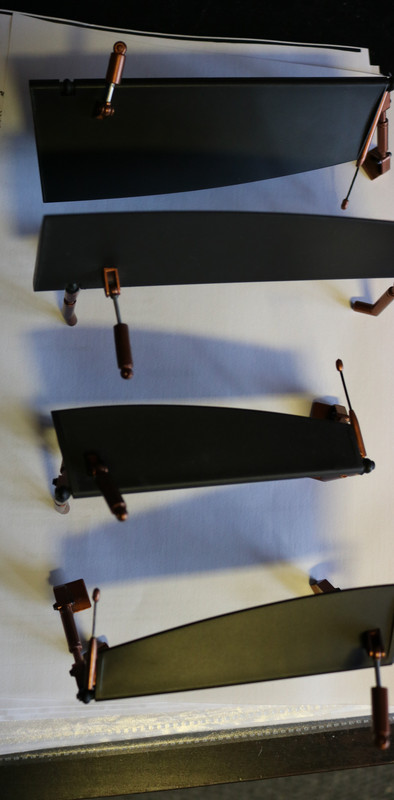
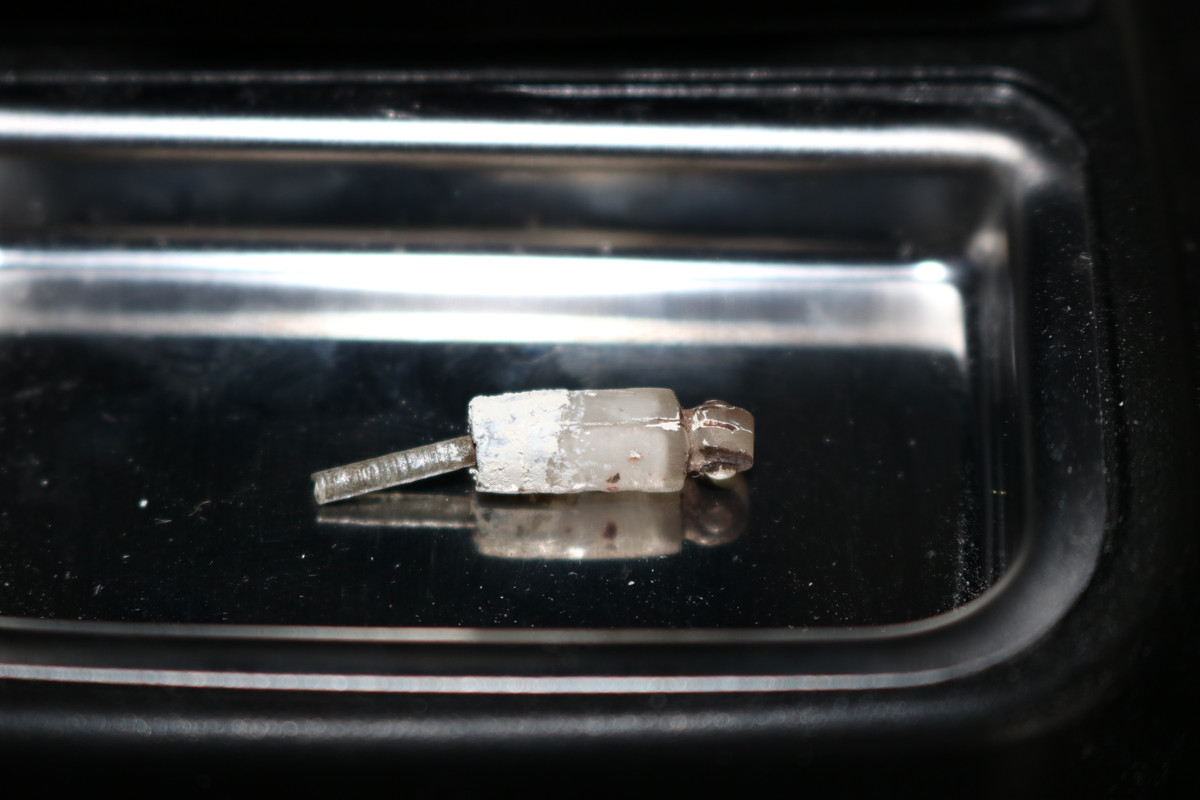
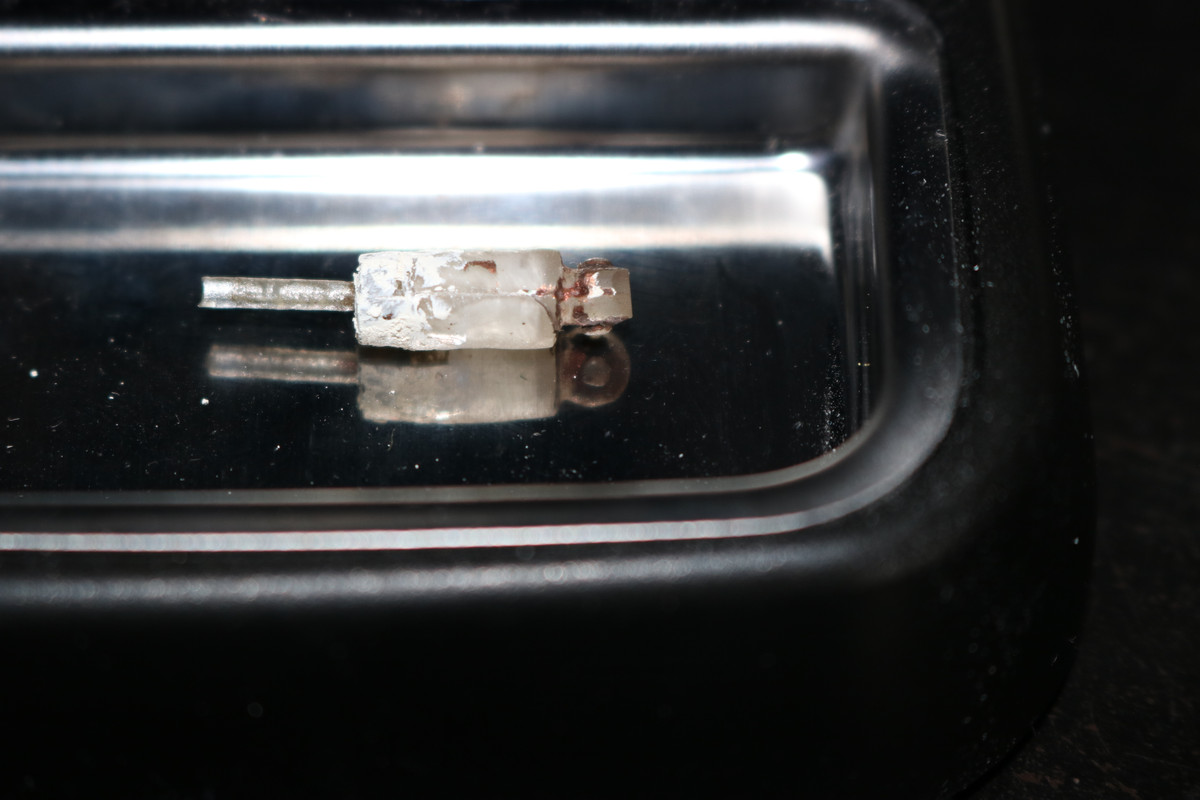
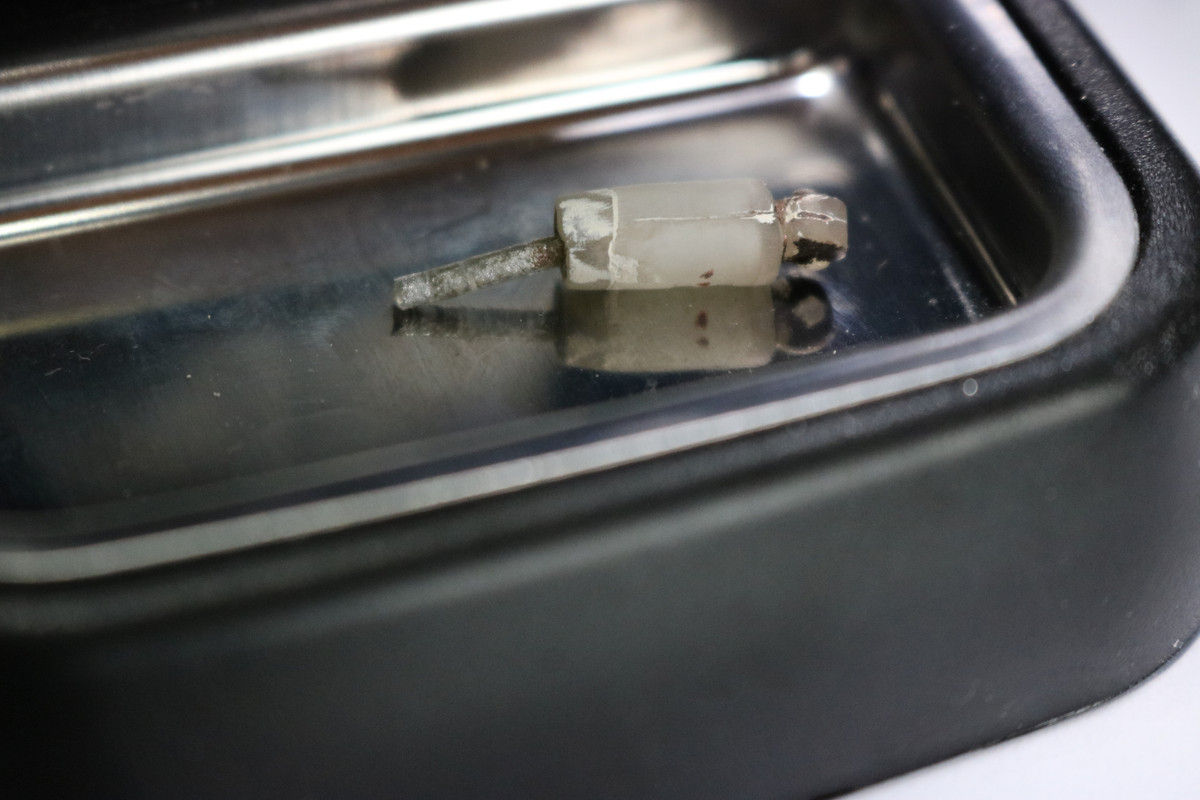
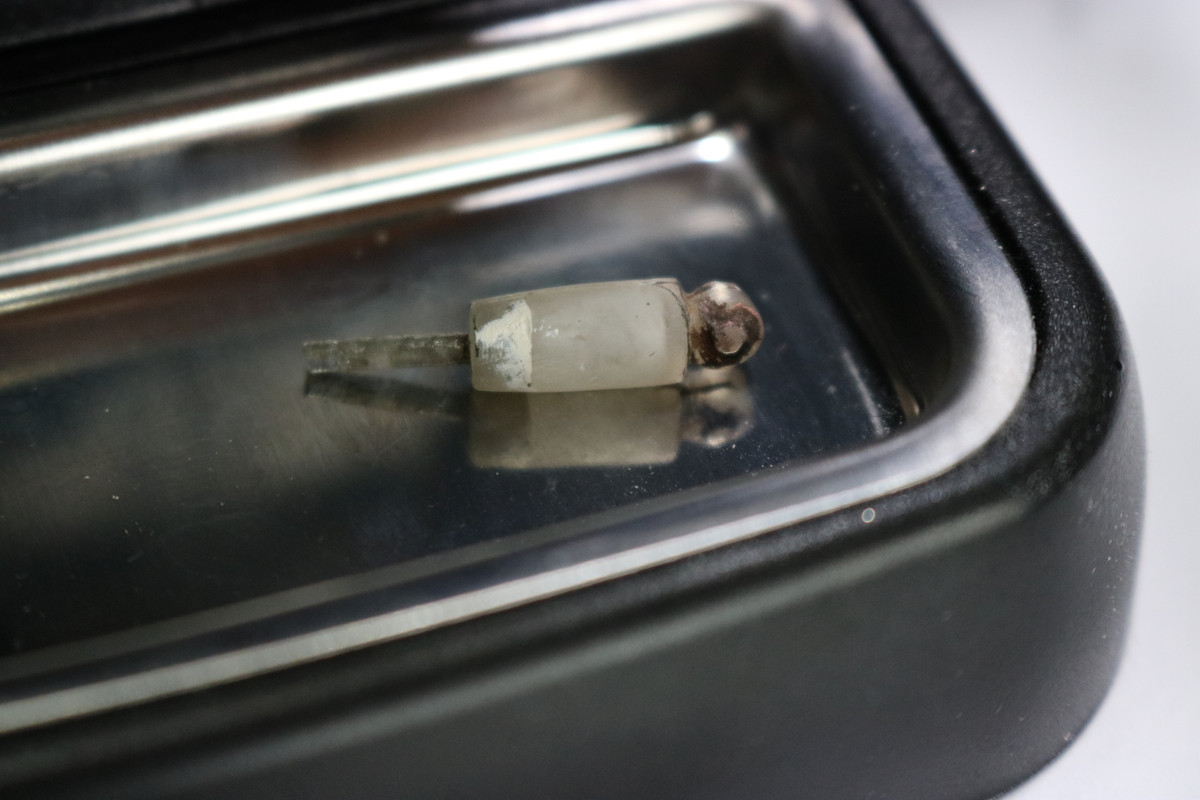
More specific, I am missing one flap piston and one antenna.
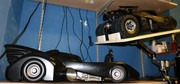
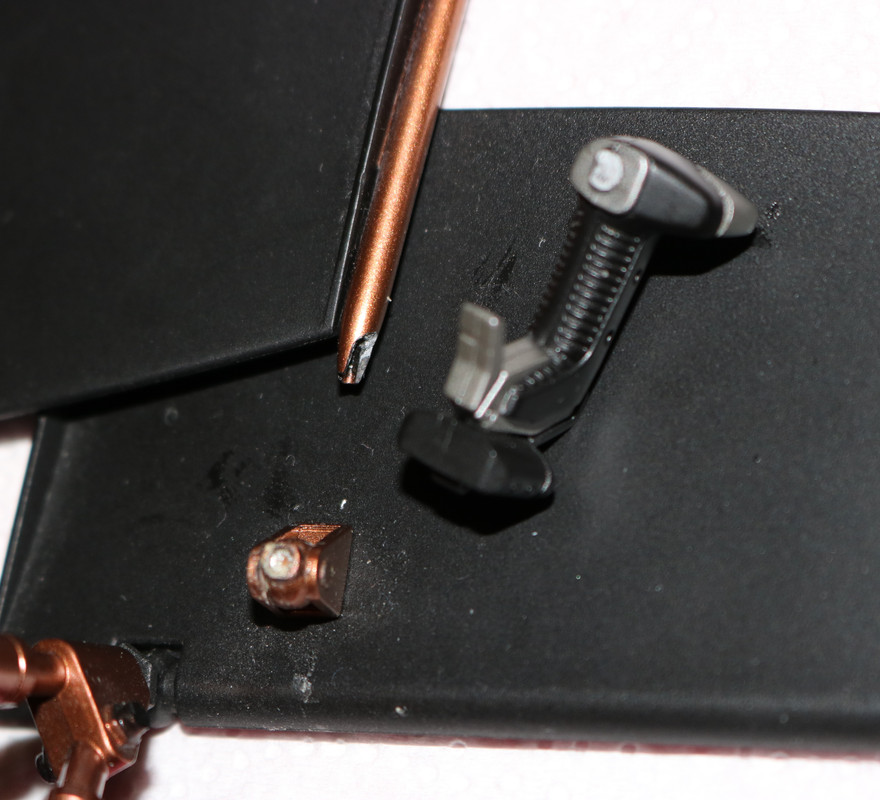
And using an abundant amount of superglue and in a wrong way.
And 1 of the steering controls also broke.
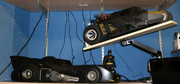
I am in the process of 3D scanning a flap piston and will be offering the 3D scan for sale, as well as sending finished pistons.
Same for the antenna's.
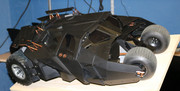
As for now, I wont display the damn thing untill those little details are finished, and for these things, its all in the details!
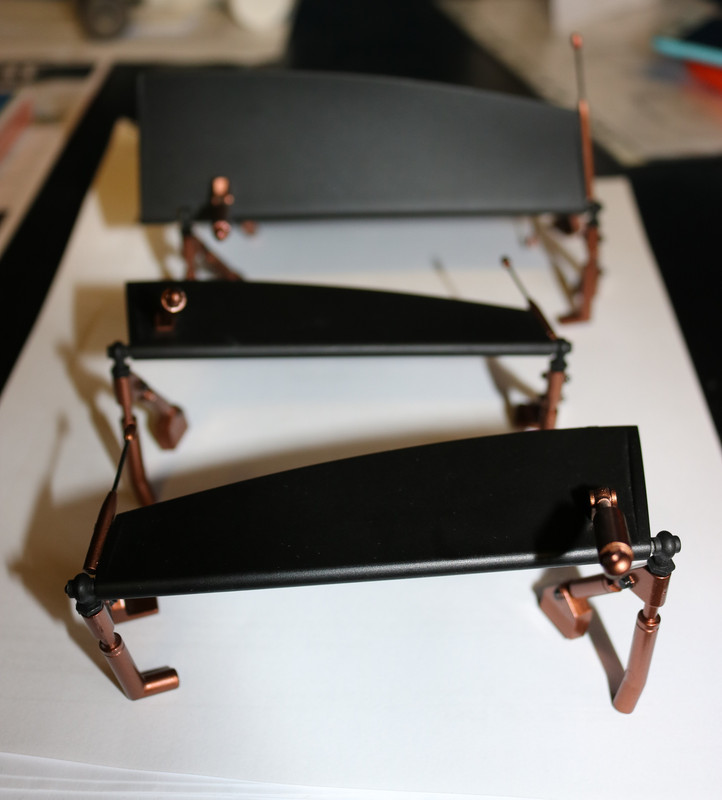
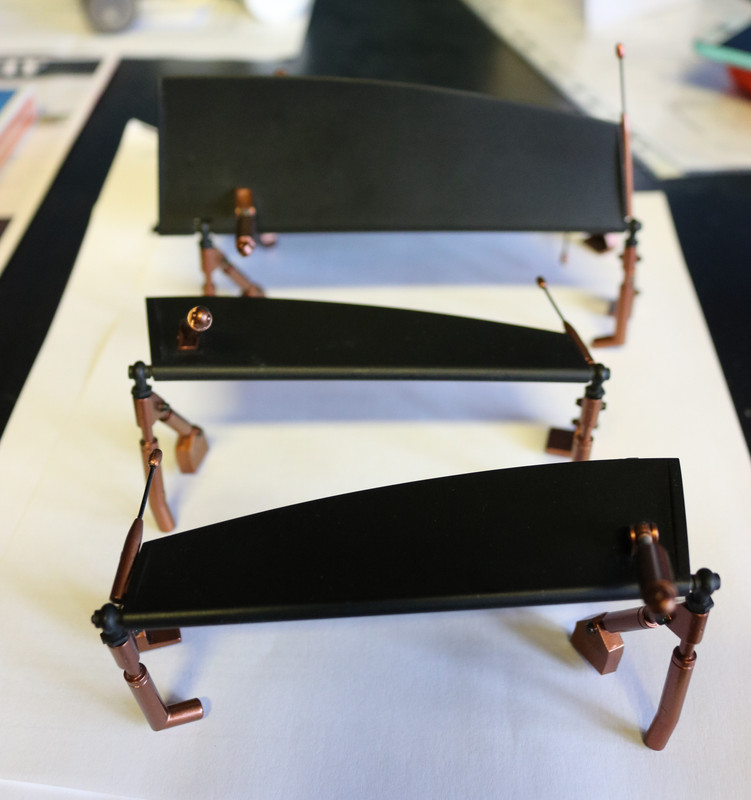
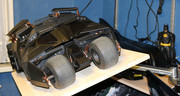
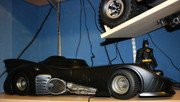
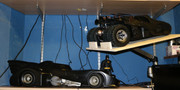
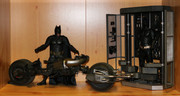
I would like to know if somebody has any knowledge about the used colors on the Hot Toys Tumbler?
Wich kind of black for the body and wich kind gold/orange for the flap mechanics are used?
Or wich existing scale paint matches the one used on this scale model?
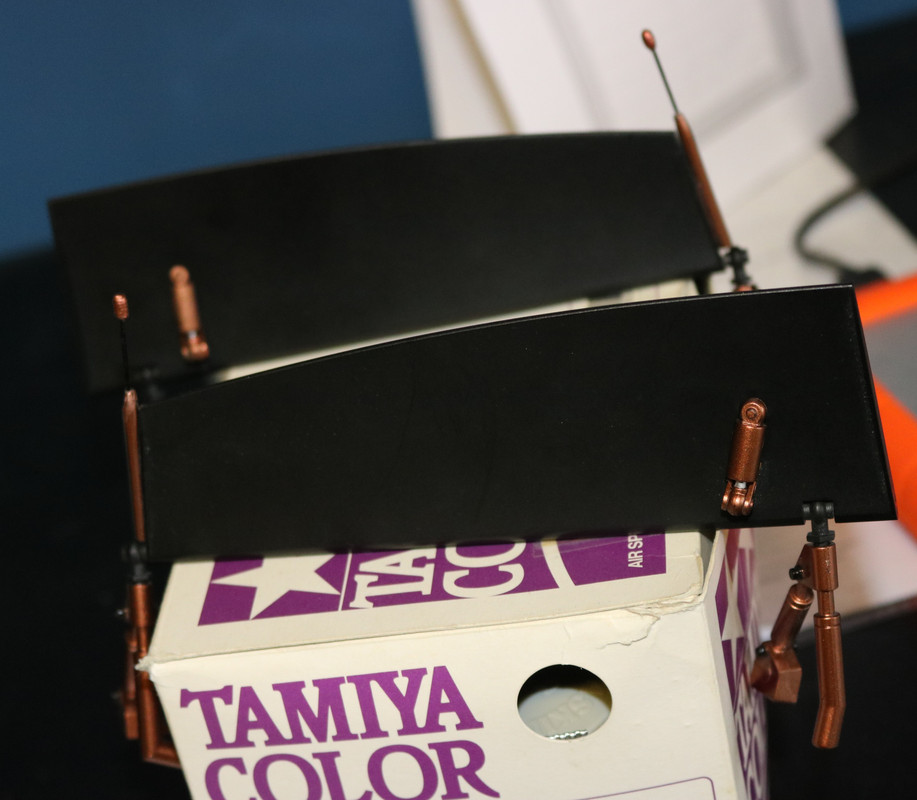
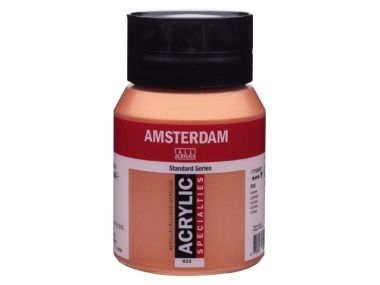
Colors my google searches seem accurate for the golden parts are:
- Tamiya Acrylic Mini XF-6 Copper
- ALC110 ALCLAD COPPER
- Vallejo Mecha Color Copper
- 171 Humbrol
But its still a gamble as long as I cant see the paint results in hand.
Meanwhile I await the 3D scan results.
Thx in advance!
And so 2 weeks ago I jumped on a "cheap" used Tumbler, finally
However, the first owner was a complete idiot, clearly he was not meant to own 1/6 detailed pieces and treated the Tumbler as a childs toy.
Full of dust, hard time cleaning it.
And we have the classic failures, broken flap parts and even a missing parts.
More specific, I am missing one flap piston and one antenna.
And using an abundant amount of superglue and in a wrong way.
And 1 of the steering controls also broke.
I am in the process of 3D scanning a flap piston and will be offering the 3D scan for sale, as well as sending finished pistons.
Same for the antenna's.
As for now, I wont display the damn thing untill those little details are finished, and for these things, its all in the details!
I would like to know if somebody has any knowledge about the used colors on the Hot Toys Tumbler?
Wich kind of black for the body and wich kind gold/orange for the flap mechanics are used?
Or wich existing scale paint matches the one used on this scale model?
Colors my google searches seem accurate for the golden parts are:
- Tamiya Acrylic Mini XF-6 Copper
- ALC110 ALCLAD COPPER
- Vallejo Mecha Color Copper
- 171 Humbrol
But its still a gamble as long as I cant see the paint results in hand.
Meanwhile I await the 3D scan results.
Thx in advance!
Last edited:
")