My try at building the 1/6 Scale Falcon Cockpit

Collector Freaks Forum

Help Support Collector Freaks Forum:

This site may earn a commission from merchant affiliate links, including eBay, Amazon, and others.

IzzyMel

Super Freak
Joined
Nov 18, 2014
Messages
384
Reaction score
205
Location
Severn MD
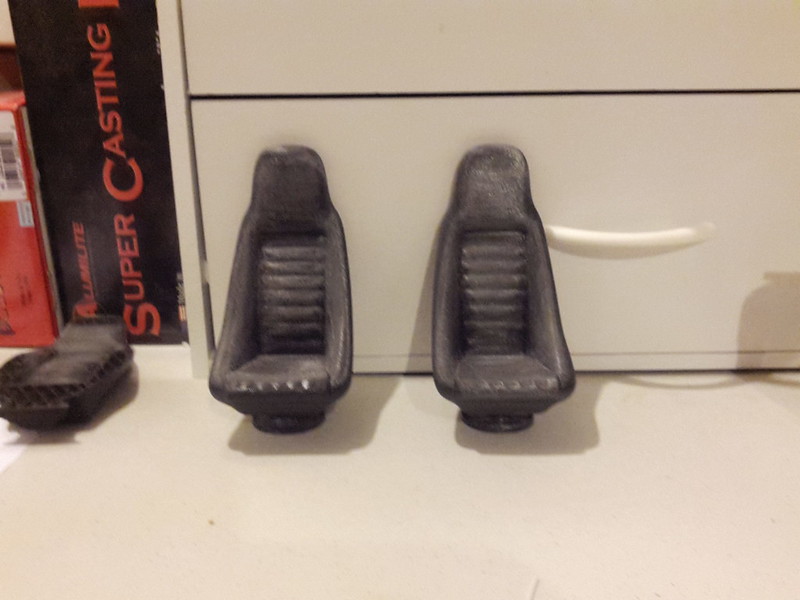
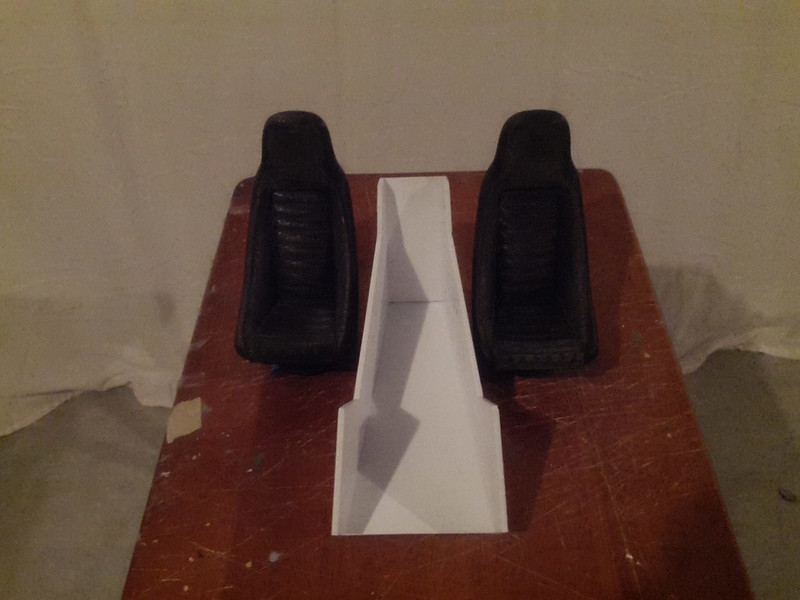
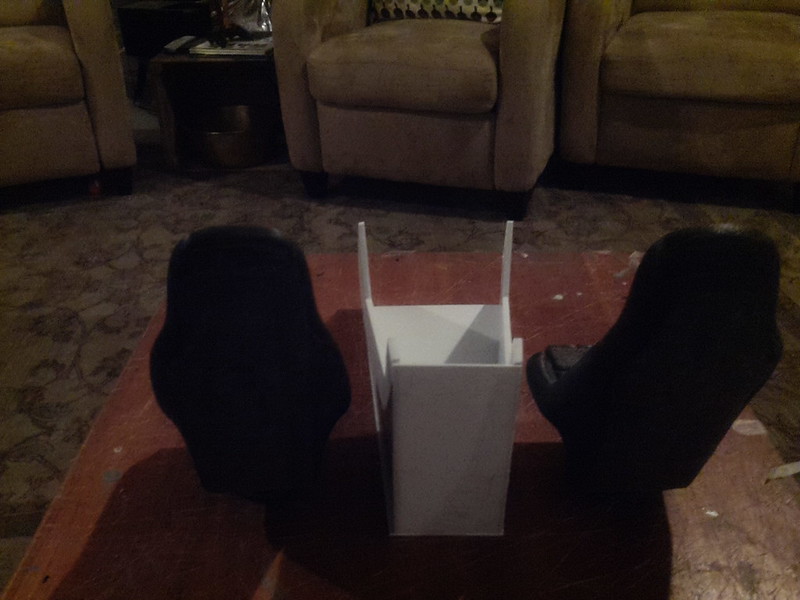
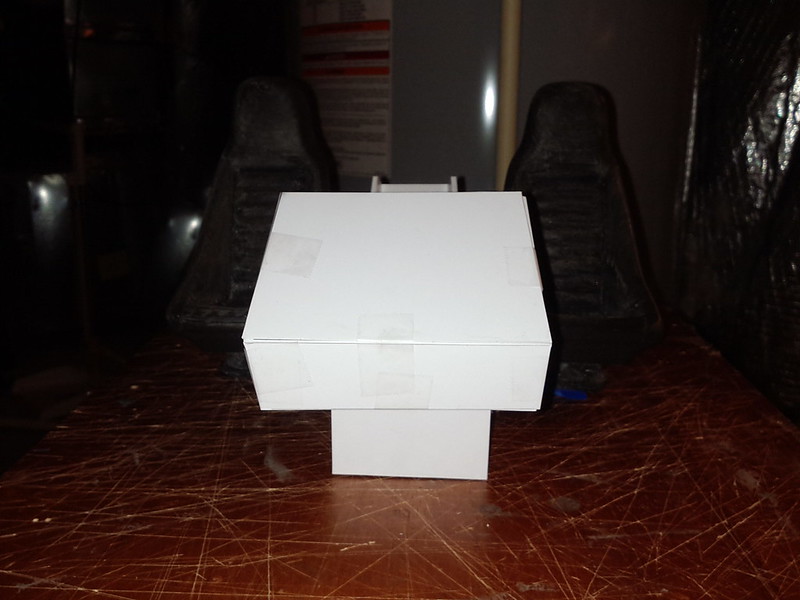
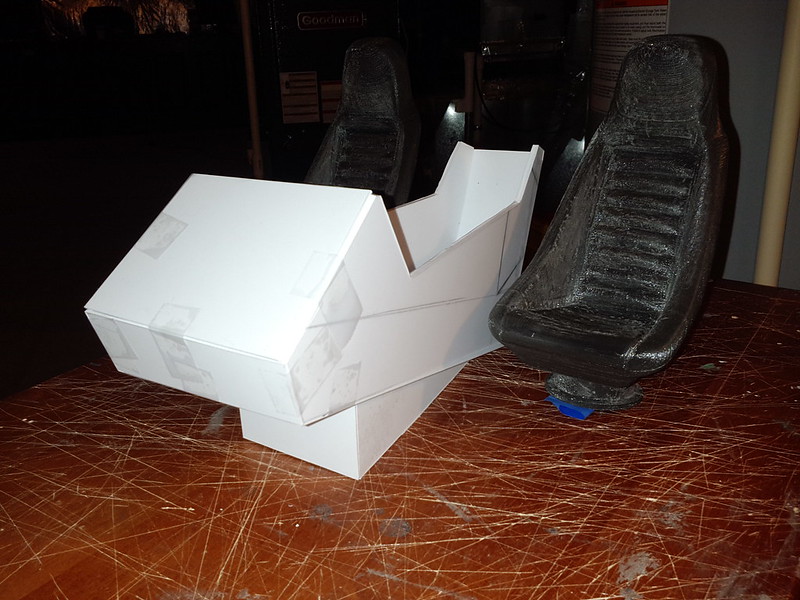
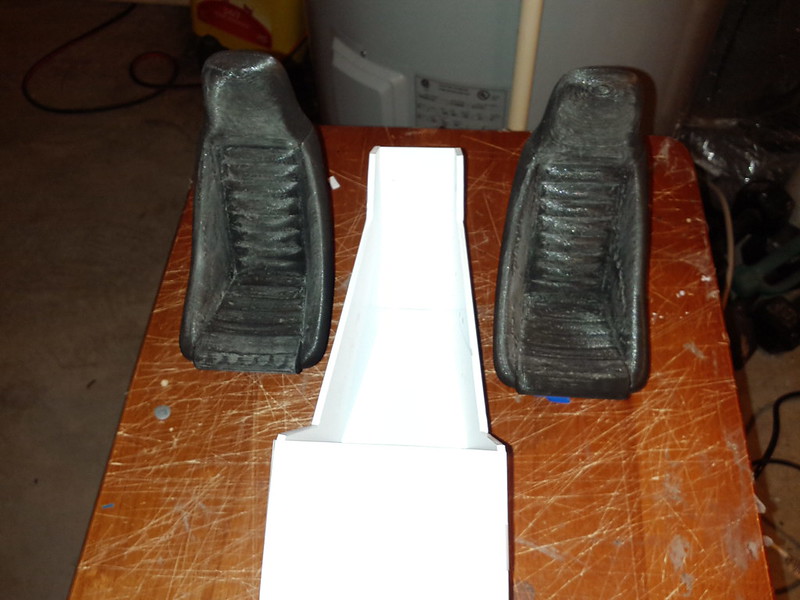
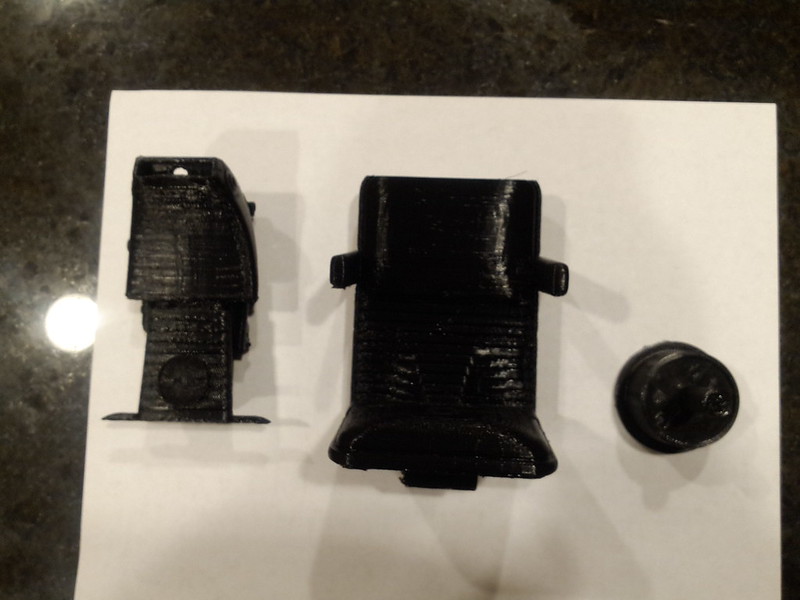
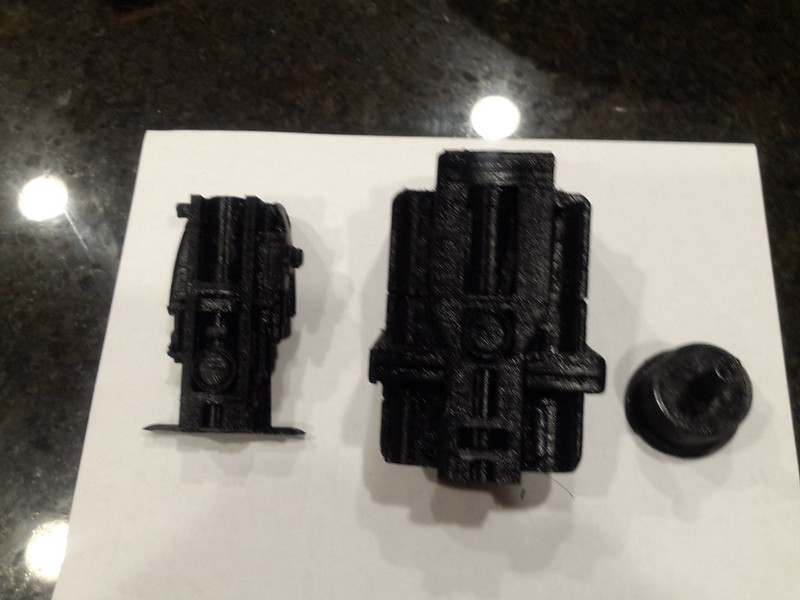
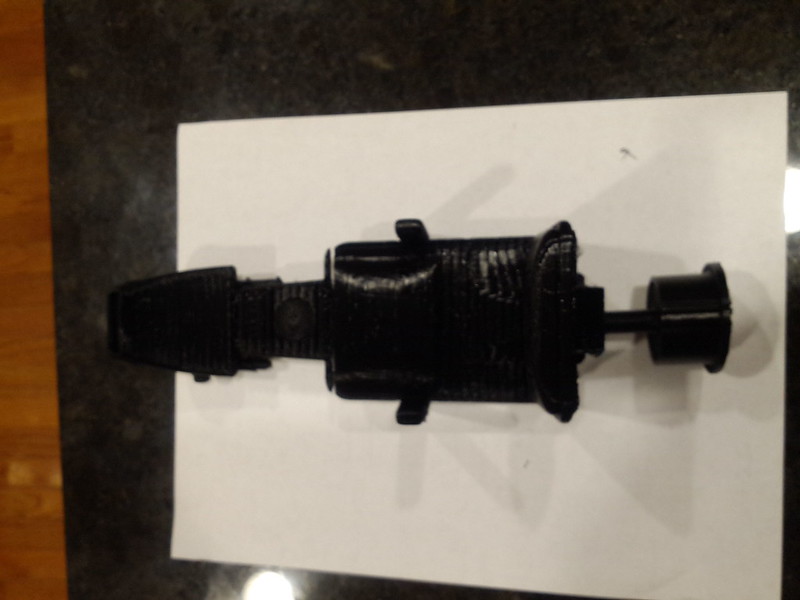
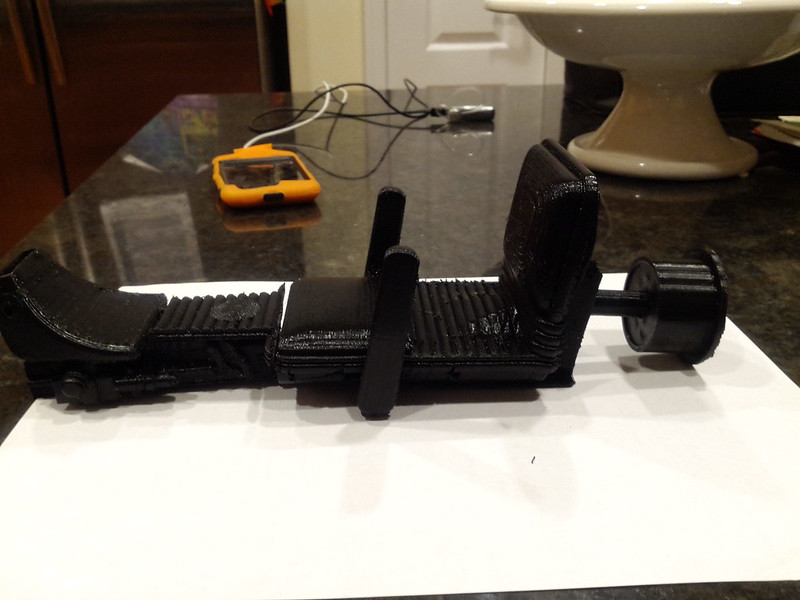
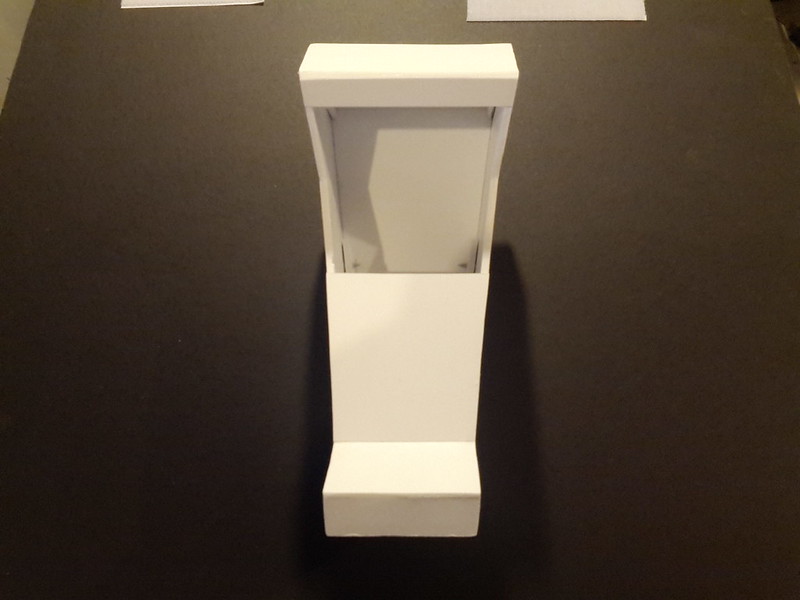
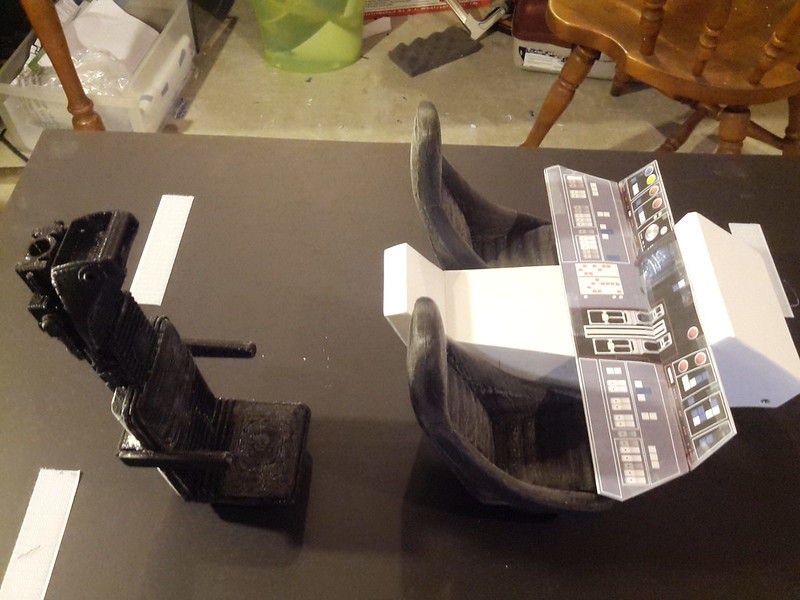
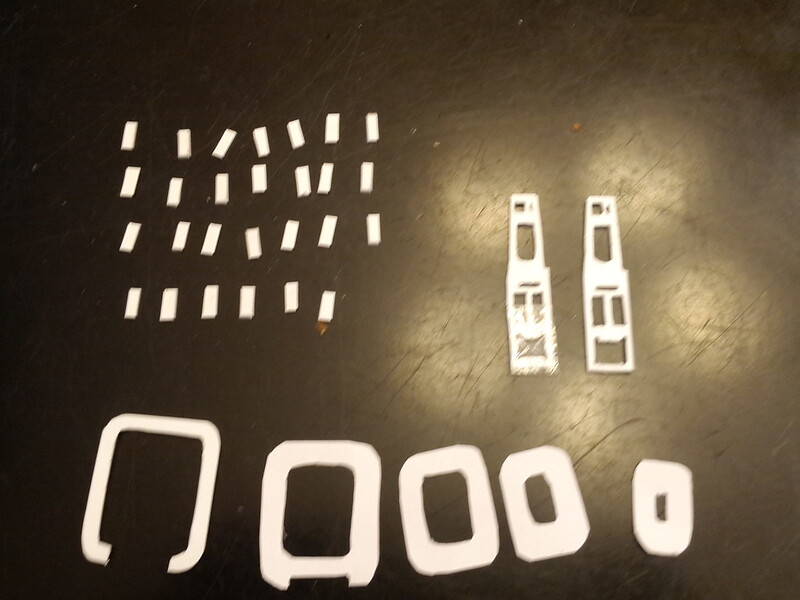
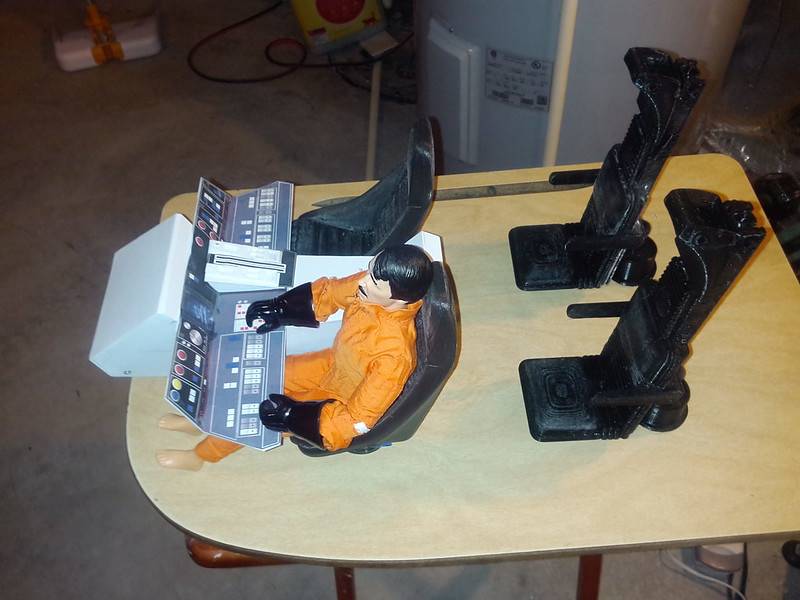
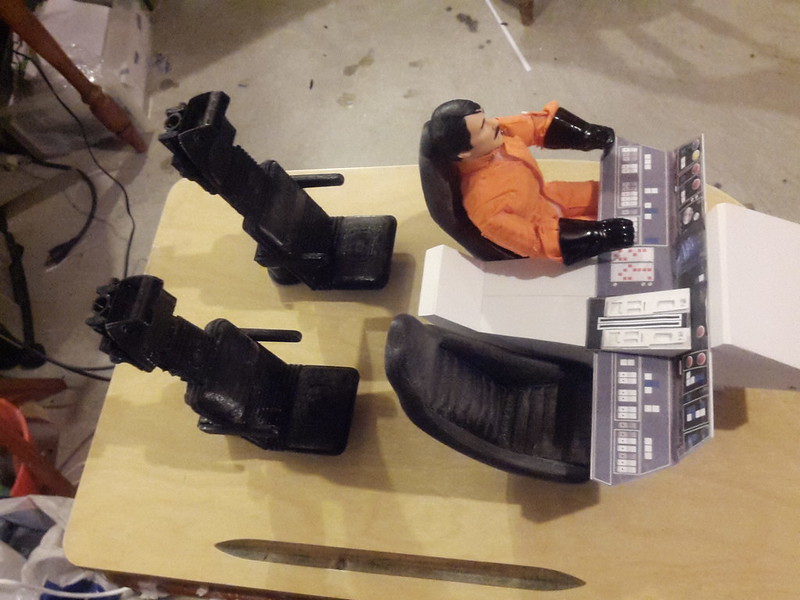
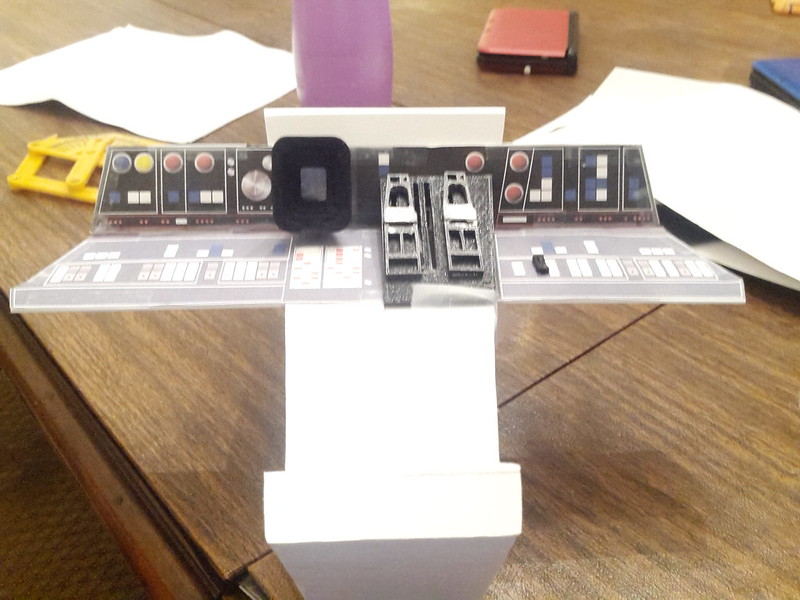
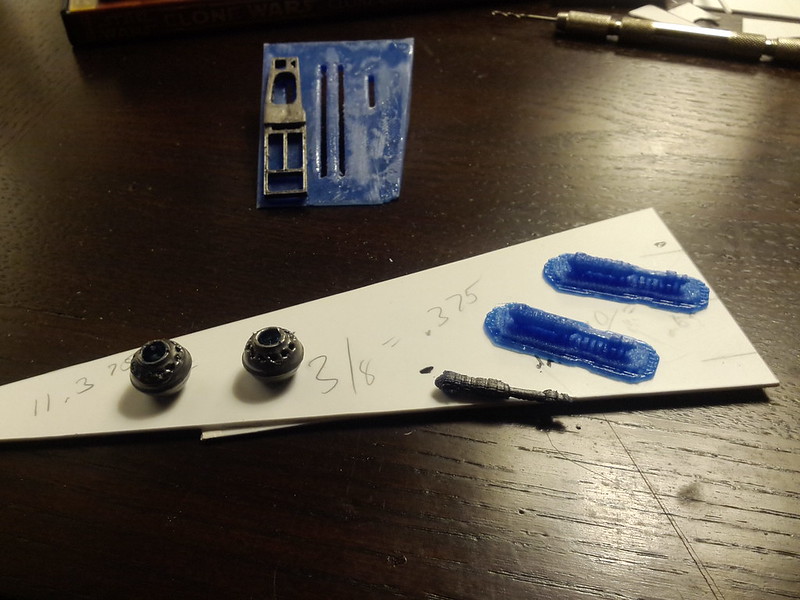
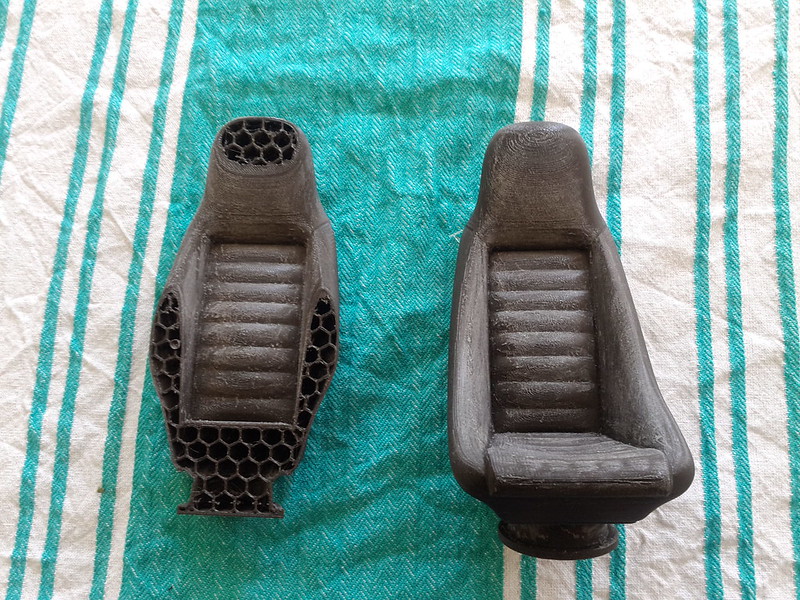
My children bought me a 3D printer for Fathers Day and I put it to good use. I started to work on my 1/6 Scale Falcon Cockpit. I started to print off the captains chairs. However, in the process of doing the 1st one a tree fell on the power lines and killed my 1st print ( shown next to the that is finished)

IMG_20150622_095324 by Izzy Mel, on Flickr

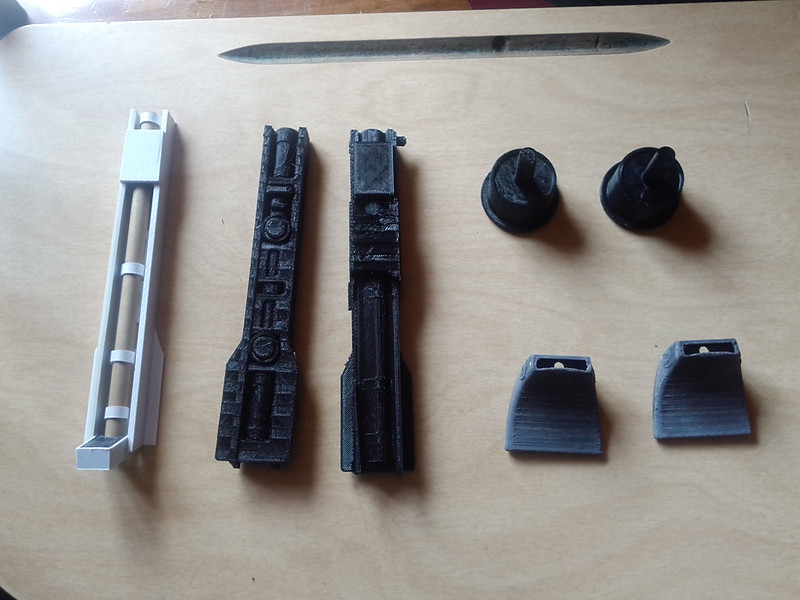
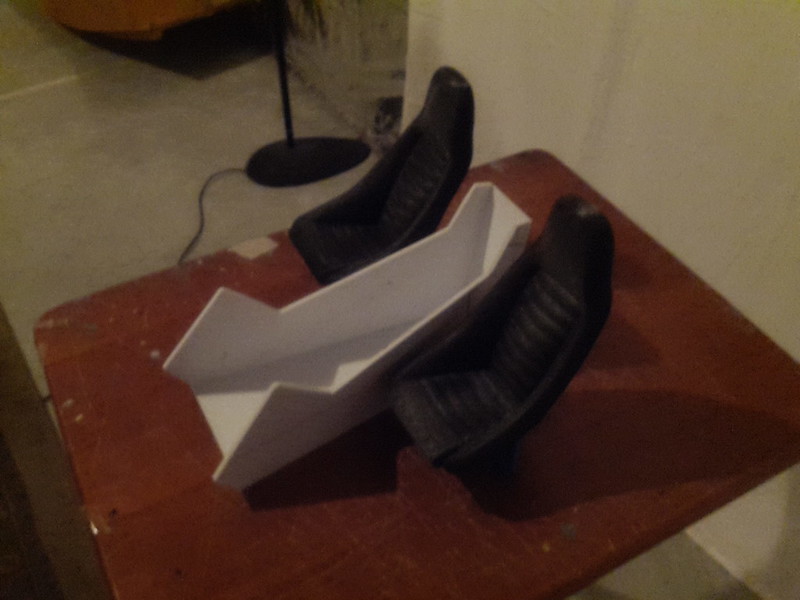
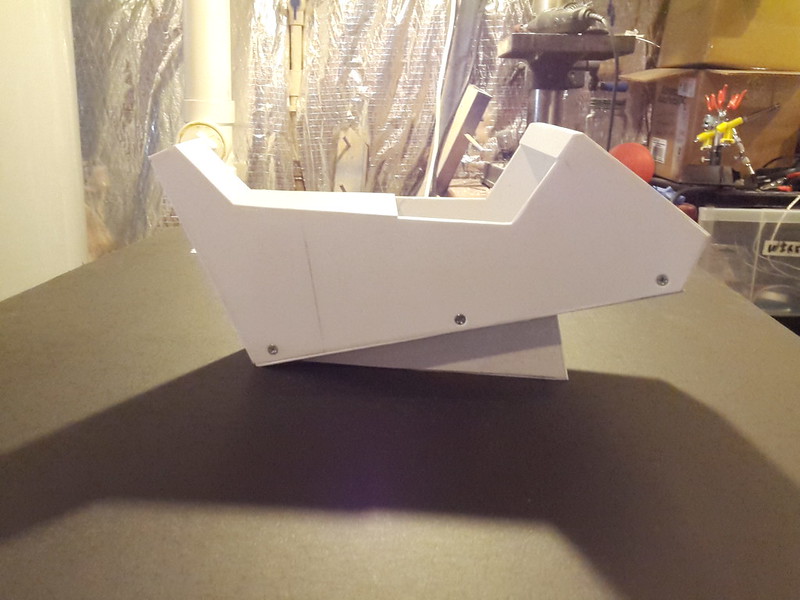
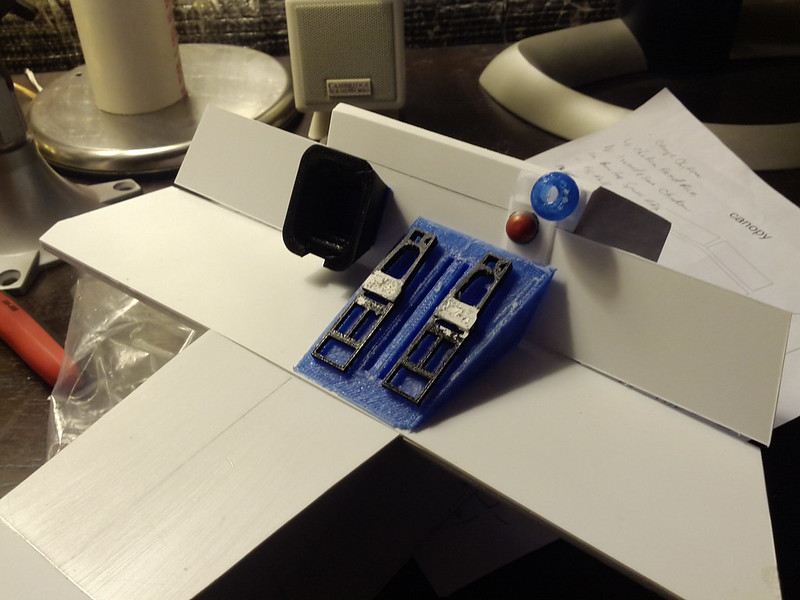
IMG_20150622_095348 by Izzy Mel, on Flickr

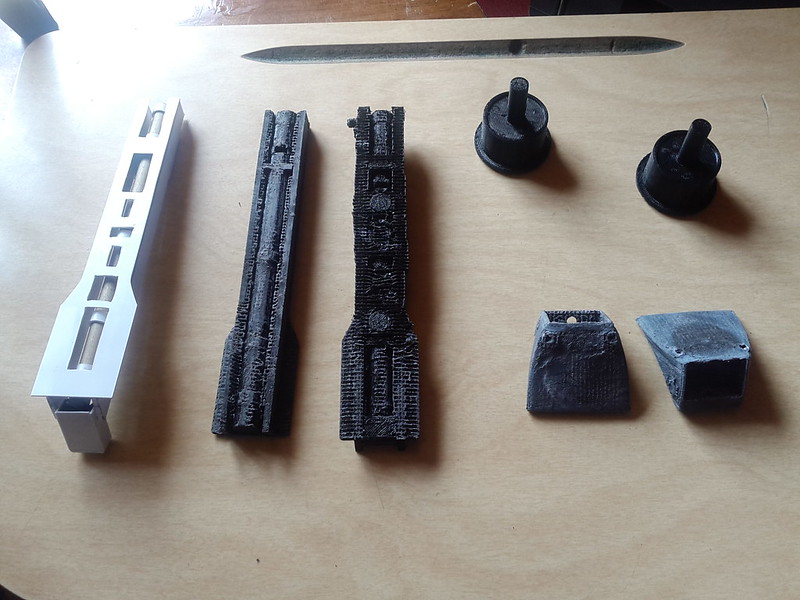
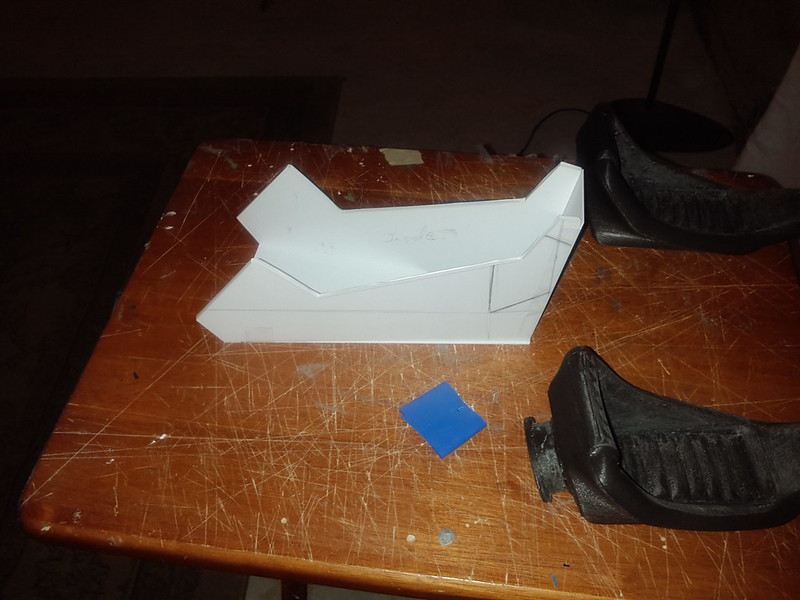
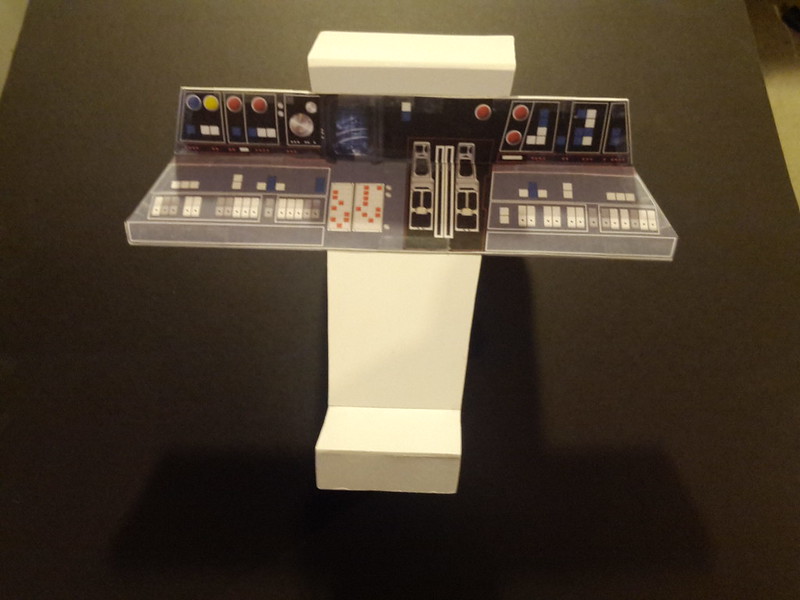
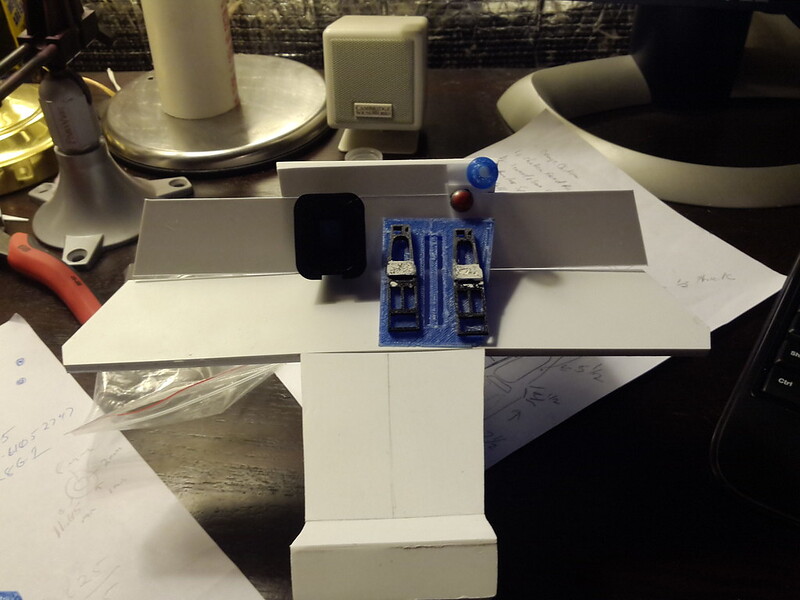
IMG_20150622_095357 by Izzy Mel, on Flickr

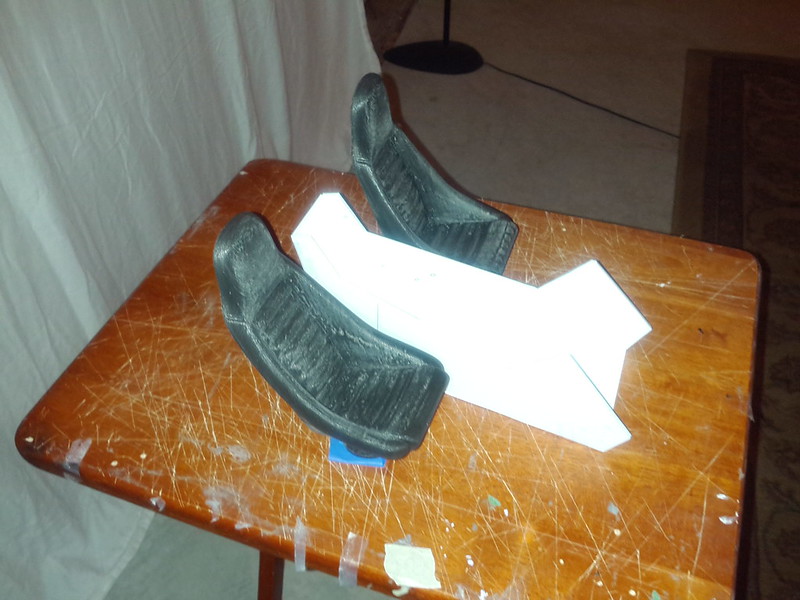
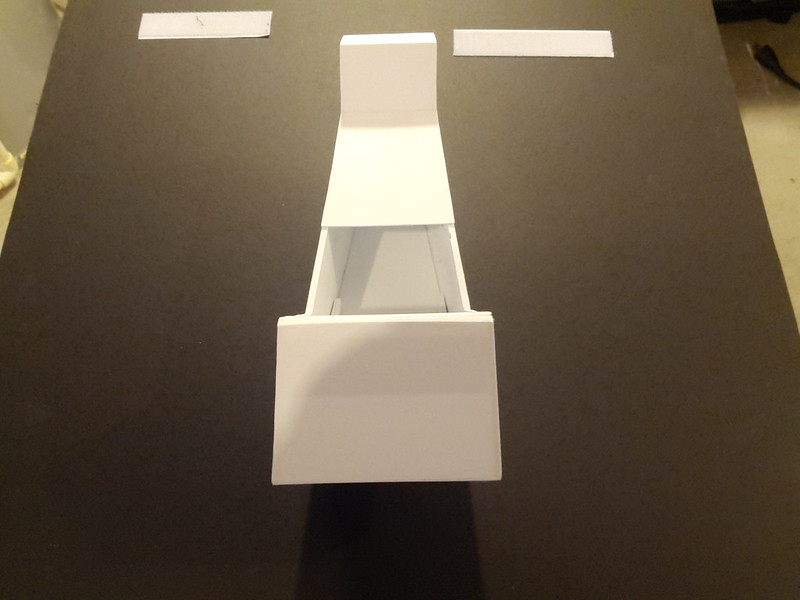
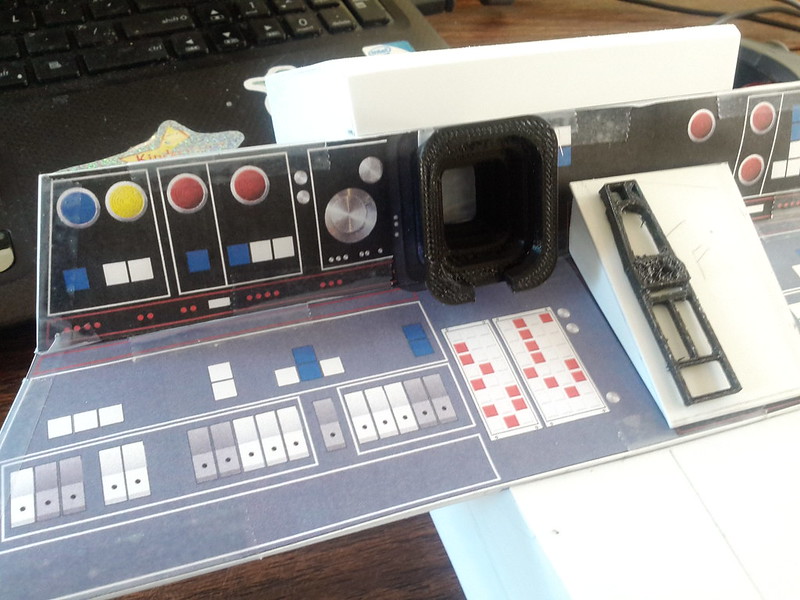
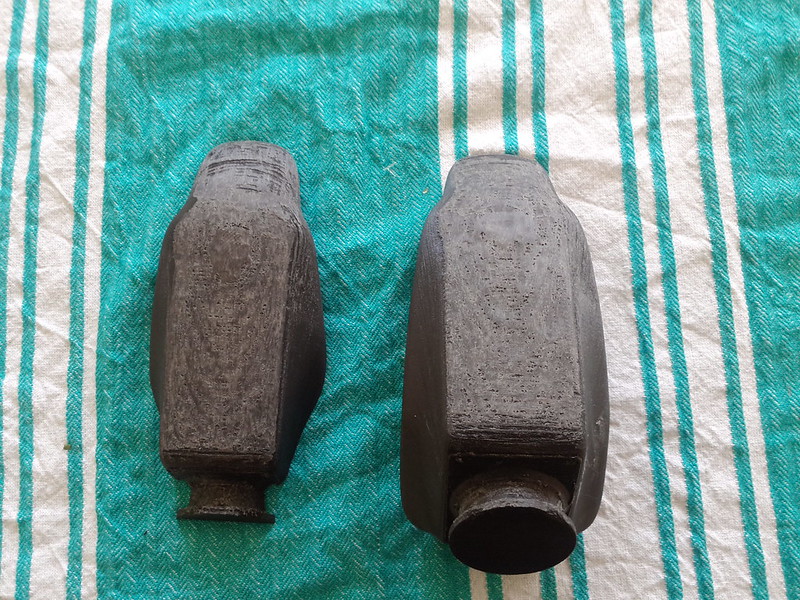
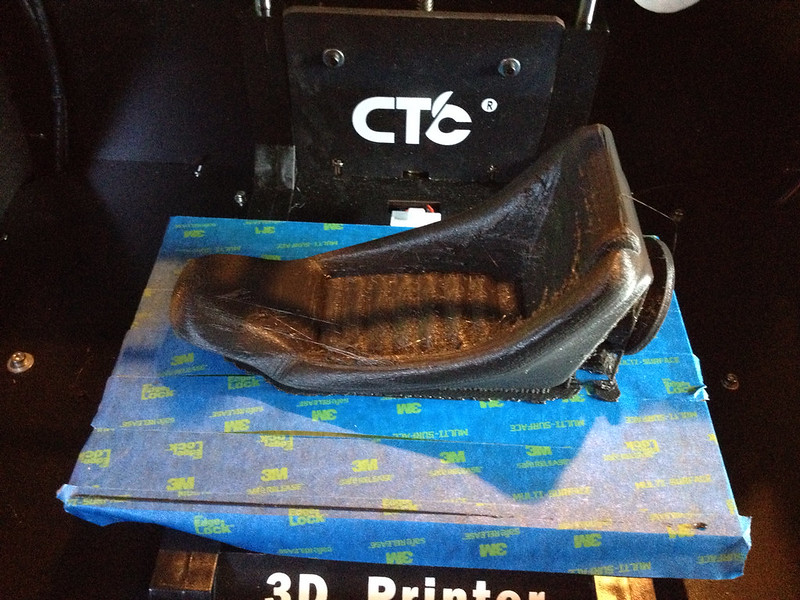
Had to do a lot of sanding to get rid of the spiderwebs. Here is a picture of it on the printer:

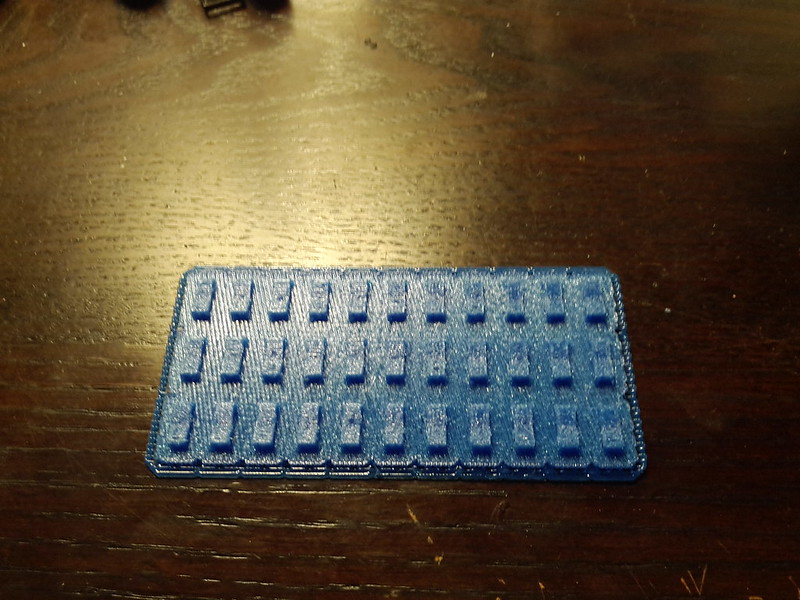
3d printed Falcon seat by Izzy Mel, on Flickr

Here is a quick vid of the printing:

https://www.youtube.com/watch?v=QXdVPVYCuB8

One more of these to print off then it's he Nav Seats. :)
 
I'm having a hell of a time trying to get the back Nav seats done. I think I'm going to have to do a combination of scratch build and 3d print.

You can see the detail on the prints are good on side only next to the scratch build post. I do like the Base for the seat and the hoods.

IMG_20150707_104349 by Izzy Mel, on Flickr

However, I'm not to crazy about the back side of the prints. I one is usable because most of it will be hidden behind the seat. The other one will be trashed.

IMG_20150707_104427 by Izzy Mel, on Flickr
 
Well I went back to try to print off the Nav seat. My friend fixed the file and I used Simplify3D to slice it and print it in 3 different part. It looks pretty good. I have to sand, glue, and paint it but I think it will nice when it is done. :D

IMG_20150715_224645 by Izzy Mel, on Flickr

IMG_20150715_224717 by Izzy Mel, on Flickr

IMG_20150715_224802 by Izzy Mel, on Flickr

IMG_20150715_224809 by Izzy Mel, on Flickr

Sorry for the bad pics. I took them late last night. I try and take some better ones this weekend.
 
Did some more work on the center console. After getting all the panels and base right, I started to glue them in place. You notice I put screws in the side. Thats so I can go back in and add the center lights.

IMG_20150720_095310 by Izzy Mel, on Flickr

IMG_20150720_095325 by Izzy Mel, on Flickr

IMG_20150720_095335 by Izzy Mel, on Flickr

IMG_20150720_095341 by Izzy Mel, on Flickr

IMG_20150720_095349 by Izzy Mel, on Flickr

IMG_20150720_095356 by Izzy Mel, on Flickr

IMG_20150720_095427 by Izzy Mel, on Flickr

Seat added :)

IMG_20150720_095707 by Izzy Mel, on Flickr

IMG_20150720_095858 by Izzy Mel, on Flickr

More to follow....
 
So I started cutting the console greeblies out of 1mm styrene. It seems like console switches are a little bigger than the ones on the back panels. I also drew out the templates to cut out the nav viewer. Kind like Sofaking01 (over at the RPF forum) did with his 1:1 scale Falcon cockpit. Not sure I got the measurements right but it looks right. Then I cut out the center rails for the throttle. They all need to be painted still. but it's a start. :)

IMG_20150723_201332 by Izzy Mel, on Flickr
 
Back
Top